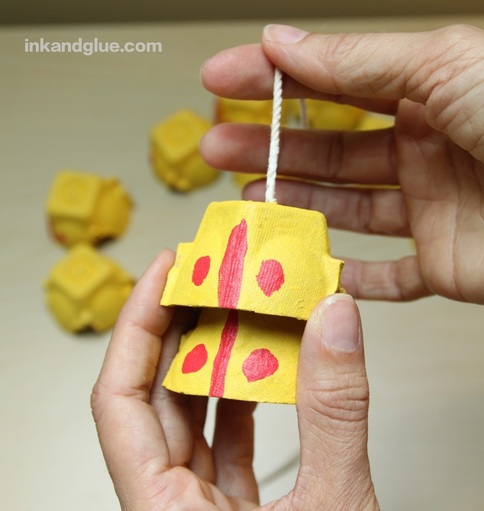
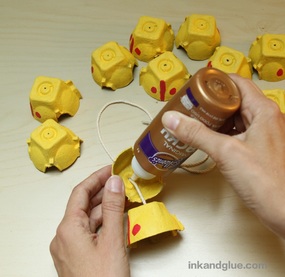
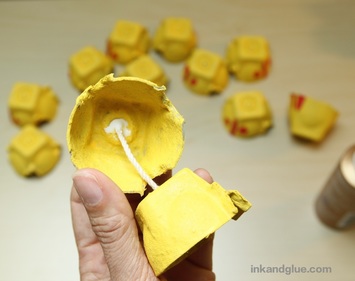
 I wanted to create a snake toy that could bend and curve as well as an actual, live snake. I started with egg carton cups, since it's one of those materials that's free (this is a theme in my work), easy to find, and also easy to cut, glue, and paint. After some trial and error, I came up with this vibrant yellow serpent. You and your kids can make one, too. The process is straightforward but has a couple of tricky moments, so grown-ups should be on hand to assist beginners as needed. First, dissect a cardboard egg carton. I cut mine apart with the help of a craft knife and scissors. Trim each cup so they're roughly the same-ish. Then, paint them. I like acrylic paint for this because it provides a nice, opaque coat. I painted mine inside and out because I wanted them to look good for the blog, but it's fine to skip painting the inside. 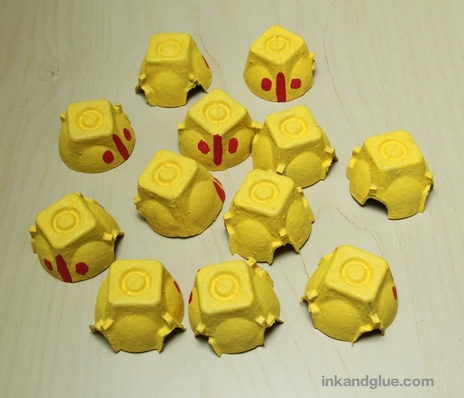 Next, use a push pin to poke a hole in the center of each cup. Wiggle the pin around a bit to widen the holes.  Thread a steel yarn needle (I got mine at Joanns years ago; they're cheap) with sturdy cotton string or twine — the kind you get at a hardware store. Cut the length of the string to 12 to 16 inches, and knot the end.  Going through the inside of the cup, thread the first section — what will eventually be the tail — onto the string. 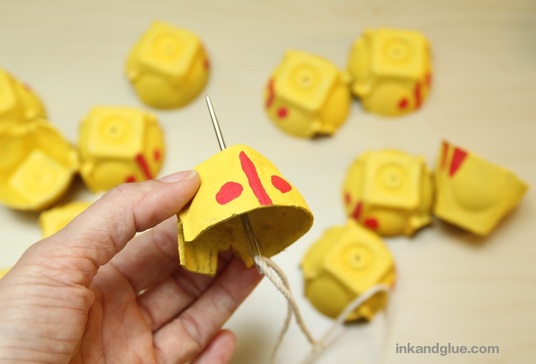 Pull the string all the way through so the knot is nestled inside. Dab a generous glob of tacky glue around the knot. 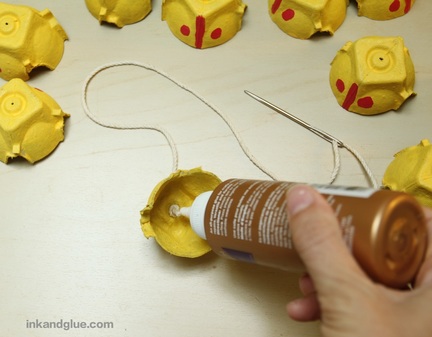 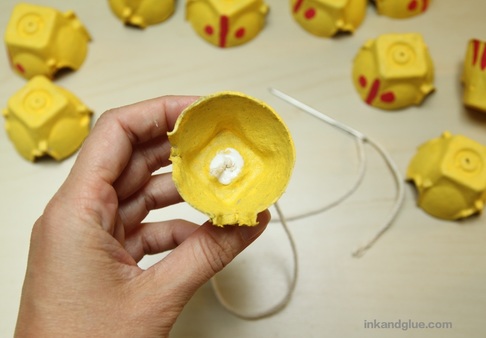 Thread the next section onto the string, sliding it to within an inch and a half or so of the first. 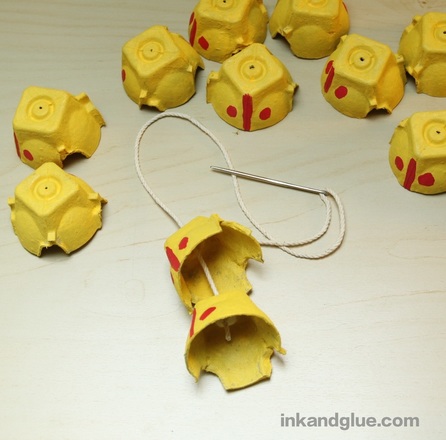 This is the awkward part: dab a nice glob of glue around and inside the hole of the second cup. Then, slide the cup down the string a bit, so it's sort of overlapping the first cup. (When the glue dries, the cup will be adhered in its place on the string.)
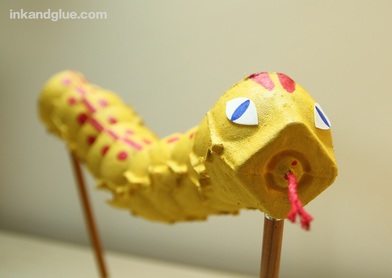
 Continue with the rest of the cups. For a head, I painted one of the cups differently from the others, so I put that one on last. Adjust the spacing of the cups on the string as needed, then let it dry somewhere it won't be touched by an impatient child and/or used as a toy by a curious cat. 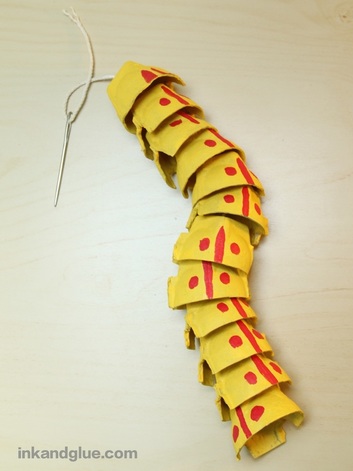 Trim the end of the string to about an inch from the cup. You can choose to knot it closely to the cup, or coat it with paint and separate the strands a little for a forked tongue. Glue on paper eyes (mine are Sharpie marker on scraps of watercolor paper). 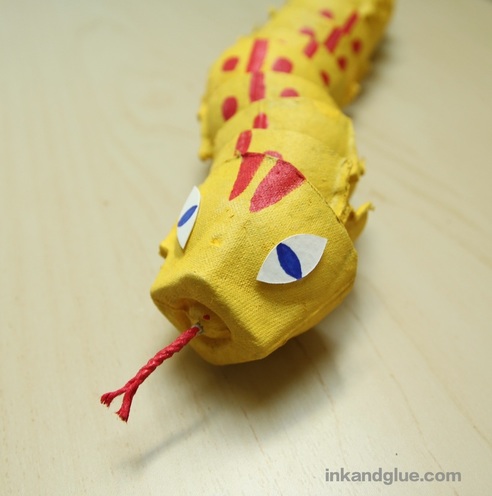 Now, you could stop right here, and you'd have a perfectly functional, wiggly snake toy. It's not really designed to survive lots of hands-on contact, so I suggest adding some sticks and making it into a puppet. Use a standard hole punch to make a hole at the base of the first and last cups. 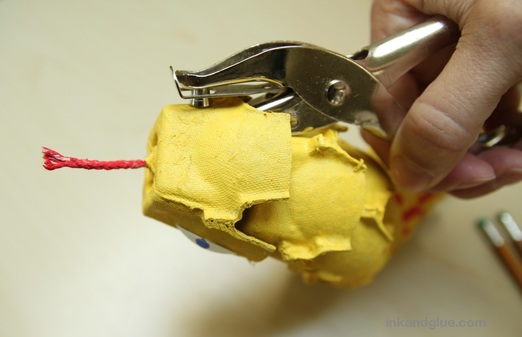 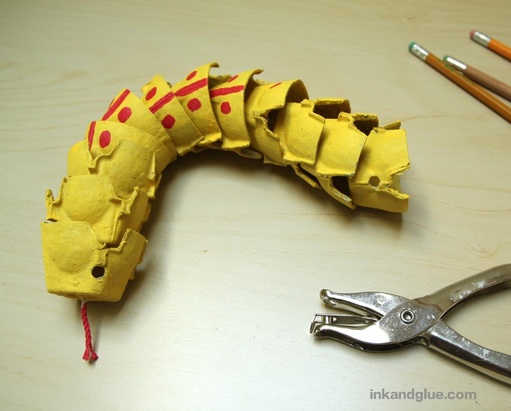 Gently insert the eraser end of a pencil into each hole. A quarter-inch dowel would also work (and would probably look more sophisticated), but I had pencils on hand. 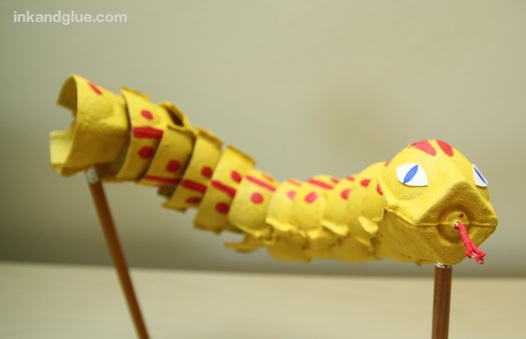 And here she is! This snake is super flexible, and is easy to move and slither all around the house. 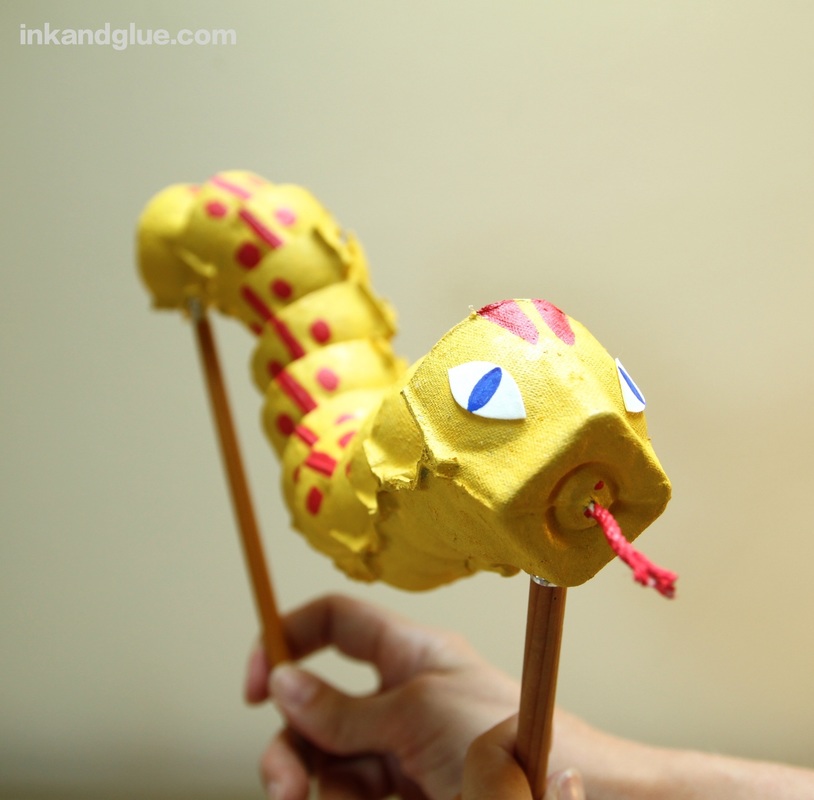 Thankssss for sssstopping by!
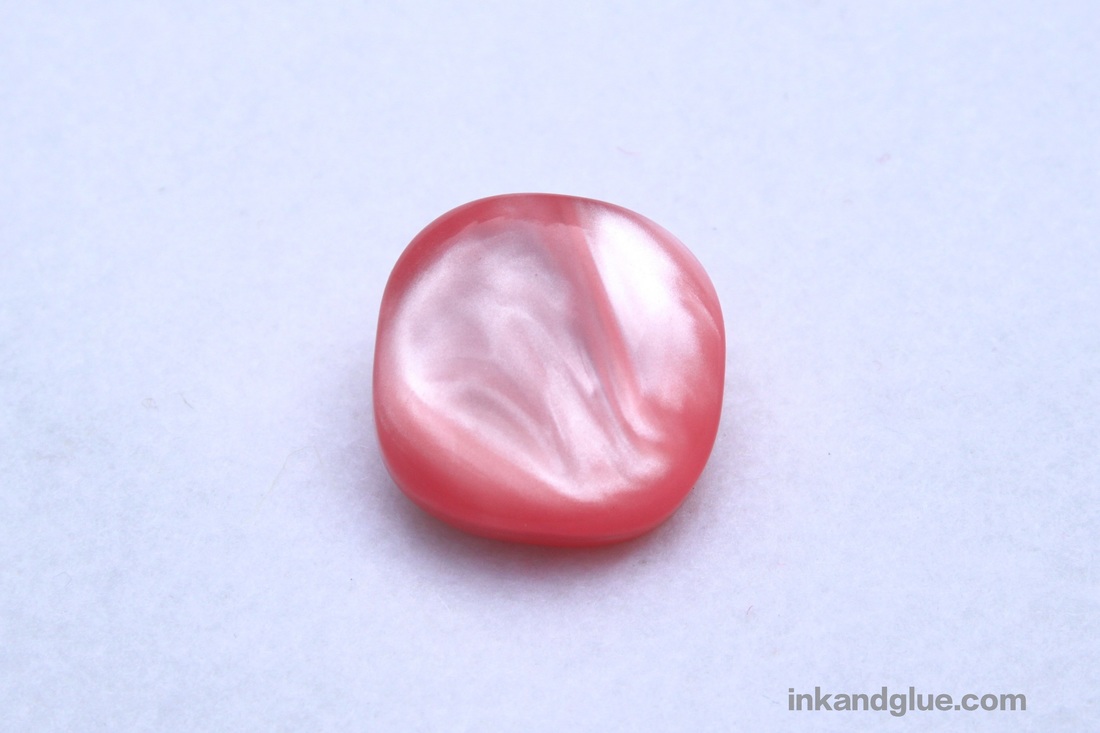
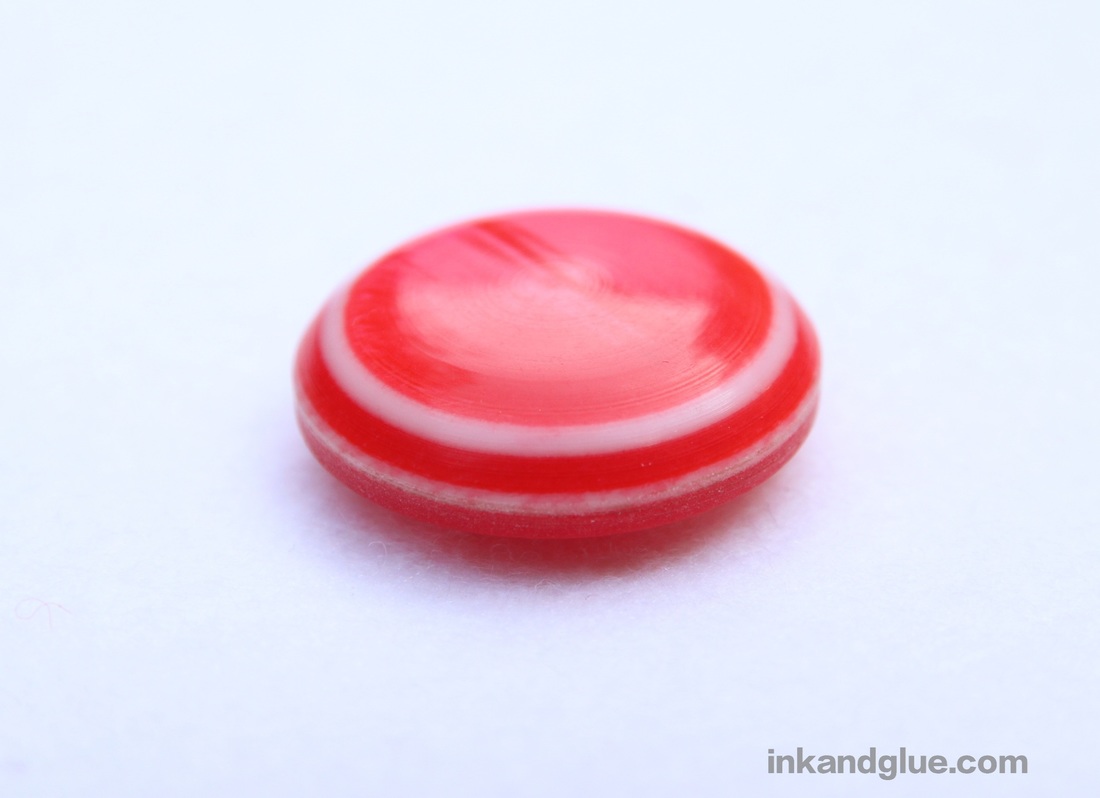
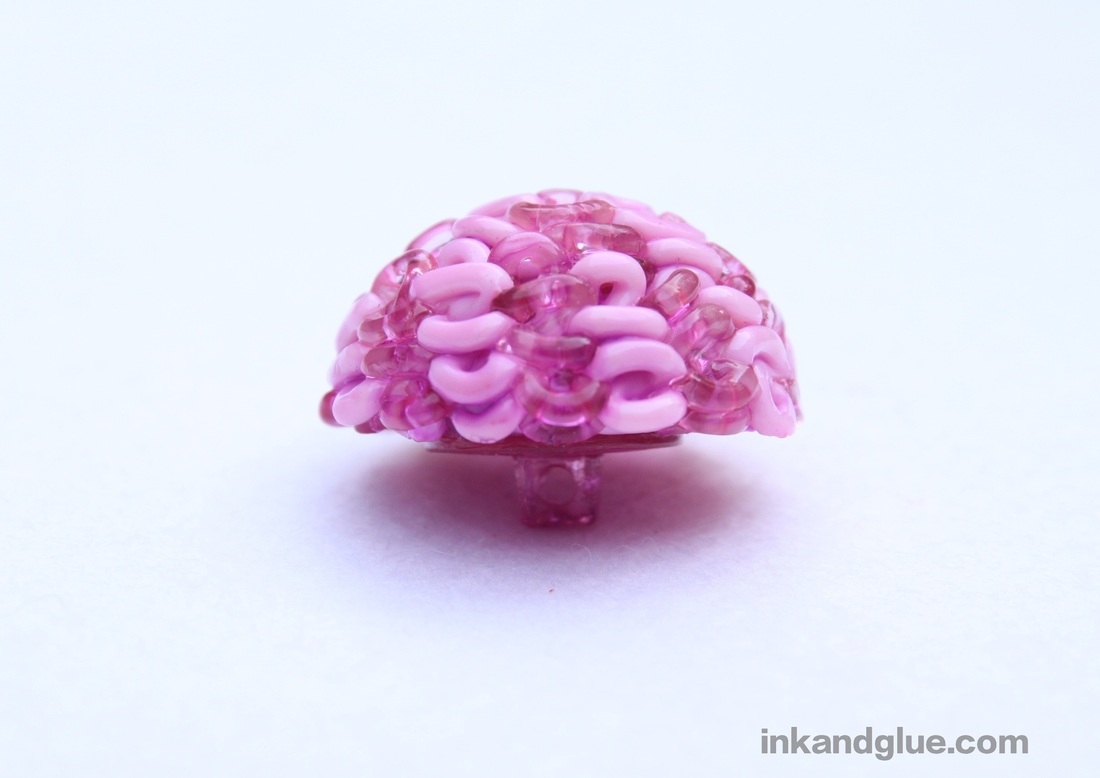
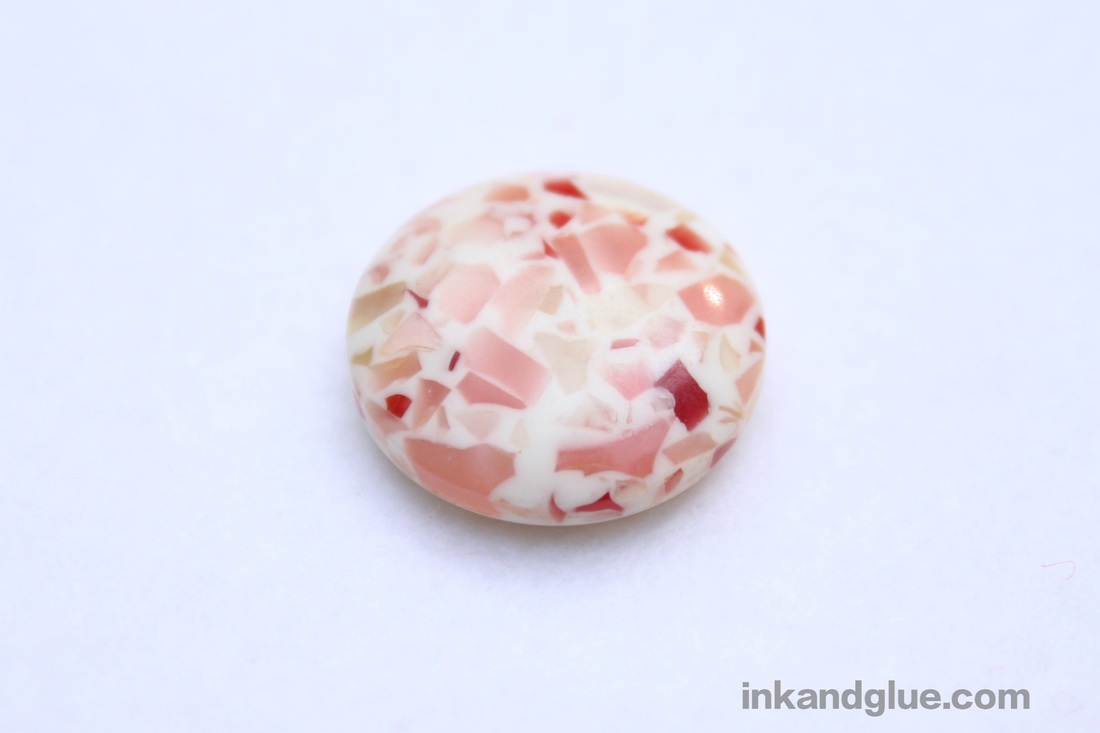
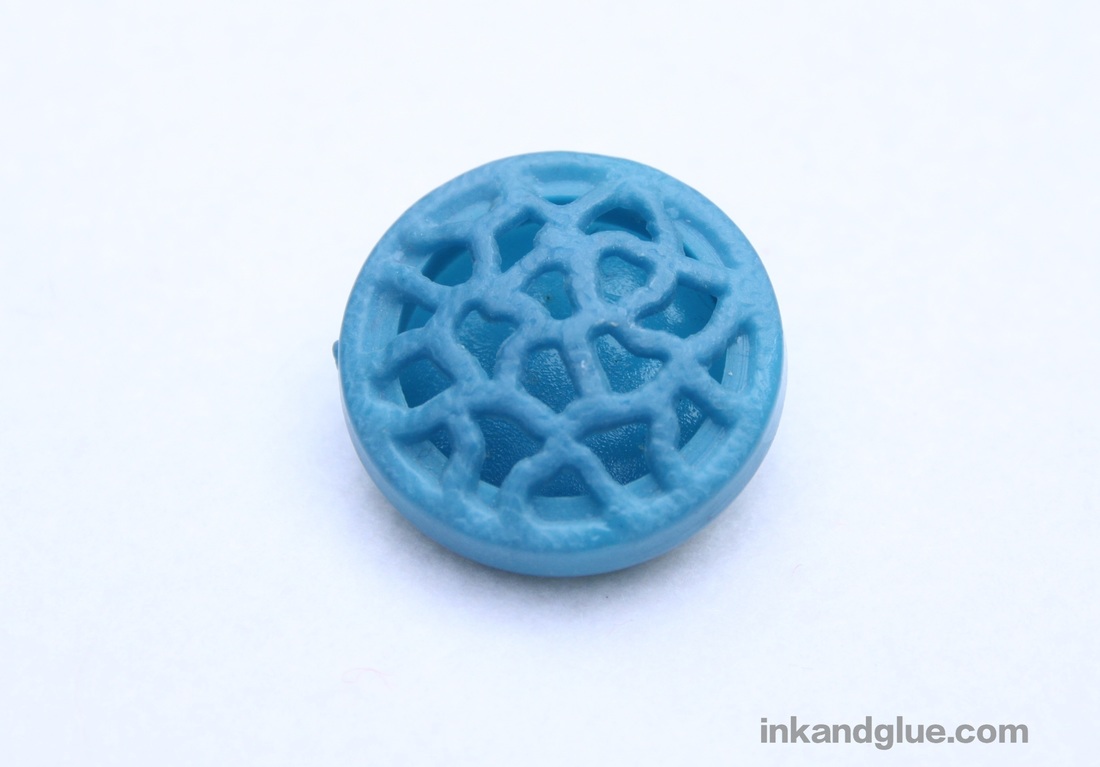
xo Here's a mysterious look at what I've been working on today, and will have up on the blog tomorrow. Gotta wait for the glue to dry! (My crafts are super-fresh.) 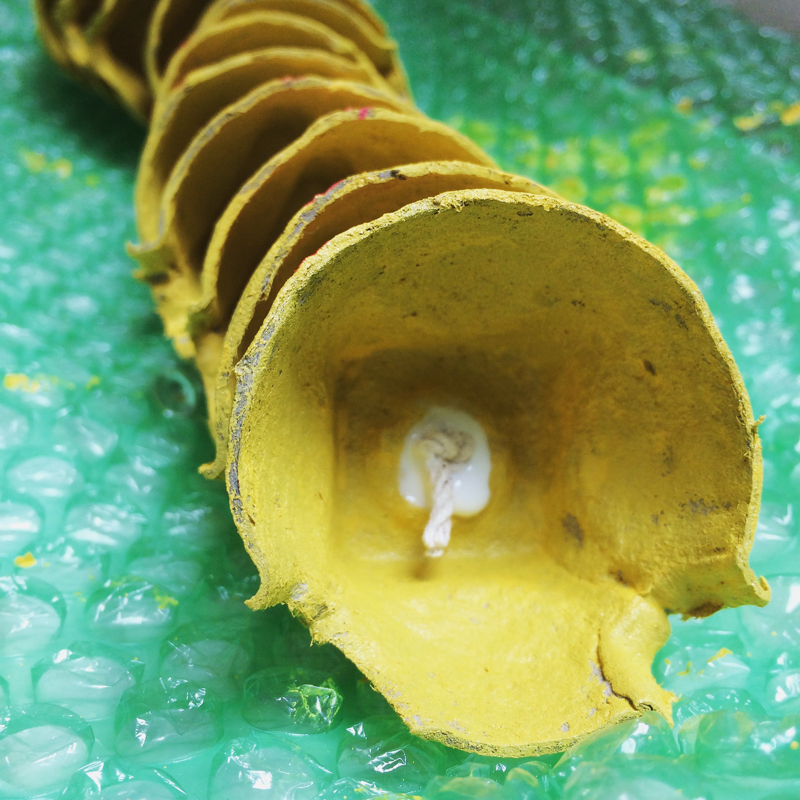 Years ago, a fellow artsy person tipped me off to a tiny store in a nearby city that had tons of buttons and trims dating from the 60s-70s. I managed to get there and purchase a few dozen buttons before the owners figured out what a treasure they had on their hands. My only problem now is finding crafts that are worthy of these gorgeous nuggets of color. I got some in cooler hues...  An assortment of sunny sorbets...  A handful of really big ones... 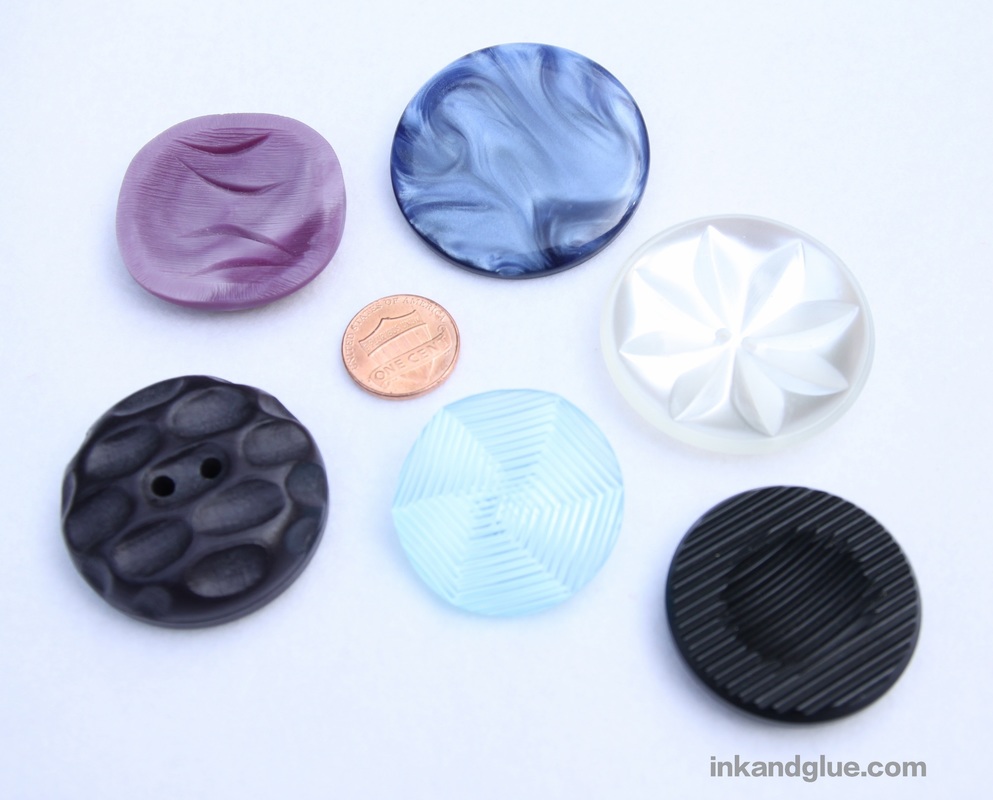 A few teeny-tiny guys... 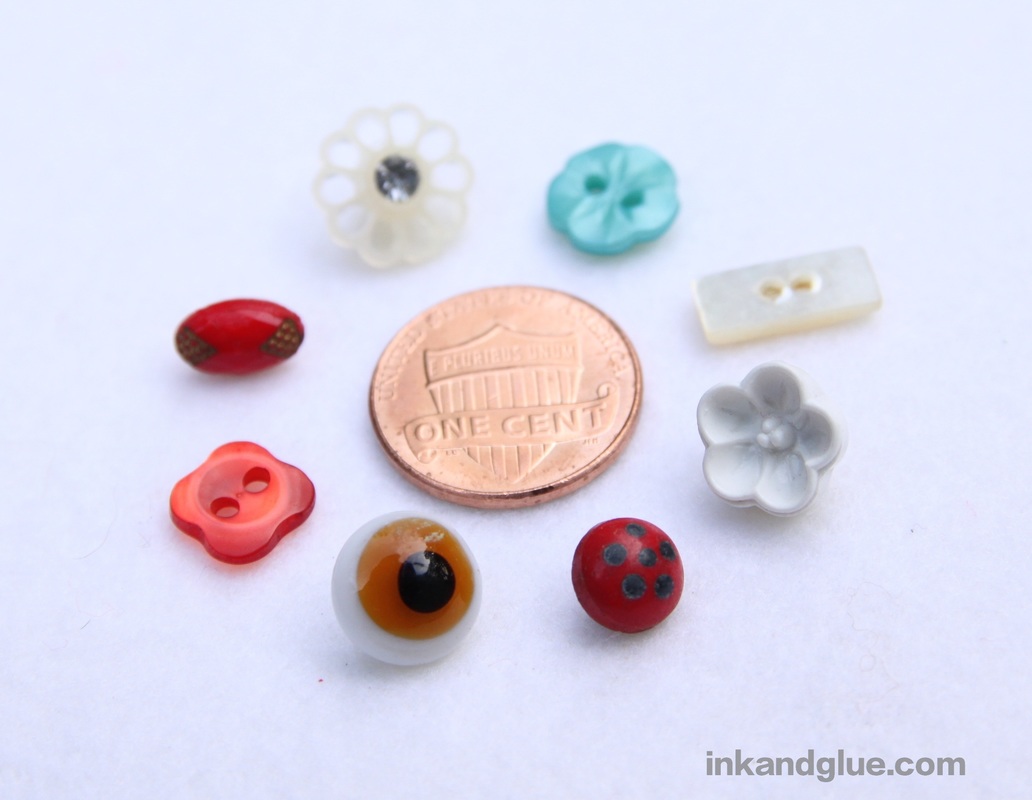 And a bunch that are kind of in-between. 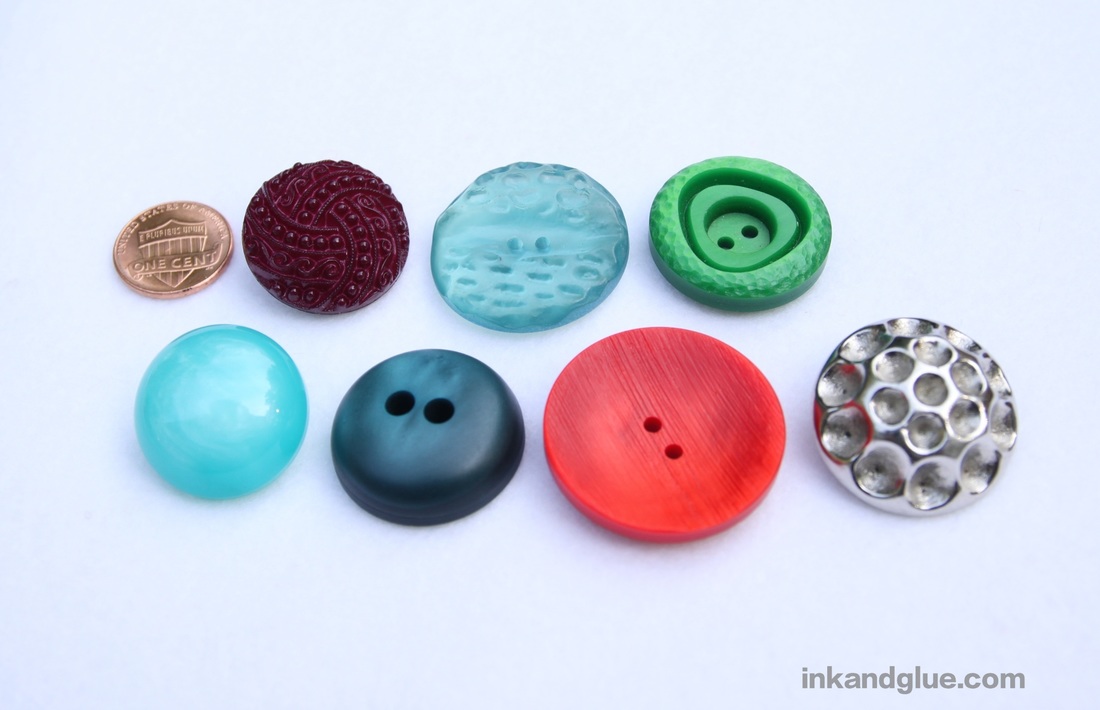 Here are some portraits of a few of my favorites. So delicious, don't you agree?
xo Handsome Franklin is showing off his newest look. (He's so hot right now!)  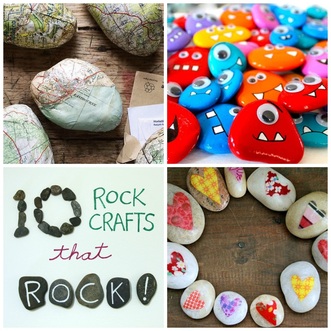 I love nature-based crafts because they give you a reason to take the kids outside, slow down, and focus on the world around them. Rocks are one of my favorite "materials." They come in near-infinite varieties, shapes, sizes, and colors, and of course, they're free. (Though, of course you can also buy them. If you want a collection of perfectly smooth, uniform rocks, larger craft stores sell them by the bag, usually in the floral section.) I searched the web for the best rock crafts, selecting them for do-ability, variety, and uniqueness of idea. No impossibly-detailed, tiny mandala paintings here, I promise, though those are gorgeous. As always, click on the link or the photo itself to get directions at the original sites.  I love the simplicity of childcareland's dominos. The brightly-painted rocks can be used in a matching game, but they also look beautiful grouped in a bowl. 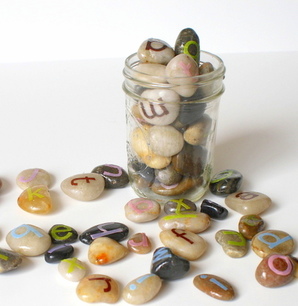 Another easy idea that's great for younger kids, from Buggy and Buddy: letter stones. These are made using letter stickers from a craft store, so they're fairly difficult to mess up. Yay! Use them to play spelling games with young readers, or to leave love notes for your sweetie. Or both! 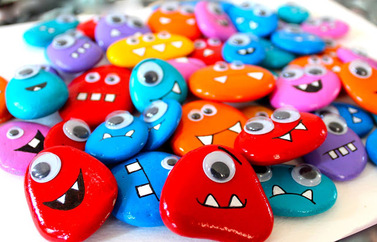 Coastalways brings us the next choice: Monster rocks! I love "monster" crafts because they can look however you like, so kids are free to design a creature as weird and wild as they like. 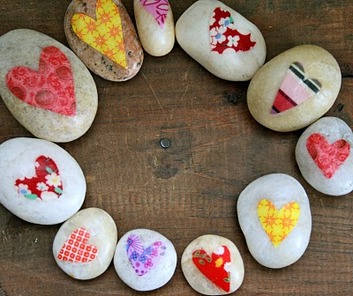 Yes, you can decoupage onto a rock! This photo of sweet stones is from Emily Neuburger. If you click though to her site, you'll see that the flip-side of each stone has a message of affection stamped onto it. Her hearts are made of both fabric or paper; either will work. 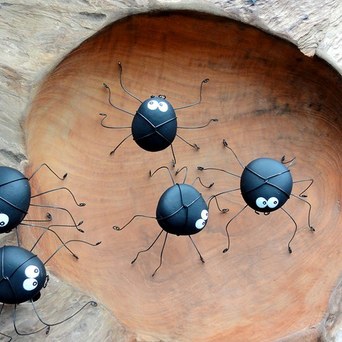 I love these spiders. They are, of course, excellent Halloween decorations, but I would keep them out year-round. I'm not afraid of being a little goth-y. The site that they're from is in Czech (!) and Google Translate tells me that these little guys are for sale, so there's no how-to. Treat this photo as inspiration! I will also post a how-to on a variation of this craft in the days/weeks to come. 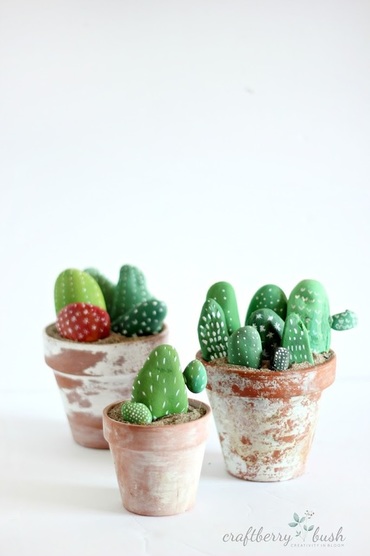 I actually ran this very craft in the magazine I worked for, but I'm repeating it here because I love it so much: Everlasting house plants! Supposedly, cacti are difficult to kill, but I've managed to do it. These painted stone versions, however, will never rot from over-watering! Plus they are charming as heck. Click on over to Craftberry Bush for directions. 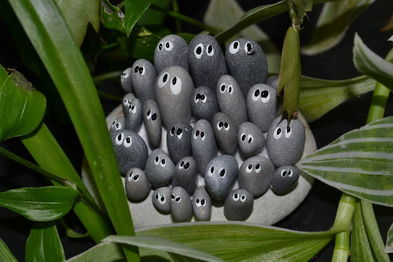 This little chorus of cutely-worried stones is simply called a "garden thing" on Instructables, and sure, good enough. I think the poster missed an opportunity by not calling it a rock group, though. I would change two things about this. One, make the eyes a little happier (by keeping them as round as possible). Two, use a more serious, permanent glue, such as E6000, especially if you'll be setting this in a plant pot where it might get wet. 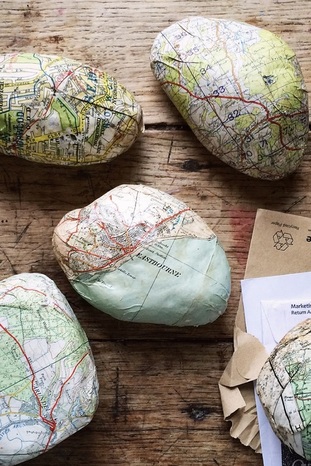 Here's a craft that's perfect for the person who can't seem to go anywhere without pocketing a stone or two for a souvenir: Cover one with a map of the place where you found it. Simple and lovely. 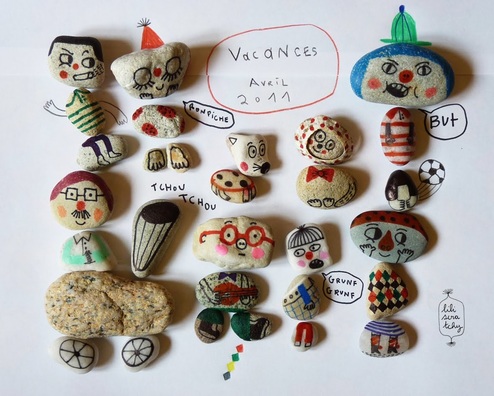 I've seen variations of this pieced-together-people idea, but this one is my favorite, because it reflects the style of the illustrator, lili scratchy. And, it's in French, which is still a cool thing, in my book. 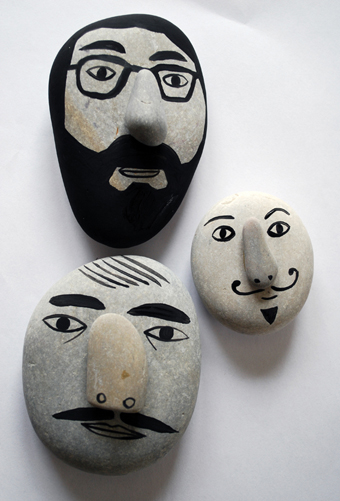 My tenth selection is by another illustrator, Ingela Arrhenius. I love how simple these faces are, and yet they are so specific! I feel I could pick the flesh-and-blood versions of these men out of a lineup. I like the idea of adding dimension with an extra stone for the nose. Are you a rock fan? Do you have any favorite stone-based crafts that I missed? Let me know in the comments!
xo Have you met Emily Blincoe? She's a photographer from Austin, Texas. She captures many different sorts of beautiful and thought-provoking images, but I'm currently in love with her Arrangements series. 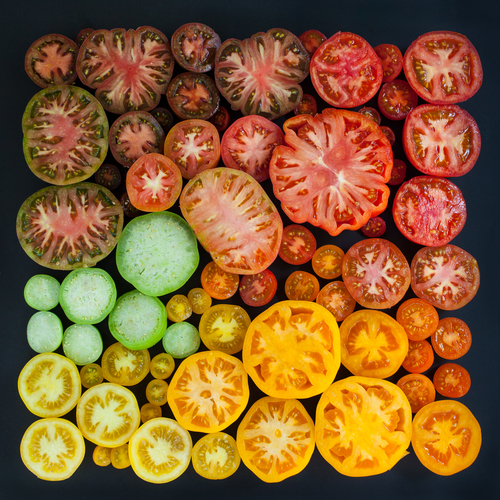 These images appeal to the sorter/arranger/documentarian in me. I know I wasn't the only kid in the world who poured out her bag of m&ms and sorted them by color on the kitchen table. 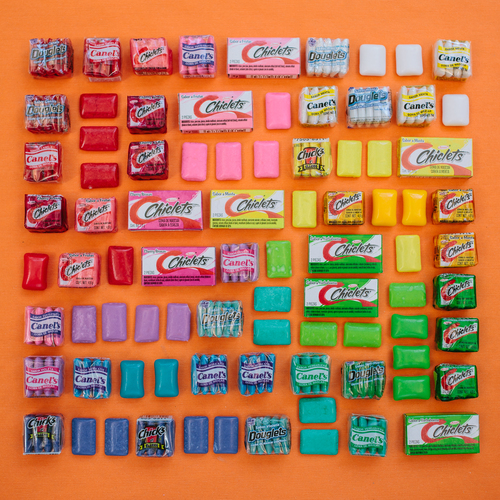 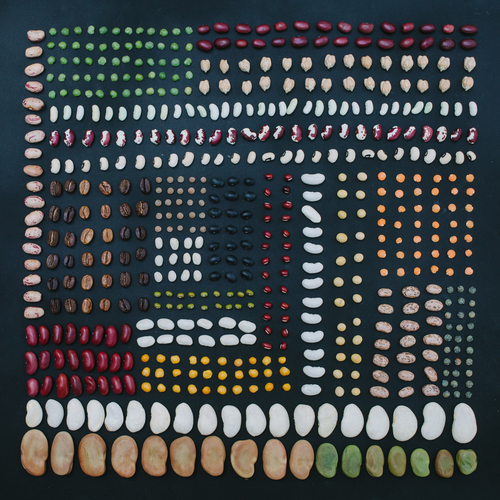 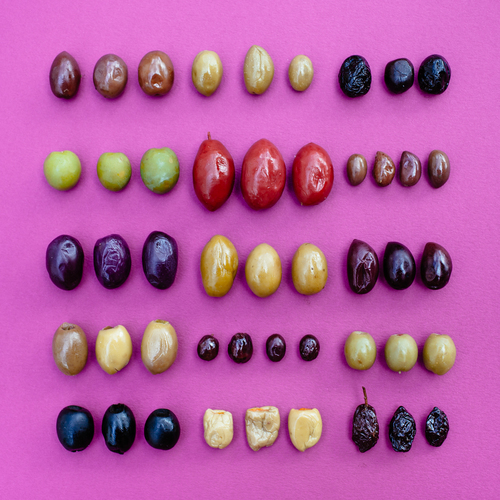 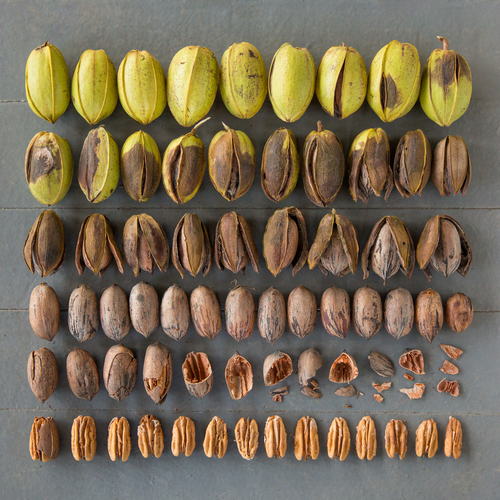 On Emily's site she has just a few portraits of people with their collections. I'd love to see more from this series. It's a great way to take a photo of a child with his current obsession (like my nephew and his rocks and minerals, or my niece with her dragon figurines). 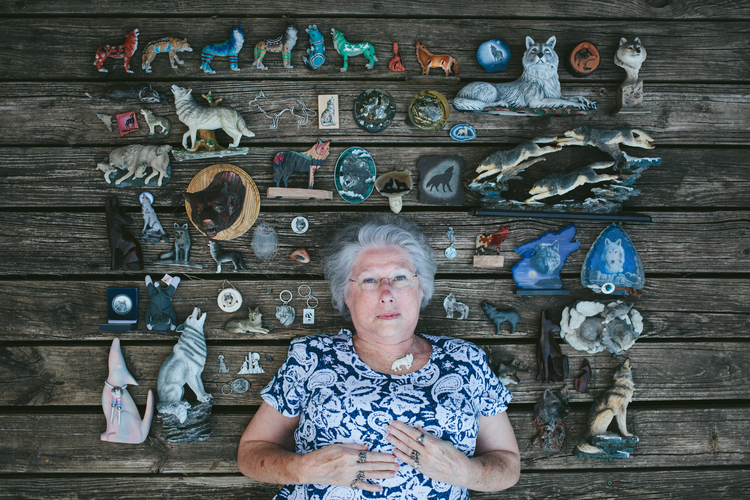 There's much more to see on her site, so please pay it a visit! xo
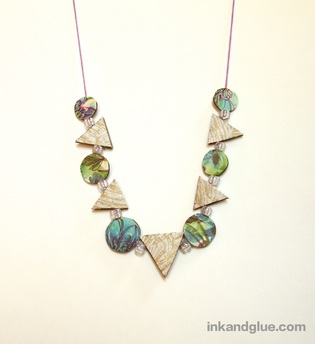
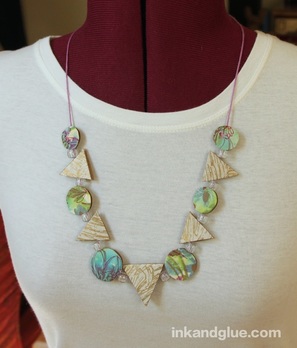
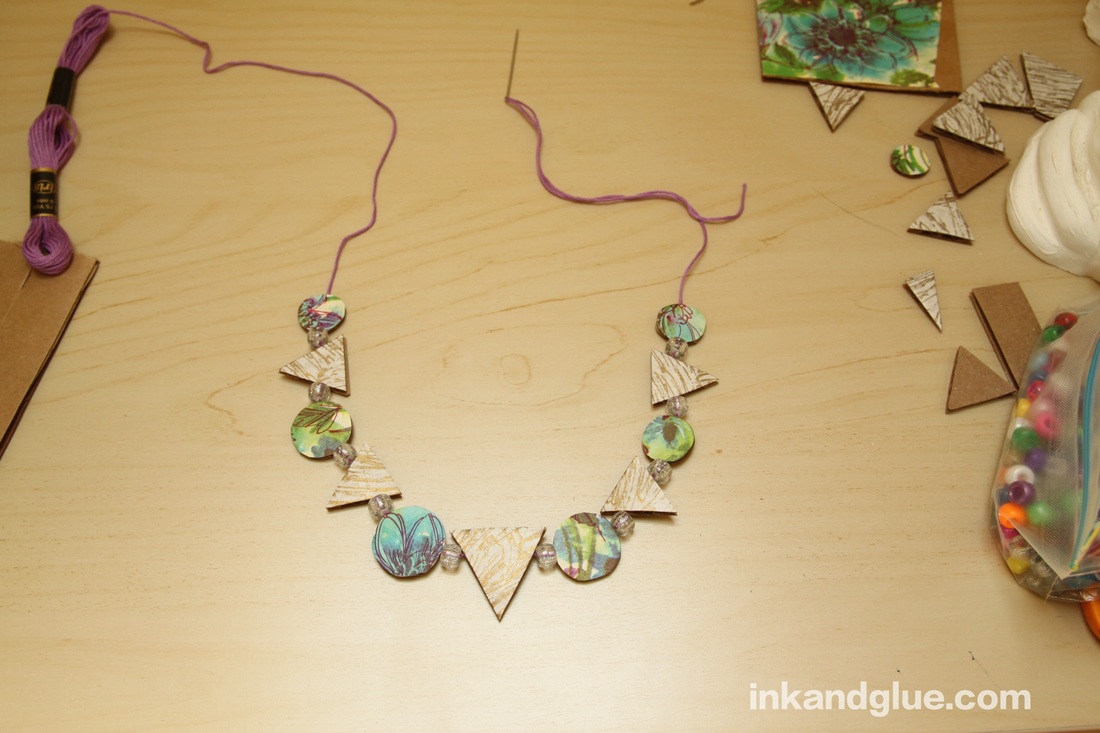 Corrugated cardboard is such a fun, stress-free craft material. It's free (ask for a box at a grocery or liquor store), it's sturdy, it takes paint/marker/pen well, you can cut it and glue it and stand it on its edge... I could go on and on. I've been thinking recently about ways to utilize the corrugations — the channels, or flutes, inside a sheet of cardboard — in crafts. Those channels happen to be plenty wide enough to fit an embroidery or yarn needle. With that discovery, and my love of "statement" jewelry, I had myself a plan. Start by brushing a thin layer of Mod Podge (you could also use white glue, though you should be extra careful to use only a thin, even coat) onto a piece of corrugated cardboard. Smooth a piece of decorative paper, such as a scrap of vintage wrapping paper, on top. 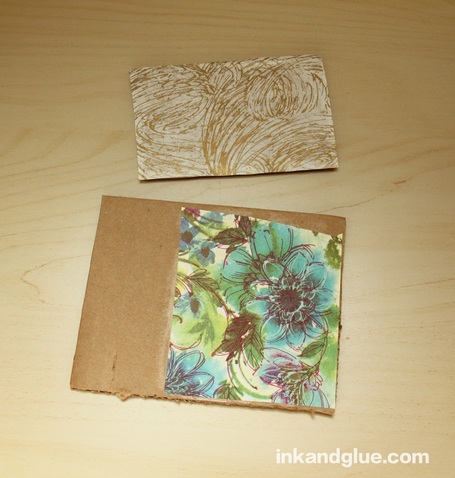 Let the Mod Podge dry completely. If you'll be doing this project with kids, make a few of these panels in advance of your crafting time so they won't have to wait. Then, cut the panels into "beads." I went with a geometric look with one of the panels, cutting a strip into triangles. 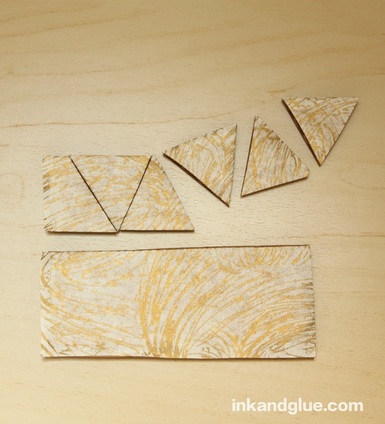 When cutting out the beads, pay attention to how and where the channels are running. If you make your bead too small, there won't be a complete channel for stringing it. Too large, and you won't be able to pull your needle through the other side. My beads ended up ranging in size from about a half-inch to one-and-a-half inches wide. 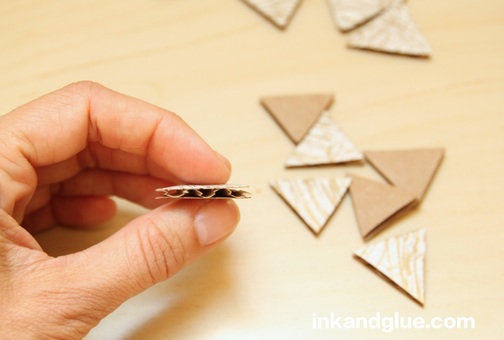 I could have stopped right here and used just a few of these beads for a minimalist look. (I used embroidery floss and an embroidery needle. A yarn needle would have a dull, more kid-friendly point.)  But, I had this other panel just waiting to be cut into beads! I chose free-form circles for this set. If you'd like a more exacting look, trace a bottle cap on the unpapered side and cut out the shape. 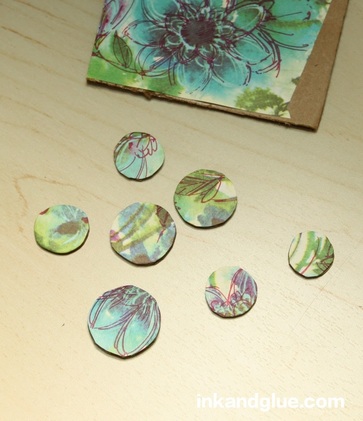 Then, I laid out the cardboard beads and arranged them to my liking. 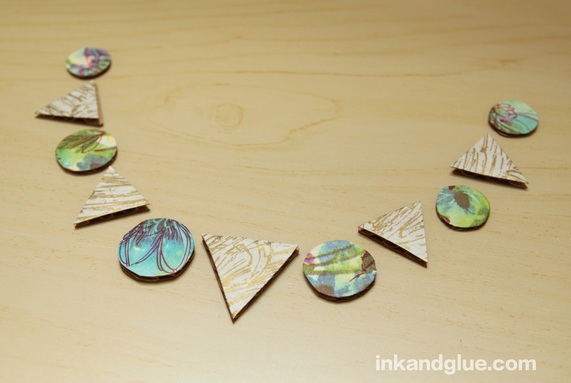 I happened to have some clear, silver-sparkly pony beads, so I used them as spacers between the cardboard ones when I finally strung it all together. I recommend using at least a few "real" beads in order to give the necklace a bit of weight so it won't go flying around while you wear it. If you'd rather go with an all-paper look, add weight by gluing a penny or a dime to the back of your center bead. 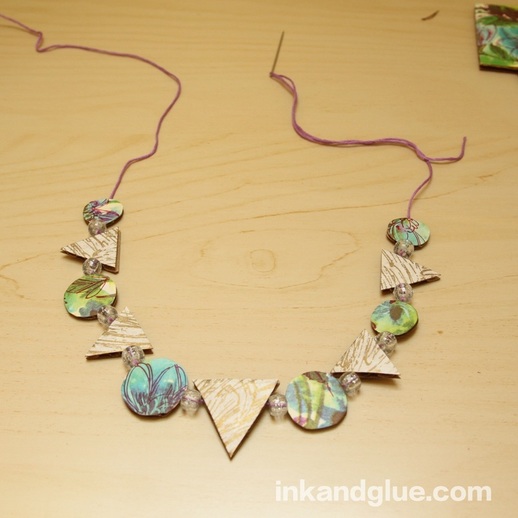
This craft is easy for a wide range of ages and abilities to do, and the finished product can make a great gift!
Hi, I’m Debbie, and I hoard old wrapping paper (Hi, Debbie). 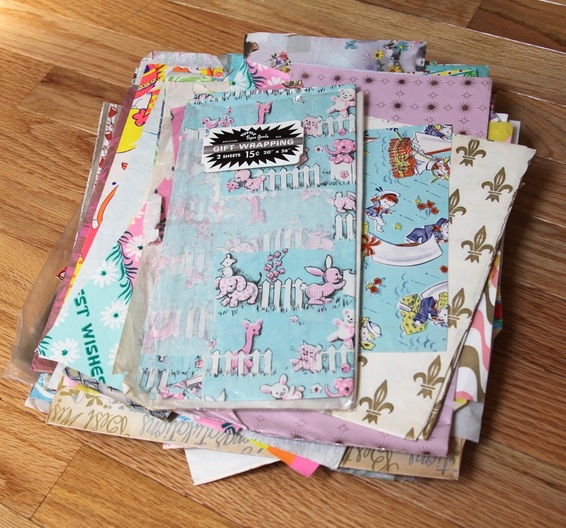 I had the fortune of nabbing two boxes of nearly-moldering paper — one from a neighbor, and one from a company which was dumping old stock — within the span of a year or two. Sure, it’s brittle, and the folded edges a little faded, and is now terrible for actually wrapping gifts (though lord knows, I’ve done it anyway). But who can resist these florals! 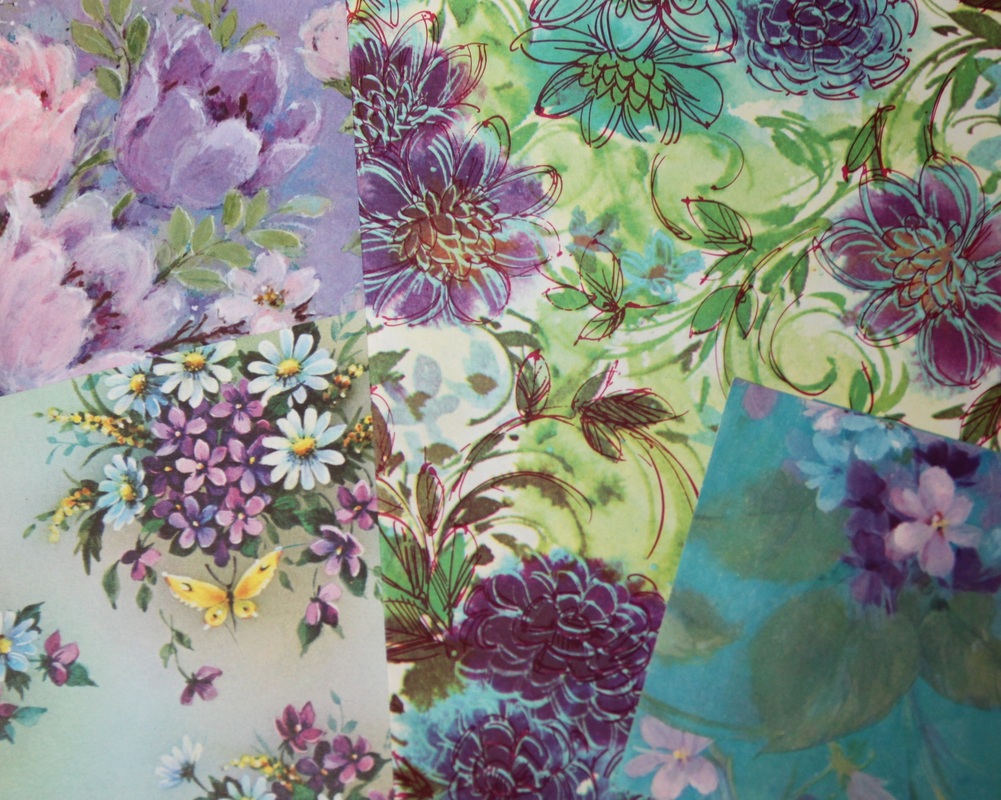 Oh my gosh, so many florals. Girls in the 60's must have done nothing but give gifts to each other!  And these birthday wishes! It's a treasure trove of retro fonts. 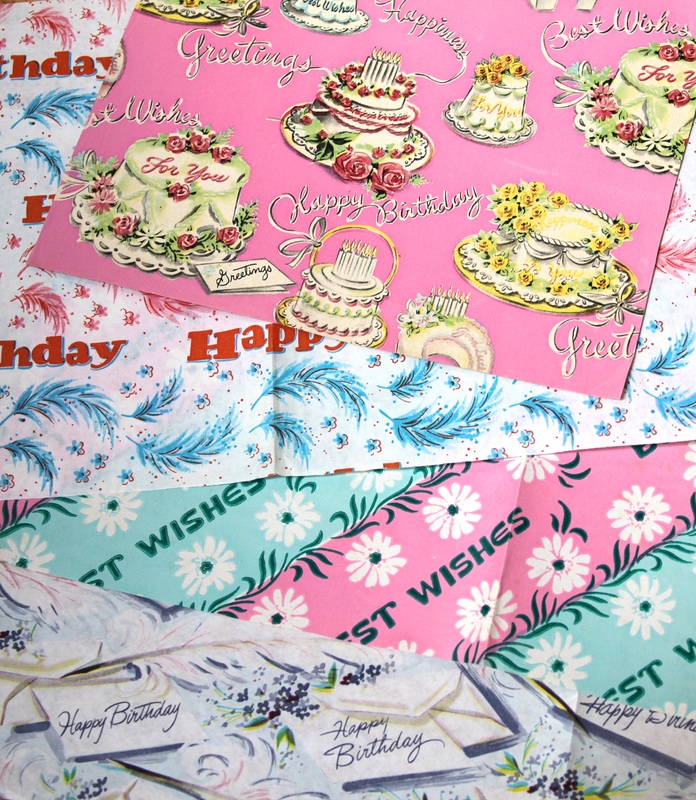 Someone saved these kittens from the dustbin, and then I re-saved them. You're welcome, kittens! 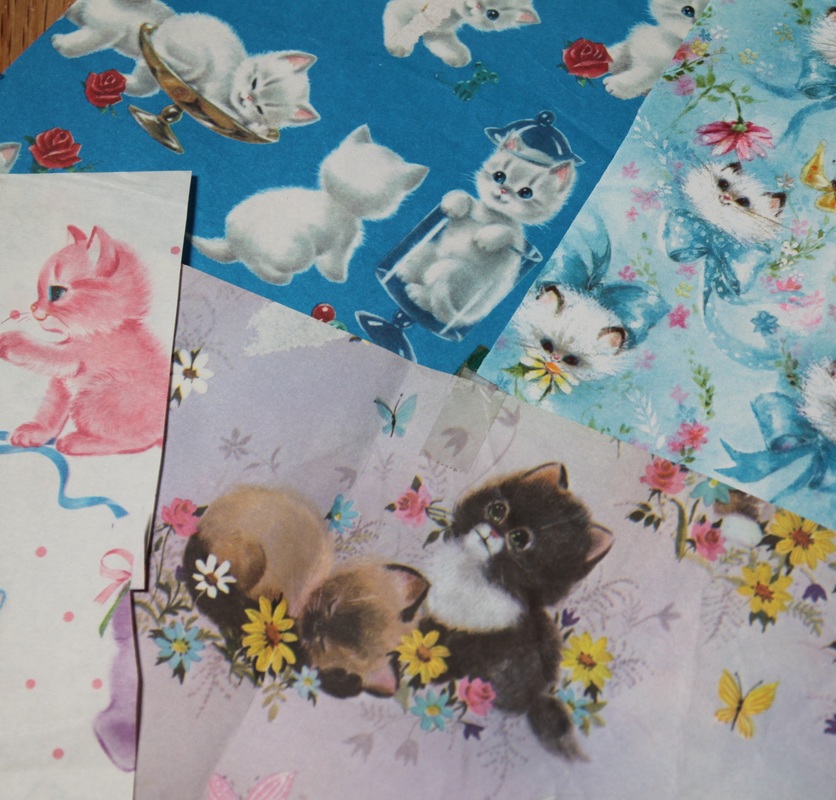 Despite all of that loveliness, my favorite papers are the patterns. There are eye-popping colors:  And slightly more sedate ones, mixed with metallics: 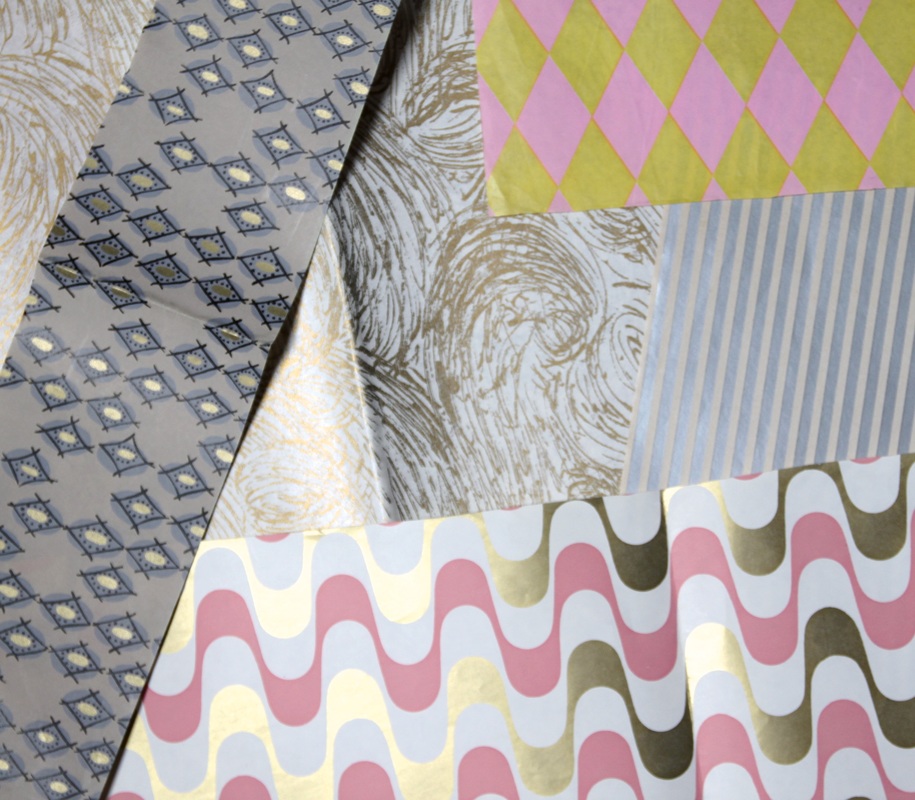 At this point, I've had these papers for several years, and these remaining papers are retired from gift-wrapping duty. I still use them as details in collages and decoupage. I'll also wrap a gift in plain brown paper, then affix a square of vintage paper on top, like a picture in a frame. That way, they get the attention they deserve.
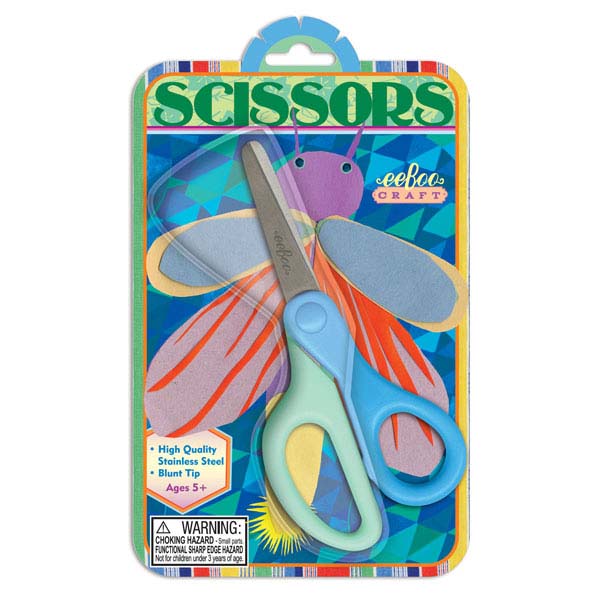
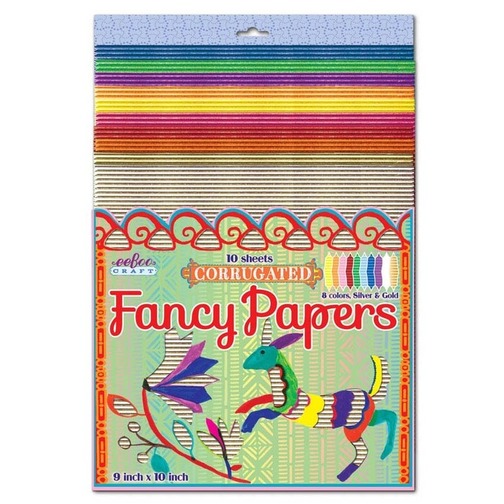
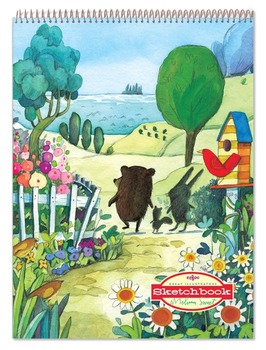
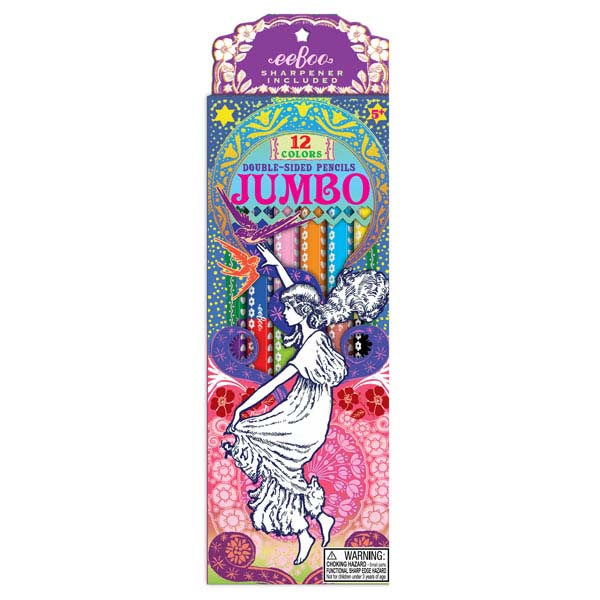
Am I a weirdo, or do you like vintage wrapping paper too? Or both? Both is the probably the best answer. We spent the week on Cape Cod with family and friends and very little internet service. Franklin very much enjoyed running around chasing seagulls at low tide. Now I'm home, recovering from a diet of nothing but shellfish and ice cream. (I regret nothing.) xo 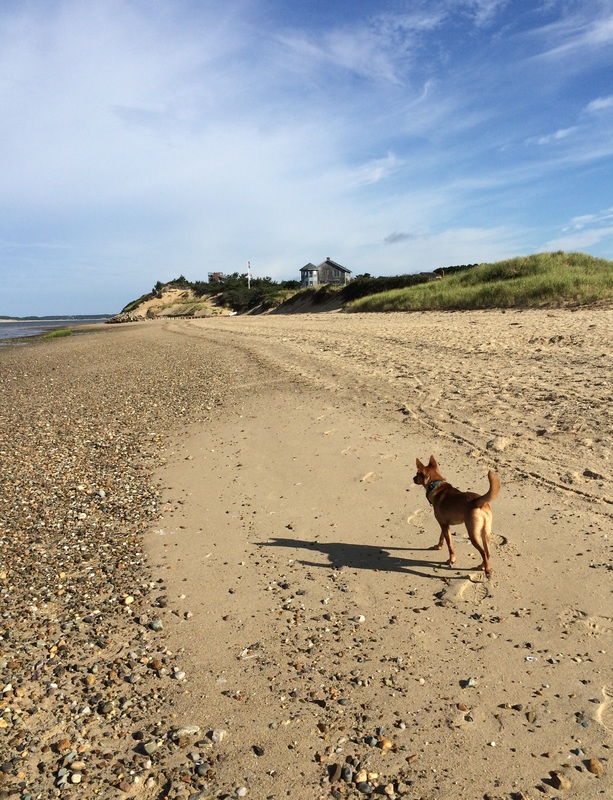 When I was an editor at FamilyFun magazine, I put together a few "product roundups" for the crafts department. Mostly, this entailed looking up companies I already knew about — Crayola, Faber-Castell, Plaid, Martha Stewart, etc. But I also looked at art stores and more boutique-like crafts stores, to find smaller companies to promote. (I am a staunch egalitarian. Size doesn't matter, the quality of the thing you produce does.) That's when I came across eeBoo. 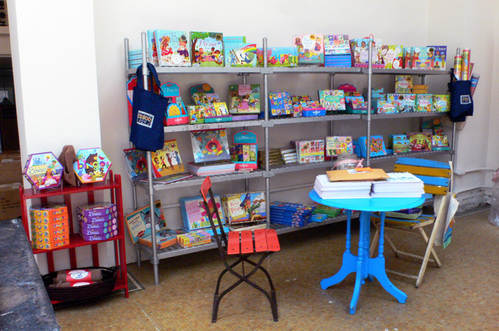 That photo is from the showroom in their office, which is breathtaking, and filled with the sort of stuff my house is filled with, or should be. (Let me say right now that eeBoo has no idea I'm writing this. I am merely a fan, and not posting this for compensation.) Anyway. Besides games and toys, eeBoo makes the most delicious, high-quality craft supplies. Every package is illustrated so beautifully, it elevates what's inside, and makes you somehow appreciate it more. This also means their products make really nice gifts for kids.
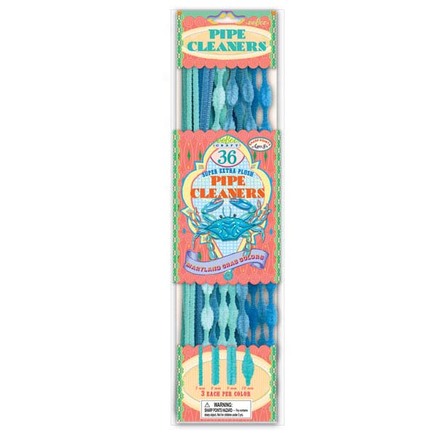
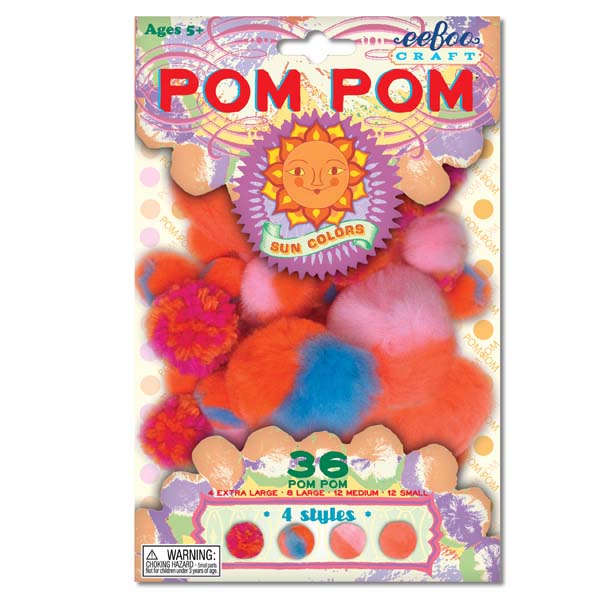
I love their retro design sense, the quality of their products, and their sense of color. eeBoo often sells materials grouped by color family, but instead of calling a collection of pipe cleaners "light blues" or something, they call it "Maryland crab." And instead of "oranges," a pom-pom set is named "sun colors," and includes pops of blue, pink, and magenta.
Their other products are just as gorgeous and well-designed. I think I might have a crush on this company. Go check them out!
|
Categories
All
Archives
March 2017
AuthorI'm Debbie Way, an artist and writer who enjoys making things. |


 RSS Feed