|
Halloween is in just over a month, and crafty people who are on the ball are already planning their costumes. Those who are not on the ball sometimes end up throwing together something at the last minute. I'm not saying you should turn to 1967's Action Masks for Party Fun for eleventh-hour assistance, but I'm not not saying it. 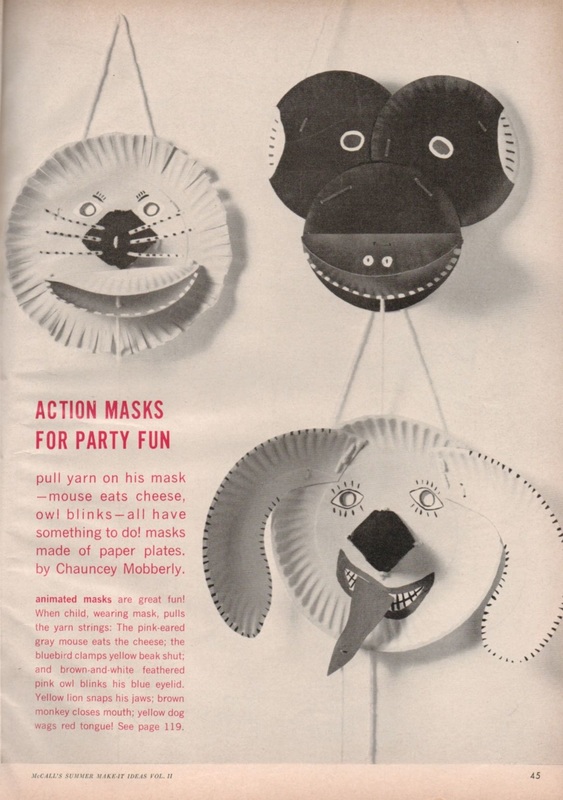  Sure, the styling of these masks is crude, but yours needn't be. Use sturdy cardboard plates, cover them with felt and fabric, and you're already well on your way to making an Action Mask to be proud of. Just give yourself a few days to work on it, instead of, say, starting 90 minutes before party time. Want instructions? Sure: 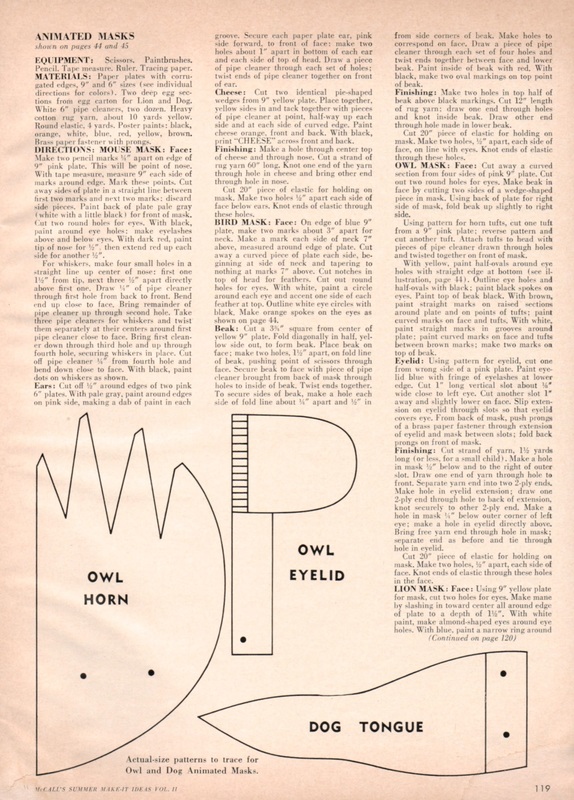 xo!
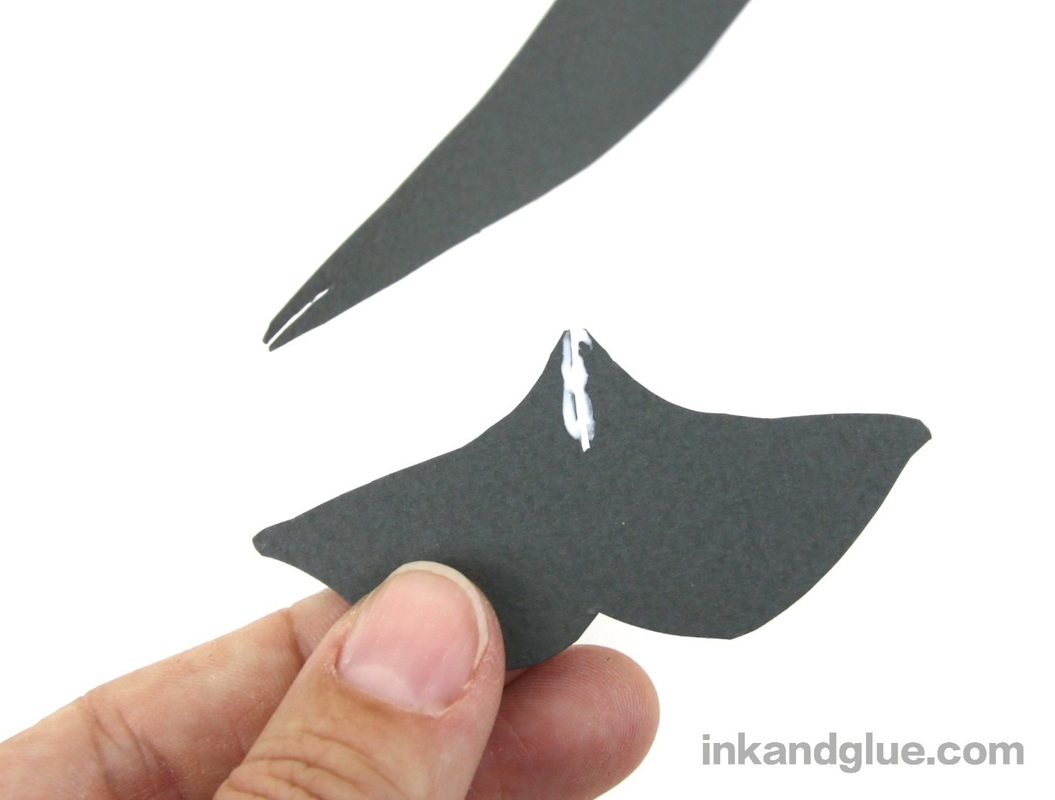
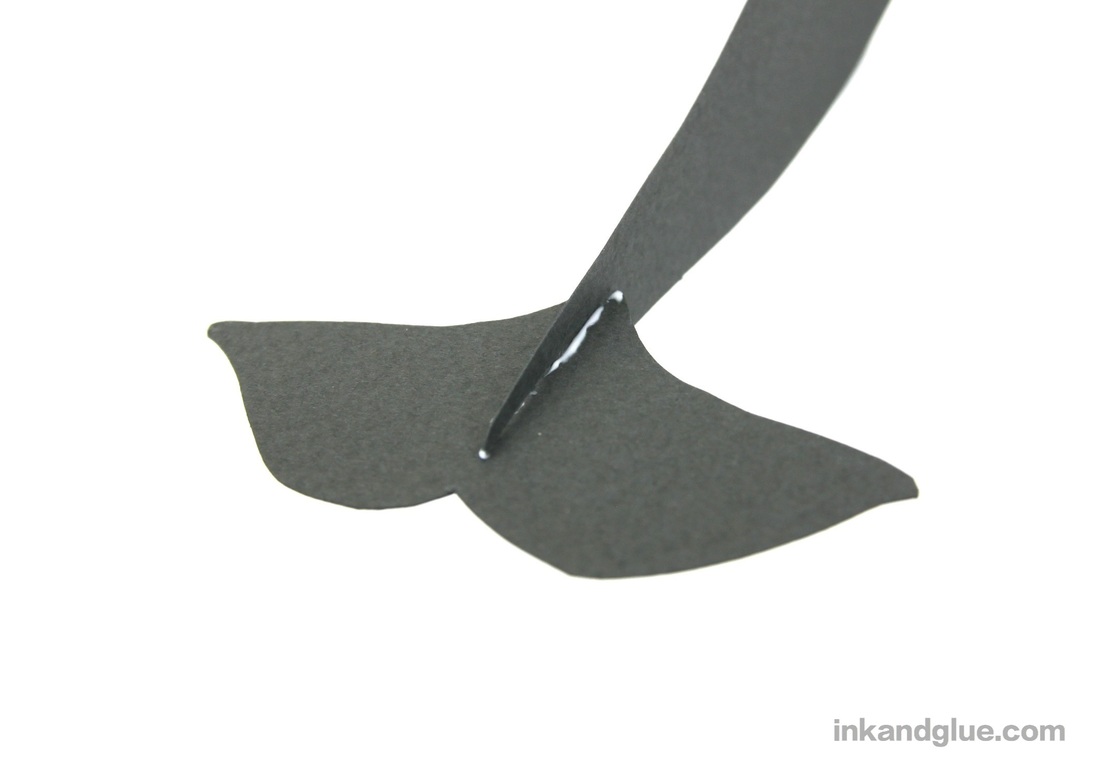
To make a whale like mine, cut out four pieces from card stock: The body, in profile; two flippers, with an extra 1/8 inch of length at each flipper's base; and a tail. (How did I come up with those shapes? First, I sketched a whale from the side and the top. I cut the body from the side drawing, and one flipper and the tail from the top-down drawing. Then I used those pieces as tracing templates to transfer the shapes onto a sheet of card stock. Trace them lightly with a pencil so you can erase the lines afterwards.)  Add any details you'd like to your whale. I used white paint marker and pencil. 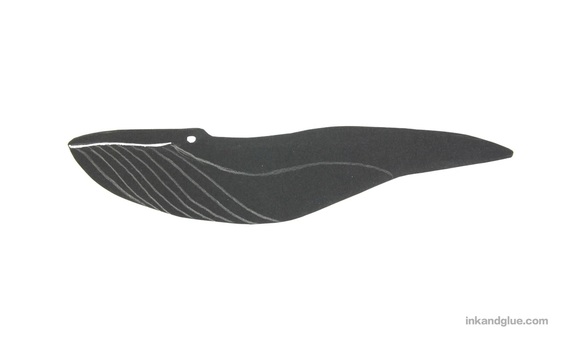 Use a craft knife to cut the thinnest possible sliver out of the end of the body and the base of the tail. (You can simply cut a slit instead of a sliver, but the tail piece will want to flip flat against the body.) 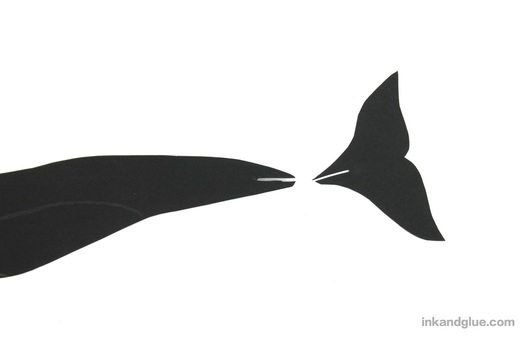 Smear a little bit of glue on the slit in the tail (shown here on my narwhal), then insert the tail into the body. Let the glue dry.
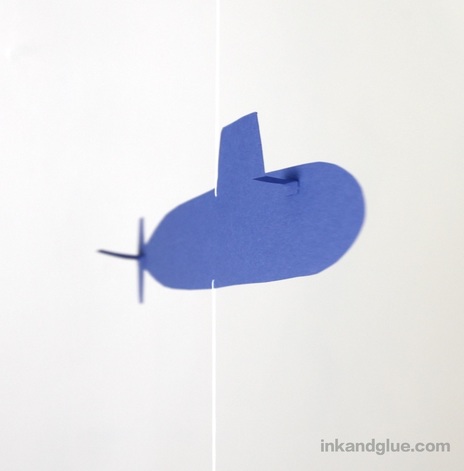
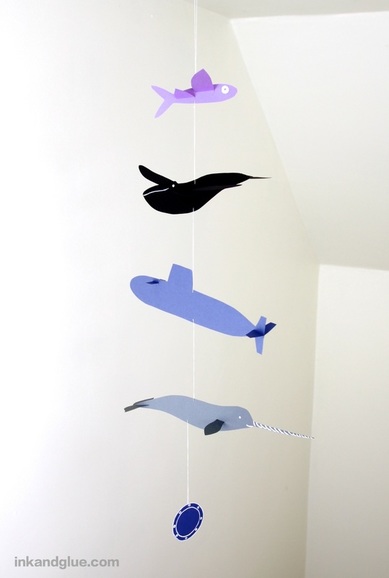
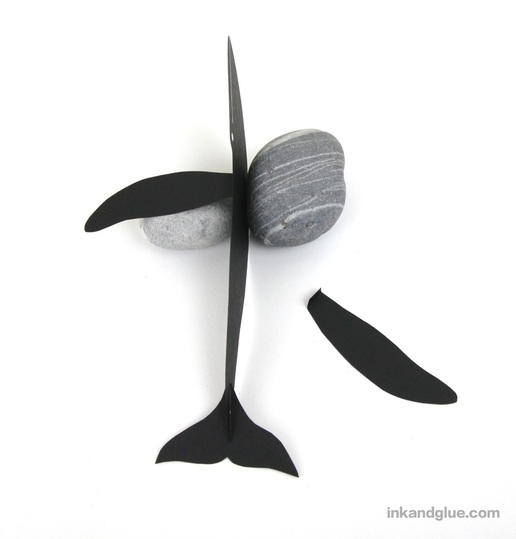
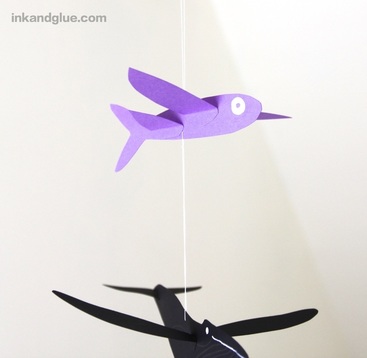
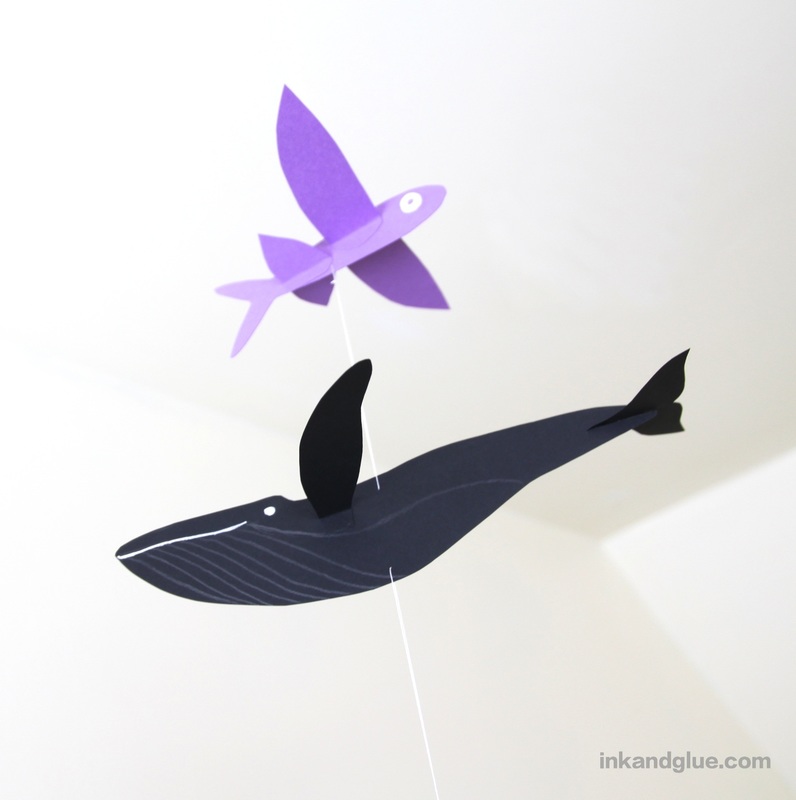
You now have a whale! Here she is in flight. 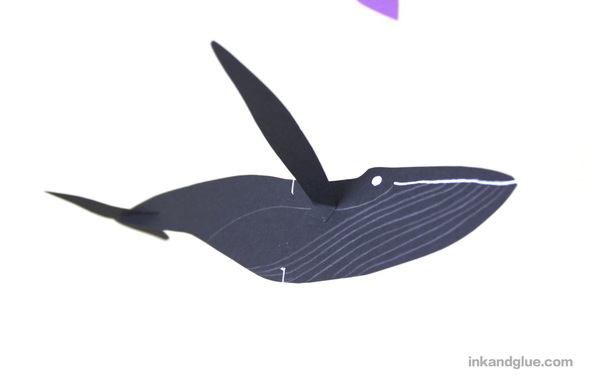 Make a few more friends for your whale to fly with, then use a needle and thread to connect them with thread loops. To get the balance of your mobile right, tie a length of thread to a paper clip or a brass paper brad, then slide it onto the back of the creature. Hold it up by the thread, and move the clip or brad back or forwards until the creature is flying straight-ish. Thread a needle with 6-8 inches of thread and pierce the spot where the brad/clip was. If you're on the top animal, tie the thread ends in a knot. If you're in the middle or the last piece, insert the needle into the belly of the creature above, in a spot that's directly below that creature's hanging spot. I started my stack with the smallest creature I made, a flying fish. Then I added the whale, and below that, a submarine.
 Next up was a narwhal. (Did you know the horn is actually a tusk? It basically comes out of the whale's mouth, not its forehead. Weird!) For the bottom piece of the mobile, I went with a simple circular porthole. 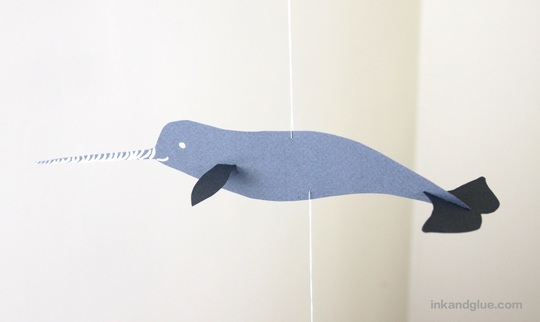 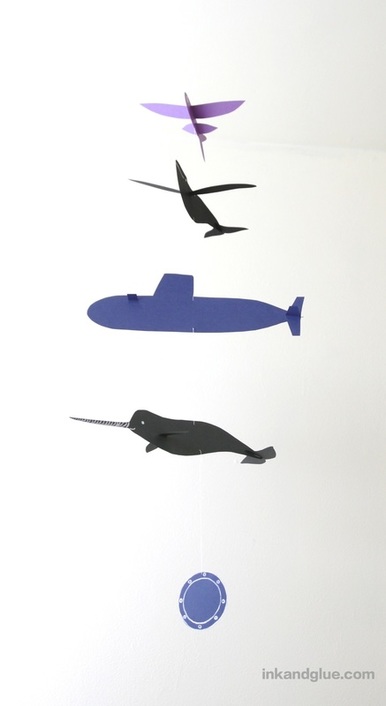 Happy oceanic explorations!
xo Franklin likes to keep tabs on the large population of chipmunks that inhabit our yard. This is one of his favored positions, as it allows him to rest his body on the chair back. Less tiring that way. 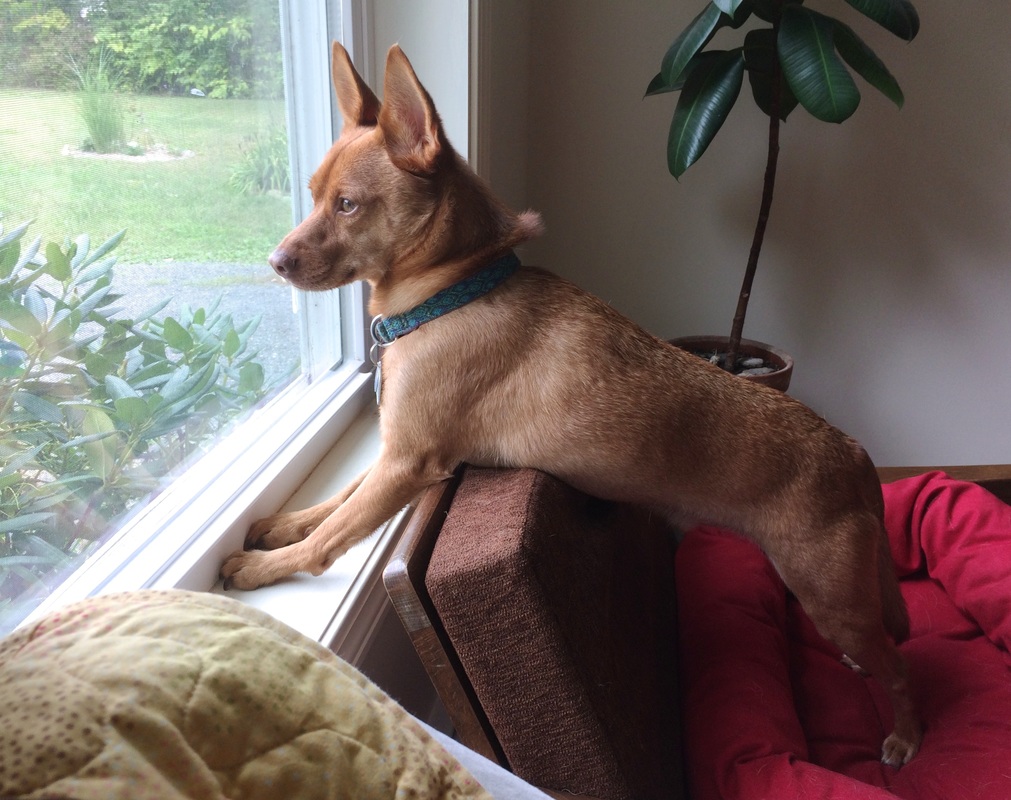 (Do I have a chair that's specifically set aside for my dog to use? Yes. Yes I do.)
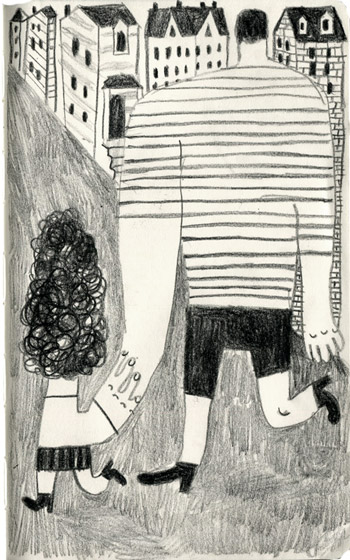
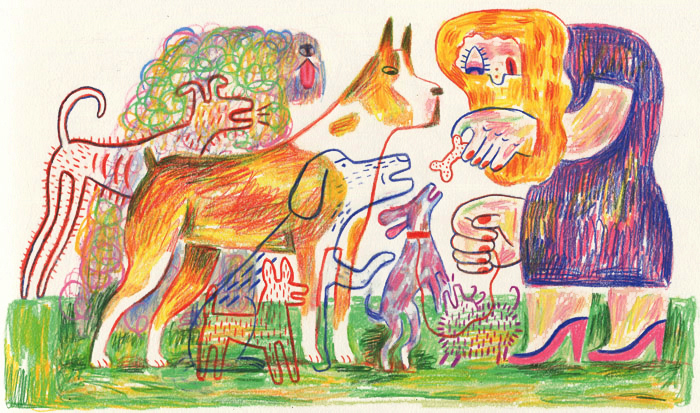
xo! Ran out of time to post a full project, so here's a photo-only look at what I was playing around with last night. Xo!  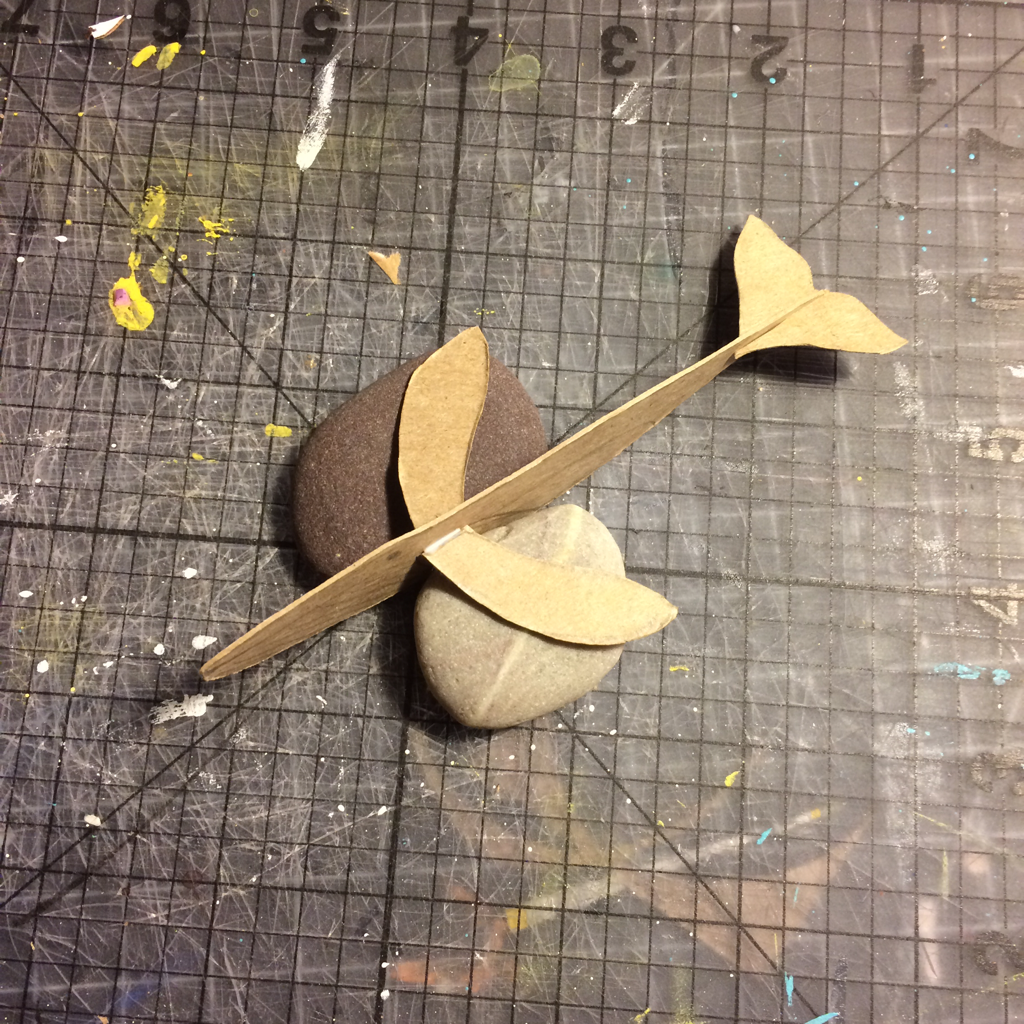  Have you met JooHee Yoon? She's an artist and illustrator whose work you may have seen in the New York Times, The New Yorker, Lucky Peach, and many other places. She's also published a few books, including this favorite of mine: 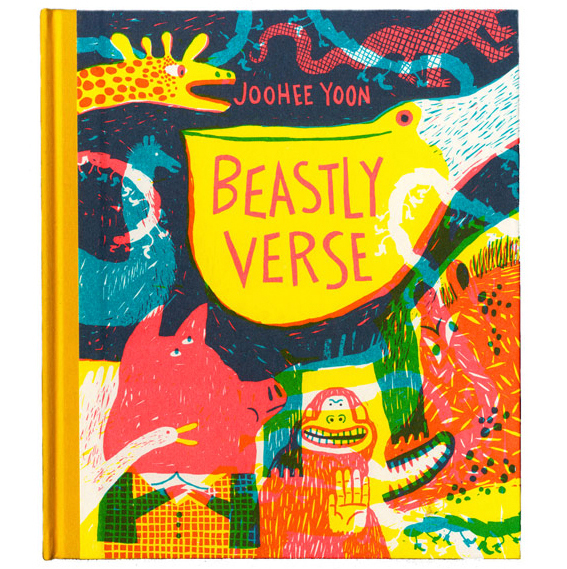 She illustrated 16 poems using just 3 colors. All of those secondary colors are created by overlapping the original 3. 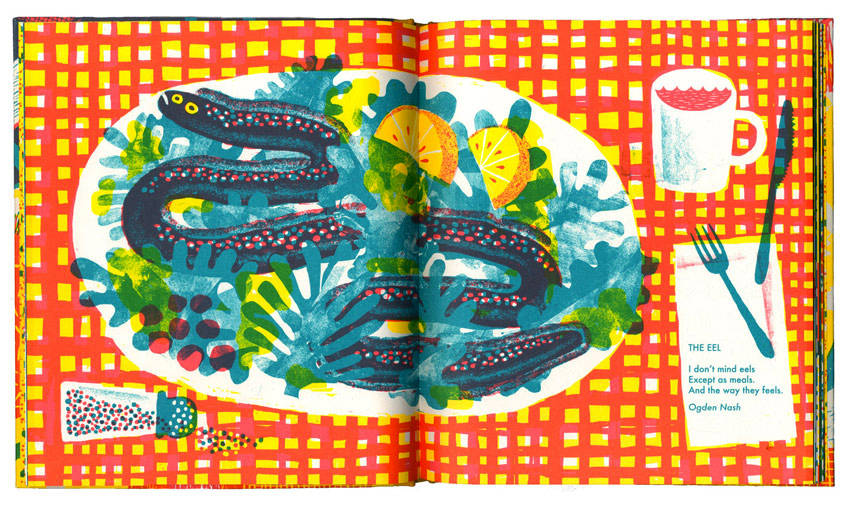 That woodblock/linoleum print look she's getting? It's from actually carving and printing wood and linoleum blocks.
 She's also a master at drawing.
Besides being a professional illustrator, JooHee teaches at RISD. If anyone wants to sponsor me to go take classes from her, that would be swell. For now, I will take inspiration from her modern use of traditional printmaking techniques and other analog materials and tools.
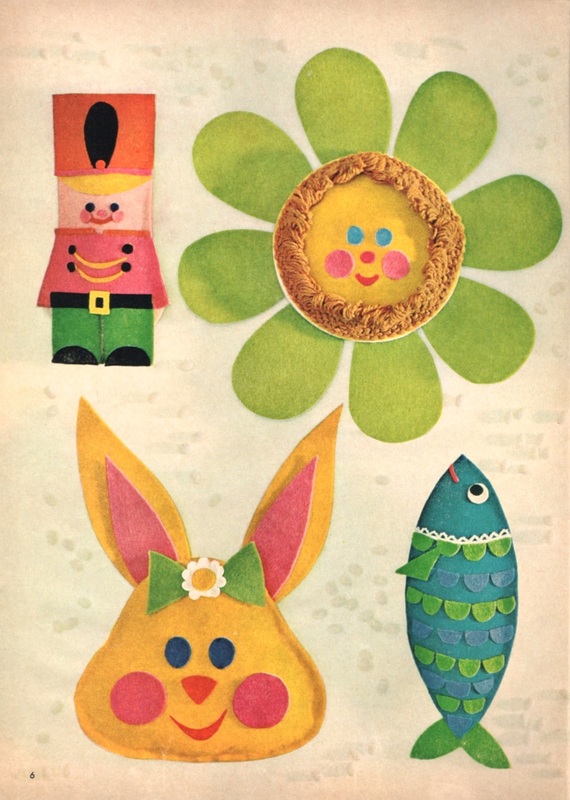
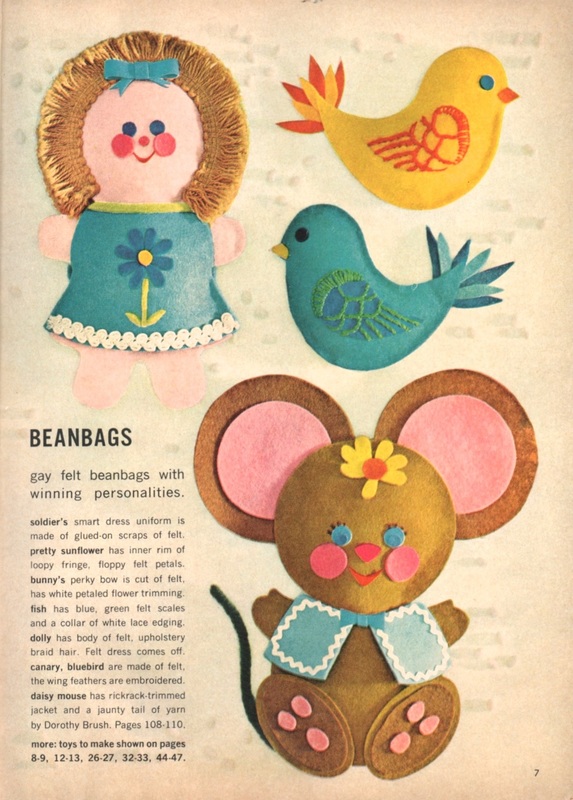
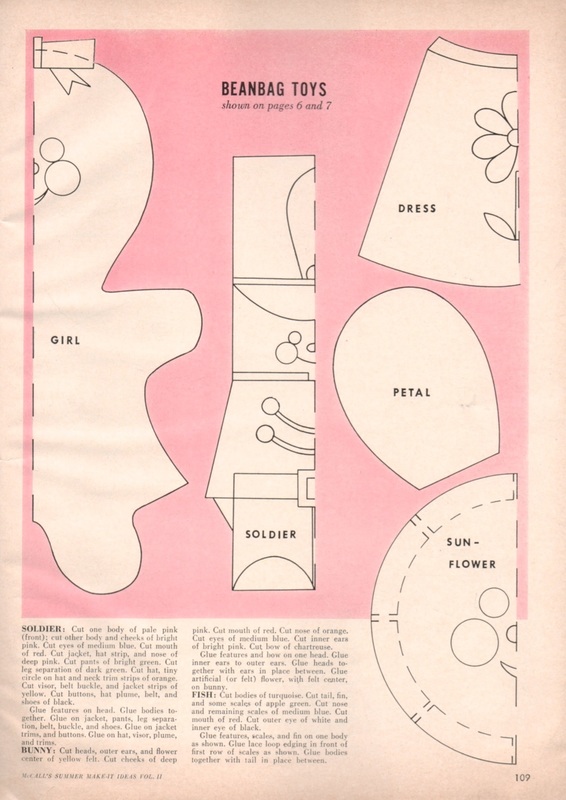
xo! These charming, colorful felt creatures are visiting us from 1967 — almost 50 years ago. Nutty!
As you can see, they're made without sewing. Use a fabric glue if you have it, and be sure to clamp the pieces together with clothespins as the glue dries. But for a more trustworthy seam, I think it's totally worth doing a simple running stitch instead. Need templates and directions? I got you.
xo!
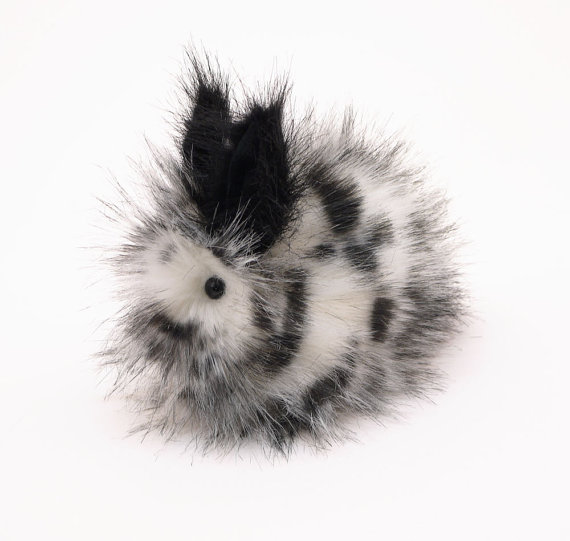
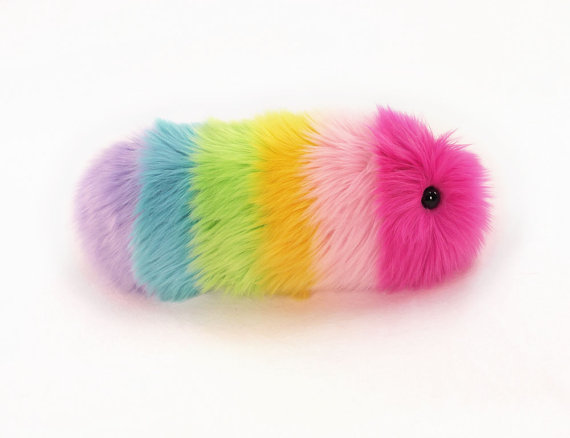
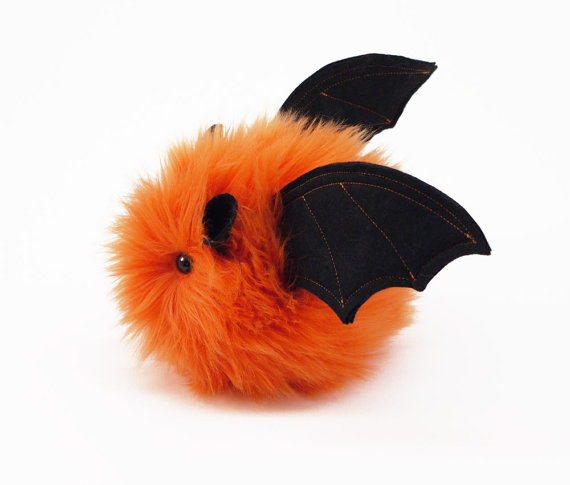
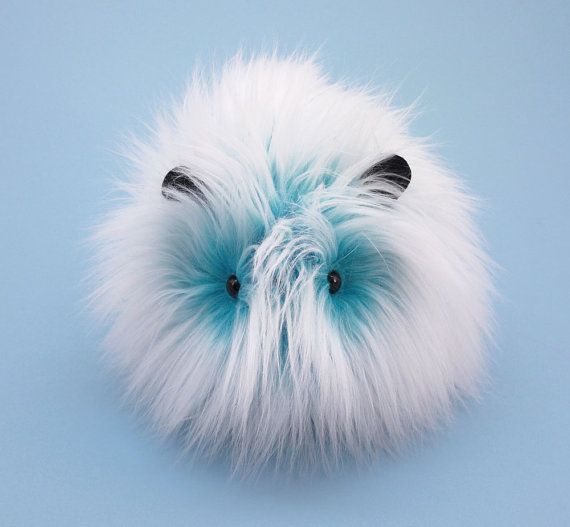
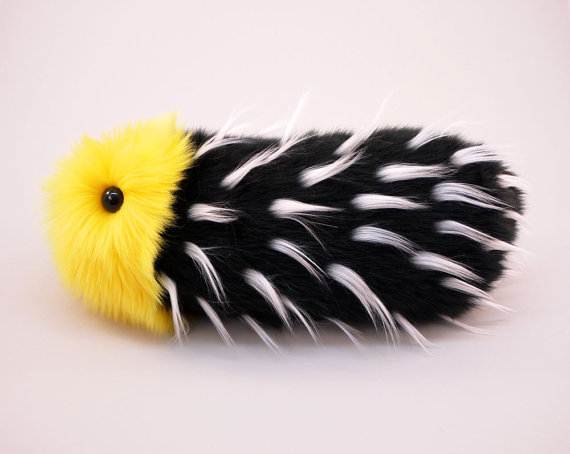
My goodness, these stuffed animals by Fuzziggles are fluffy.
So. Fluffy. (Psst: click on an image to go to its etsy page.)
The Fuzziggle family is not afraid to use a novelty fur, I can tell you. And thank goodness for that.
These stuffed animals are hand made by a family in Salem, Oregon. Just look at how cute they are! Surely someone in your life needs an absurdly-fluffy guinea pig plush? Go to Fuzziggle's etsy store to find even more animals and fun styles to choose from!
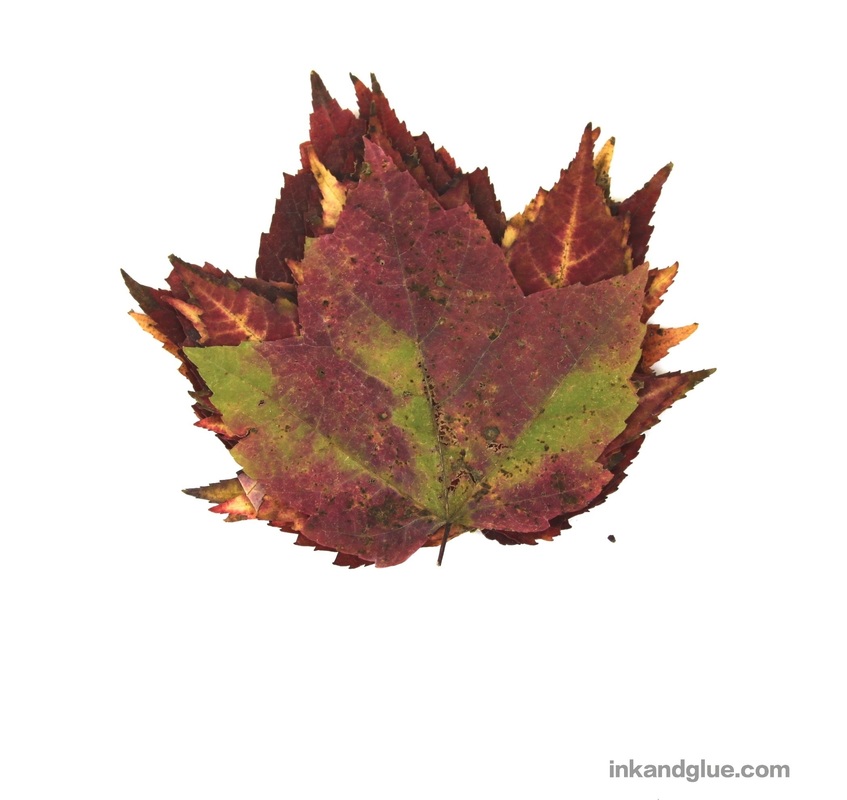
xo Surely there's a better word than "leaf ball" to describe this fall nature craft, but I can't think of a clearer one. Decorative orb? Autumn star? Whatever it is, it's a pretty way to use pressed autumn leaves. Up where I live, a few trees have started to turn color. Now's the time to collect and press a dozen or two, so you'll be ready to make these globes in a couple of weeks—when you've brought out your sweaters from storage, and have returned to drinking tea in the afternoons, and fall is undeniably here to stay. Let's try to welcome it. 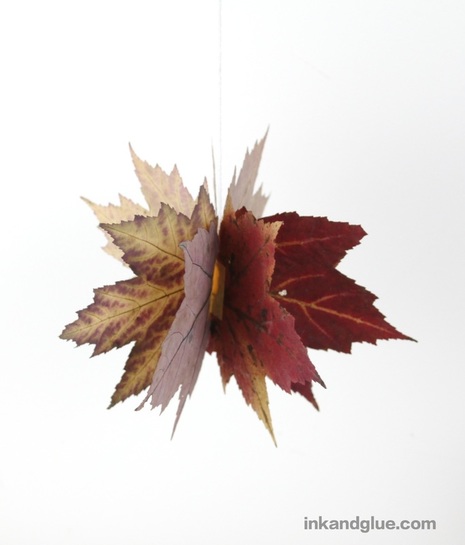 These guys are easy to make, but require 7 to 10 leaves of all one type, and of roughly the same size. If you use different sizes, you'll have a lopsided ball — not that big of a deal, but not the effect I'm going for. Your mileage, as they say, may vary. Start by cutting the stems from your leaves. 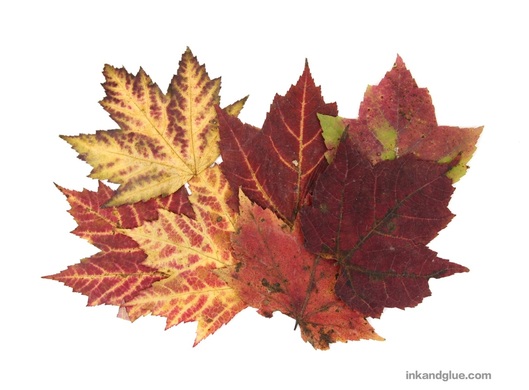 Stack the leaves so they're all aligned, then cut a straight line across the base of the stack.
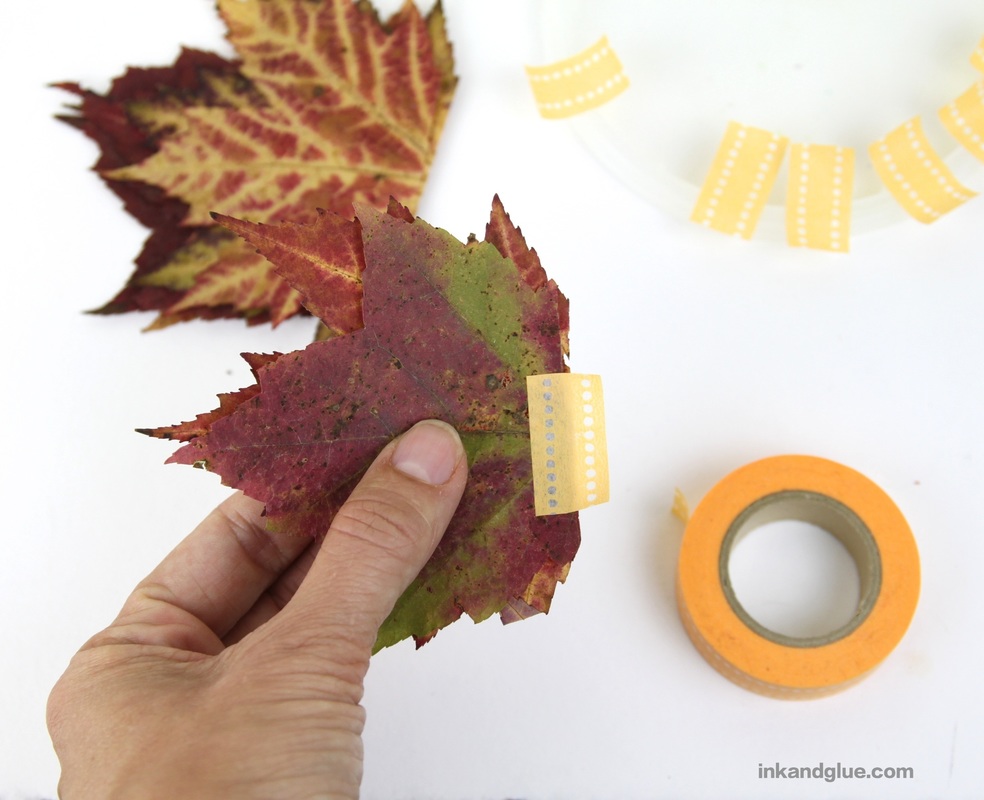
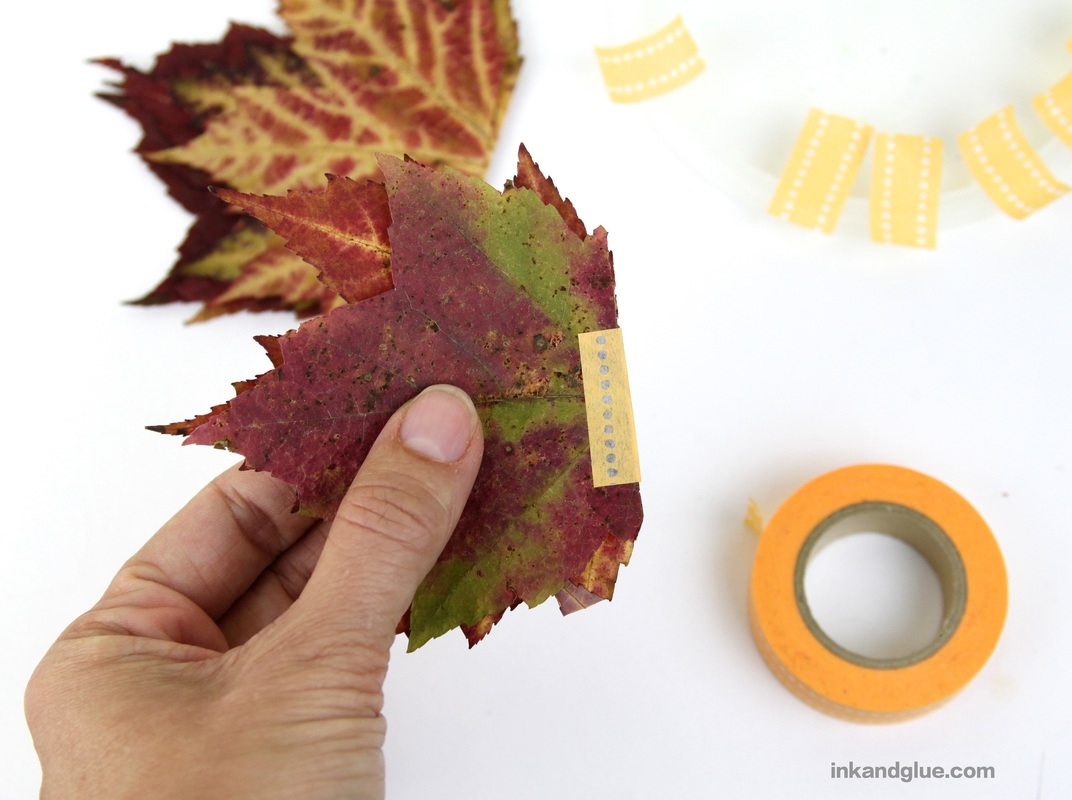
Cut a bunch of one-inch (or so) sections of washi tape and place them somewhere handy. I stuck mine lightly to the edge of a plastic lid. You'll need about 1.5 times as many pieces of tape as you have leaves. (So, if you have 8 leaves, cut 12 pieces. 13, to allow for mishaps.) 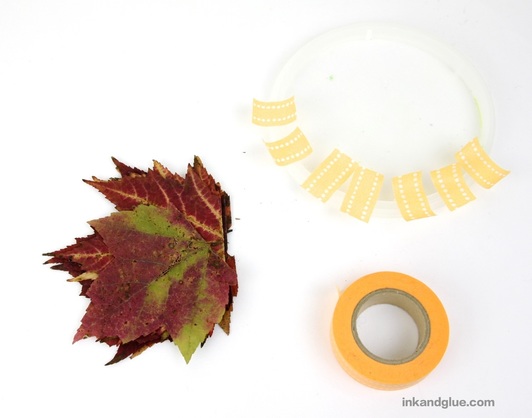 Pick up two leaves and align them along the cut edges. Stick half of the long side of the tape to the top leaf, and then fold it around to adhere to the bottom leaf. You've now connected two leaves with a tape hinge.
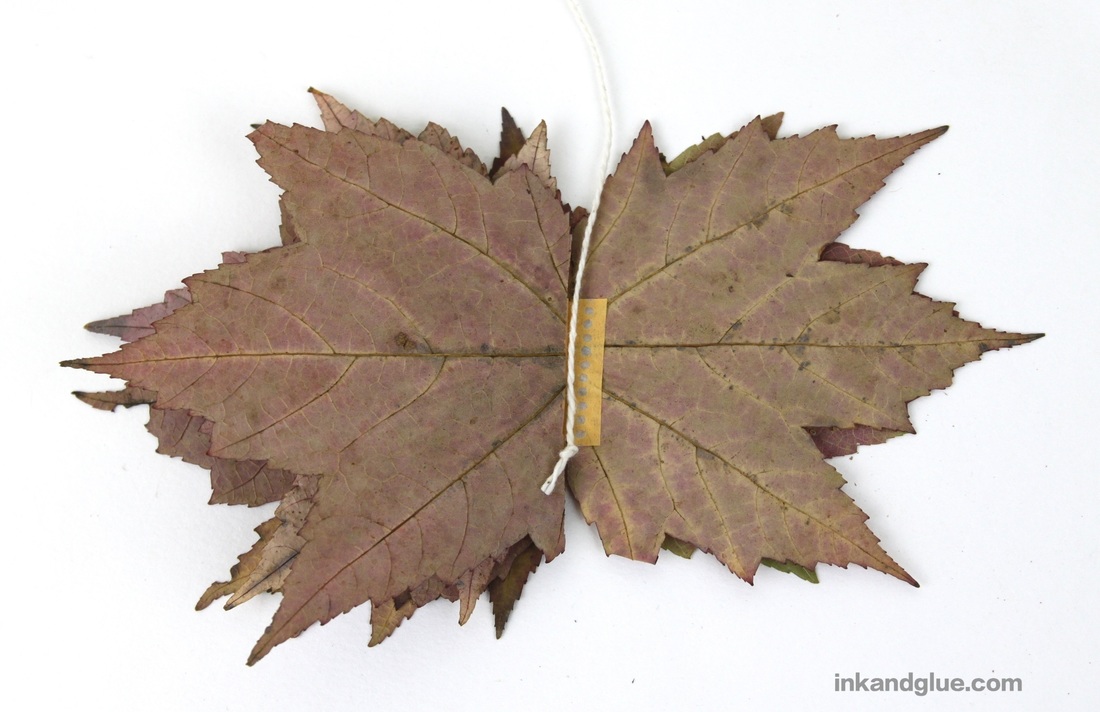
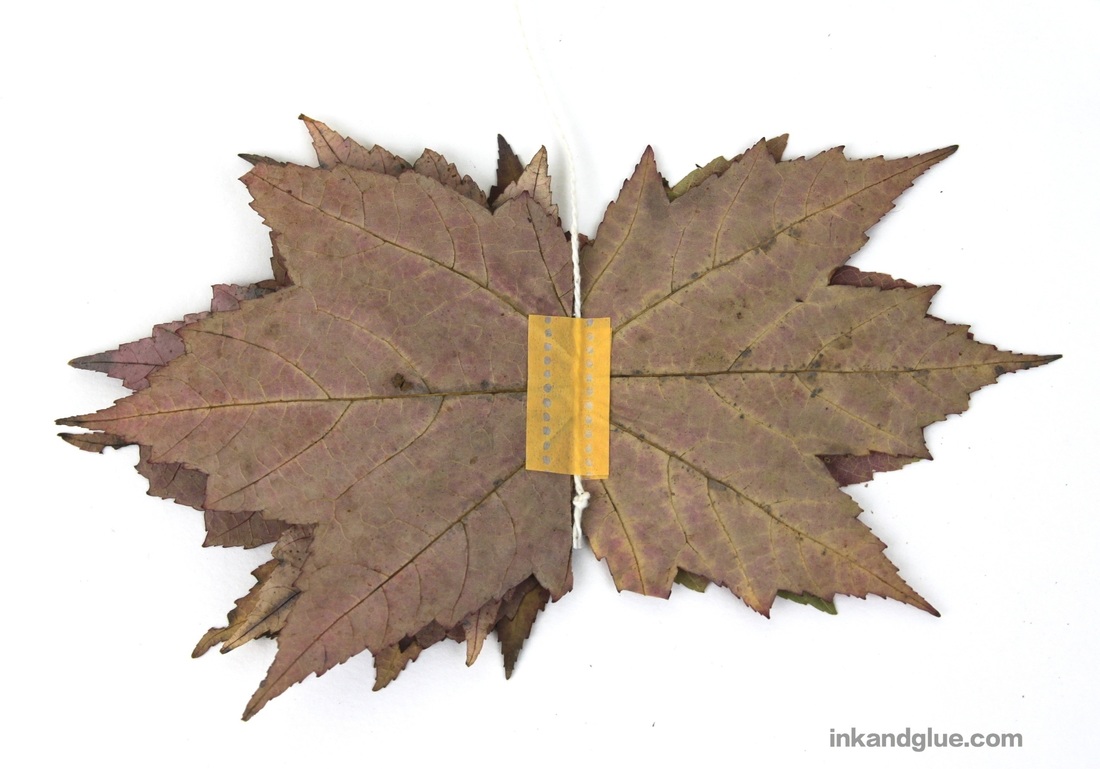
Do this with all of the leaves. If you have an odd number of leaves, just add a third to the top or bottom of a taped pair. Then, align two taped pairs along their straight edges, and join them with a length of tape. 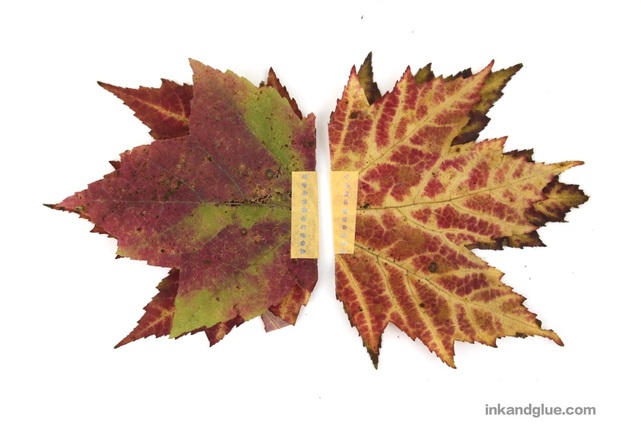 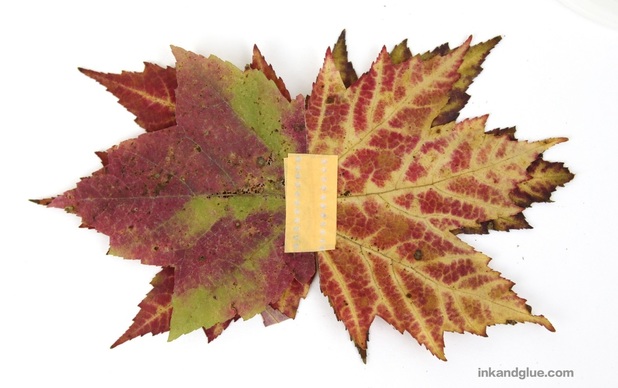 Keep taping pairs together until they're all attached by their hinges in one "book." Find one facing pair that doesn't have a tape hinge (if you have one -- if not, just use any pre-taped pair). Place the knotted end of a length of string in the center, and cover it with a piece of tape.
Pick up your leaf assembly using the string. Gently unfold and fold the various tape hinges to get a fairly uniformly-spaced ball. If your ball isn't hanging straight, extend the hinge channel for the string by adding more tape higher up in the center of a couple of the leaf pairs. 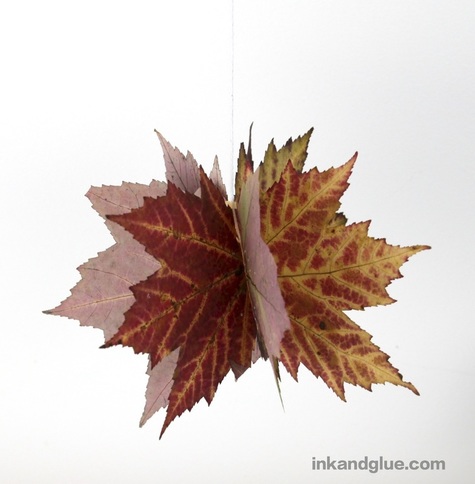 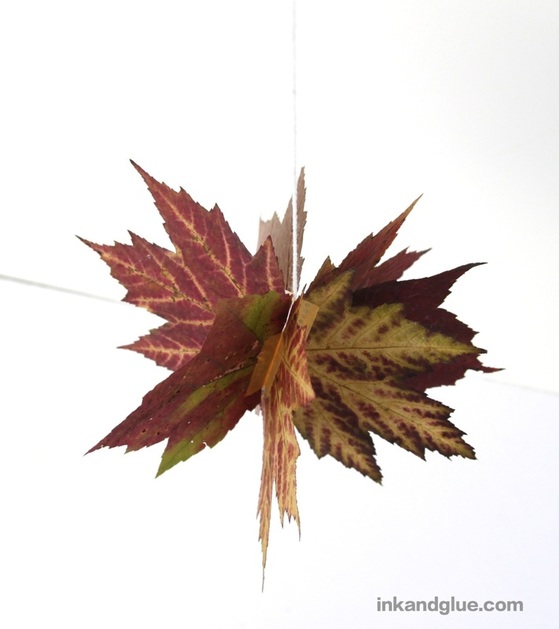 That's it! I like how star-ish these are. Get several of them together, hang them at varying heights over a table or mantle, and you'll be cultivating some serious fall spirit.
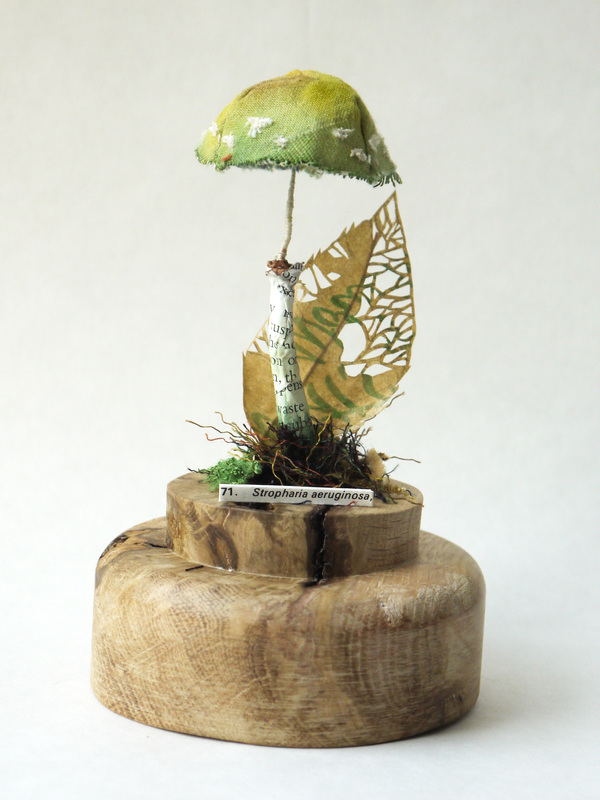
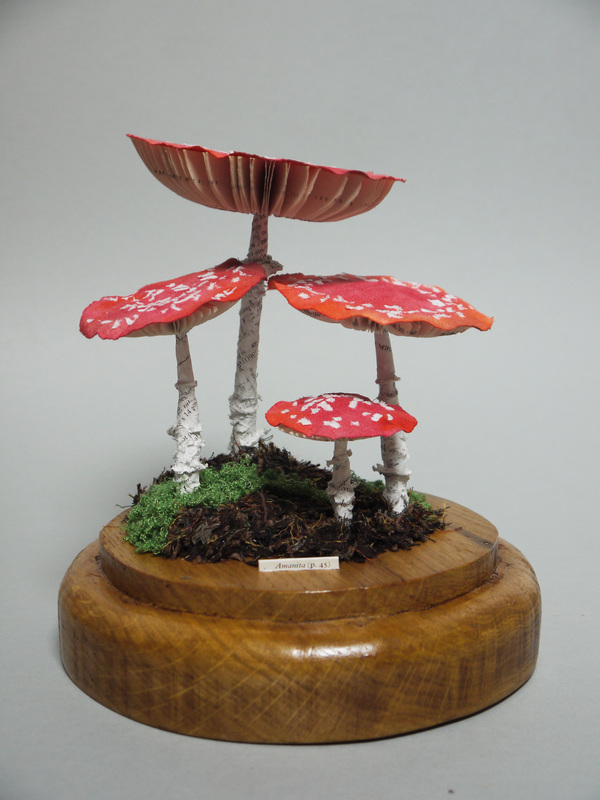
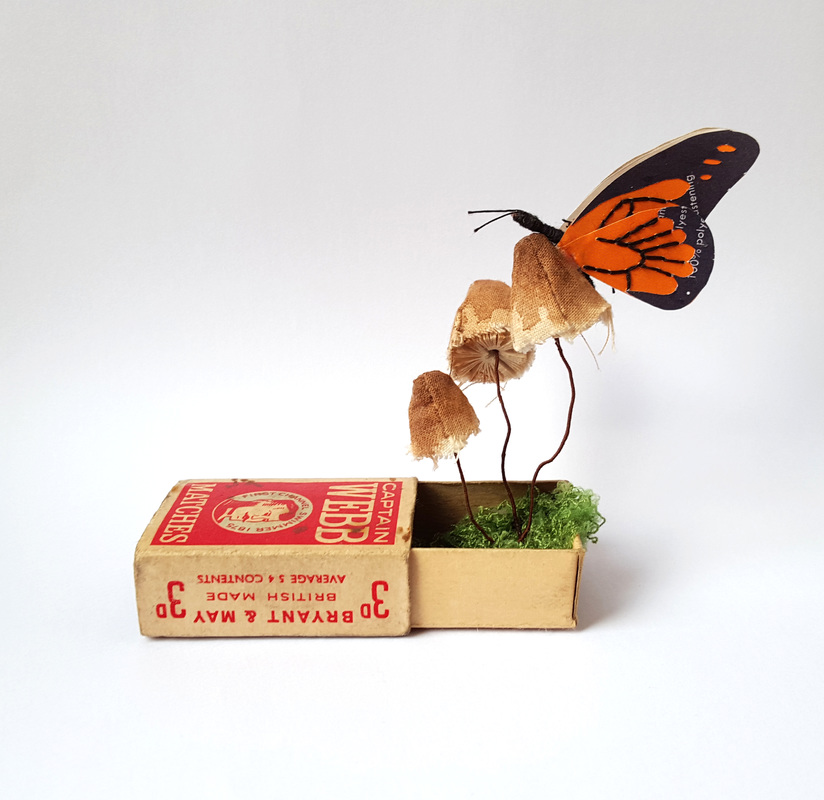
xo Have you met Kate Kato? She crafts insects, flowers, and fungi out of paper, fabric, and other bits. 
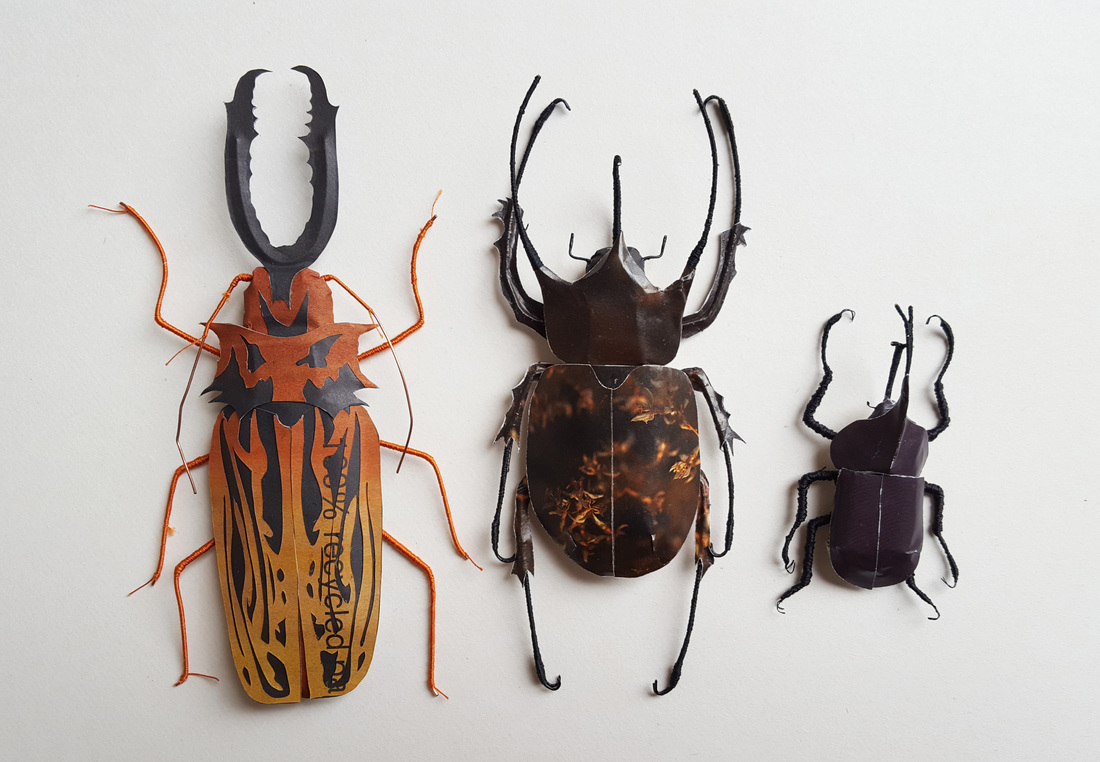
 It looks like she sometimes uses the color of the found paper as part of the design, instead of painting over it. I like it.
Go see more work from Kate on her site! xo Like me, Franklin enjoys a short week. He is also partial to napping on laps. Just look at this sweet baboo! 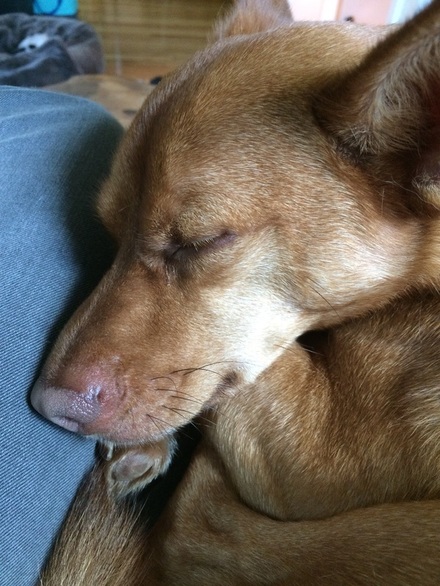 xo!
|
Categories
All
Archives
March 2017
AuthorI'm Debbie Way, an artist and writer who enjoys making things. |


 RSS Feed