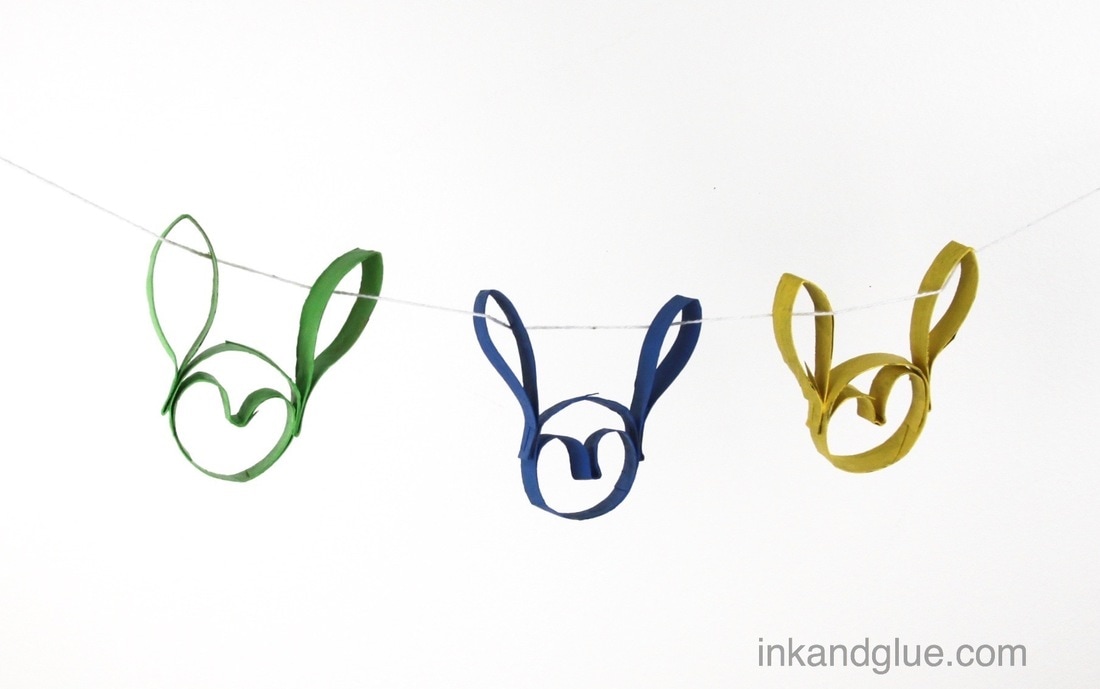
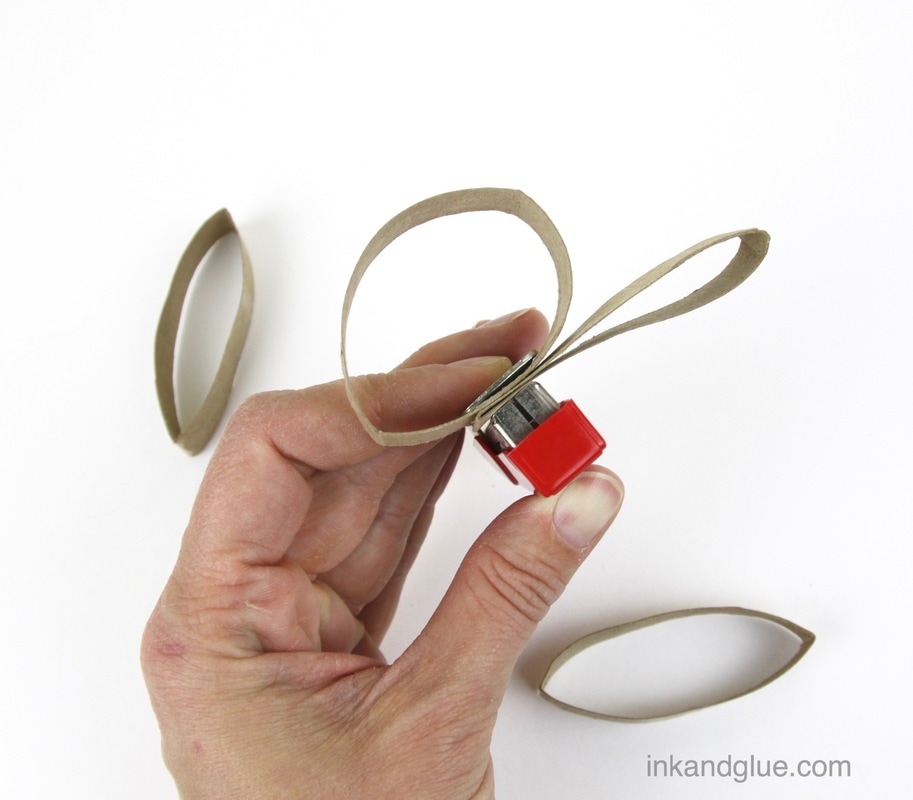
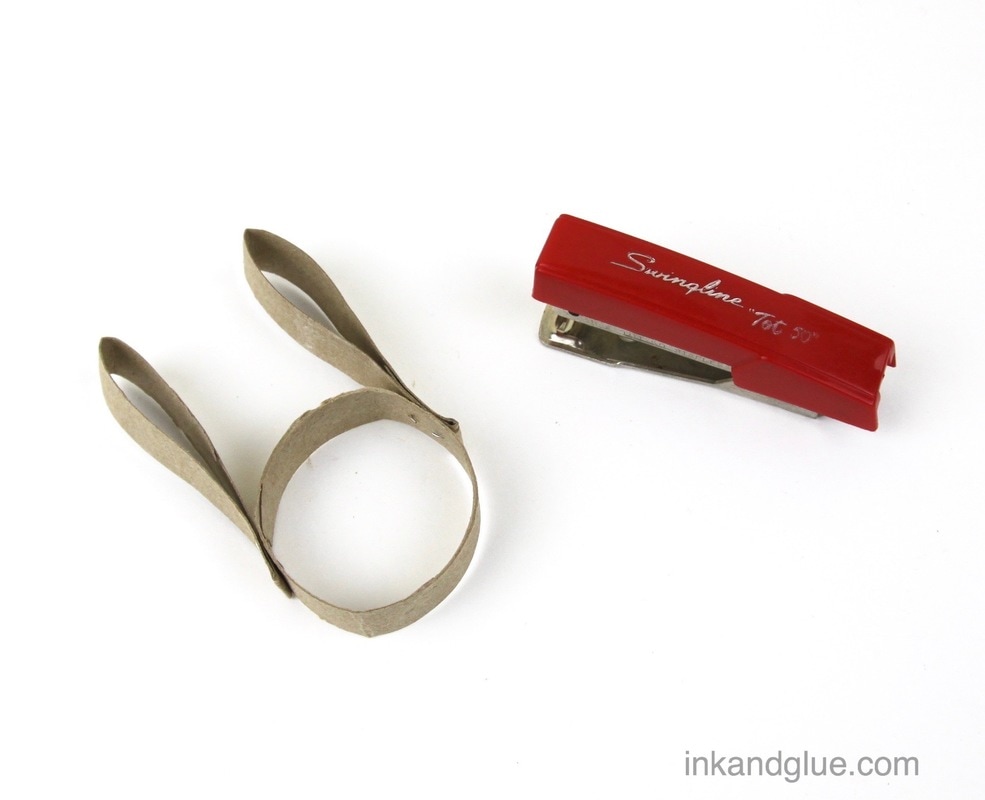
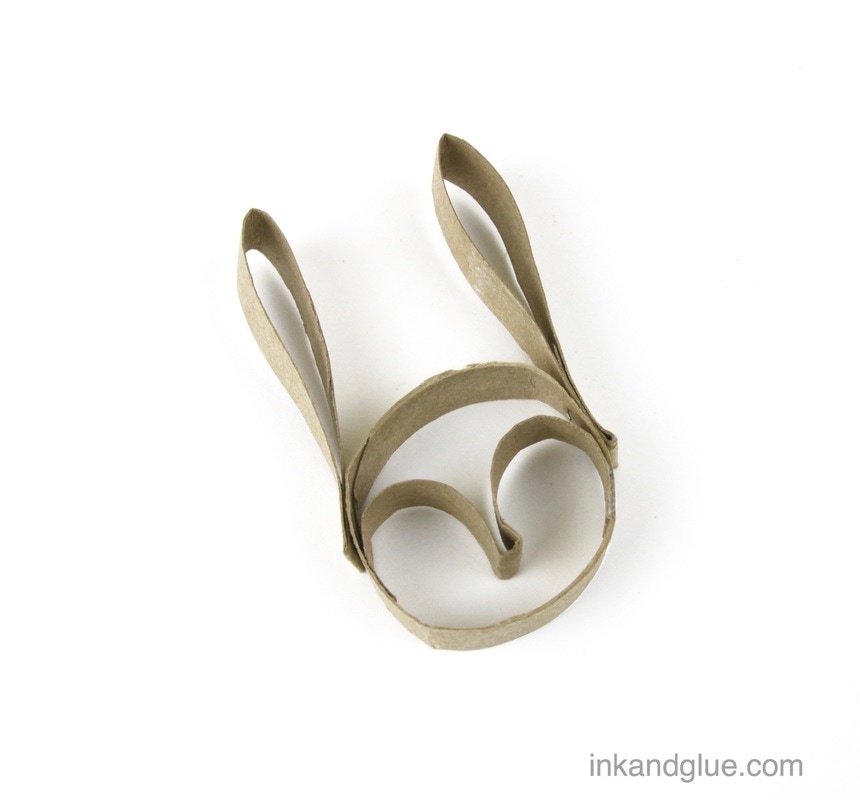
 I have a stash of toilet paper tubes in my studio and from time to time they call to me. (By the way, we switched TP brands, and the new one — *cough angelsoft cough cough* — glues the end of the paper onto the roll so thoroughly, the cardboard tube is unusable for anything fun. Don't do that, tissue manufacturers. You are killing the creative dreams of children.) Anyway! I like the creative restrictions inherent in using these tubes. It's the difference between staring at a blank piece of paper, and staring at a piece of paper that already has a few lines drawn onto it — it just makes you want to take it further. Here's how you can make a bunny face like these. First, flatten a cardboard TP tube slightly and cut it in half — each half can make one rabbit head. Cut the half into sections that are each about 1/3-inch wide. Tip: If you want the rings pretty close to the same width without using a ruler, cut the half-tube in half, and then cut those resulting halves in half. 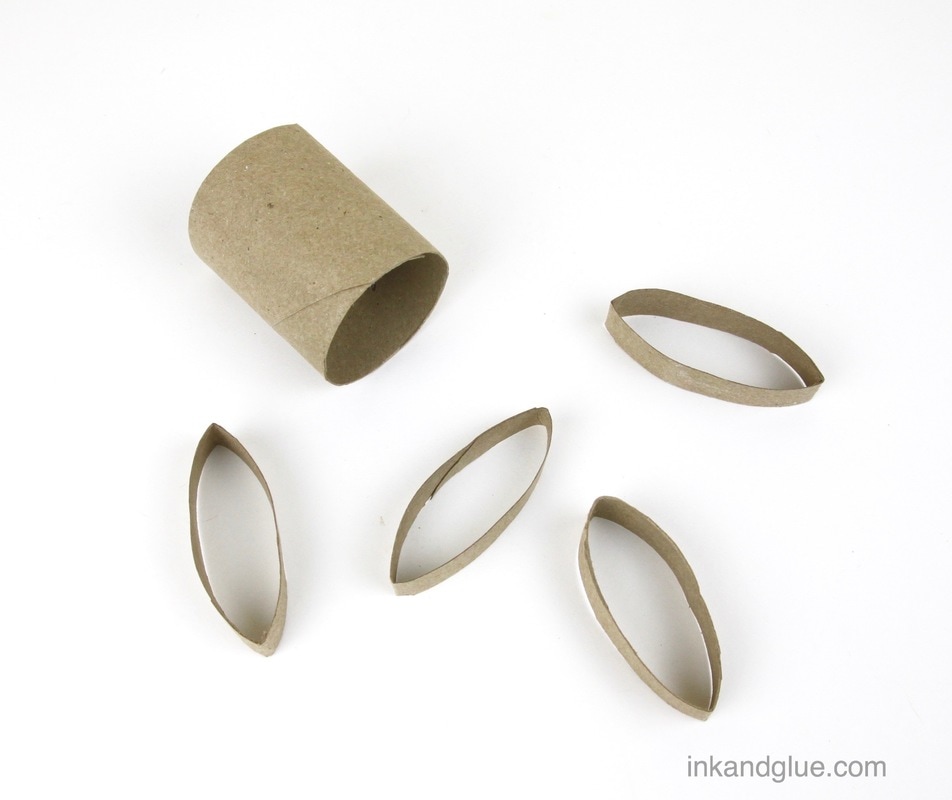 For the head and the ears, open one ring back up into a circle, and flatten two of the other rings. 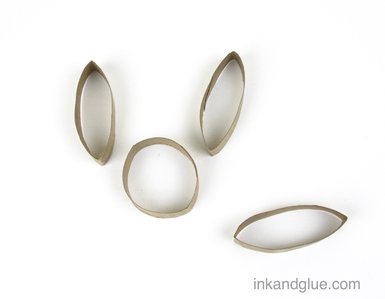 Staple the flattened rings to opposite points of the round ring. I happen to have an adorable mini stapler, but a regular size one will work ok too.
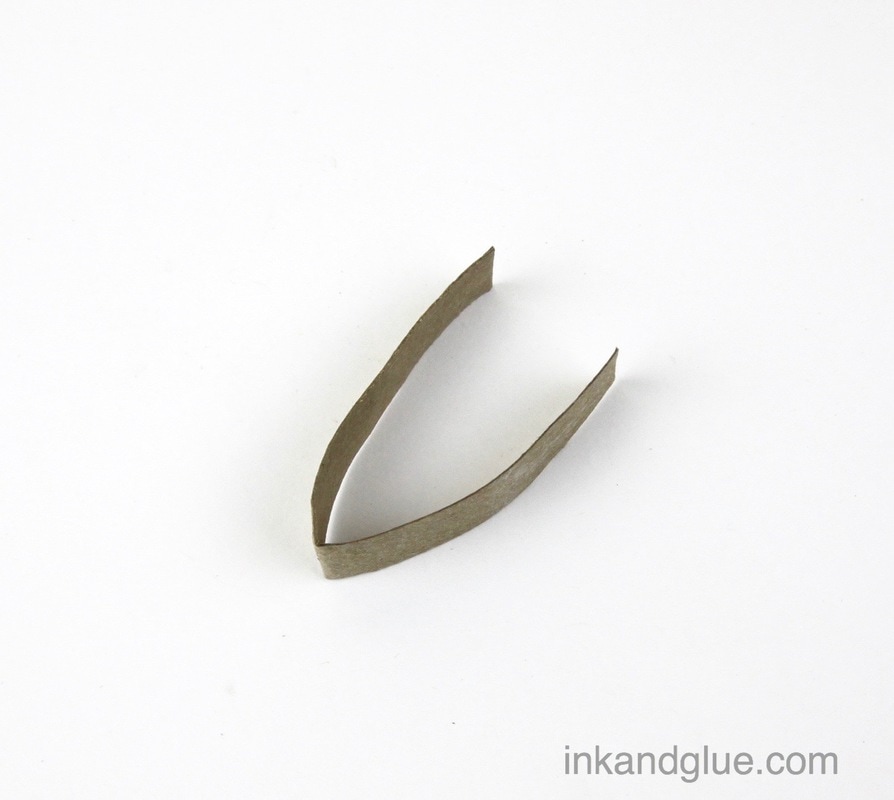
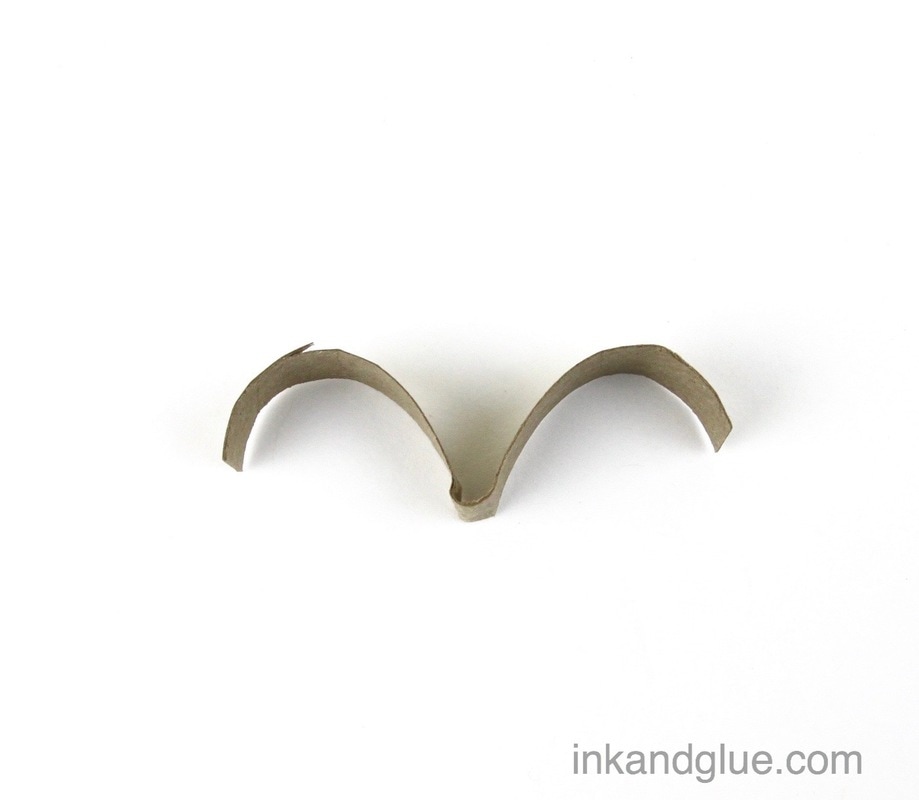
Cut about a half inch from one end of the flattened fourth ring.  Below left is what the ring will look like right after you cut it. See that fold at the bottom of the V shape? Bend the two halves of the V all the way around so that it's more of an A shape (without the crossbar in the middle, of course). Use your fingers to kind of flatten the tip of the A a bit, then rotate it 180 degrees — it might look something like the picture below, right. Bend the two wings of the shape to keep them curly.
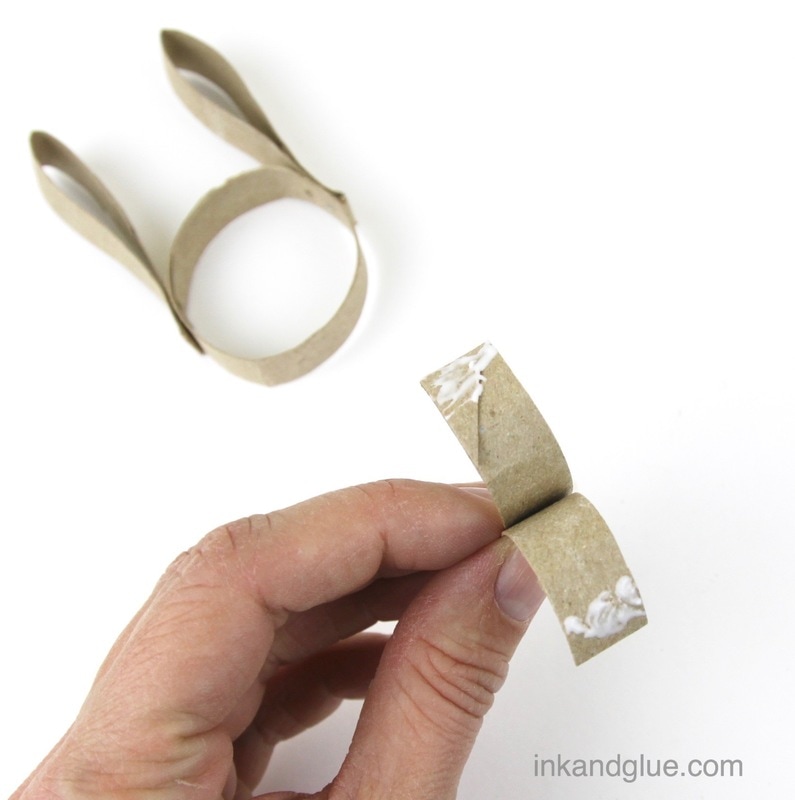
Apply tacky glue to a half-inch or so at the end of each wing, on top of the curl. Insert the shape inside the head piece, and bend and press the wings in place where you want them.
You are now free to decorate your rabbit head at will! As you can see, I simply painted mine with craft acrylics. To hang them, I wove a piece of thin cotton string through the ears. Easy! 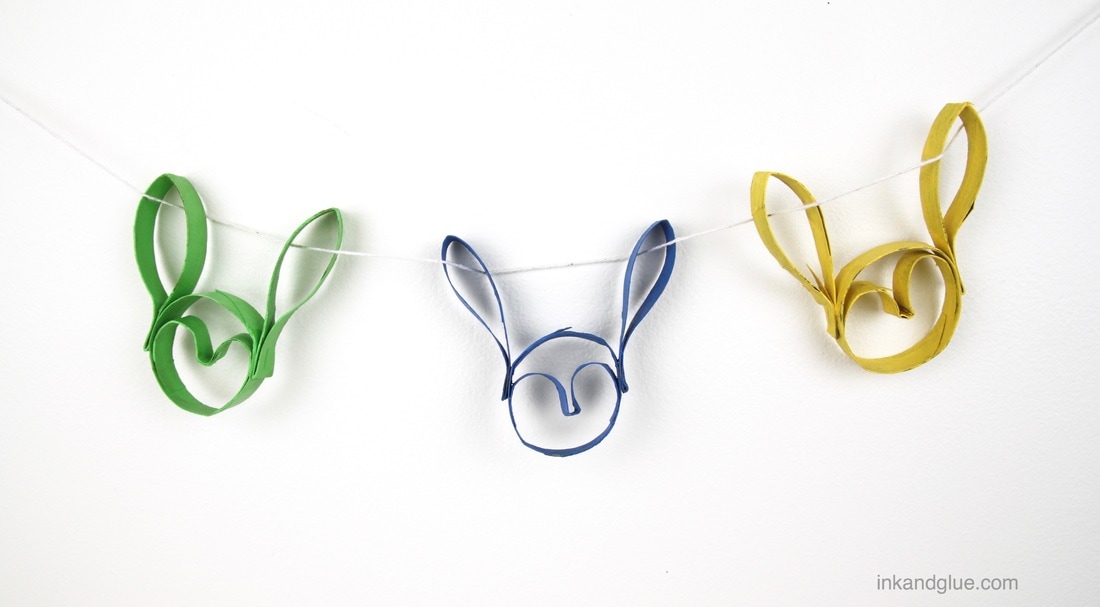 xo!
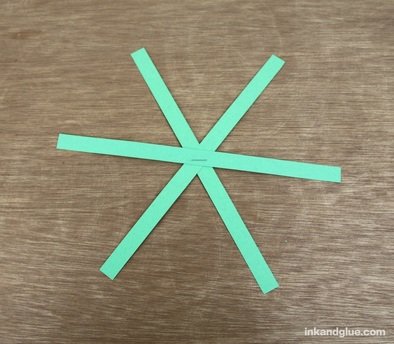
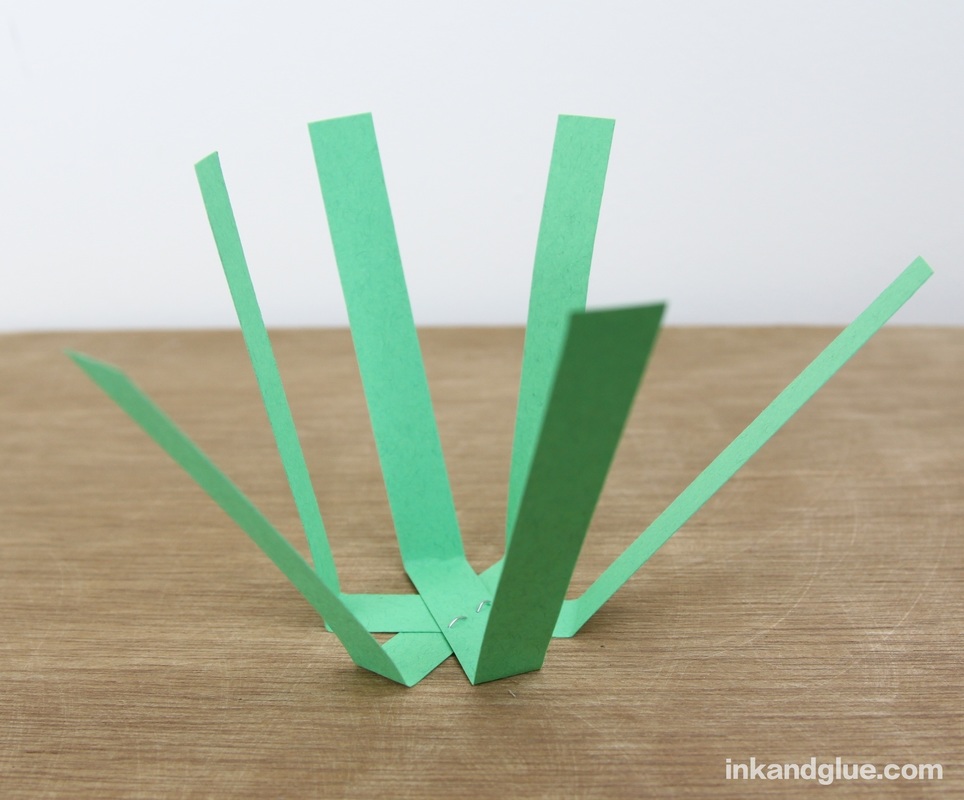
 (I couldn't resist including the bunny shaker from last week in this photo!) A few strips of paper, glue, and a single staple is all you need to make a miniature spring basket you can fill with treats (or a single, treasured egg). Here's how to make one. First, cut half-inch wide, 8 1/2-inch long strips of paper from a few different colors of paper. I used a floral pattern to mix in with the solid construction paper strips. All told, I used 6 strips to make this basket, not including the flower addition. 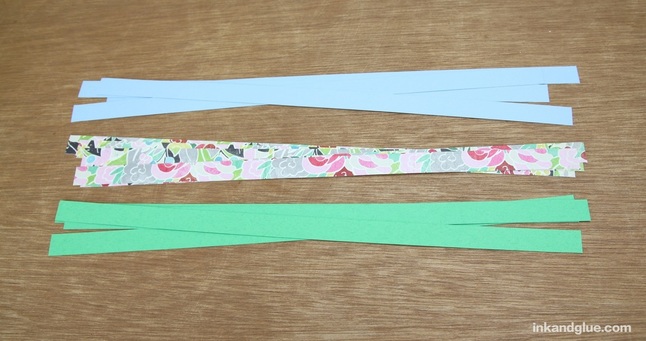
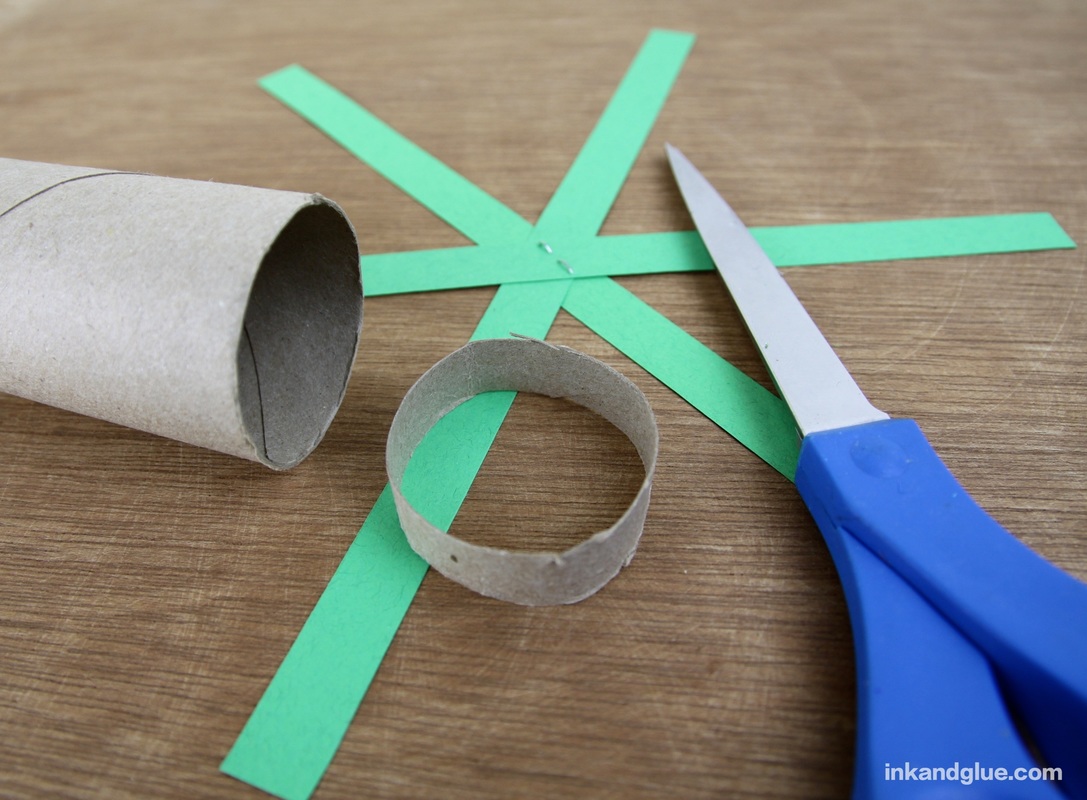
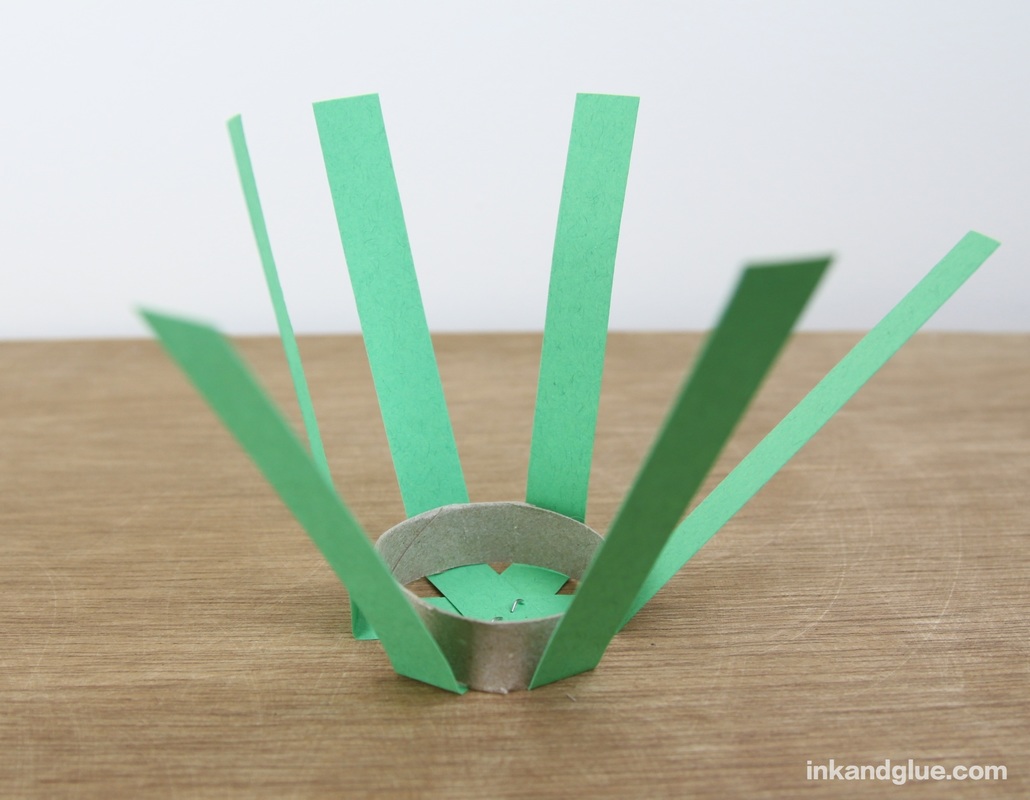
Center the ring on the asterisk, and use it as a guide to fold up the six spokes of the basket. (You can use a jar lid or something else with a round base, of course. I chose a TP tube because you can see through it, which makes it easier to center it.)
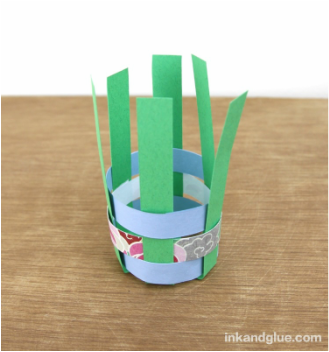
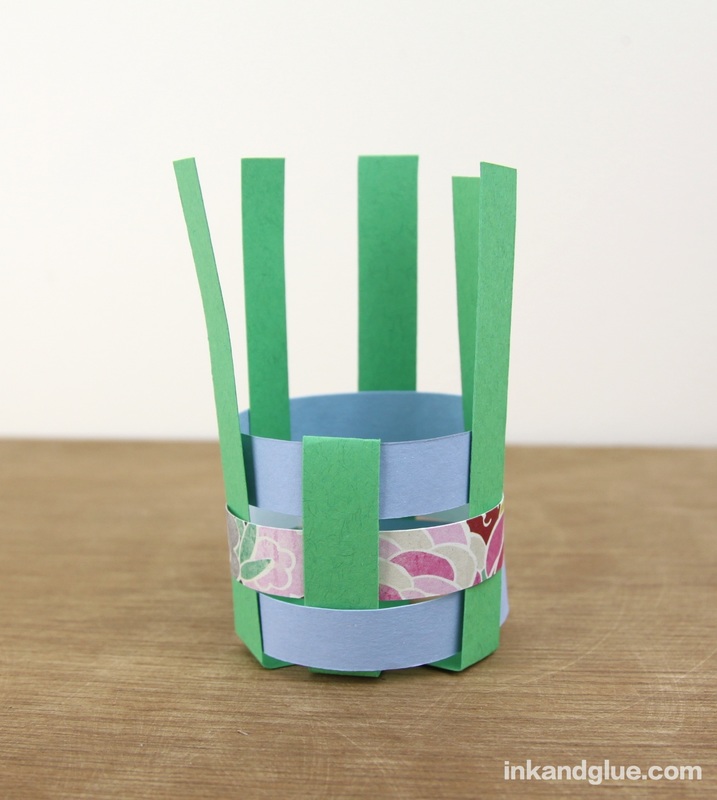
Now, weave a strip into the vertical spokes. Trim the strip so you leave a half inch or so of overlap where the ends of the strip meet. I glued the ends of the strips to themselves, and not to the spokes, so I could move them up and down (or even slide them off and reorder them) if I wanted to. To make the basket more sturdy as you build it, consider gluing the strips to the spokes. It doesn't look like much until you put on the second strip: 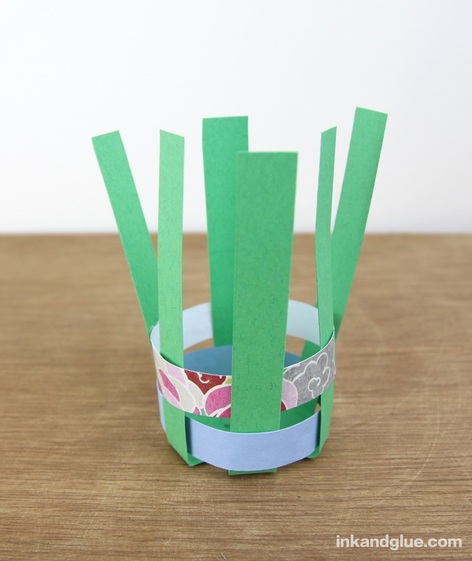
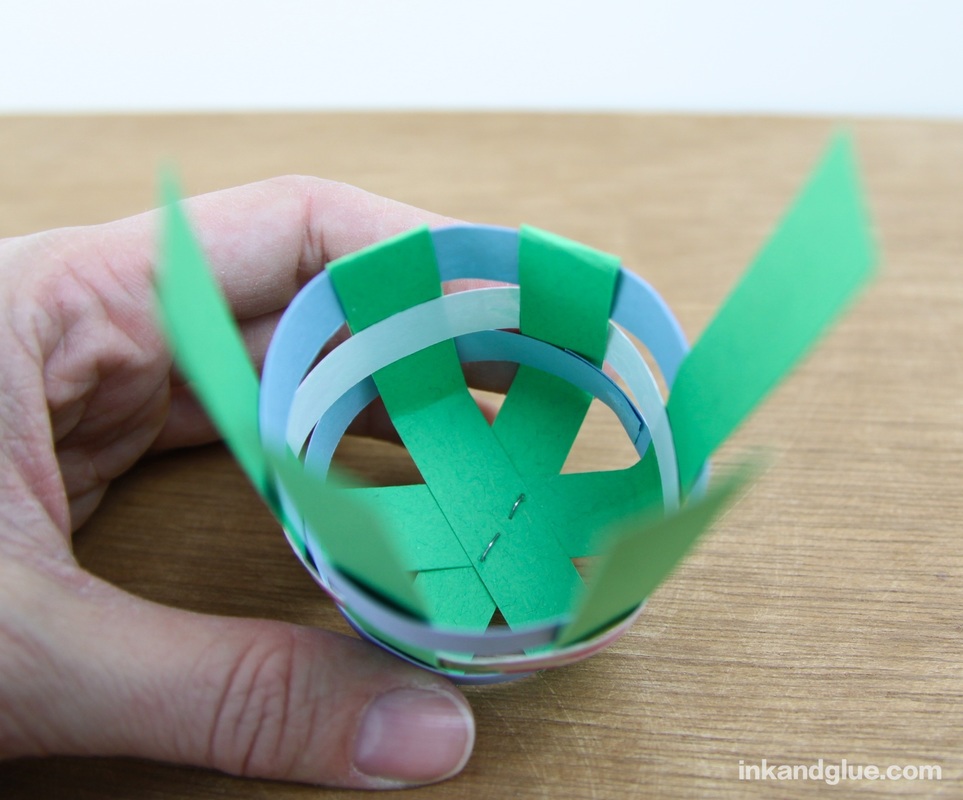
To finish the basket, you're going to fold down the spokes and slip their ends into the weaving. To make everything fit I ended up trimming about a half inch from each spoke. Fold each spoke over the top strip. This means every other spoke will be folded in the opposite direction. The one below left is folded towards the outside of the basket, then the end is tucked into the bottom strip. The one on the right shows a neighboring spoke that's been folded towards the inside of the basket, with the end tucked into the bottom strip. Unfold the spoke, add glue stick or a thin layer of tacky glue to the inside, and refold.
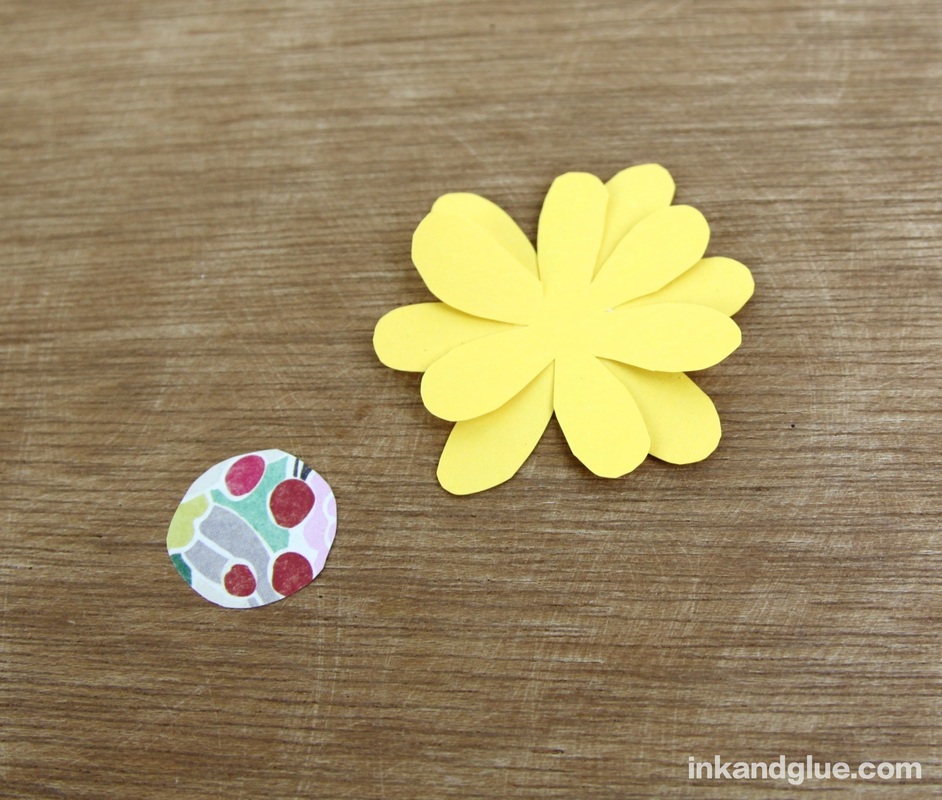
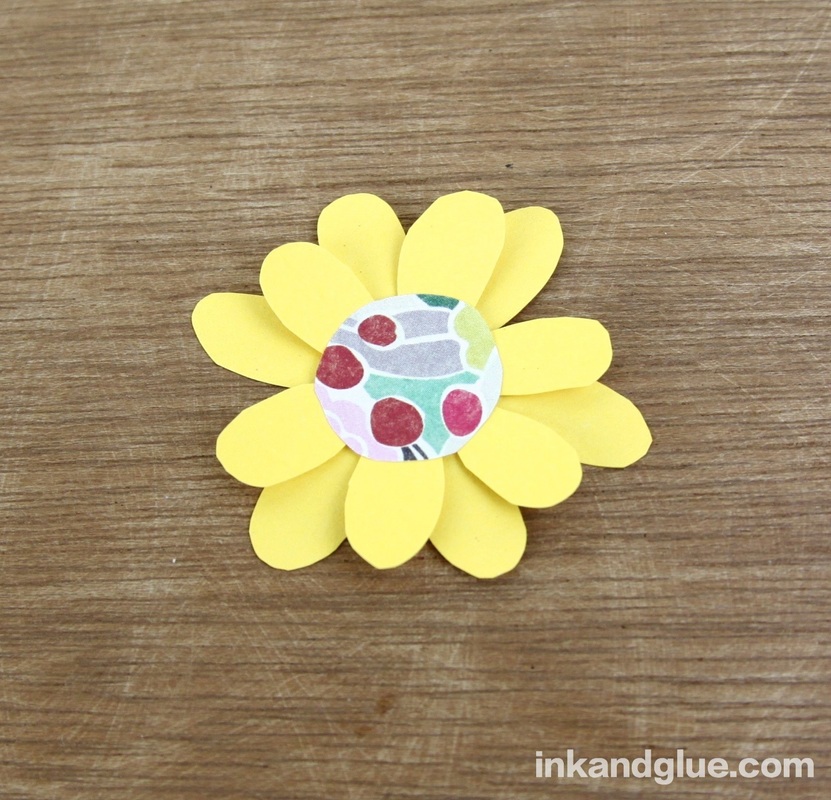
Do this with all six spokes, and you've got a tidy little basket! You can add a handle, or glue all sorts of embellishments to it. I added a paper flower. To make mine, cut out two similarly-shaped flowers, one slightly smaller than the other. Cut a circle from another color of paper. 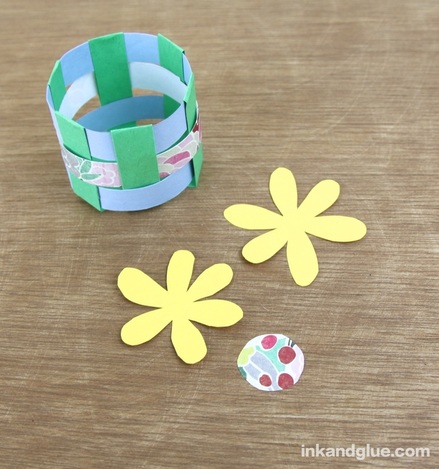 Glue the smaller flower to the larger one, and then glue the circle to the center. Fold up the inner petals a little to add some dimension.
Glue the flower to the side of your basket. Done! I placed a standard-sized plastic egg in mine to give a better sense of its scale. 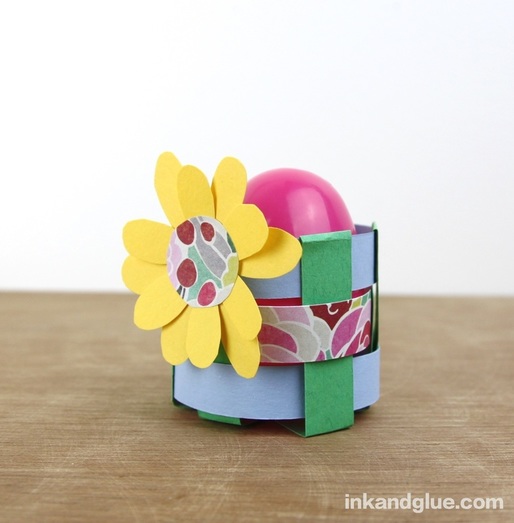 You could easily make a number of these baskets so that each person at your Easter brunch or dinner could have their own. Fill them with candy, if you'd like; I'm partial to Robin's Eggs. 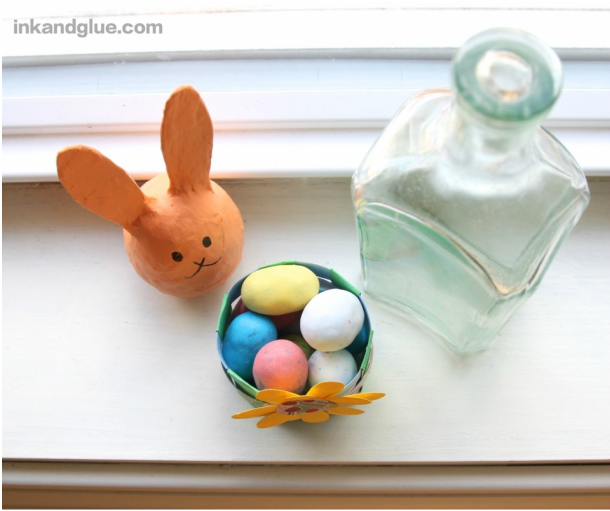 Happy Easter!
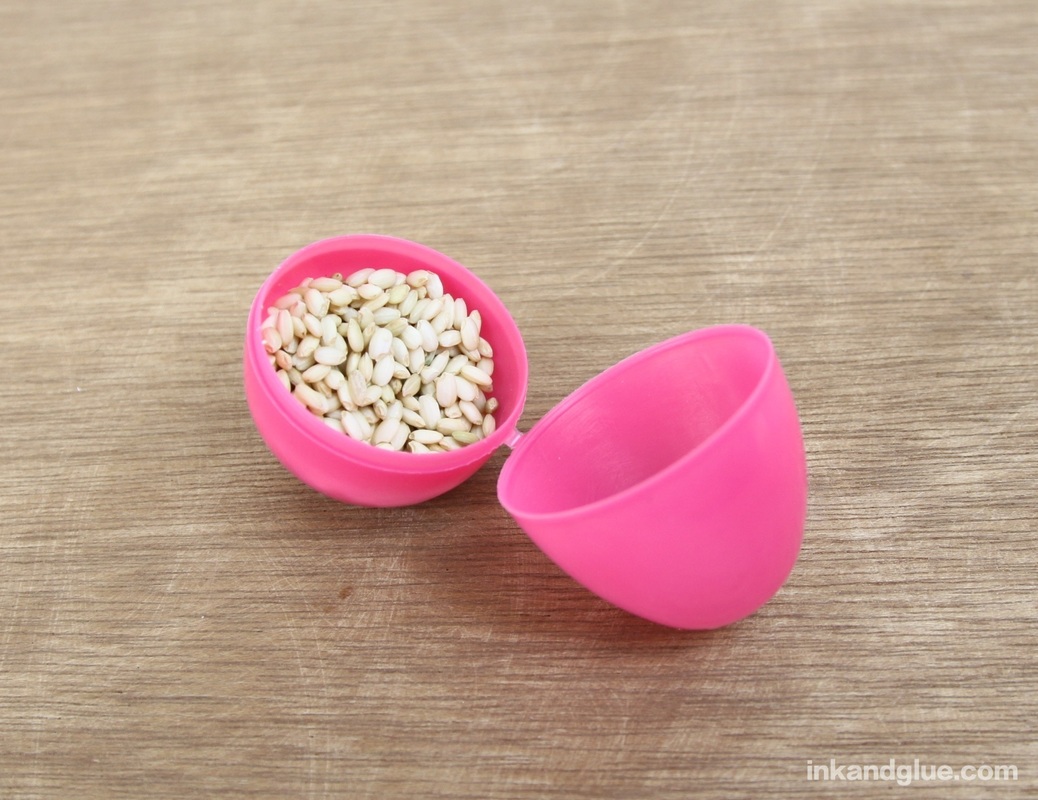
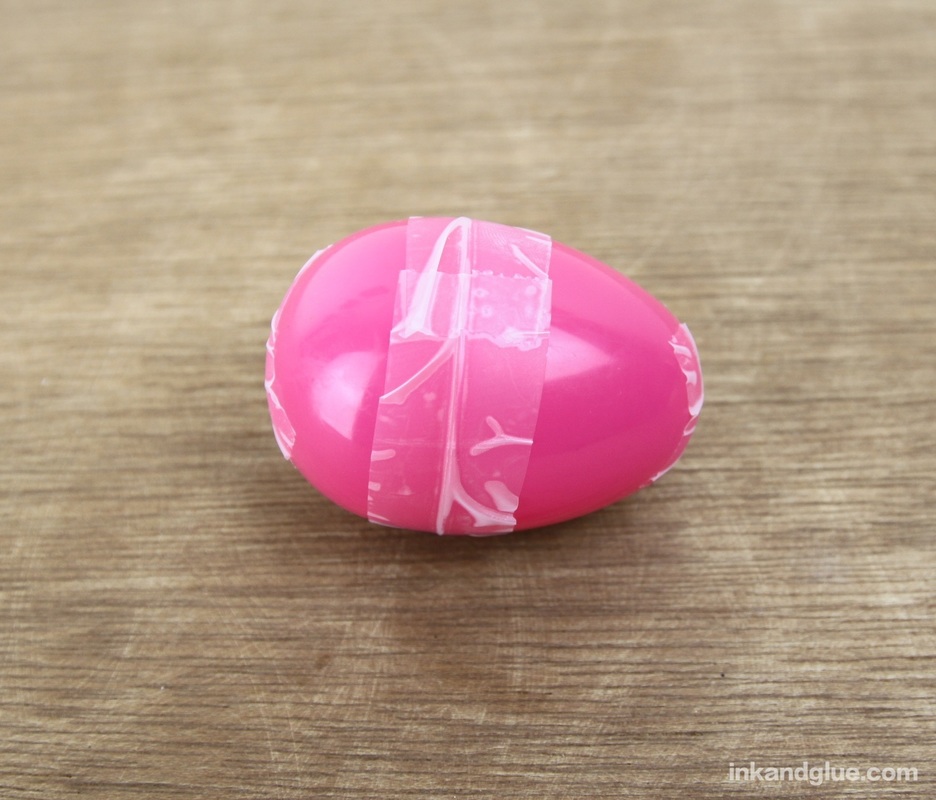
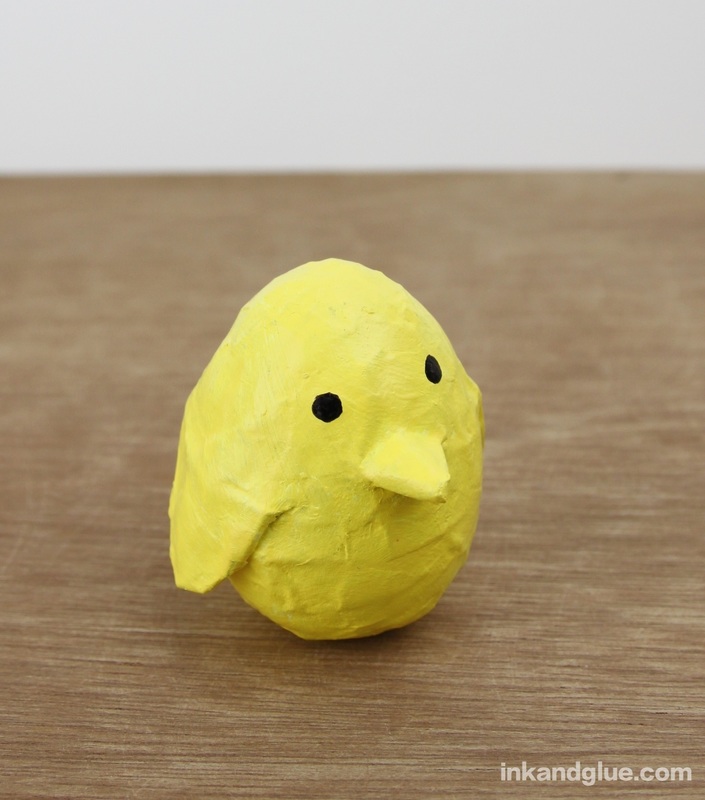
xo For a product that's so tied to a single holiday, plastic eggs are incredibly versatile. I've seen them made into tiny tea cups, covered in wool roving, used as Jello molds, and transformed into fireflies. I mixed two ideas together and turned a couple of eggs into hand percussion instruments that happen to look like cute spring animals. 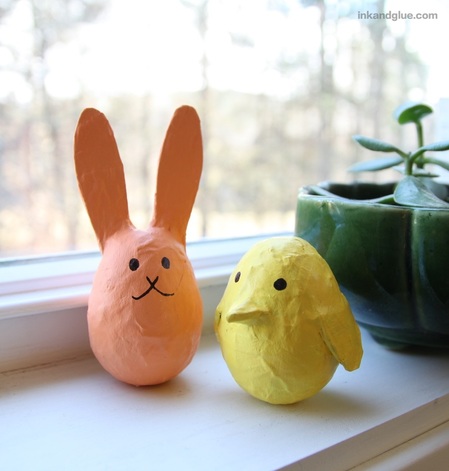 These sound just like the plastic egg shakers you can buy at music stores, but these are both cheaper and cuter. Win-win!
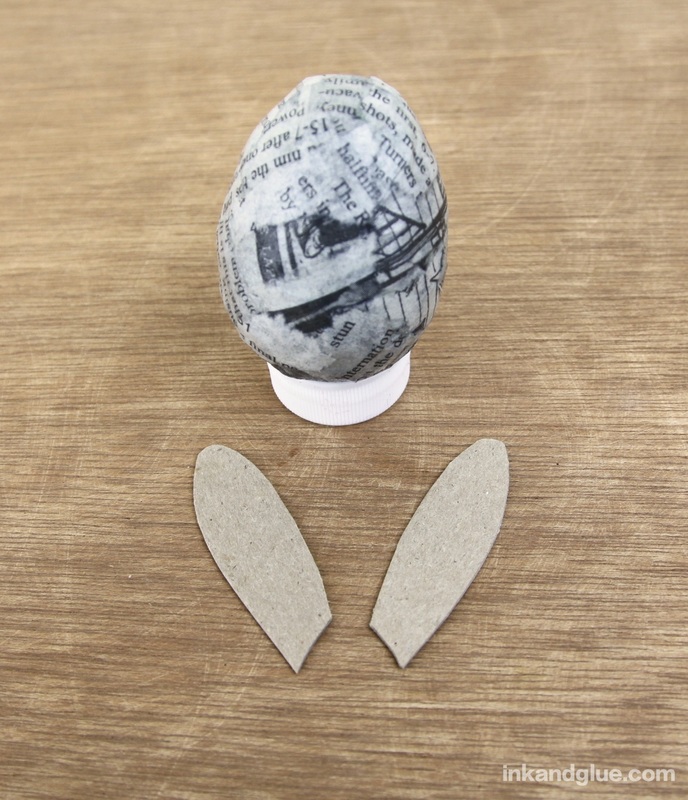
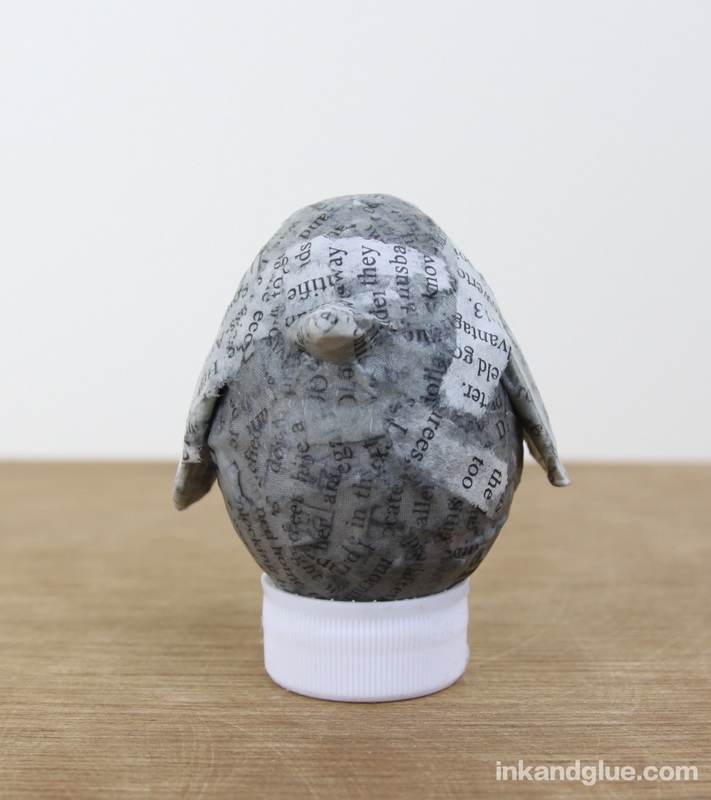
Now the fun, messy part: Papier mache! You can use the traditional water and flour mix, but I used my favorite stuff, powdered wallpaper adhesive. (Note: That link goes to Amazon, and I get a few cents if you buy the product after clicking. This is the exact product I use.) It's super strong and, as a result, you don't have to have as many layers of paper. 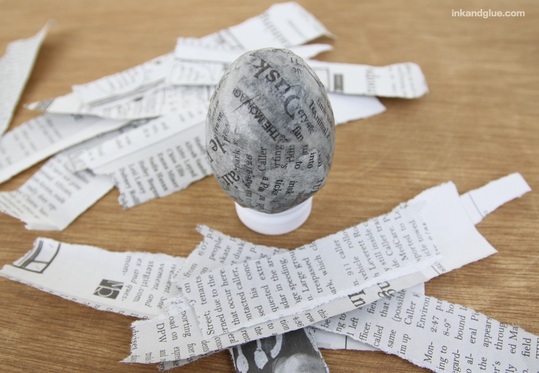 After you've covered the egg with a few overlapping layers of gooped-up newspaper, add any three-dimensional features. I cut ears, wings, and a beak from cereal box cardboard, and attached them using small strips of papier mache. The ears were a pain in the butt to keep in place, to be honest. Next time, I'd let the egg dry, then hot-glue on the cardboard ears, and then cover them with papier mache.
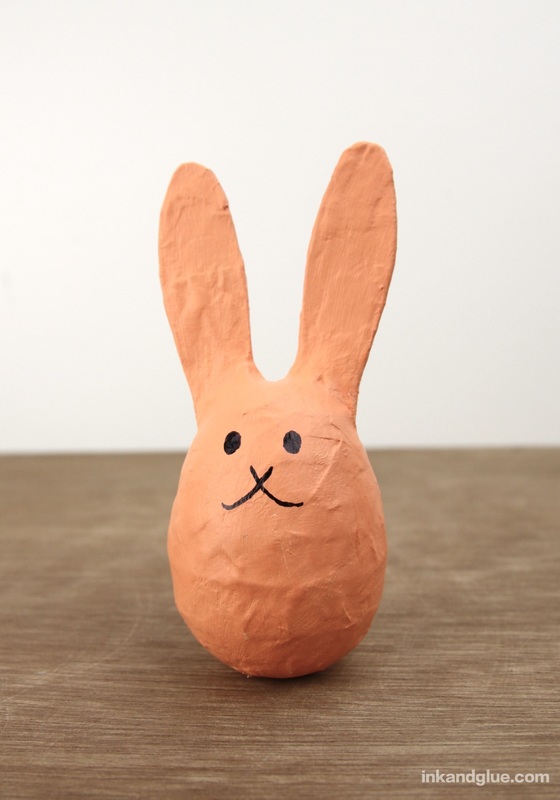
Let the paper dry completely. For me, during clammy, wet weather, this took almost 24 hours. Now, paint! I covered both bunny and chick with white acrylic craft paint first, and after that dried, added a coat of color. Once that paint is dry, add some facial features with a marker. Done!
Once dry, these guys are sturdy. Shake them to the rhythm of your favorite song. Their sound adds a kind of jazzy, Latin flavor. It's fun!
xo |
Categories
All
Archives
March 2017
AuthorI'm Debbie Way, an artist and writer who enjoys making things. |


 RSS Feed