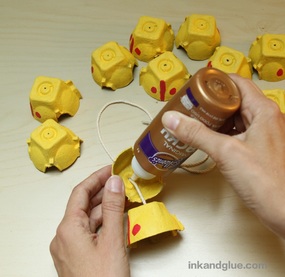
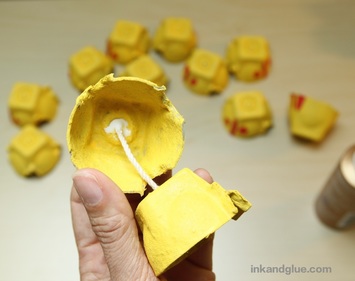
 I wanted to create a snake toy that could bend and curve as well as an actual, live snake. I started with egg carton cups, since it's one of those materials that's free (this is a theme in my work), easy to find, and also easy to cut, glue, and paint. After some trial and error, I came up with this vibrant yellow serpent. You and your kids can make one, too. The process is straightforward but has a couple of tricky moments, so grown-ups should be on hand to assist beginners as needed. First, dissect a cardboard egg carton. I cut mine apart with the help of a craft knife and scissors. Trim each cup so they're roughly the same-ish. Then, paint them. I like acrylic paint for this because it provides a nice, opaque coat. I painted mine inside and out because I wanted them to look good for the blog, but it's fine to skip painting the inside. 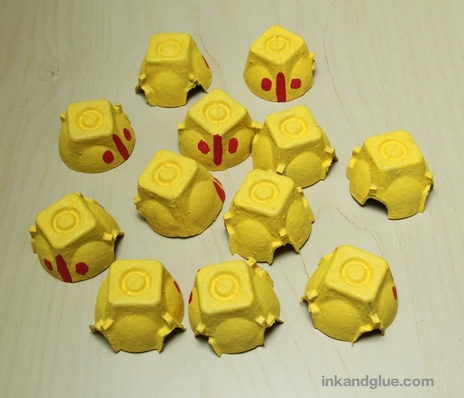 Next, use a push pin to poke a hole in the center of each cup. Wiggle the pin around a bit to widen the holes.  Thread a steel yarn needle (I got mine at Joanns years ago; they're cheap) with sturdy cotton string or twine — the kind you get at a hardware store. Cut the length of the string to 12 to 16 inches, and knot the end.  Going through the inside of the cup, thread the first section — what will eventually be the tail — onto the string. 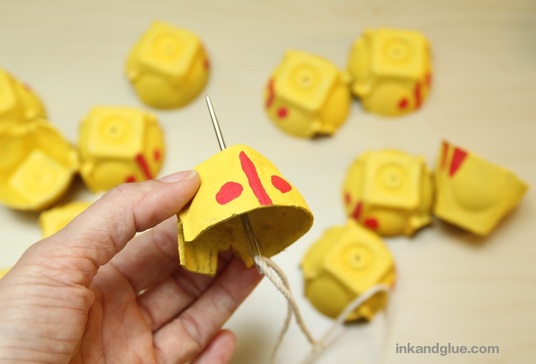 Pull the string all the way through so the knot is nestled inside. Dab a generous glob of tacky glue around the knot. 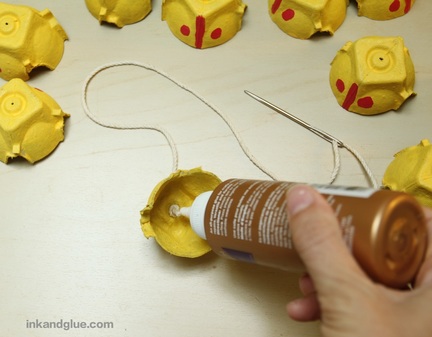 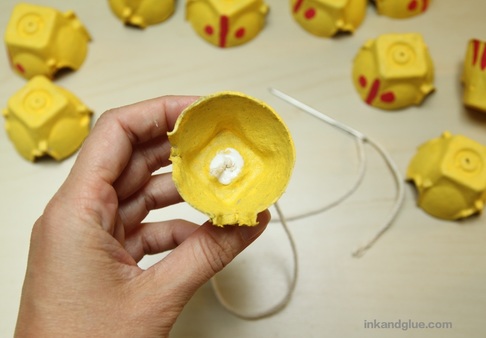 Thread the next section onto the string, sliding it to within an inch and a half or so of the first. 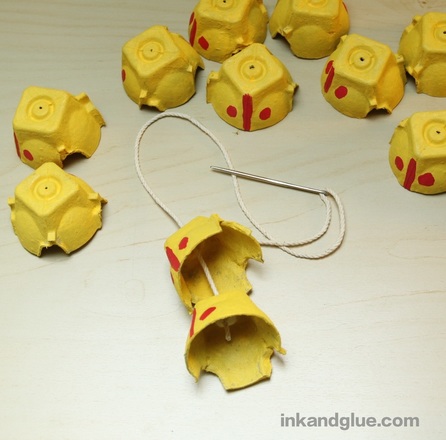 This is the awkward part: dab a nice glob of glue around and inside the hole of the second cup. Then, slide the cup down the string a bit, so it's sort of overlapping the first cup. (When the glue dries, the cup will be adhered in its place on the string.)
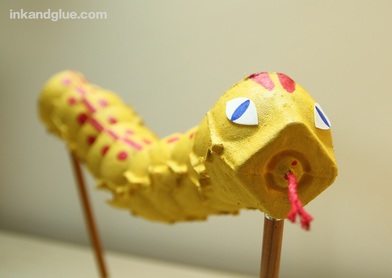
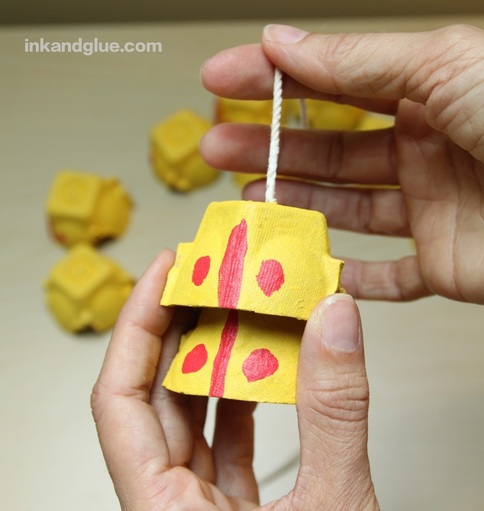 Continue with the rest of the cups. For a head, I painted one of the cups differently from the others, so I put that one on last. Adjust the spacing of the cups on the string as needed, then let it dry somewhere it won't be touched by an impatient child and/or used as a toy by a curious cat. 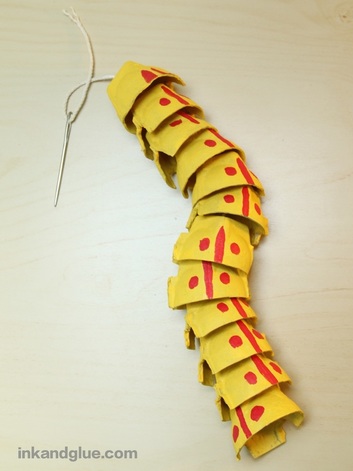 Trim the end of the string to about an inch from the cup. You can choose to knot it closely to the cup, or coat it with paint and separate the strands a little for a forked tongue. Glue on paper eyes (mine are Sharpie marker on scraps of watercolor paper). 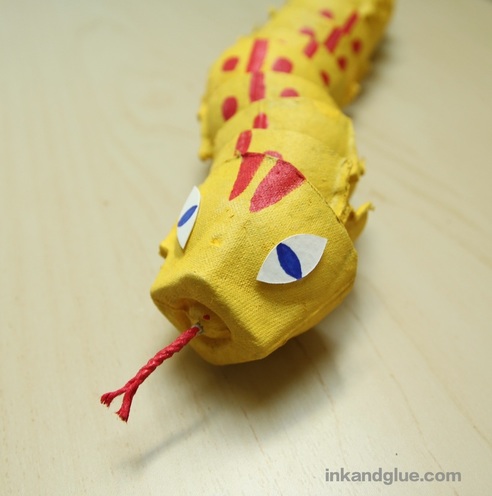 Now, you could stop right here, and you'd have a perfectly functional, wiggly snake toy. It's not really designed to survive lots of hands-on contact, so I suggest adding some sticks and making it into a puppet. Use a standard hole punch to make a hole at the base of the first and last cups. 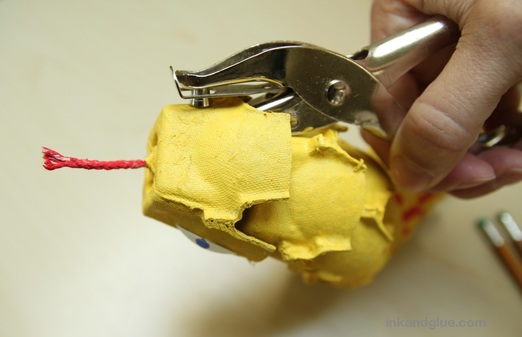 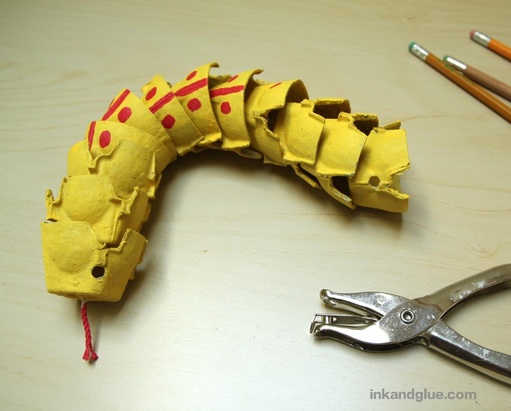 Gently insert the eraser end of a pencil into each hole. A quarter-inch dowel would also work (and would probably look more sophisticated), but I had pencils on hand. 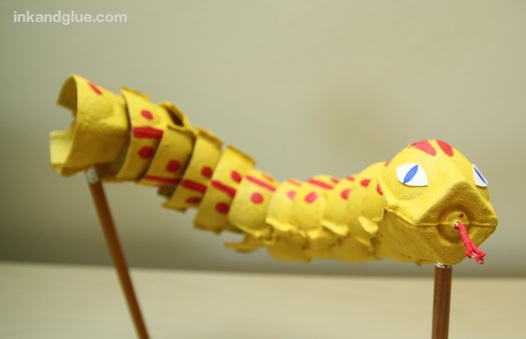 And here she is! This snake is super flexible, and is easy to move and slither all around the house. 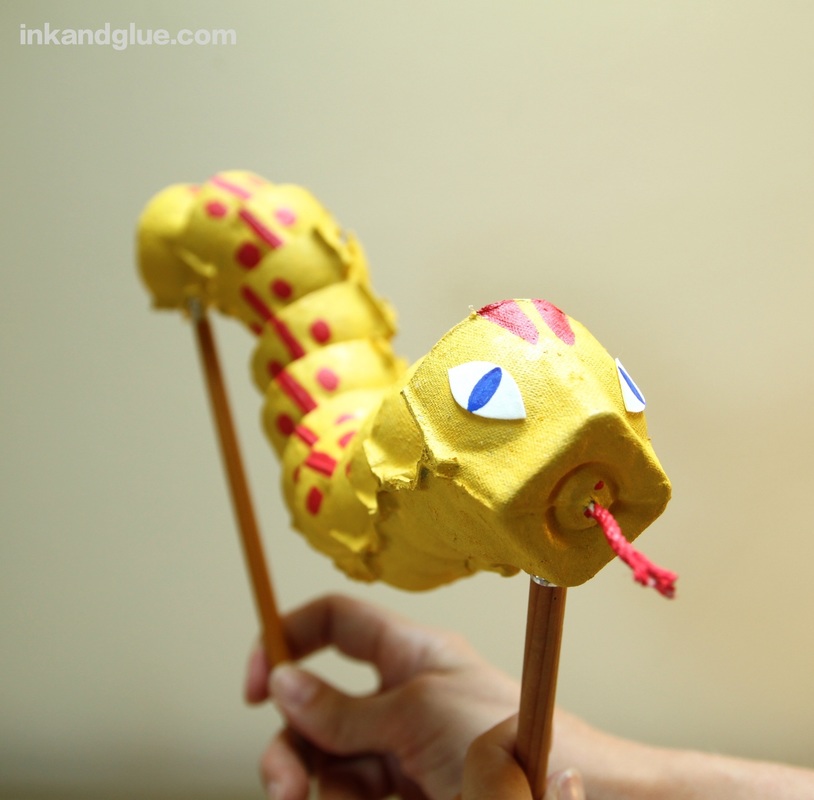 Thankssss for sssstopping by!
xo
Denise
9/2/2015 02:30:51 am
This looks like so much fun to make! A. is obsessed with snakes and other reptiles these days... Comments are closed.
|
Categories
All
Archives
March 2017
AuthorI'm Debbie Way, an artist and writer who enjoys making things. |
 RSS Feed