|
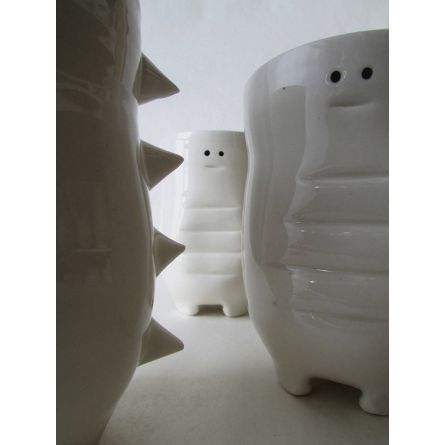
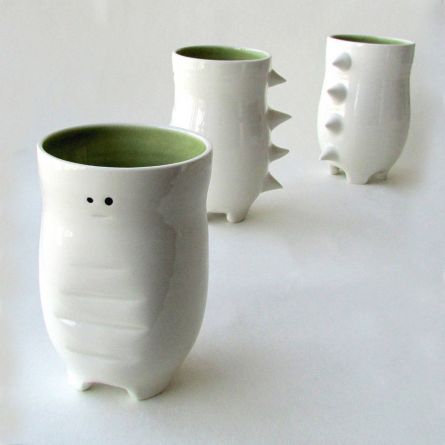
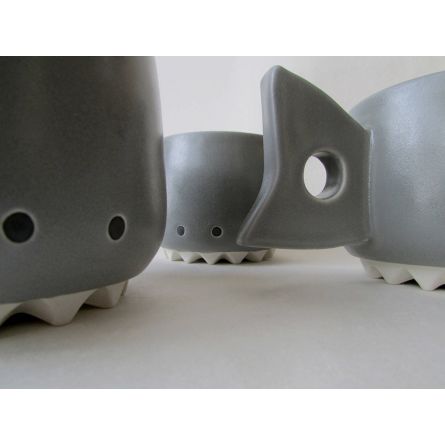
Here's Franklin in his element, enjoying the sun and the lawn while mentally keeping track of the dozens of chipmunks who live here. Ever vigilant. 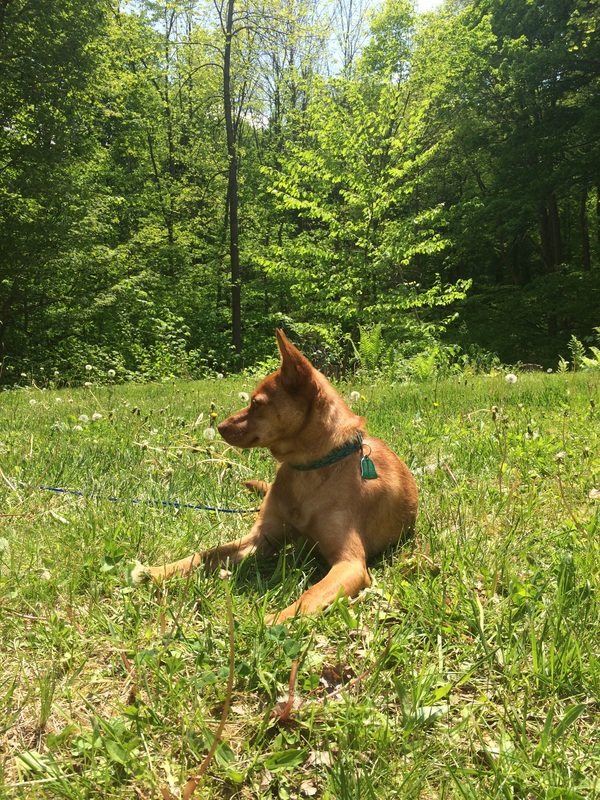 I love these offerings from Creations Li . They are minimalistic, with only a few careful applications of color. And they are full of personality. Meet the Cup-o-saurus:
Check out Chomps, the shark mug:
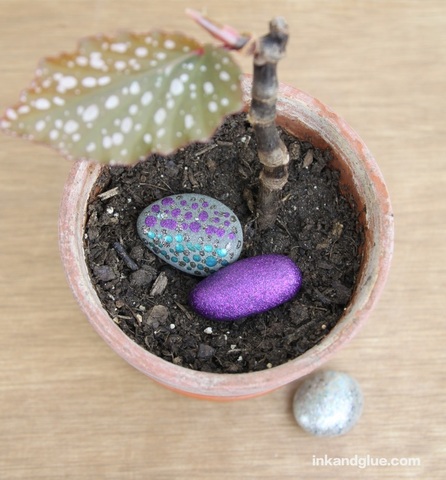
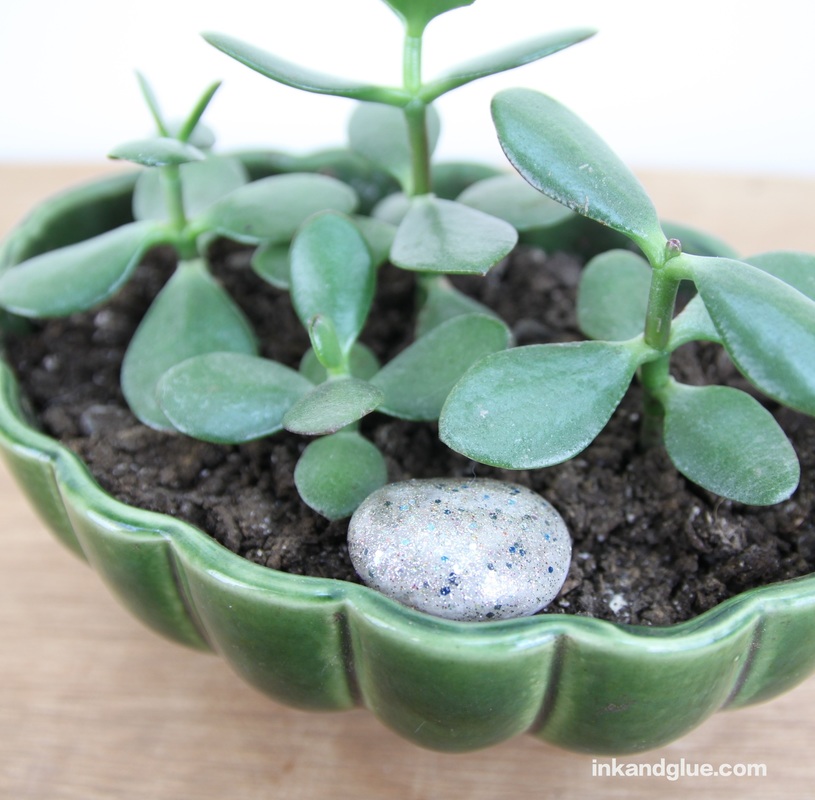
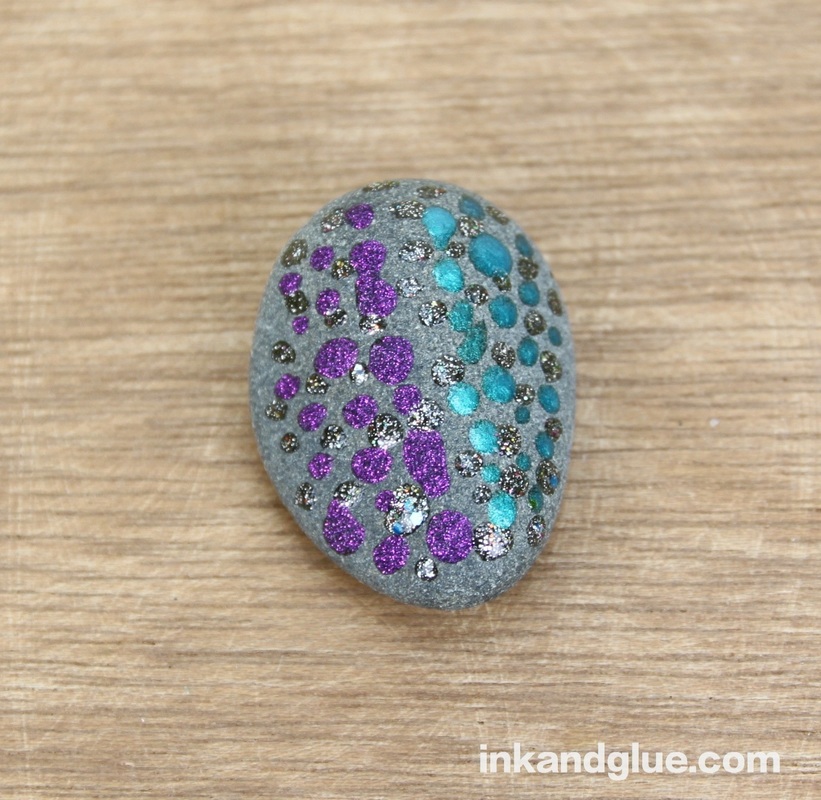
And the (sadly, out of stock) Lochness bowl. 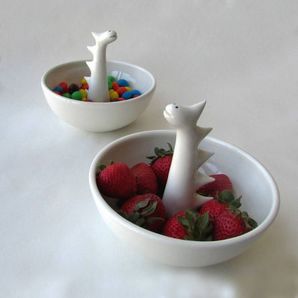 OK, these rocks may not magic, per se, but they're certainly fanciful and sparkly, like something from the fairy-folk. Nestle them in house plants or in a tiny garden outside, or treat them like talismans, or faux gemstone.
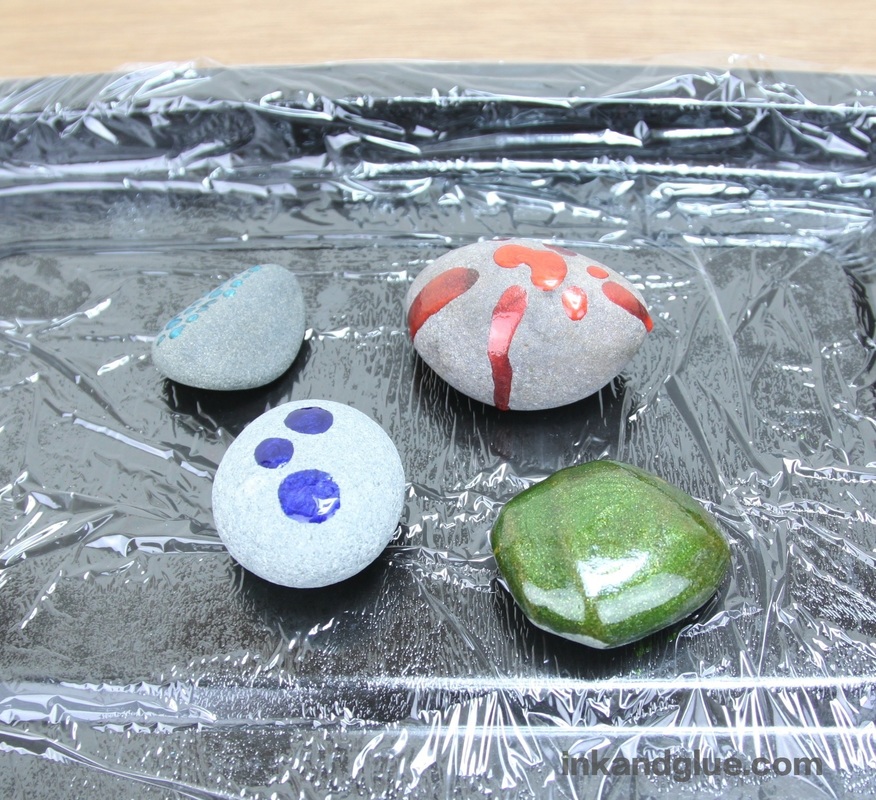
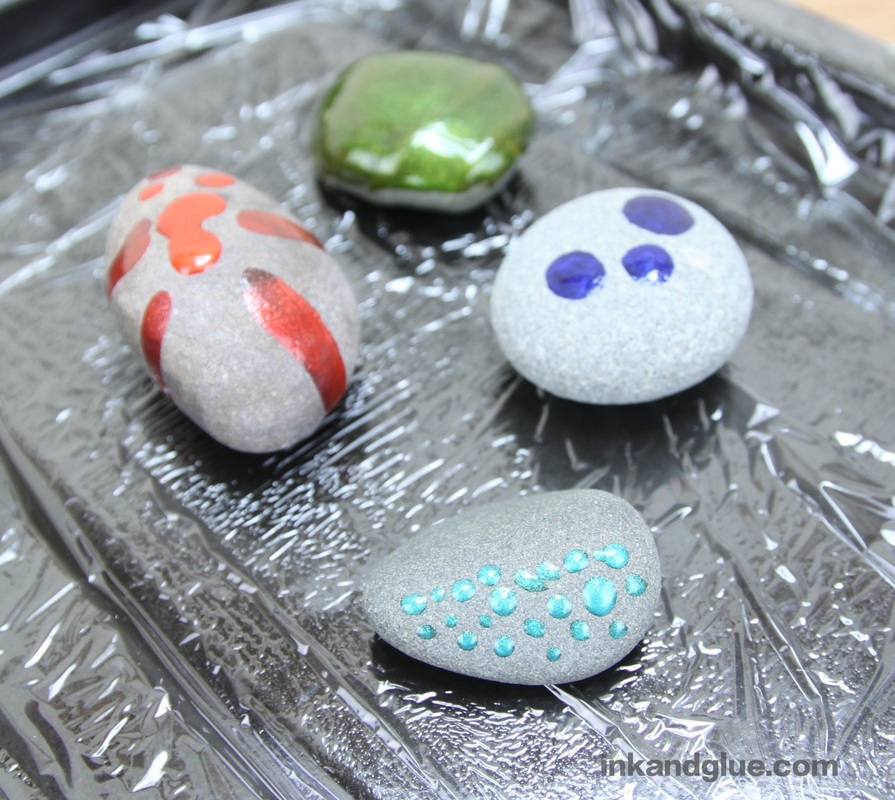
They are easy as pie to make, and basically free, if you or your child is already a nail polish hoarder like I am. If not, you'll want to hit the dollar store for a few sparkly, glittery shades. You will also definitely want to do this project OUTSIDE. This is a fair-weather project, due to the nail polish fumes. Collect a few rocks, and wash them if they need it. Place them on a plate or a pan that's been covered with a sheet of plastic wrap. 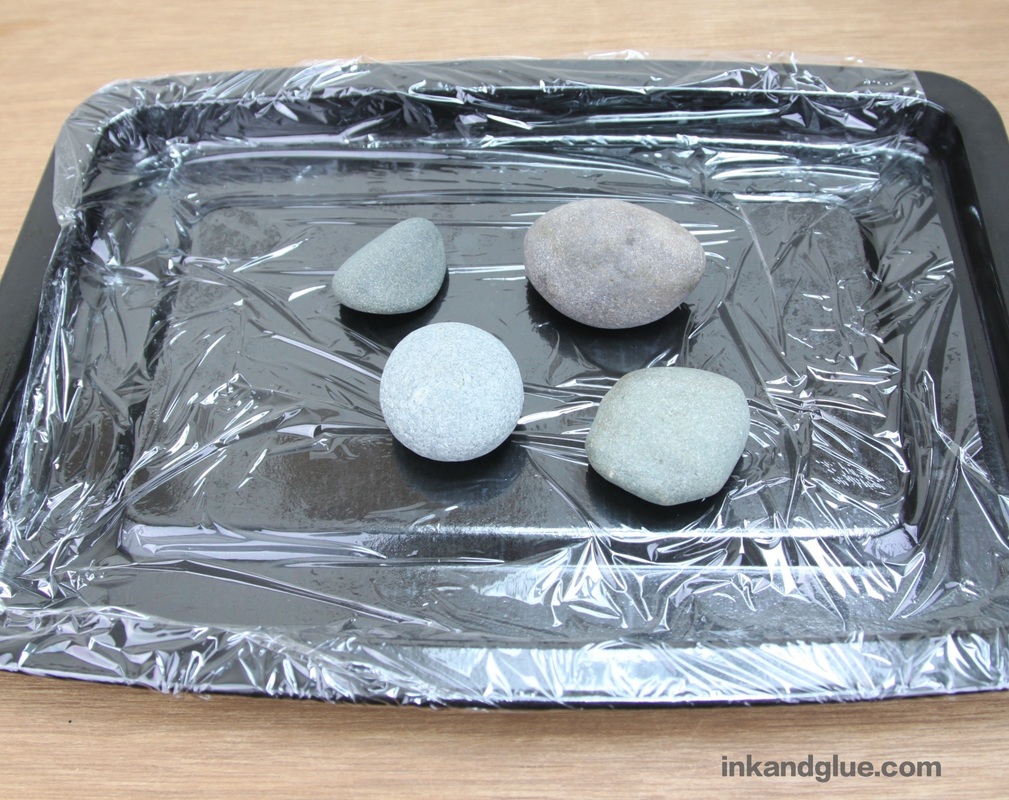 Now, paint the rocks with nail polish! I tried a few different techniques, with varying results. I'll take you through my steps, layer/color by layer/color. Below, I dripped the orange polish, dabbed big blue dots and tiny aqua dots, and covered one with a solid coat of green.
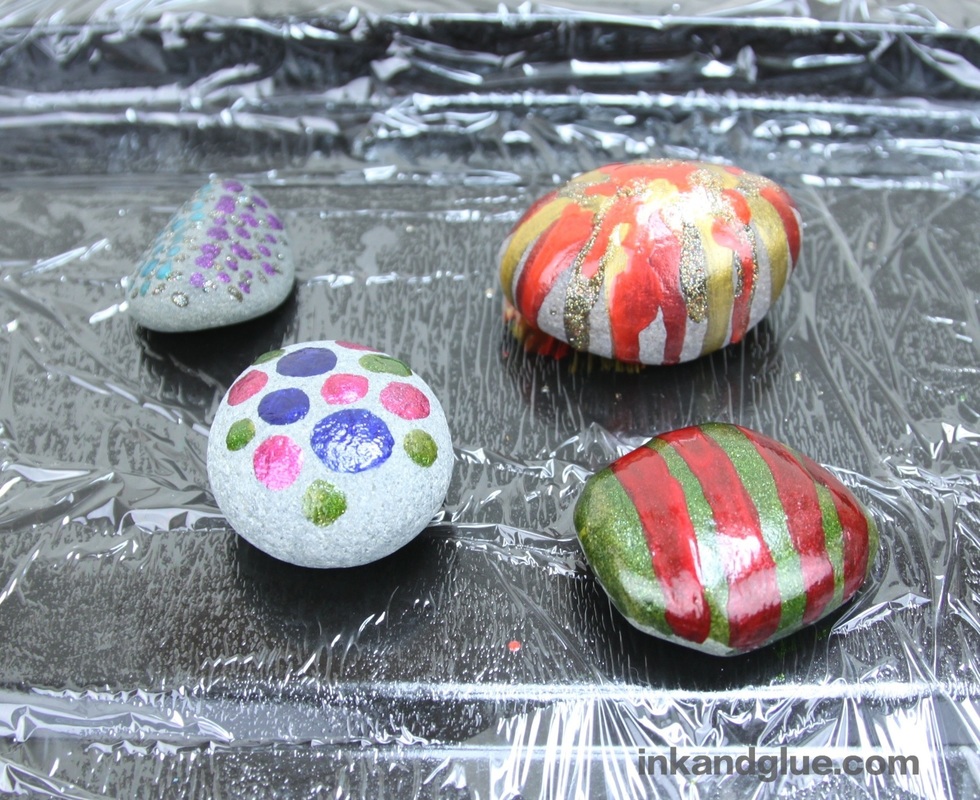
The polish dries pretty quickly, so you can continue with the second color just a minute or two after the first. I added yellow-gold drips to the orange, big fuscia dots to the blue, tiny purple dots to the aqua, and red stripes to the green. I regretted the red stripes almost instantly. 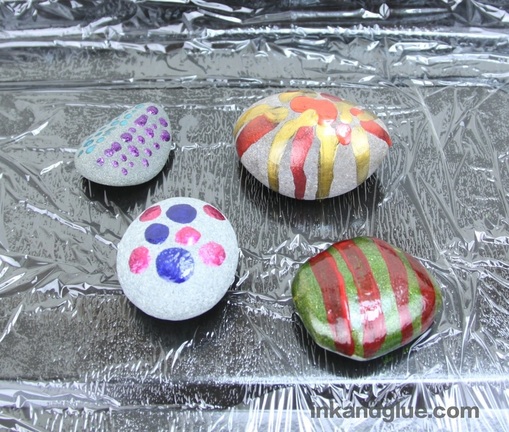 I added a third color to each rock, and did a second coat to the red stripes, which did not improve matters. For the drippy one, I added a foil-glitter gold, and added more drips of the previous two colors for better coverage.
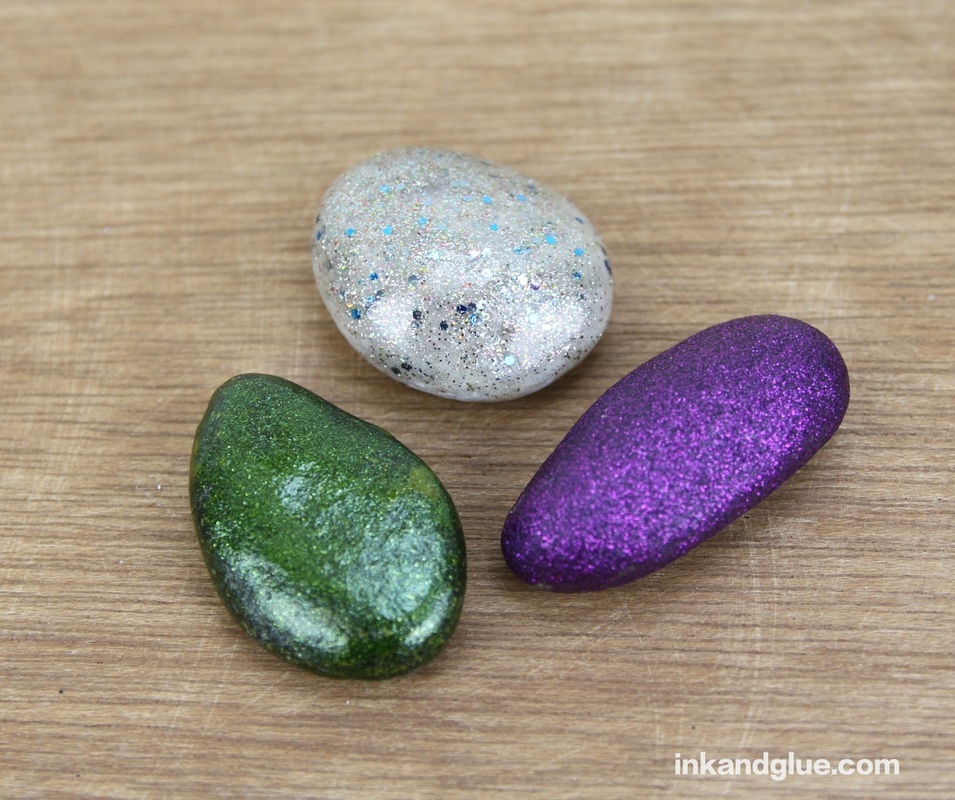
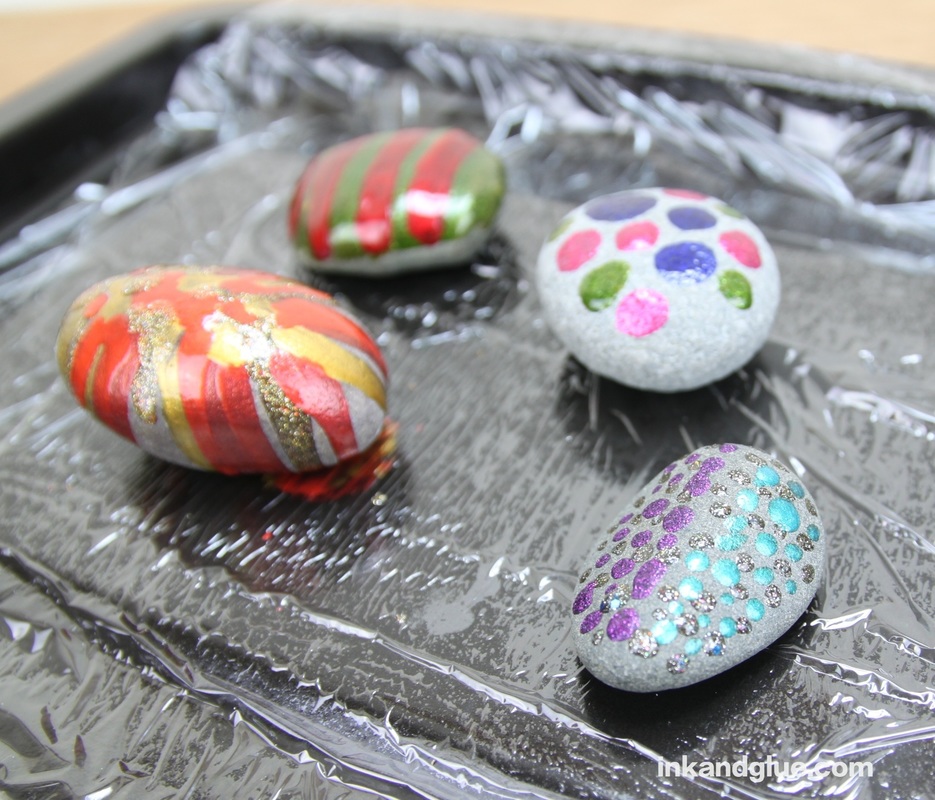
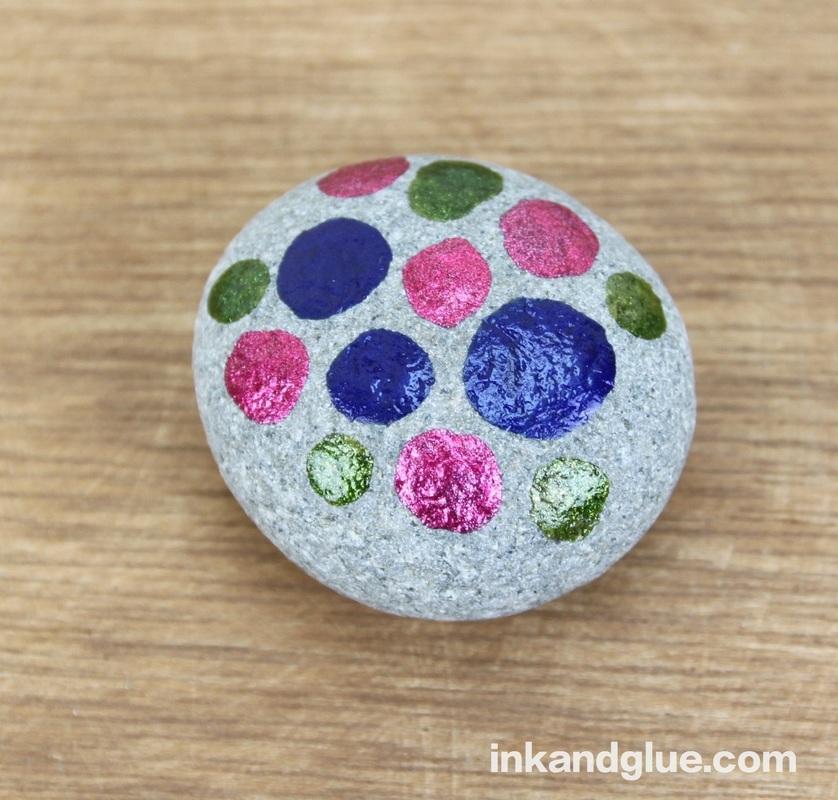
And, besides the green and red one, these are pretty neat. I was missing the perfection of the green one unmarred by stripes. So, I picked out three more rocks and covered each with a single color. Look at how luscious they are! 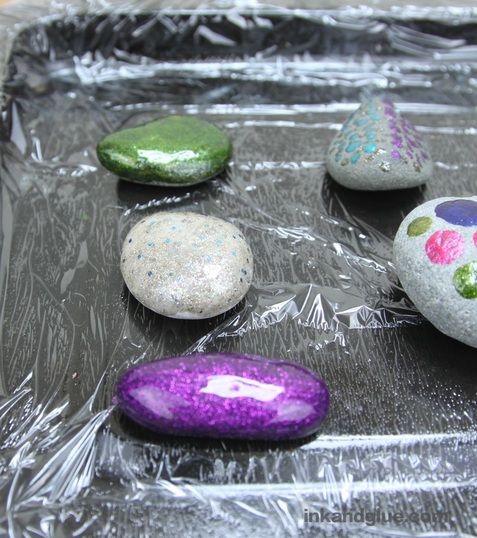 Let 'em dry for an hour or two before attempting to handle them. The drippy one had some polish pooled at the bottom that was still wet, so I flipped it over and let it dry a bit longer. The rest were ready to admire. The purple I have dries matte, which gives it a cool effect.
 xo!
This unused package of Press-On Patches for Overalls/Blue Jeans/Dungarees is from the weekly outdoor flea market I attended yesterday. I bought it with a large blueprint of an unidentifiable machine for $1. I am optimistic that its Sanforized (which really just means "pre-shrunk") and adhesive properties are still intact. 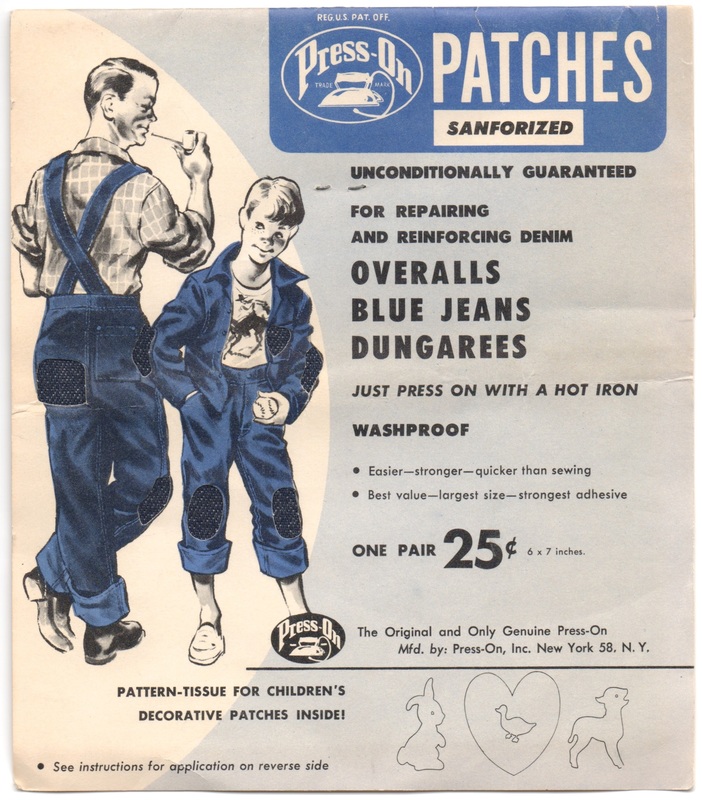 I appreciate the cut-outs in the package showing the actual denim patch underneath. Also, on the back, a helpful tip for determining if your iron is hot enough: it should "hiss sharply at the touch of a moistened finger tip." Needless to say, it is difficult to imagine a modern product encouraging you to try burning yourself. 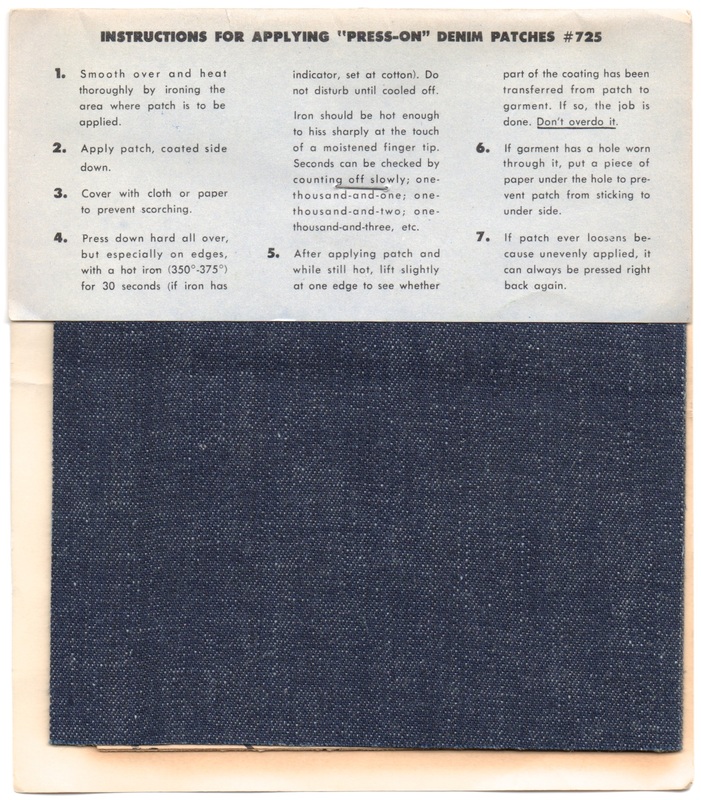 I scanned the page of shapes you can cut out, too. They're surprisingly gentle and feminine, in contrast to the rough-and-tumble male duo shown on the front. 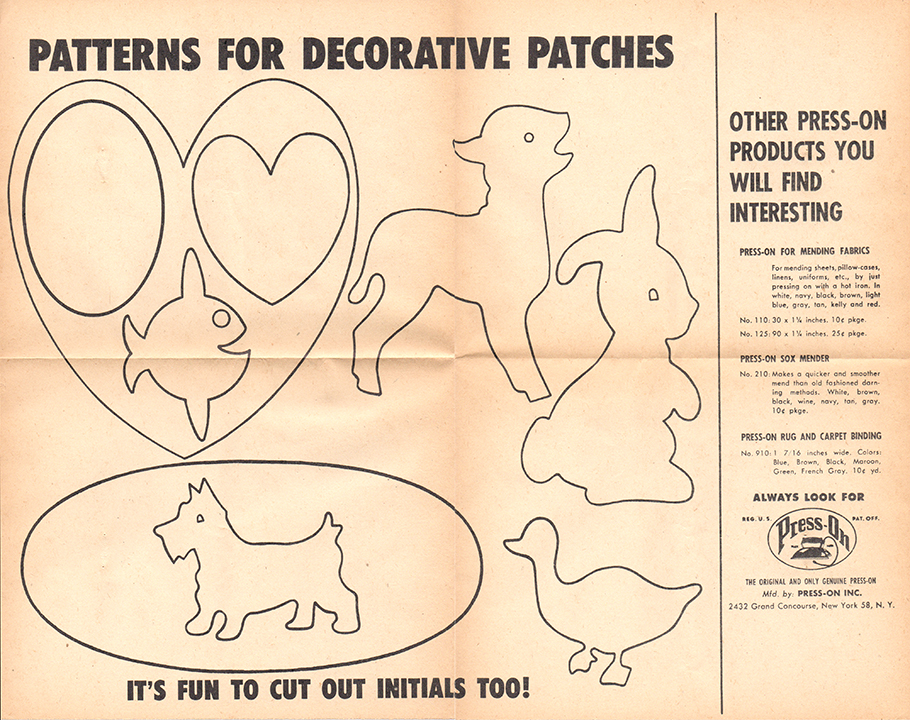 You're on your own for the initials; they assume you are literate and can figure it out yourself. Press-On appears to no longer exist, unfortunately. There isn't even a Wikipedia entry for them. Perhaps the business collapsed after a few lawsuits from housewives suffering second-degree burns to their fingers. Or, more hopefully, they were absorbed by some larger company.
xo Or maybe you want to share? I don't need the whole thing, just a bite. You like sharing, right? Good people share with their dogs, hadn't you heard? It's the "done" thing. 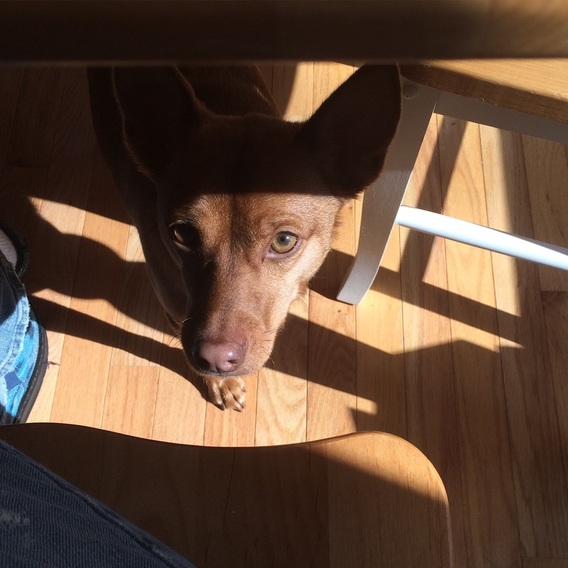 (I never feed him from the table, btw. He just thinks I might want to start. xo!)
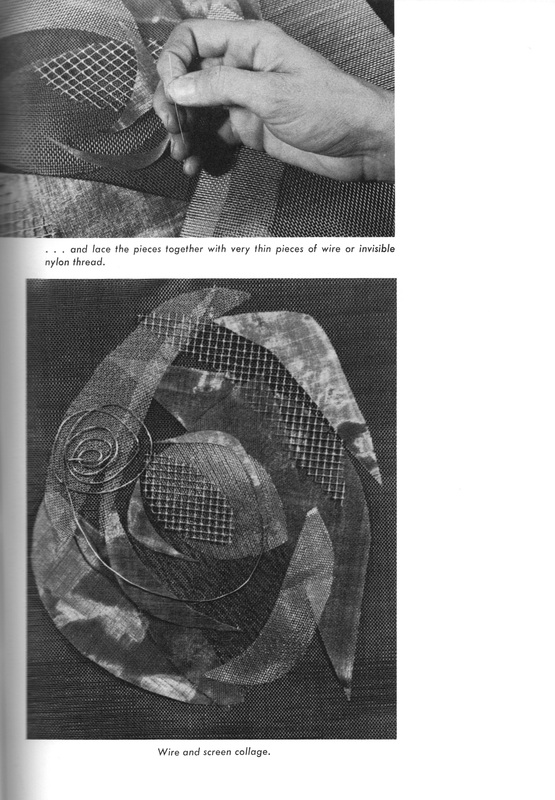
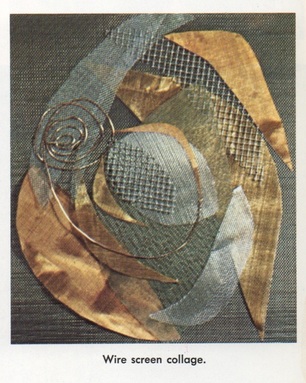
This crafting idea comes from Wire Art, a book printed back in 1977. It's actually a pretty useful book, and covers all of the possible artistry you can make with wire. Here, the book shows how to use window screen as a base for weaving or a collage. Older kids could definitely try these techniques; most window screen and craft wire can be cut with regular scissors (just use crappy utility scissors, as you won't want to wreck your nice sharp ones). 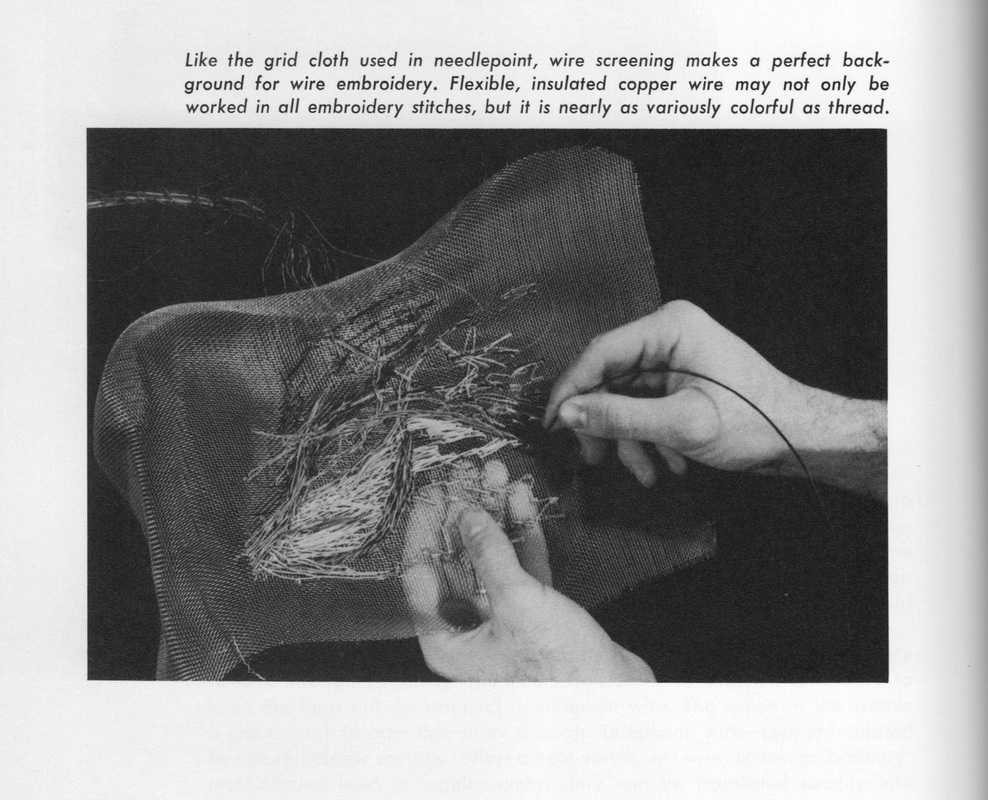 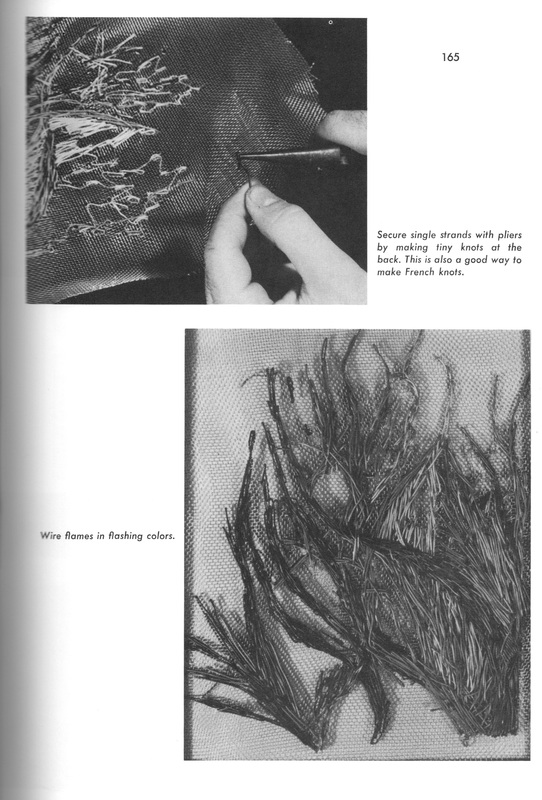 Here's a color version of the embroidered piece above, from the color section in the center of the book:  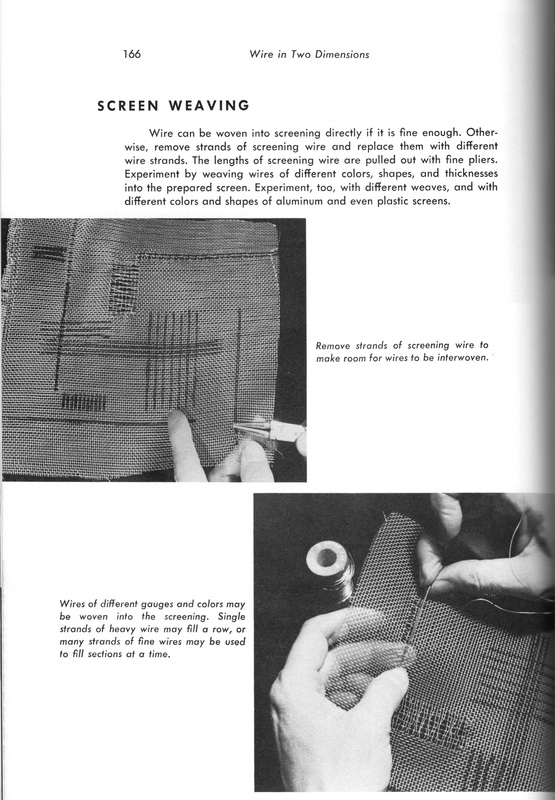 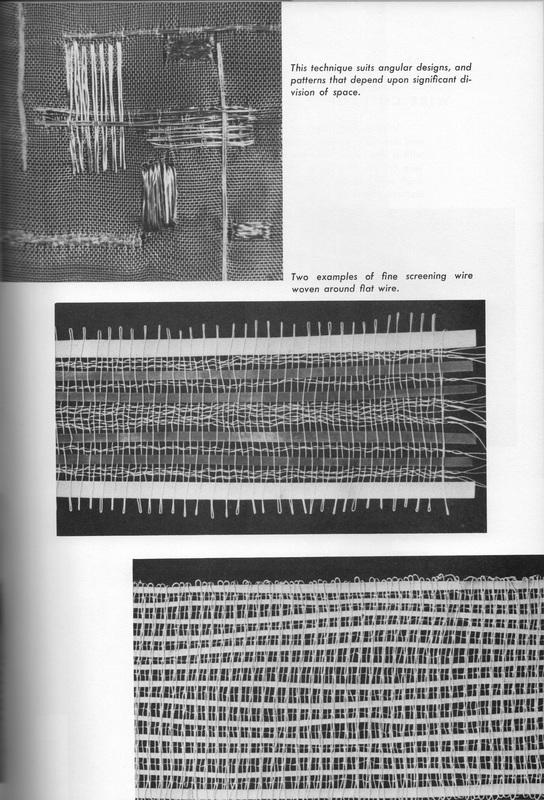
xo! Have you met Phyllis Rosser? She's a Vermont artist who makes sculpture using driftwood that's been worn smooth and bare by the Connecticut River. Her work is abstract, suggesting clouds, swirling water, bodies, and bones. This one is called "soft falling rain": 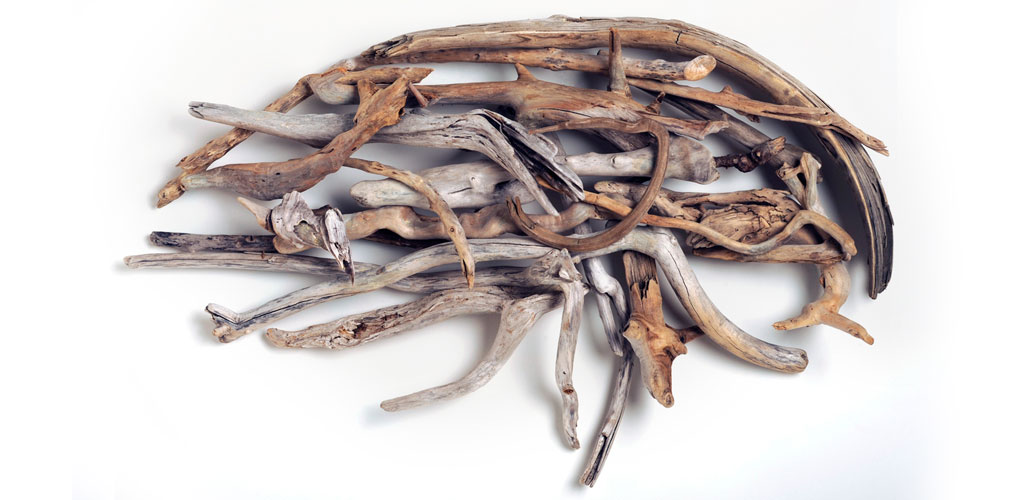 This is "exuberant heart": 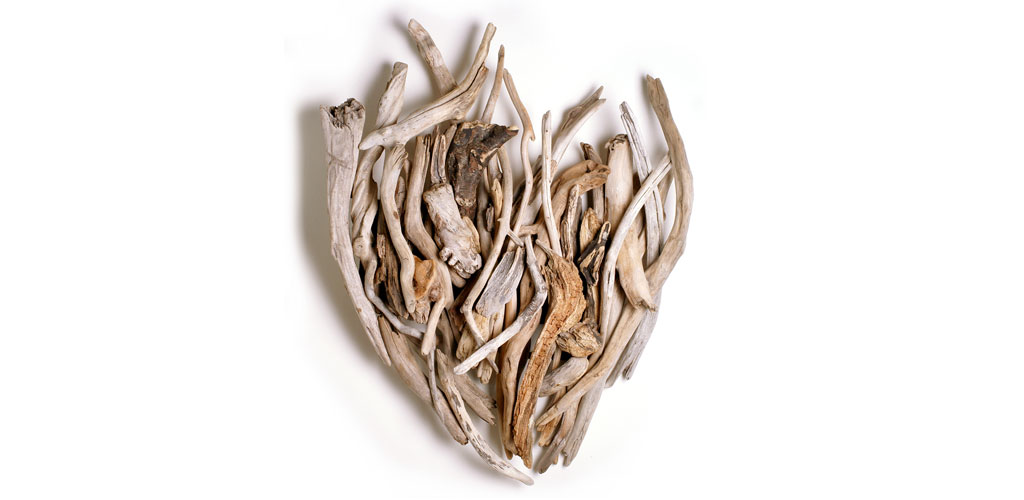 and "sailing forth": 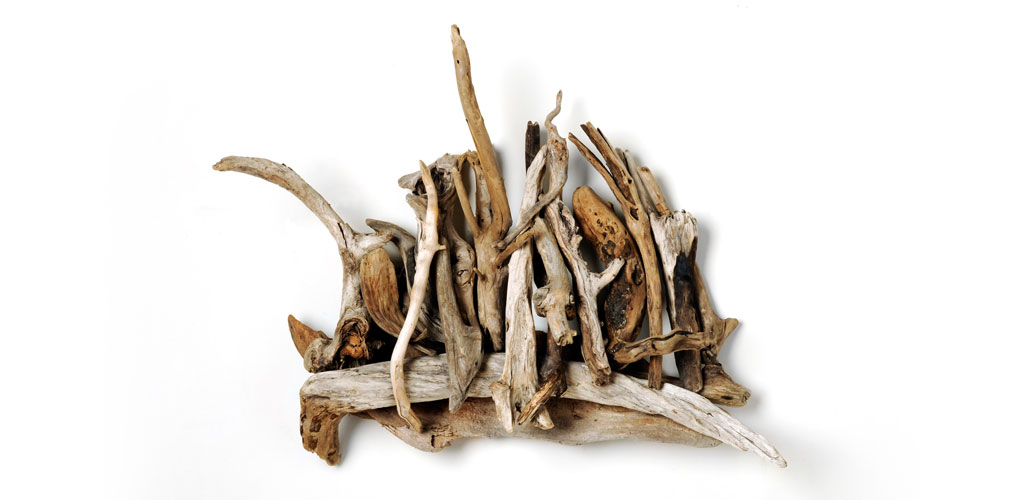 Although it's very difficult to tell, most of her sculptures are impressively large. Take a look at "prana," installed above a bed: 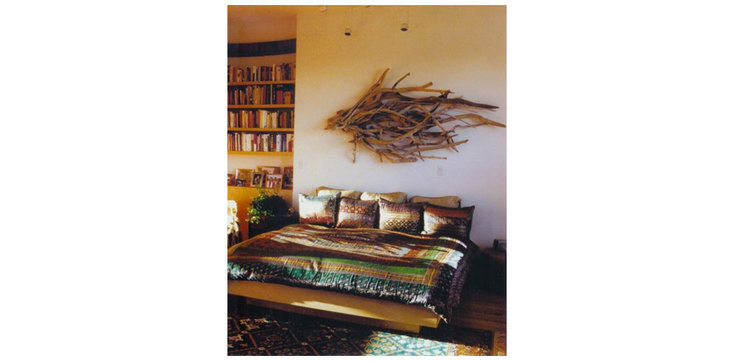 And here's a shot of an installation at the Ceres Gallery a few years ago.  The take-away here is probably obvious: you can make art with almost anything, including natural materials left in their natural, unpainted and unaltered states. It's all in how you look at the world. Allow yourself to play and experiment. See what you're drawn to (collecting driftwood, say) and then see if you can make something with that. Even if you don't end up with a gallery full of work, you've exercised your brain by thinking creatively and inventively. Go, you!
xo Check out these robot-like sand/snow scoops: Hand Trux! I would have loved them as a kid. 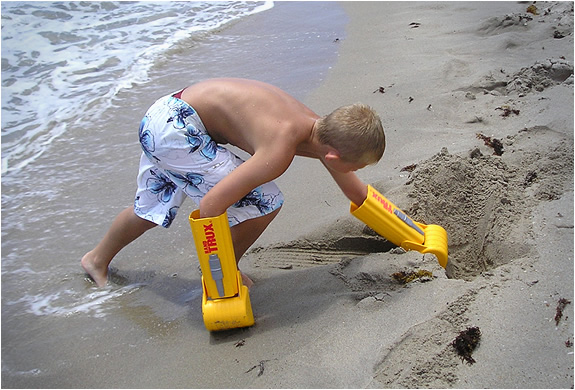 The reviews are all pretty positive, with some parents complaining their 2-year-old's arms aren't long enough (which, duh) and others saying there's some sharp plastic corners inside (which, totally valid complaint and something to watch out for). Also, you only get one Trux per order, so you'll have to buy two to become a badass mecha-man like the kid shown above.  (Note, the links go to the product's Amazon page, and I get a few cents if you order through them. I would be showcasing this product even if it wasn't on Amazon, however.)
Happy digging! xo As soon as I sat down after returning from my partner's graduation (as a PhD! Woohoo!), Franklin curled up on my lap and fell asleep. So sweet. 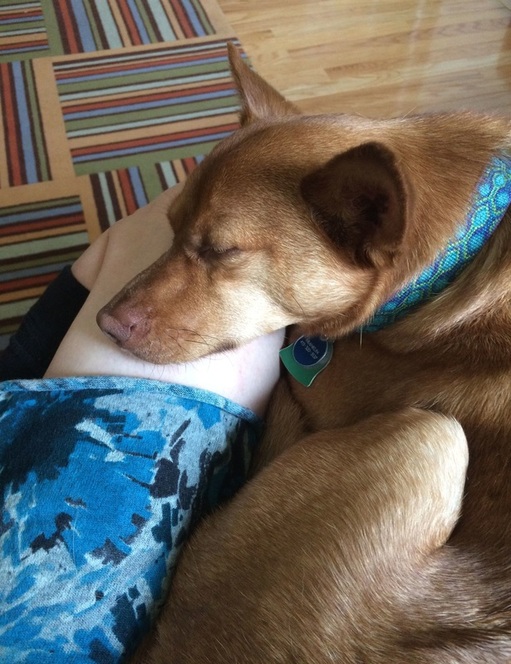 Happy weekend to all! xo
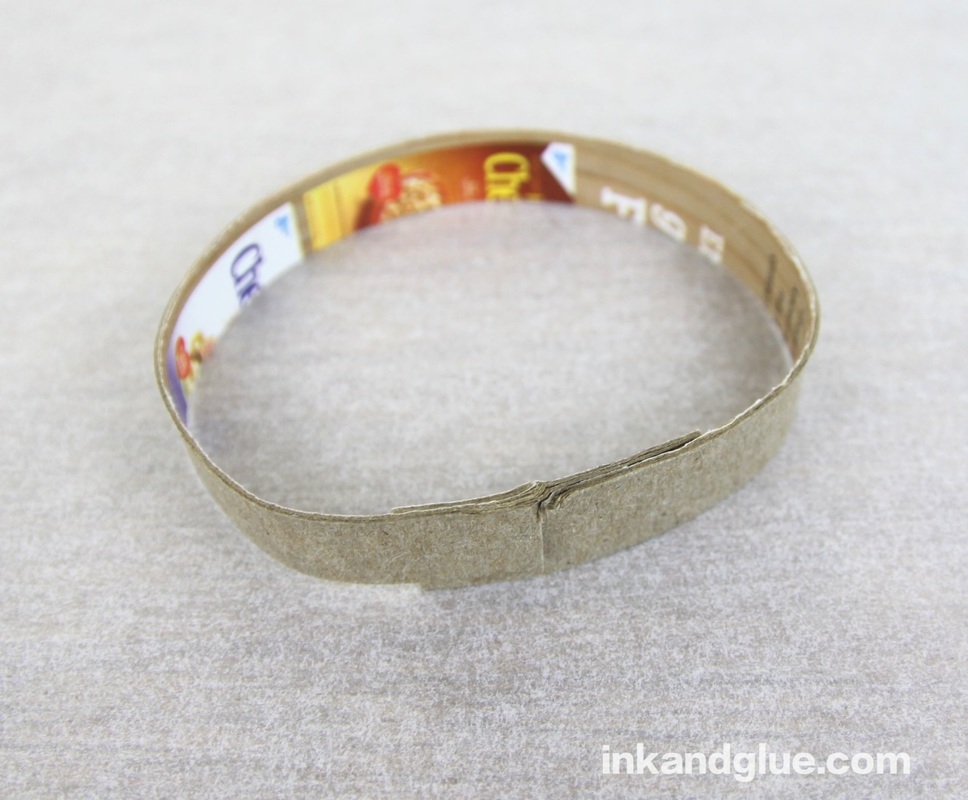
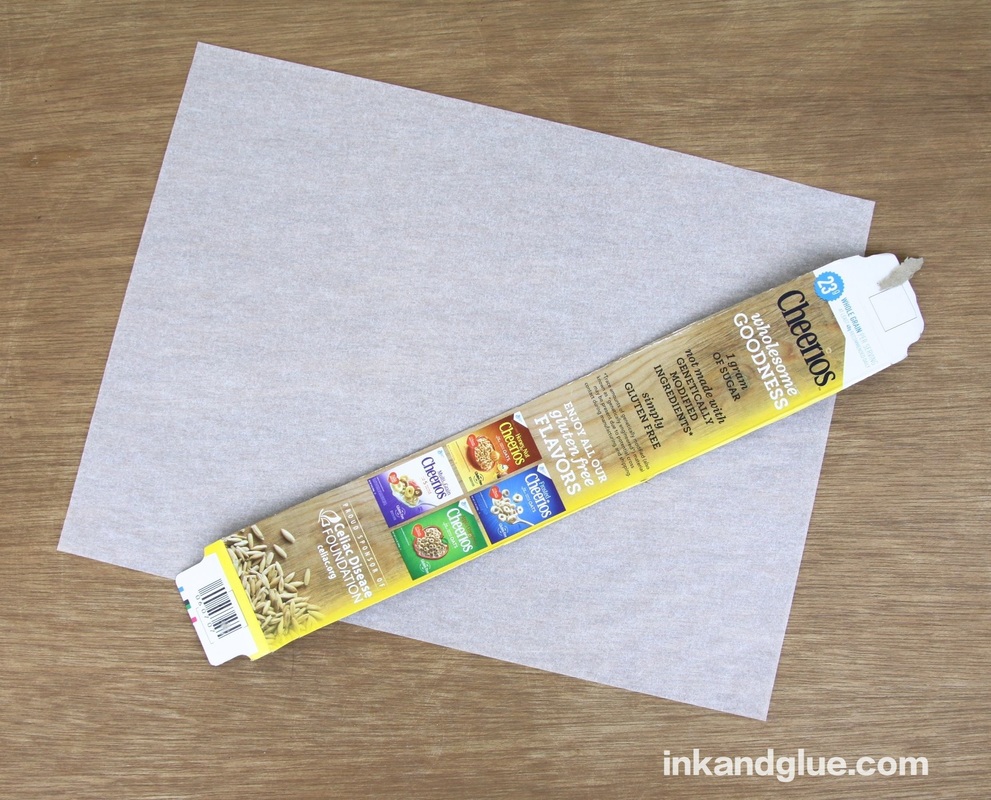
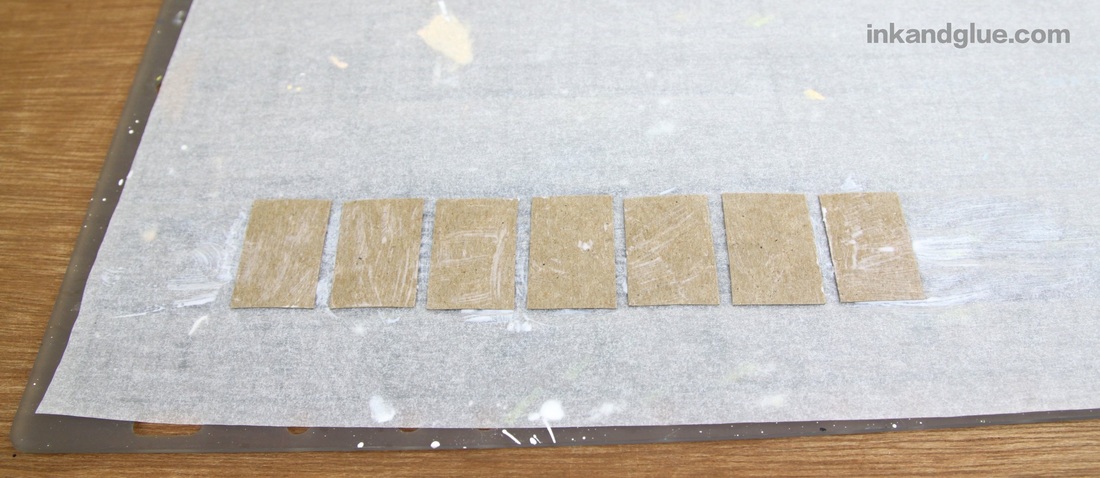
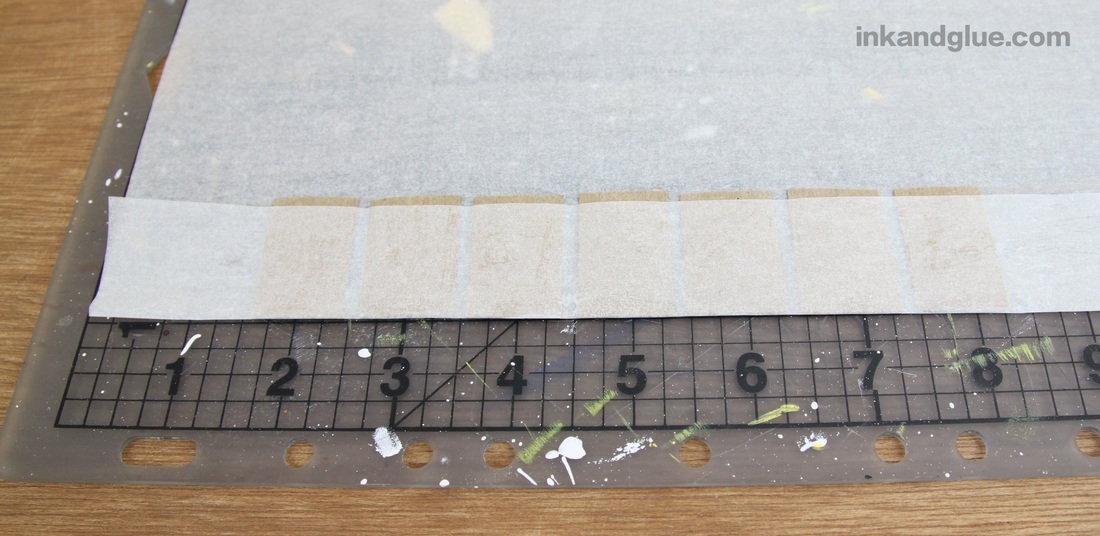
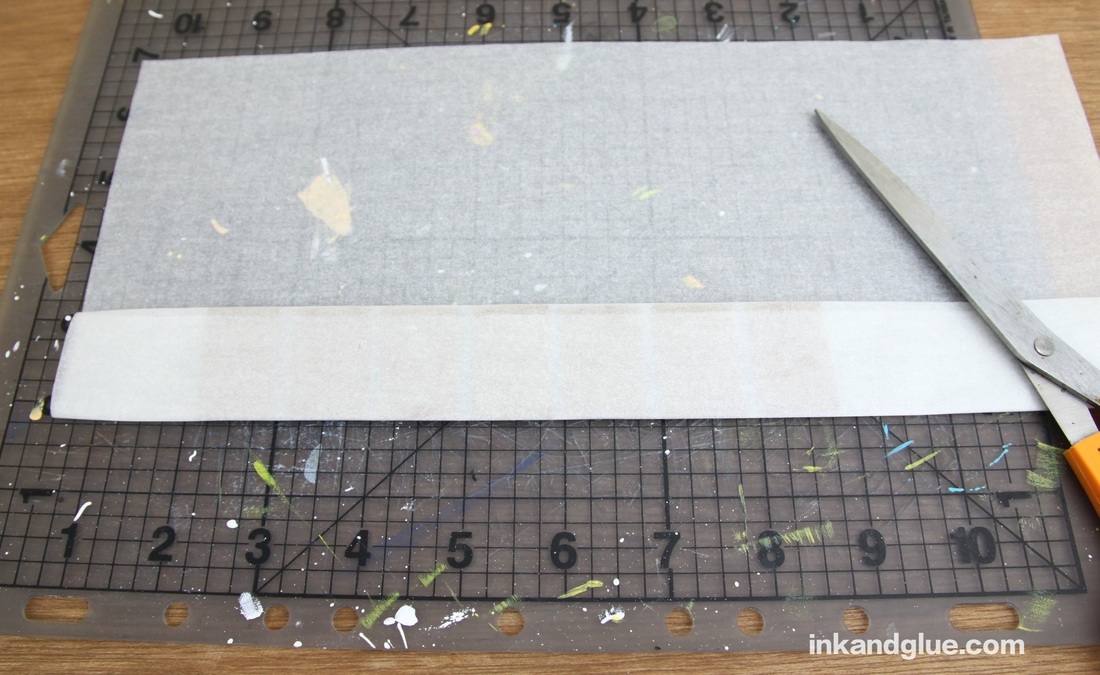
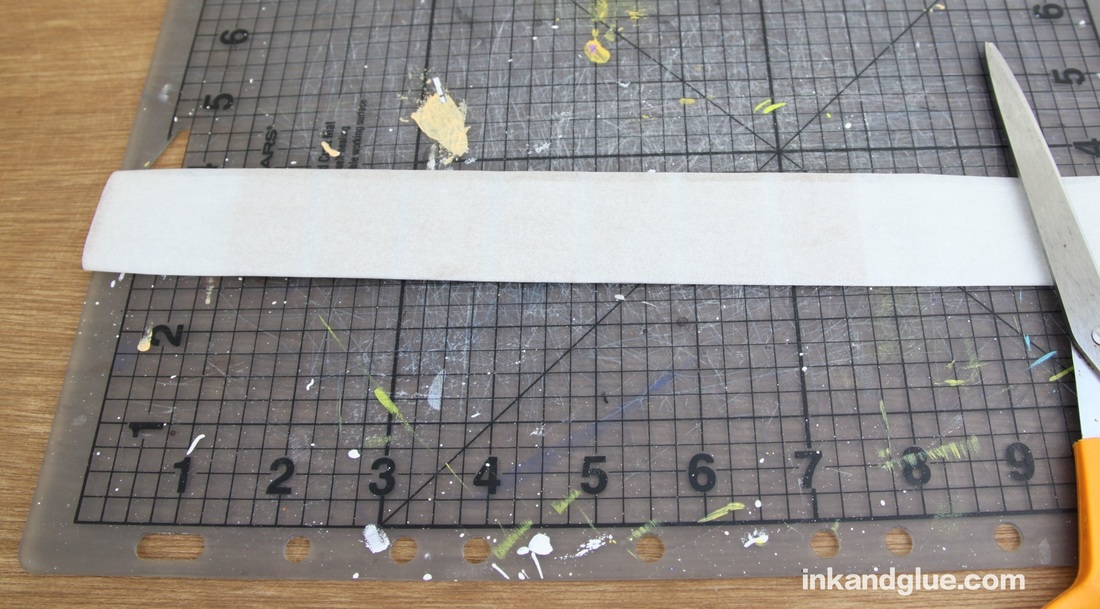
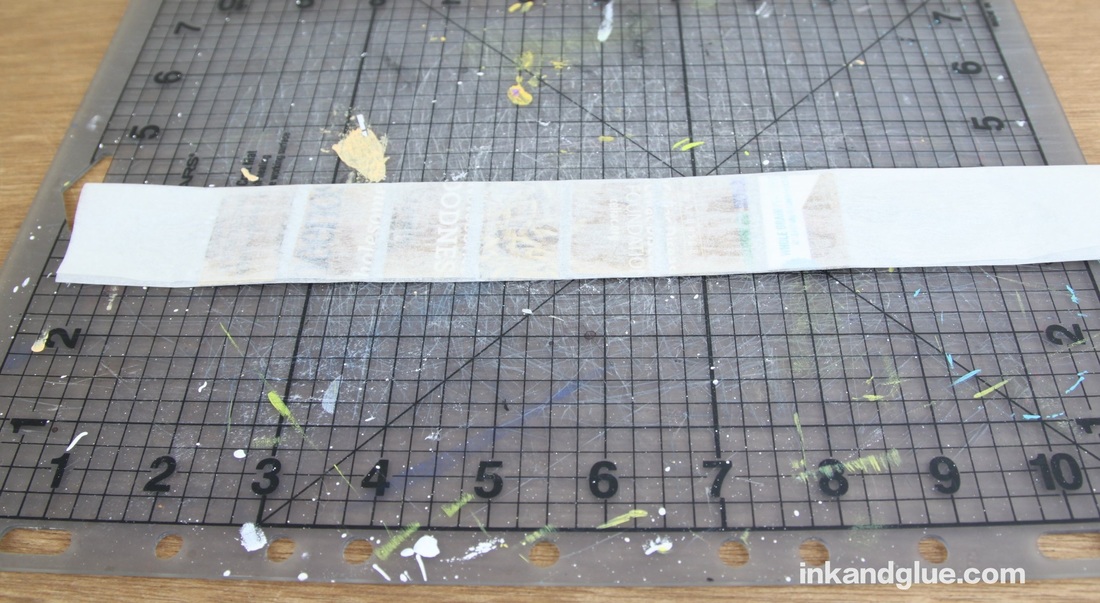
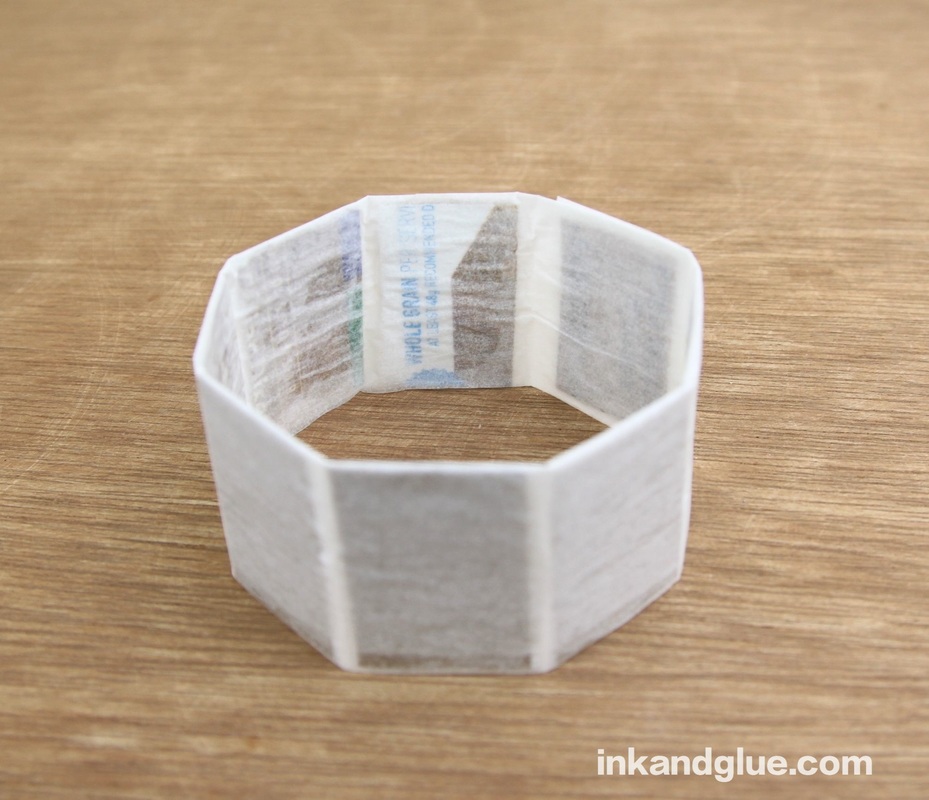
Bracelet week concludes with this project that's totally different from the previous three. It's kind of a faceted chunky bangle that I made with plain paper to act as a blank canvas for paints, markers, collage, or whatever you'd like. 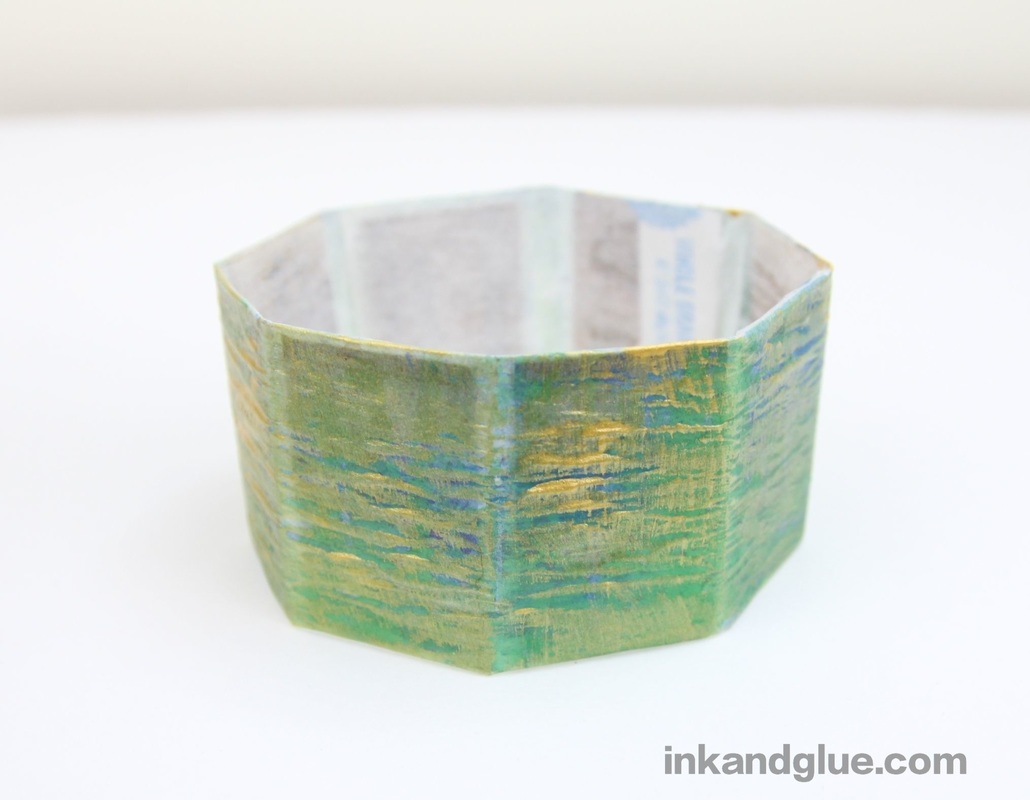
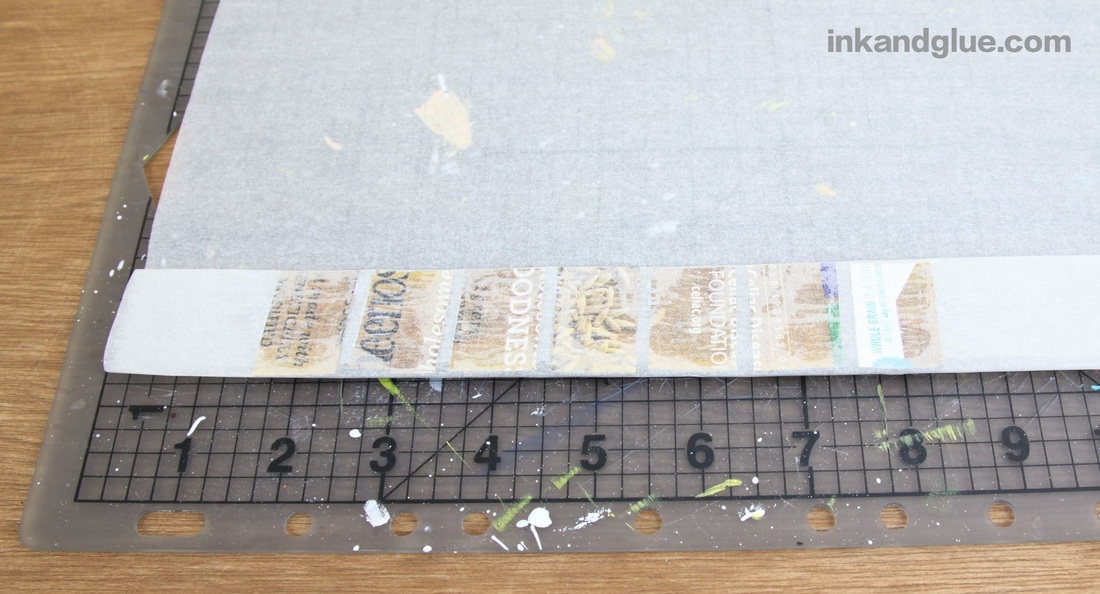
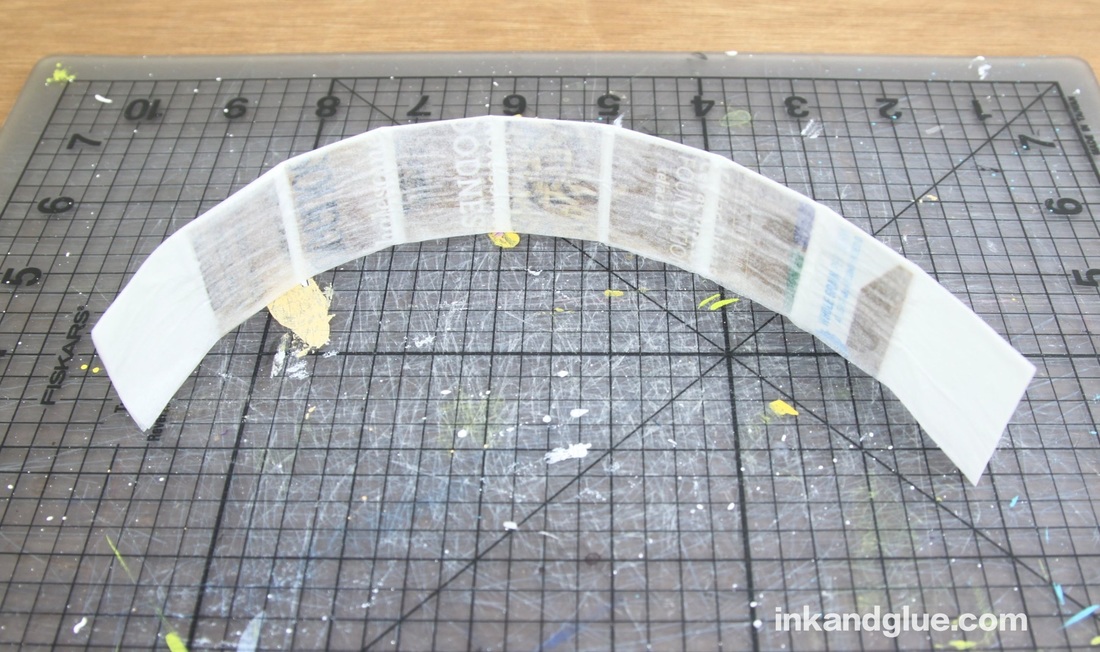
To decorate mine, I painted it all over with green and blue watercolor paint. After that dried, I lightly brushed on some metallic gold acrylic craft paint. It ended up with kind of a patina'd look. Neat! 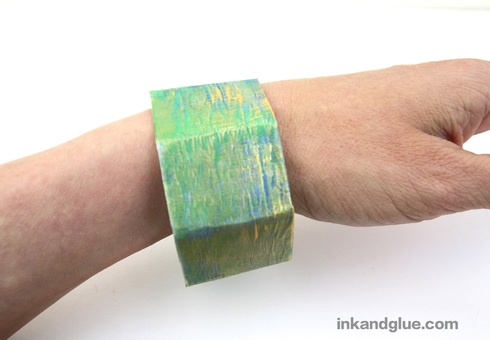 xo!
|
Categories
All
Archives
March 2017
AuthorI'm Debbie Way, an artist and writer who enjoys making things. |


 RSS Feed