|
What?? A Franklin THURSday?? Yes. I have the Alkema-based project to share with you Friday, as it is not quite done. So today, here is my happy pup, looking as he often does these summer days: tongue out and squinty, a little bit like he's laughing with joy.  xo!
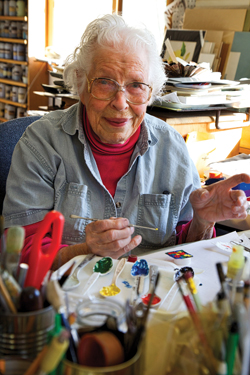
Here's a few more pages from Alkema's Scrap Magic. This time, the topic is metal — wire, in particular. And even more specifically, wire covered in papier mache. 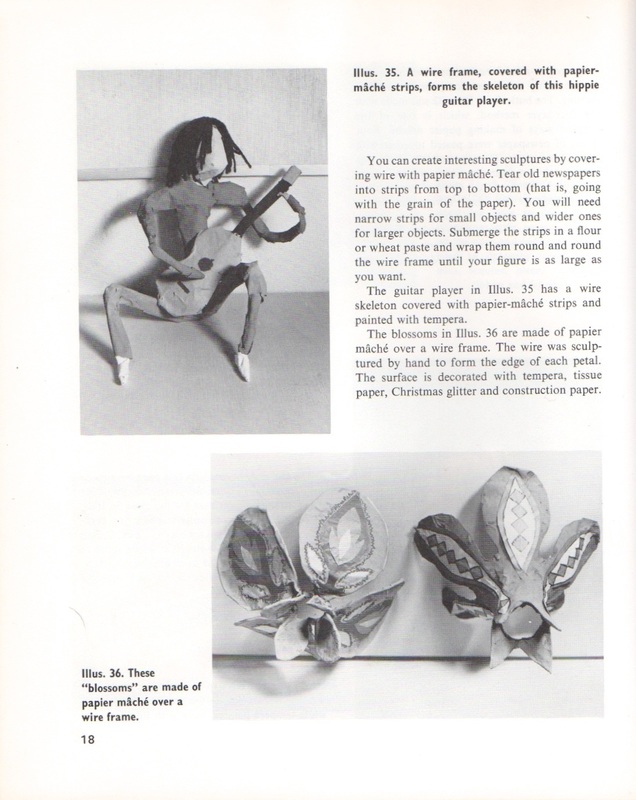 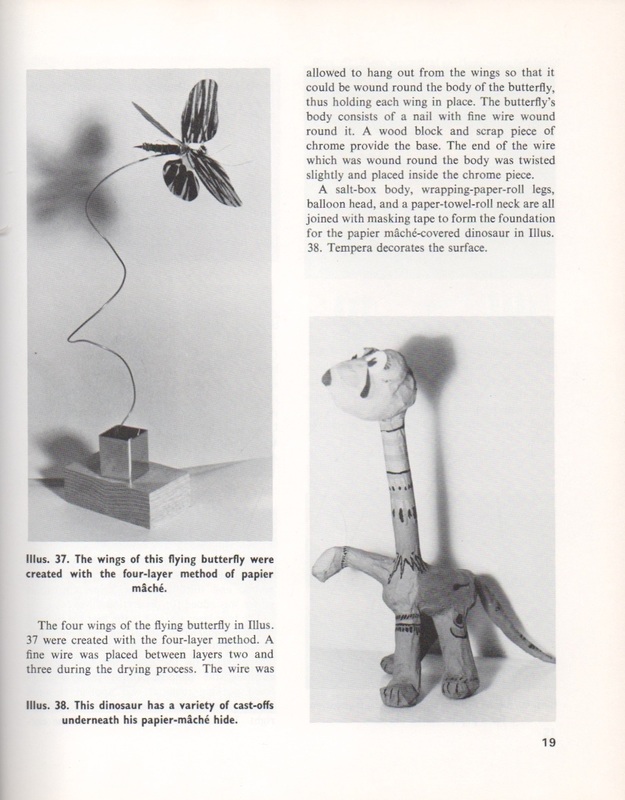 I love the little pig, below. But I disagree about using a tuna can for a bangle. Too sharp, too wide: 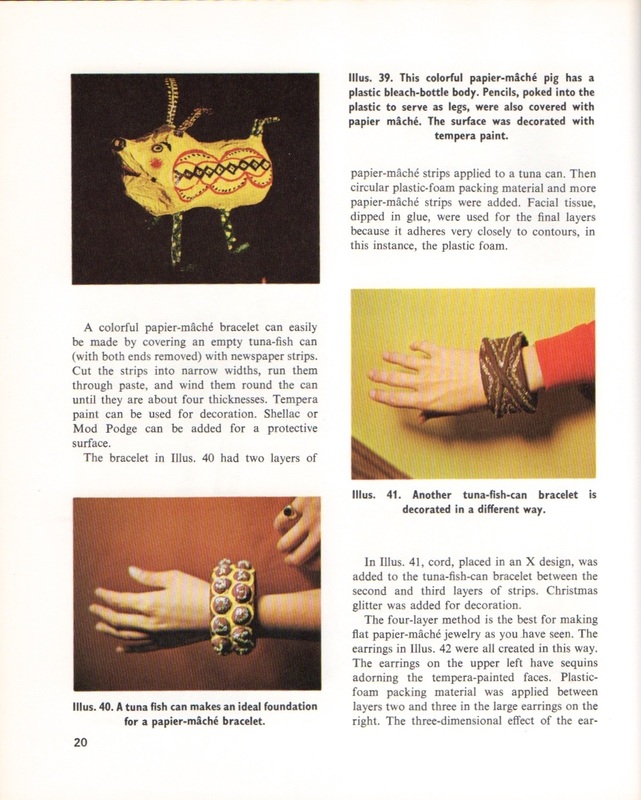 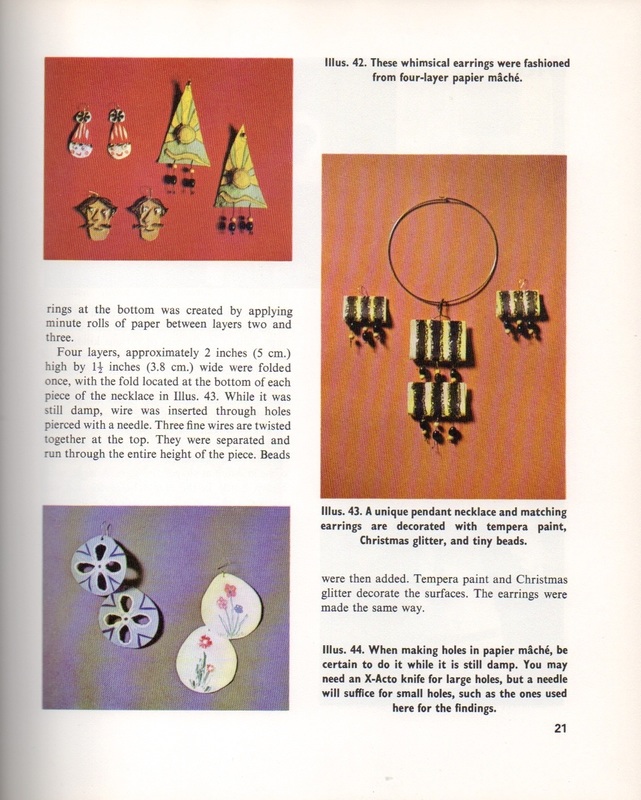 Have you met Carol Eckert? She's another example of an artist who has taken a simple craft technique and refined it to become something extraordinary. Her method is coiling (usually used to make vessels--here's a simple how-to version from CraftyPod), and she uses it to create tableaus of animals that are filled with symbolism, myths, and ancient stories. 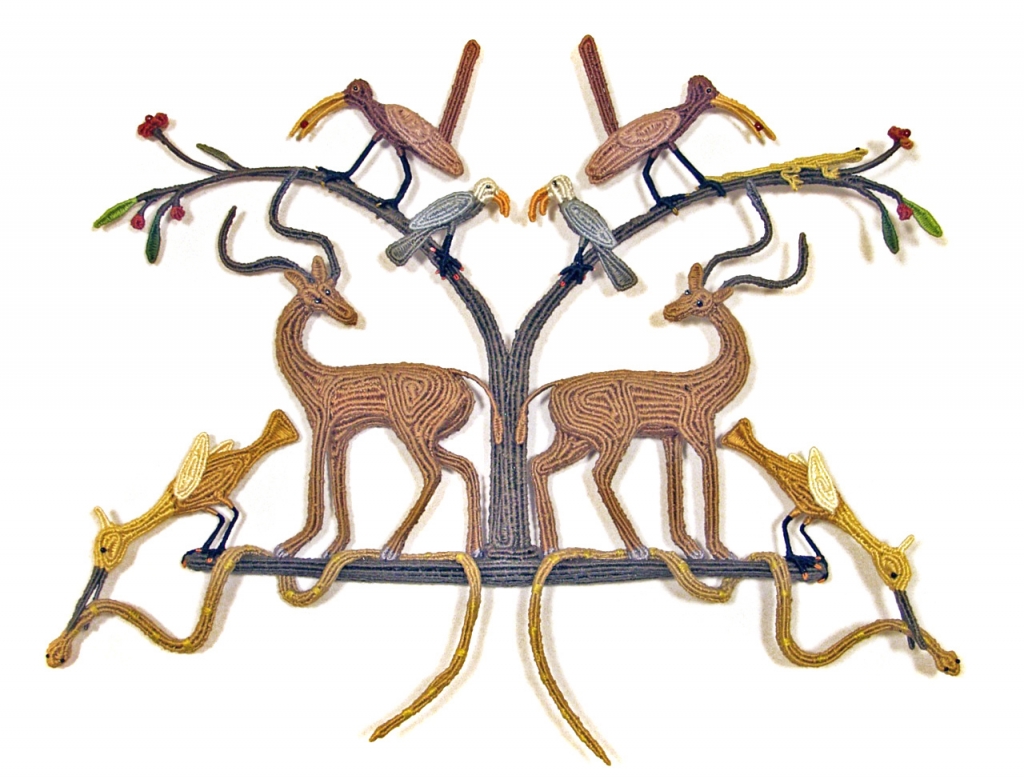 All of these are created with just thread and wire. Click on each image to go to its source page. Most are from Mobilia Gallery, but a couple are from Carol's own site. Go to the latter for a more complete look at her work. 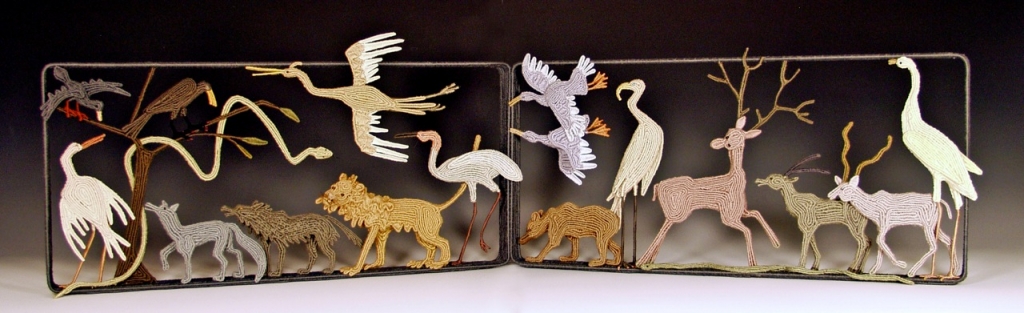 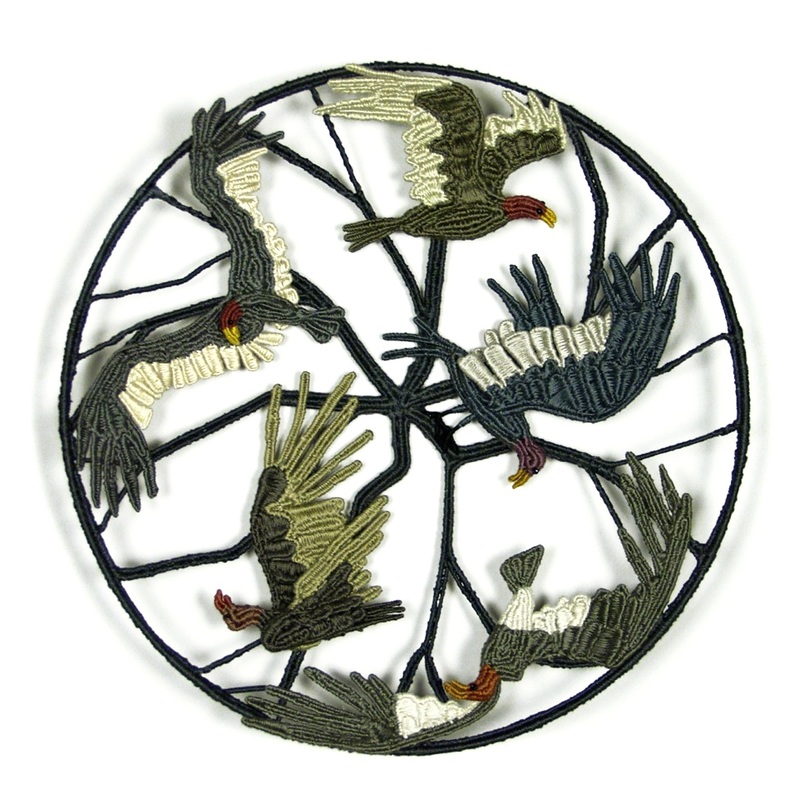 She also makes shrines, and staffs. 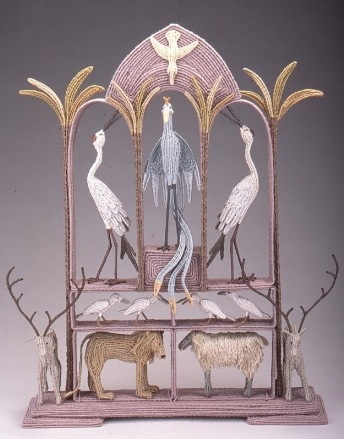 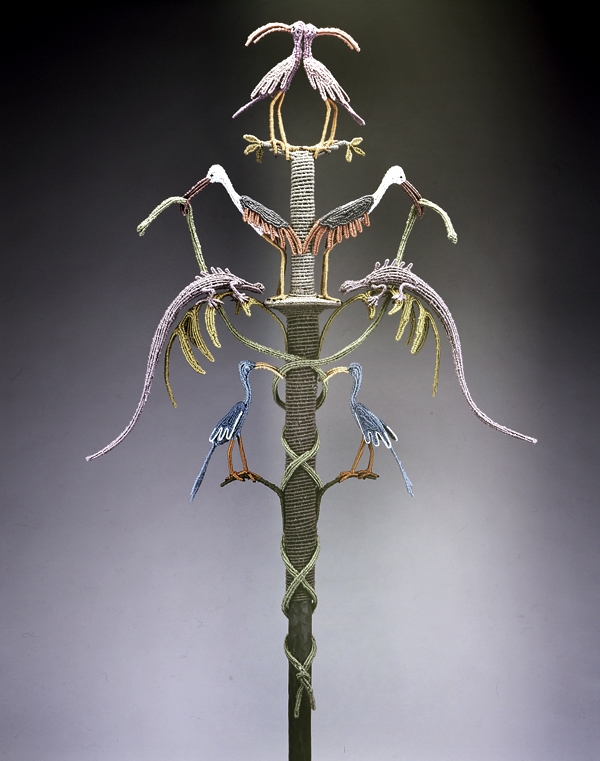 Totally gorgeous and inspiring!
xo Oh readers, did I find a treasure for you this weekend. It's Alkema's Scrap Magic, printed in 1976. (And yes, that is a link to purchase a copy. The internet is magic.) 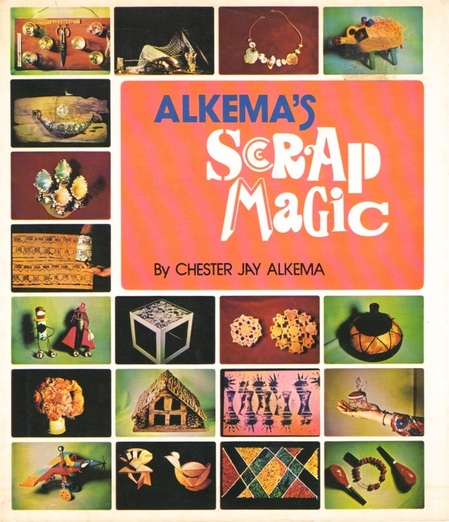 The back cover sells the book better than I can. 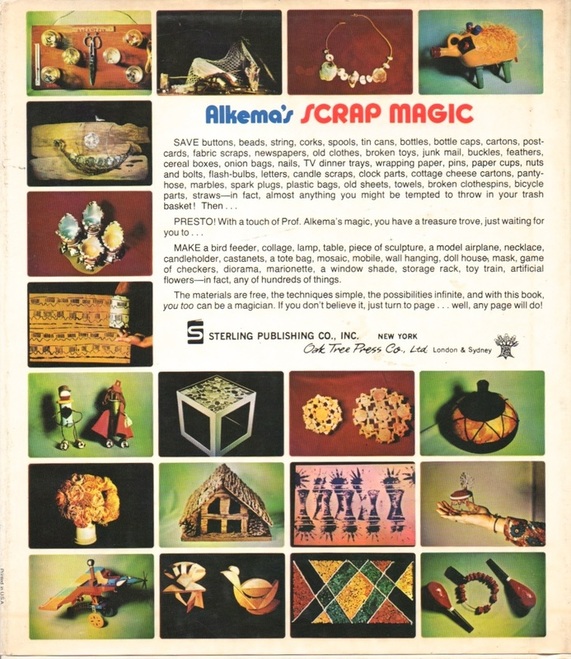 Wondering who Prof. Alkema is? Hoping there's an author photo? You are in luck. 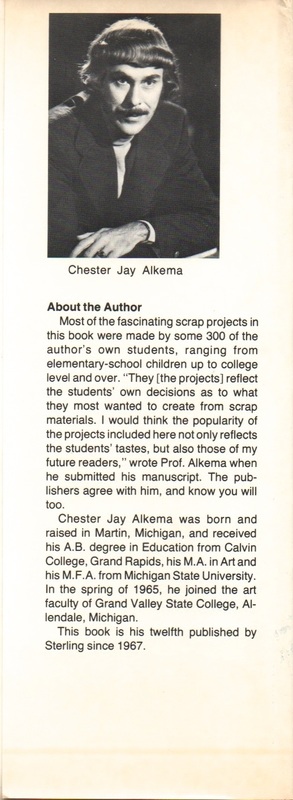 As you might imagine, this book is full of vintage style and weirdness, as well as actual, legit great ideas. Today's excerpt is taken from the latter half of a chapter about weaving. 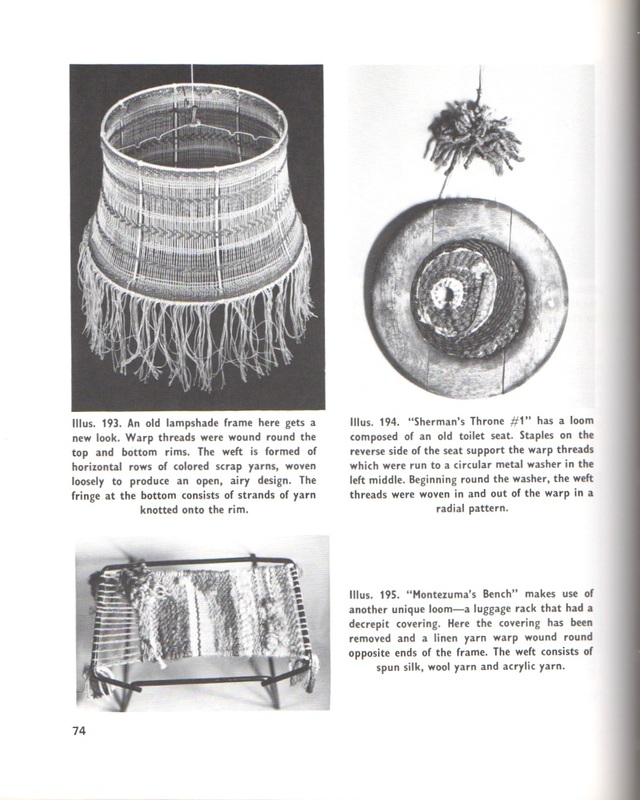 I want to try the "Montezuma's Bench" thing, and then sell it via Anthropologie for $500. 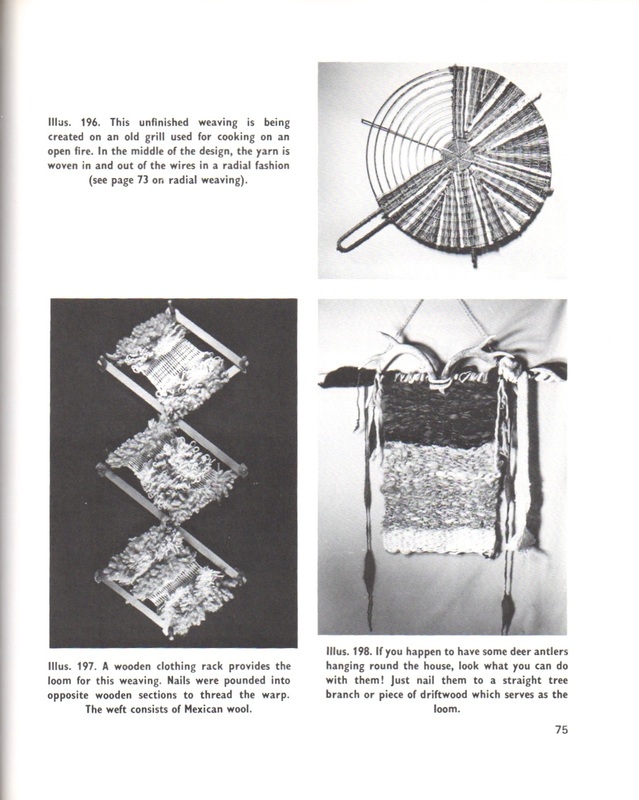 "If you happen to have some deer antlers hanging round the house." Ah, the 70s, when everyone had so many deer antlers lying around, they didn't know what to do with all of them. The next two pages are in color! Though, again, it's the 70's, so it's all a bit drab and earthy. 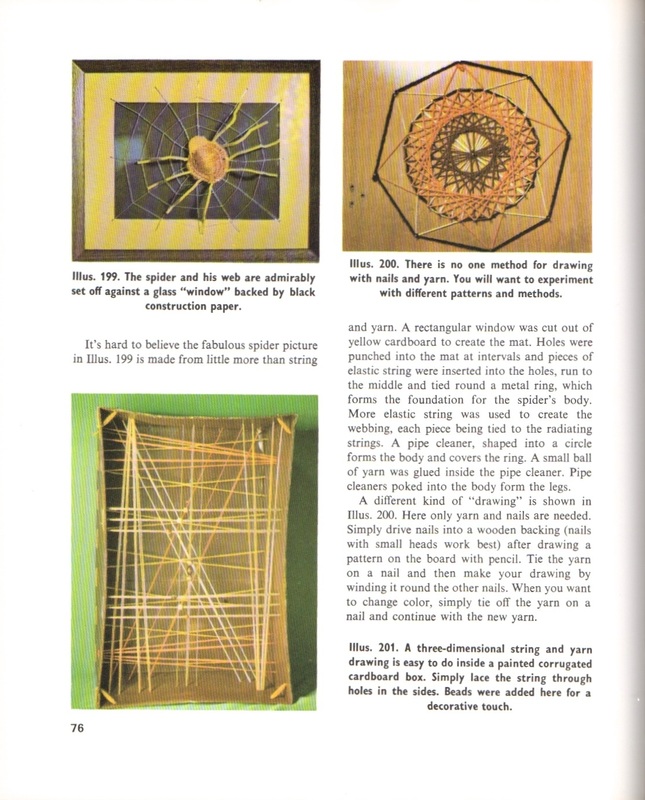  I like the idea in Illus. 203, of making smaller 2D "weavings" using wheat paste (or watered-down tacky glue, or wallpaper paste, as I prefer) and then stringing them together. Neat!
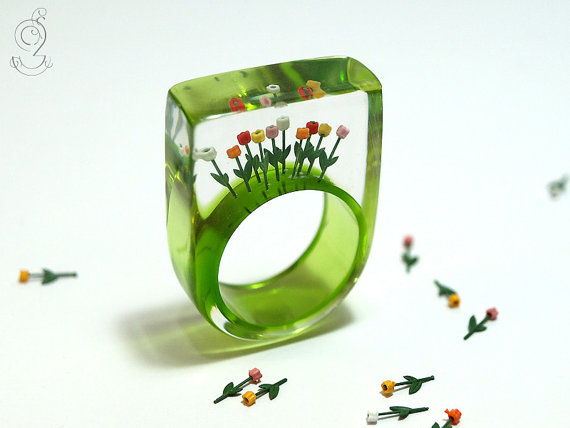
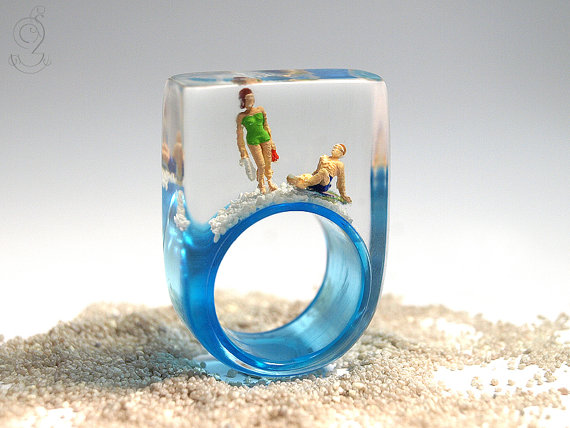
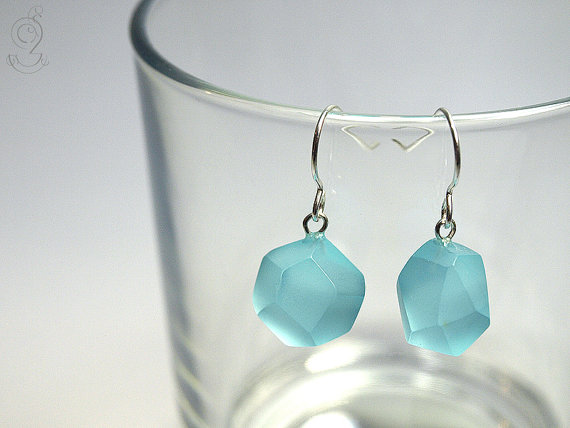
More to come. xo! Remember those colorful, blocky plastic rings that were popular in the 90s? An Etsy artisan from Germany, GeschmeideUnterTeck, has created an updated version with a similar shape. These rings have a lot more going on, however. (As always, click on the image to go to that item's shop page.)
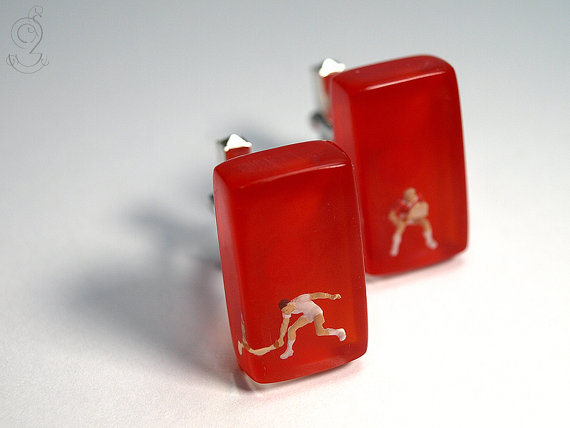
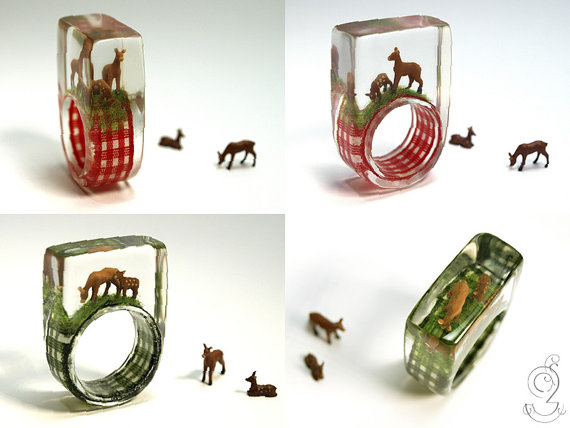 The shop doesn't offer only rings, however. There are necklaces, cufflinks, and earrings. Some are abstract, too.
This ring, with its design created with chopped-up plastic-coated wire, might be my favorite. 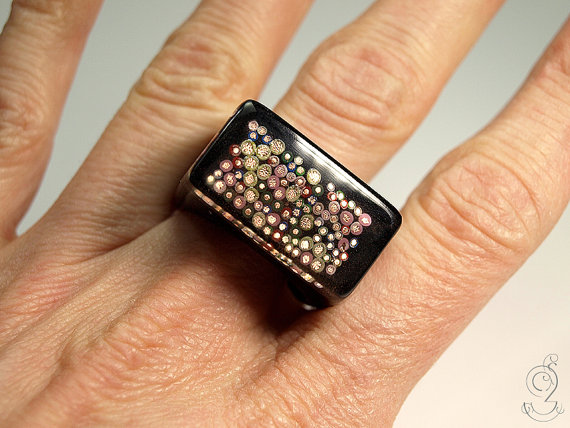 There's a lot more charming stuff to see on GeschmeideUnterTeck's shop site, so go browse around! xo
What's this, another 'i love vintage' this week? Yes, why not? I do, after all, love vintage. And three of my favorite vintage issues are specifically Summer themed, and summer has just officially begun. Don't you want to be as happy and self-satisfied as the woman in that wooly pink sweater is on the cover? 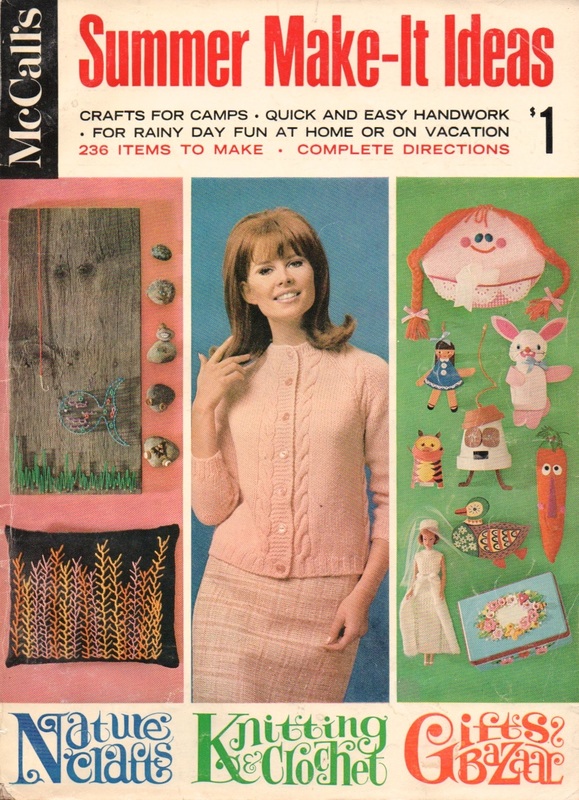 I love the wacky, off-the-wall typography at the bottom. I pulled out Nature Crafts and did a wee bit of clean-up work on it in PS. It's just so majestic. 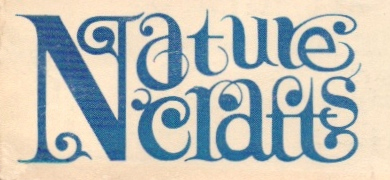 This particular two-page spread has both vegetable and mineral-based crafts. First, there are stone creatures, designed by Ruth and Bill Miller. (I am assuming the linked-to obit is this Ruth Miller. She died only recently, in April of this year. Bill, however, left this mortal plane back in the 1980s.) 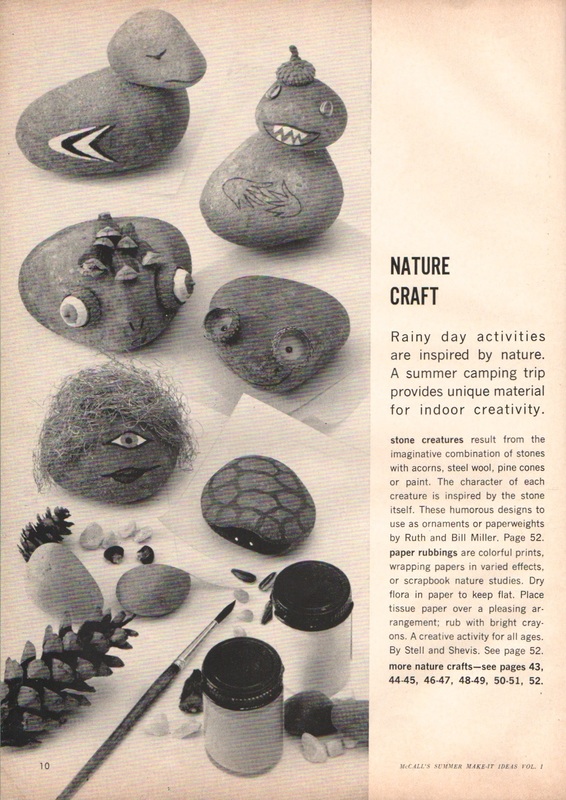 And then there's a more refined, serious project, paper rubbings using leaves and flowers. 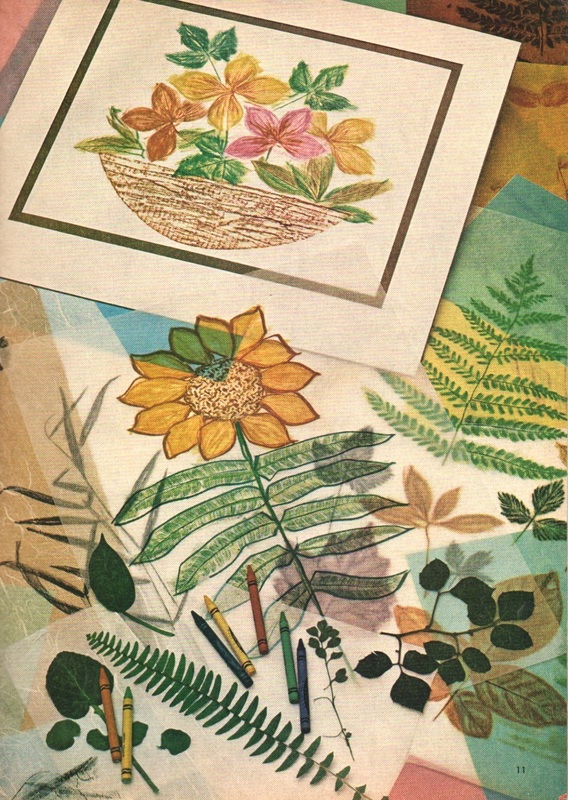
What, you want directions for these two projects? Of course you do. Look for "STONE CREATURES" and "PAPER RUBBINGS" for helpful tips.  Happy summer nature fun! xo
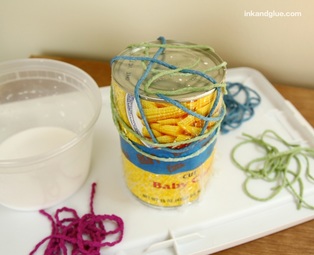
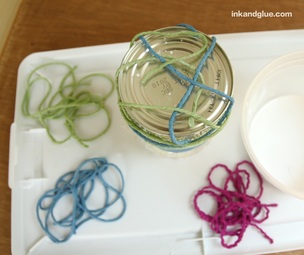
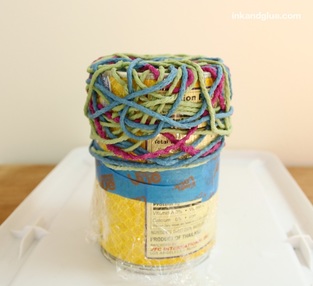
 This glue-and-string project is as simple as can be. Choose a can from your pantry, cover half of it with gluey yarn, let the glue dry, and that's it. The finished object can hold lightweight items like cotton balls or acorns or Shopkins or Squinkies or whatever gumball-sized plastic collectable your child is currently into. Start by collecting three (or so) colors of yarn, and a can. Cover the can with plastic wrap, and secure it with tape. Try to keep the plastic wrap taut over the top of the can so you don't have to deal with the ridge around the edge. 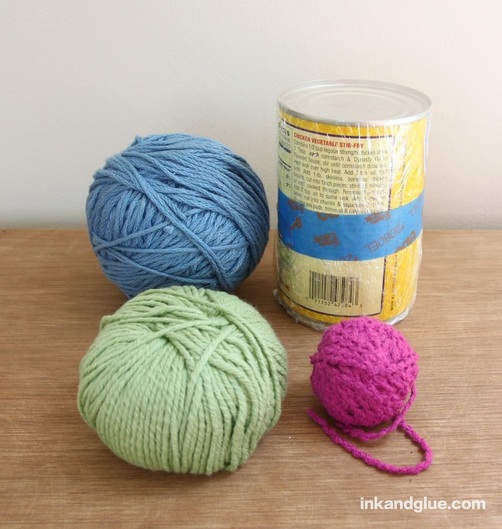 Cut each color of yarn into 4 or 5 foot-long lengths. Put everything on a work surface that can get wet; I used the upside-down lid of a plastic storage bin, but an old Sunday newspaper would work fine too. 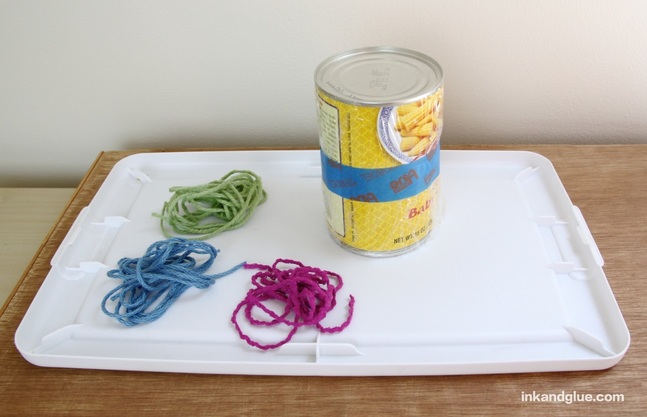 Make a 50/50 solution of tacky glue and water. One at a time, dip a string in the water and swizzle it around so it gets saturated. Let a bit of it drip off (don't squeeze it dry), and wrap it around the can. With each additional strand you add, make sure you're crossing previous strands in order to create a sturdy-ish matrix.
Once you've added what looks like enough strands — I prefer an airy, lacy look — gently press the strands onto the can so they'll adhere to each other even better as they dry.
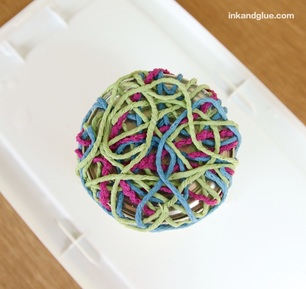
I put my yarn-wrapped can outside on a summer day and it was dry in just a couple of hours, but be sure to leave it alone until it's entirely dry. When it is, remove the string cup from the can. 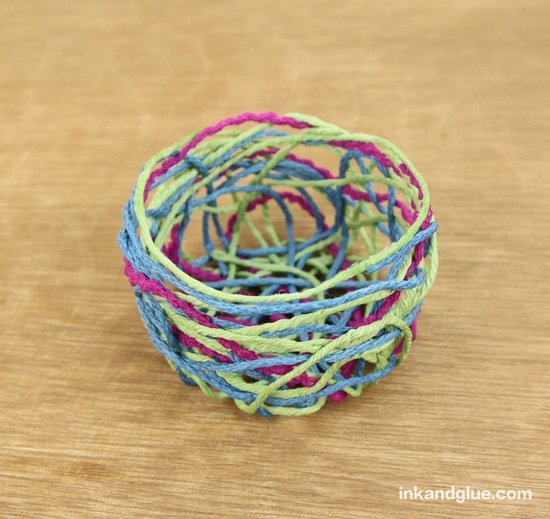 If you have any wayward strands that aren't anchored to enough cross-strands, just add a drop of tacky glue to any key junctures. That's it! 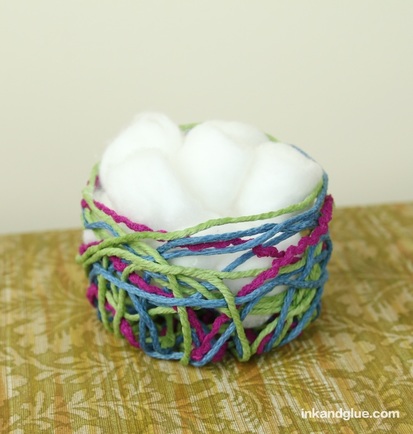 xo!
This is a two-page spread from 1966's McCall's Summer Make-It Ideas. Things I like about this: "Droll hanging pot people," as a phrase; the little granny pot with the reading glasses; the jaunty fellow with the comb mustache; and "A craft idea from which you can take off on your own imaginative bent," a sentence I should put as a matter of course at the end of each of my project posts. 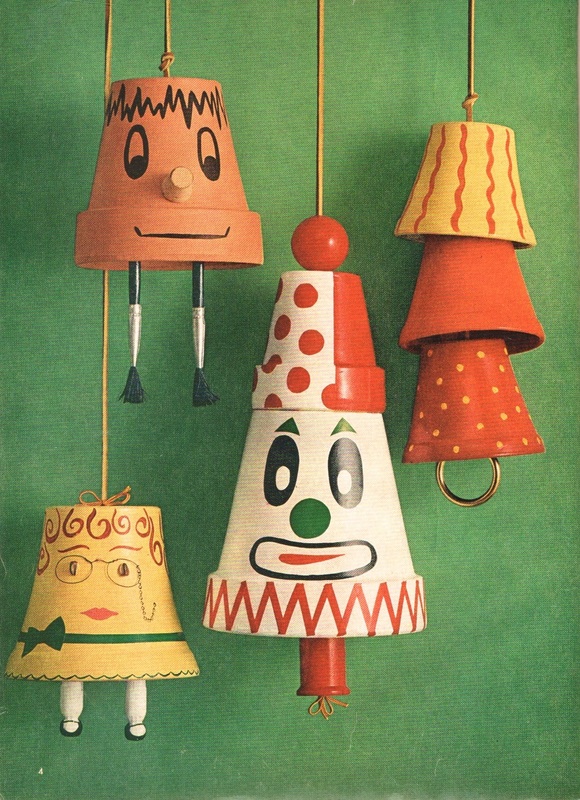 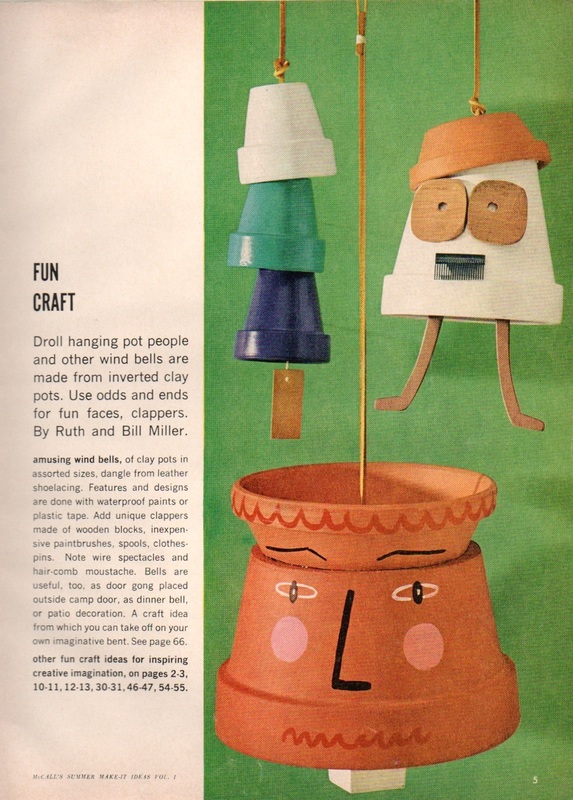 And here are directions, if you truly feel you need them. (Look for "WIND BELLS" in lower left.) As usual, the directions make these projects seem ten times as difficult as they actually are. (YMMV.) 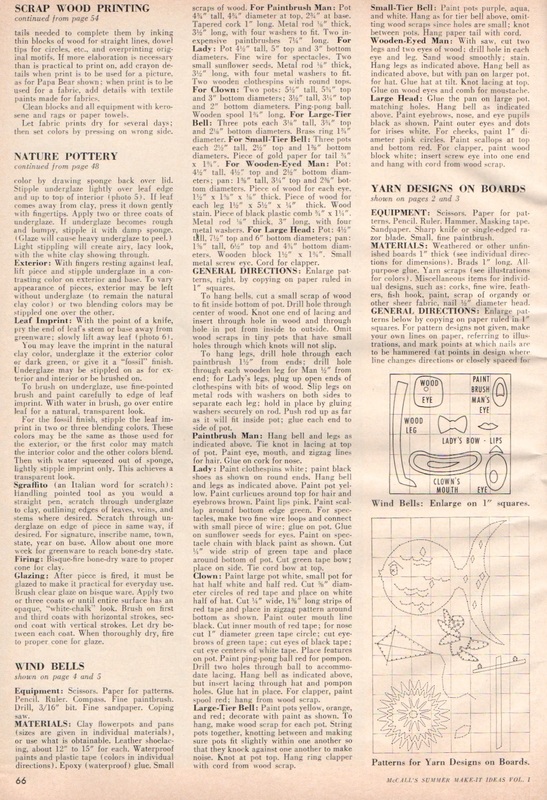 xo!
Have you met painter/illustrator Mati McDonough? She uses acrylic paint with collaged paper elements to create work that's dreamy, colorful, and lush. I love the sly look of this indigo bunting. 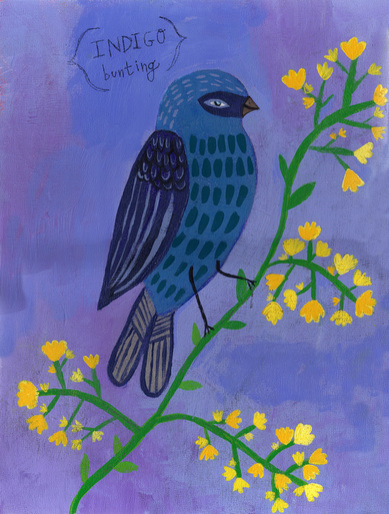 Look down there, is that security envelope paper I see? 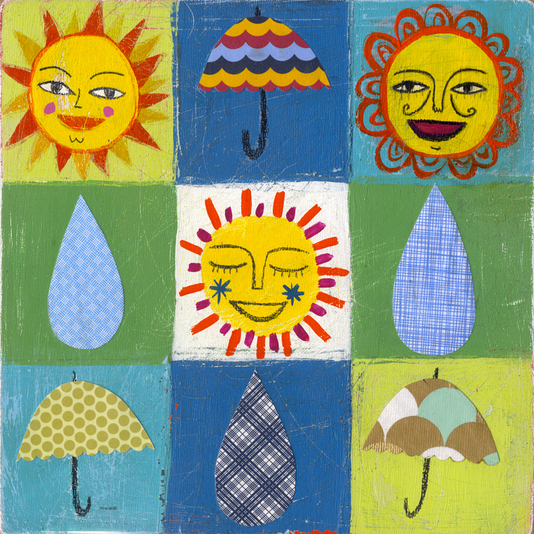 I love the little "BEST" in this one. 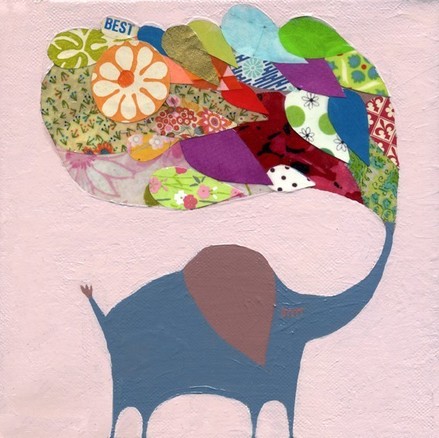 Mati is represented by agent extraordinaire Lilla Rogers, on whose site you can also see photos of Mati's studio. She has her own site, too. A few of the sections are 404'd but the "graphic paintings" portfolio is full of goodness like this tiger kitten, which I have seen before (somewhere...). 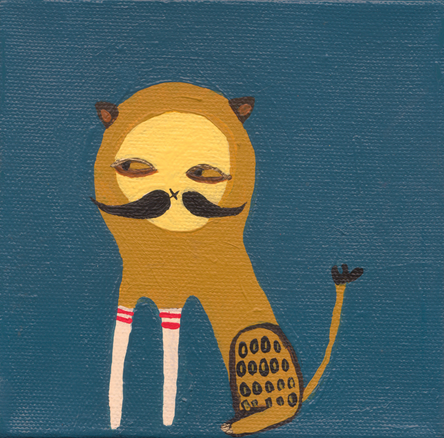 Wait, maybe I've come across her etsy site, Mati Rose, before? You can buy a painting of Marcel, the tiny tiger kitten, for a mere $30! 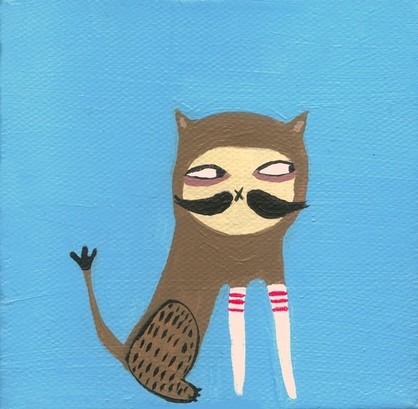 Go explore Mati's etsy site for many other prints and affordable, original artwork. And then grab some paint and paper scraps and glue, and experiment!
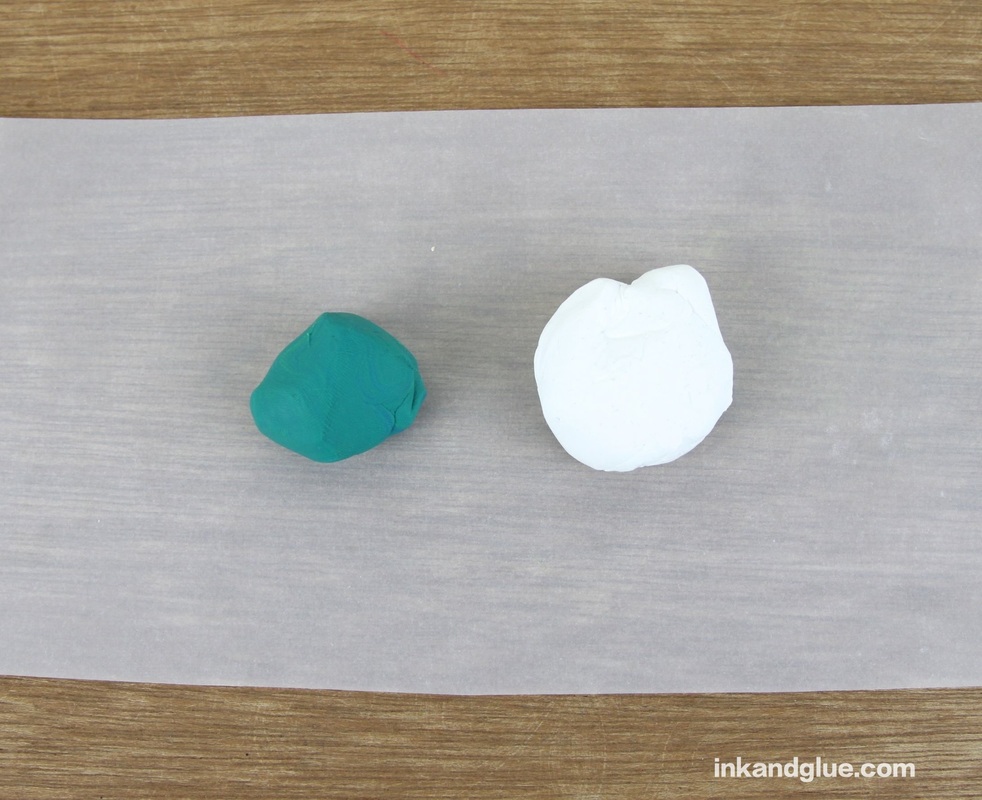
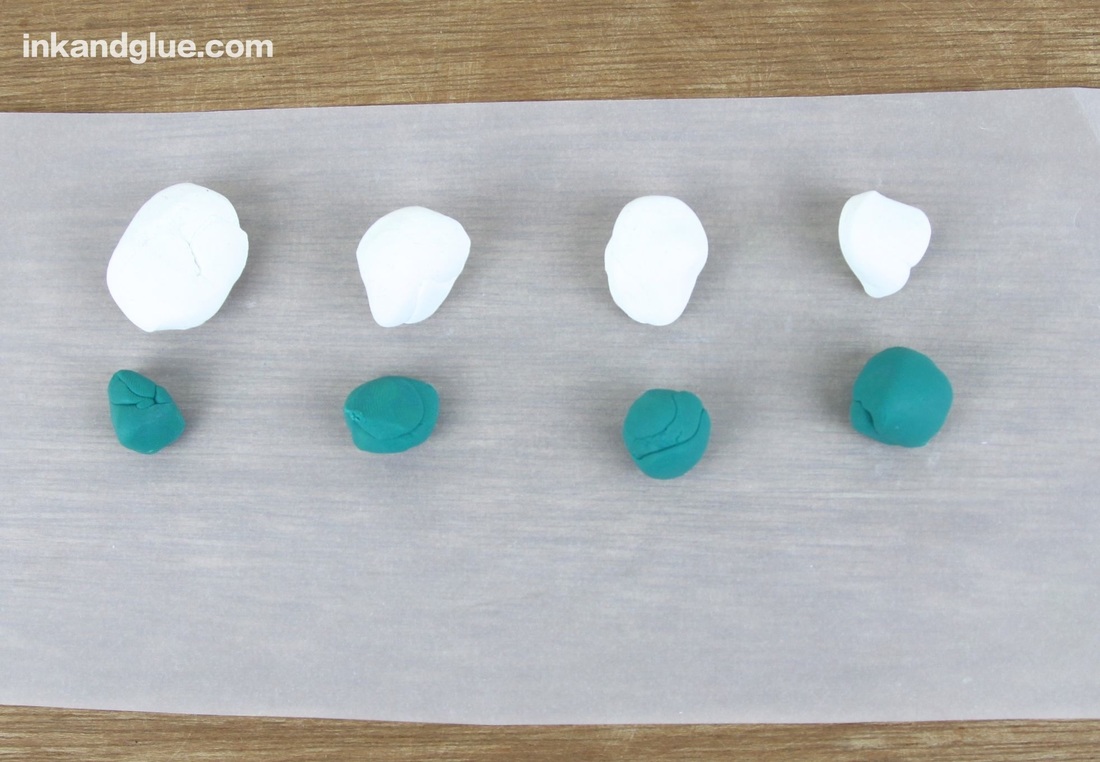
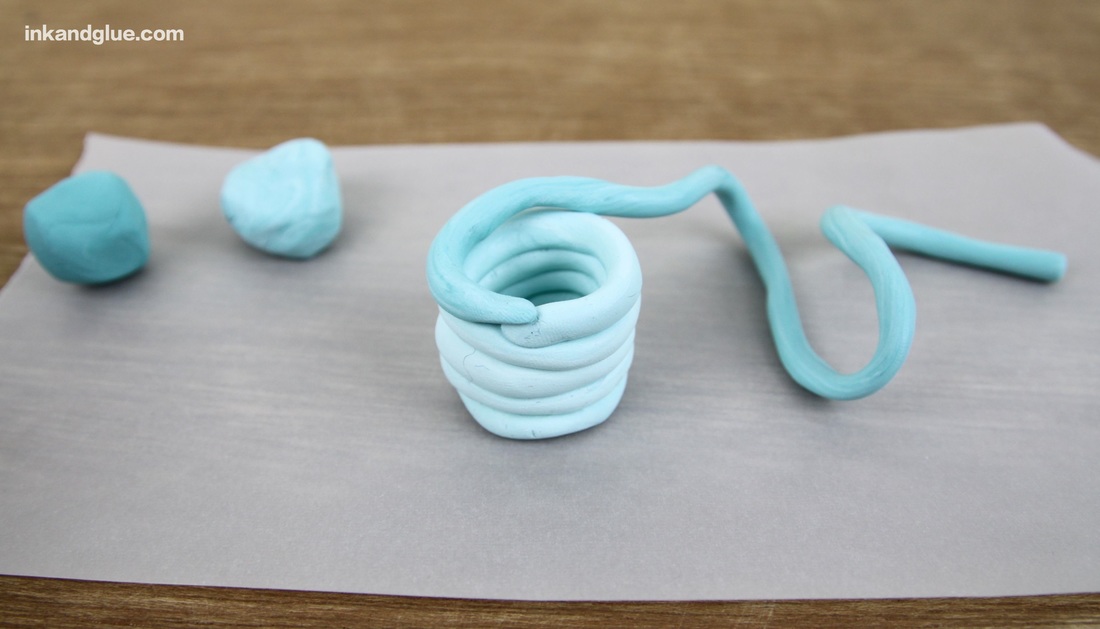
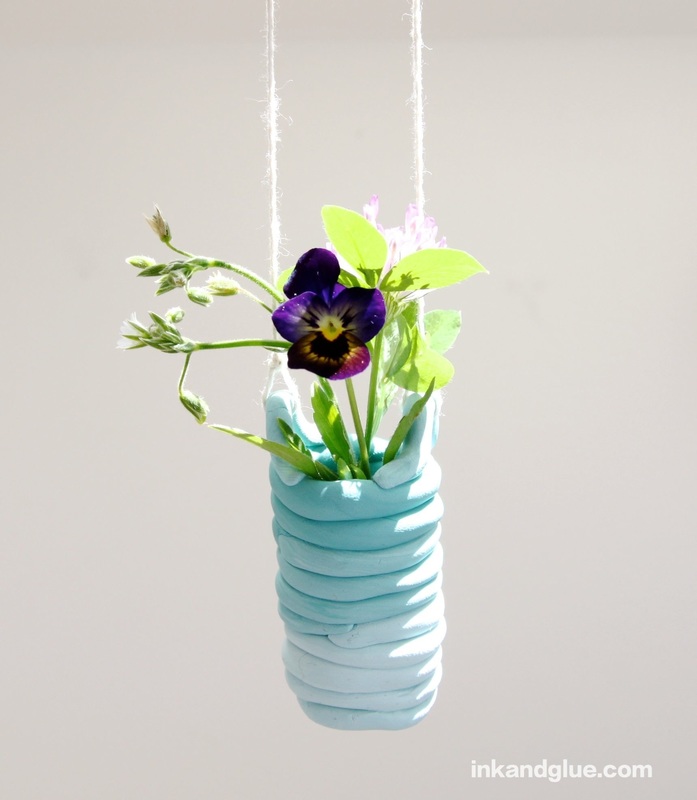
xo Celebrate the smallest and humblest of flowers by making them their own scaled-down coiled pot out of polymer clay (a.k.a.Sculpey and Fimo). Here's how! 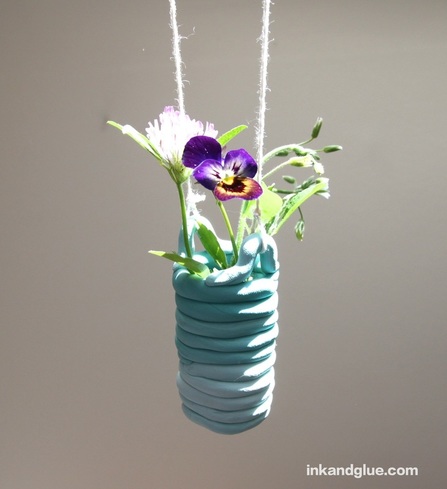 I attempted to do a gradient/ombre look, but it ended up more, ah... subtle than I wanted. And sometimes it's better to keep going with the flow rather than stop and restart from scratch, you know? If you want to try something similar, knead (to soften) a ball of colored polymer clay and a bigger ball of white. Place them on a proper work surface, like a scrap of parchment paper, or wax paper, or plastic wrap. Separate the two balls into smaller chunks of varying sizes. Matching a bigger ball of white with a small ball of color will give you a lighter color than a small ball of white and a bigger ball of color. Do keep in mind that a little color goes a long way.
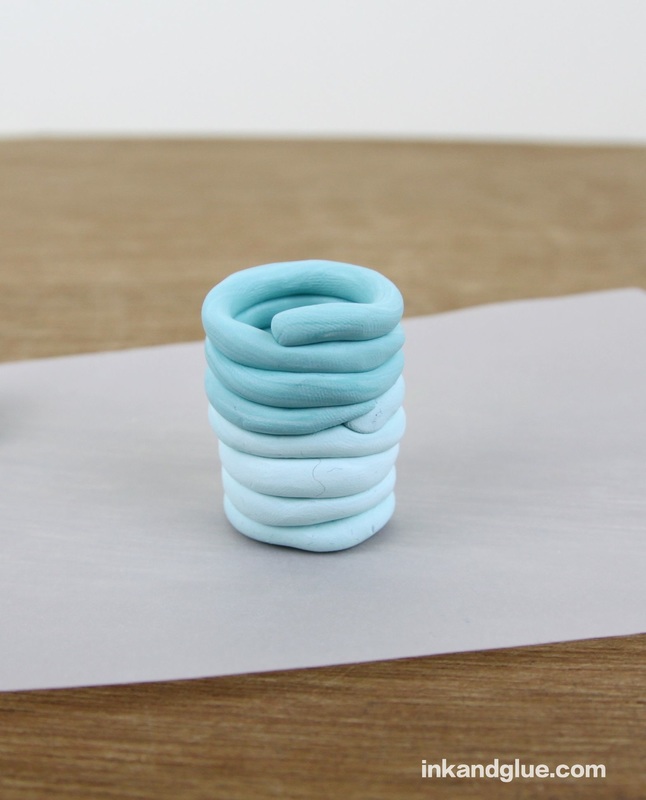
Knead together your matched pairs of balls. Add white to the ones that need to be lighter and add color to the ones that need to be darker. (Again, you can skip all of this and do a single color, or change colors with each coil.) Roll a dime-sized piece of clay into a ball. 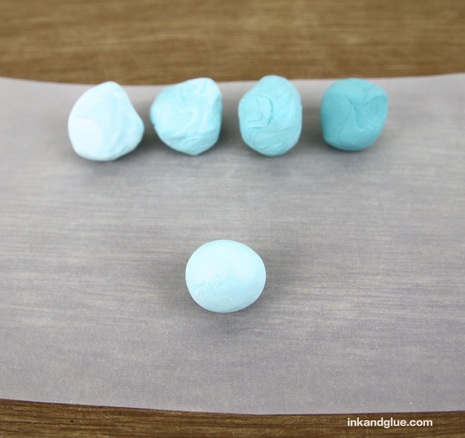 Flatten the ball with your finger. Pick the clay ball you want to have on the bottom portion of the pot, and roll it on the surface with your fingers to form a skinny snake. 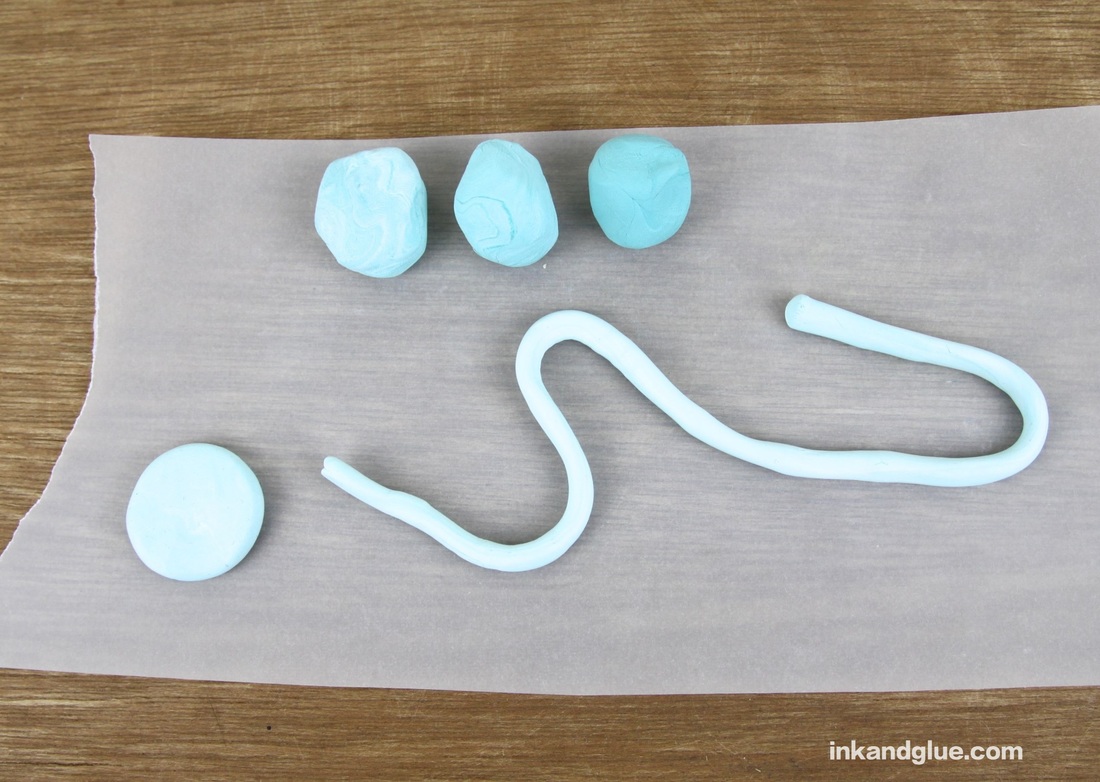 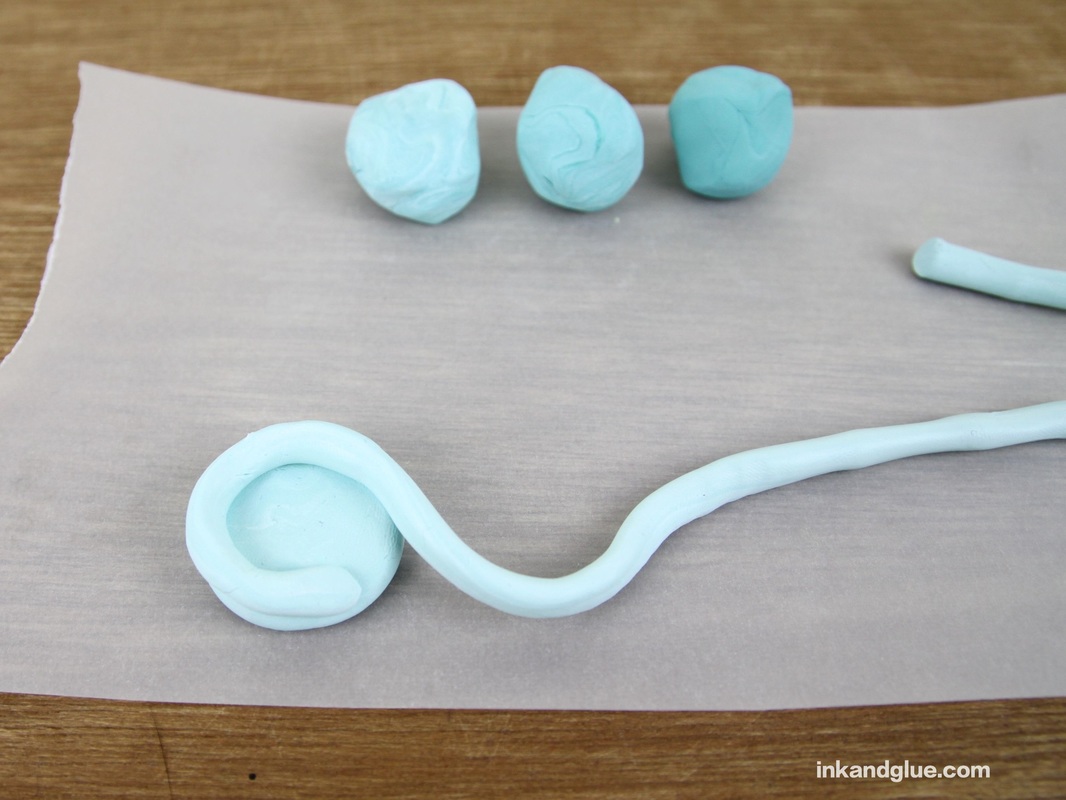 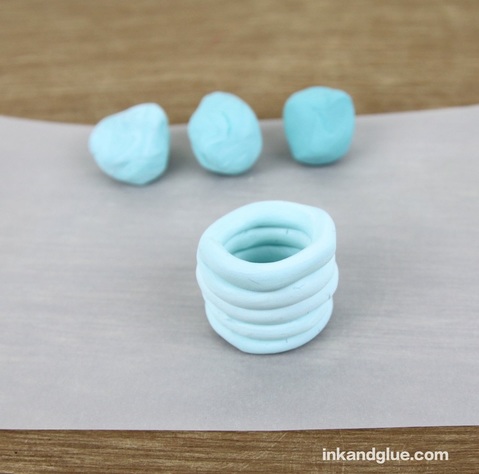 Once you finish with the first ball/coil, repeat the snake-rolling, end-flattening, and joining/coiling process with the second color of clay.
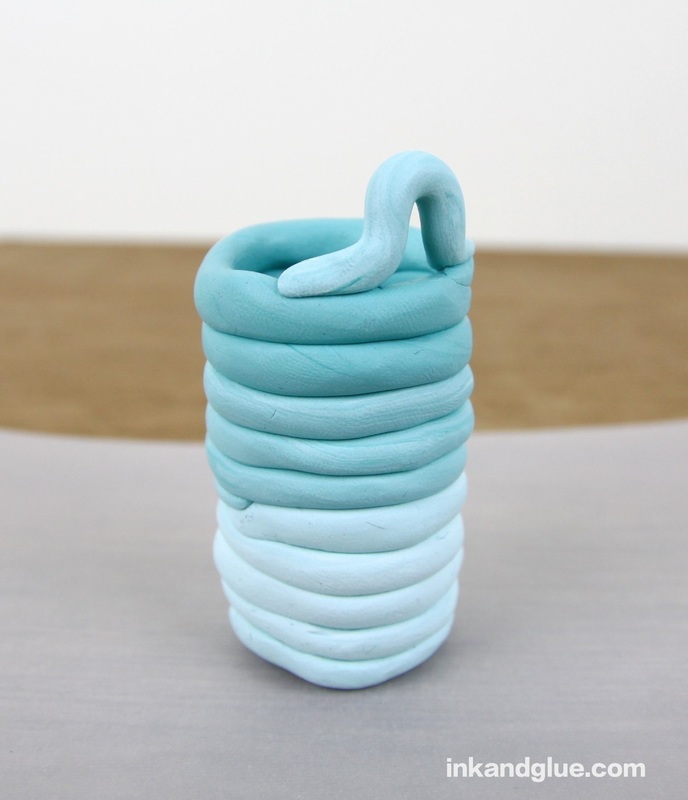
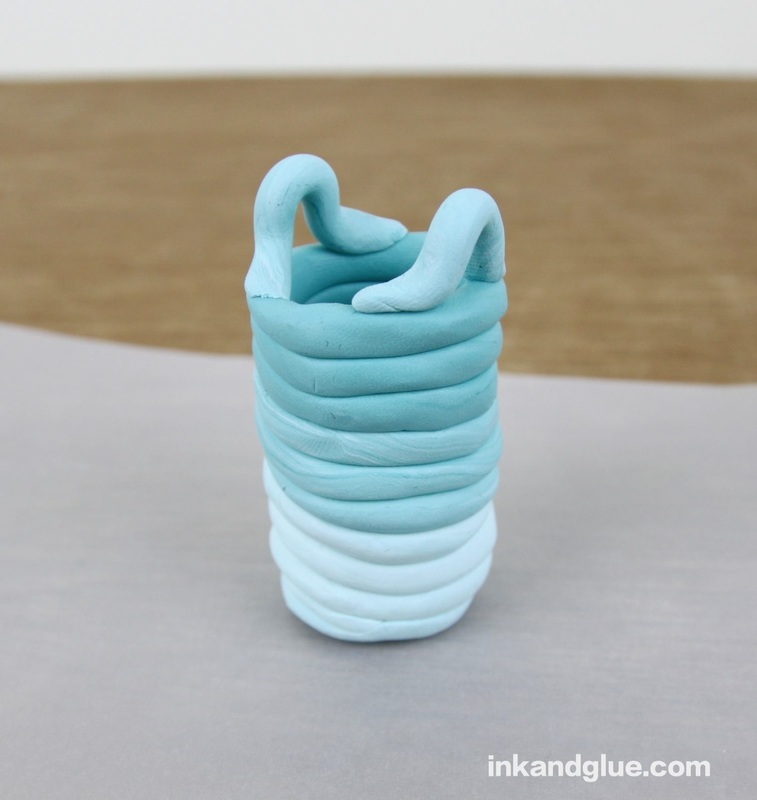
Continue with a third color. As you work up, keep pressing and pinching the coils together and down, looking out for gaps and holes. This is polymer clay, so you can be stern with it. 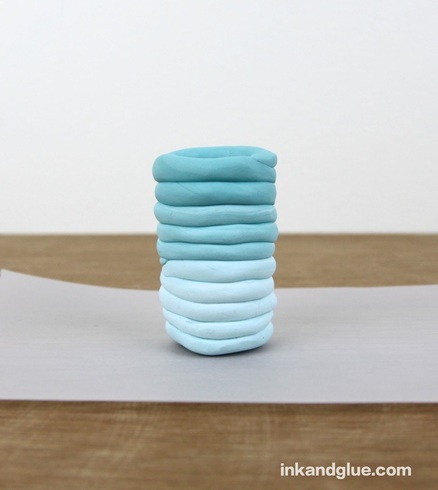 Make two short snakes. Bend them into curved handles and press them to the top of the pot, as shown.
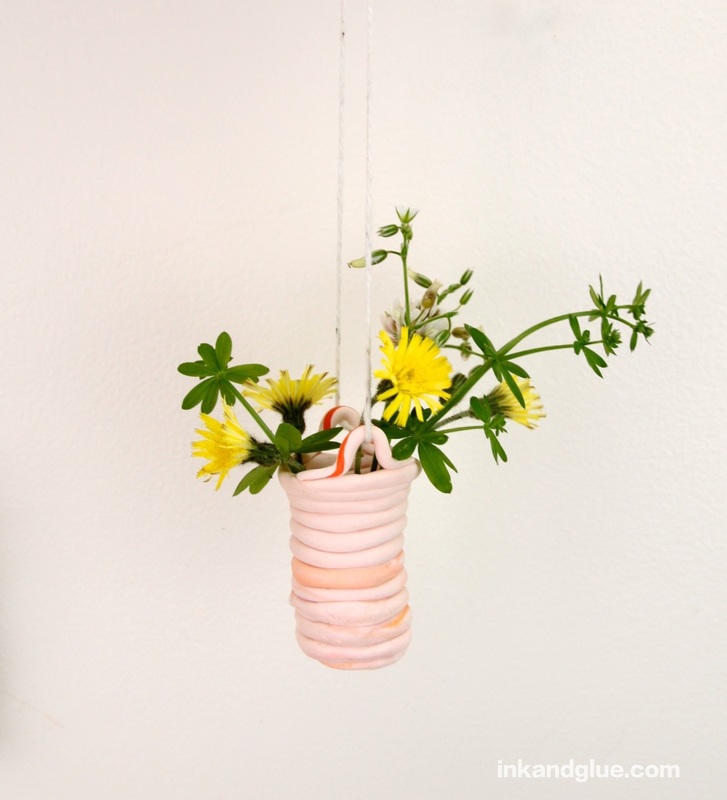
Bake your pot as directed. My Sculpey pot took 15 minutes at 275 degrees. Once it's cooled, fill the tiny pot with water. If there are any leaks, there are two things I'd try. First, once the pot is totally dry, use more kneaded Sculpey as crack-filler inside the pot, and re-bake. I had to do this with the creamsicle-colored number shown below, and it worked like a charm. Second, you can paint the inside (and the outside, if you don't mind changing the texture and level of shine of your pot) with Varathane Polyurethane Sealer. Blue Bottle Tree recommends it and she knows her stuff. Tie the ends of a length of string to the handles, or loop one piece of string through both handles and then tie the ends into a long loop. I did the former with this blue pot, and the latter with the creamsicle pot.
Happy pottering! xo
|
Categories
All
Archives
March 2017
AuthorI'm Debbie Way, an artist and writer who enjoys making things. |
 RSS Feed