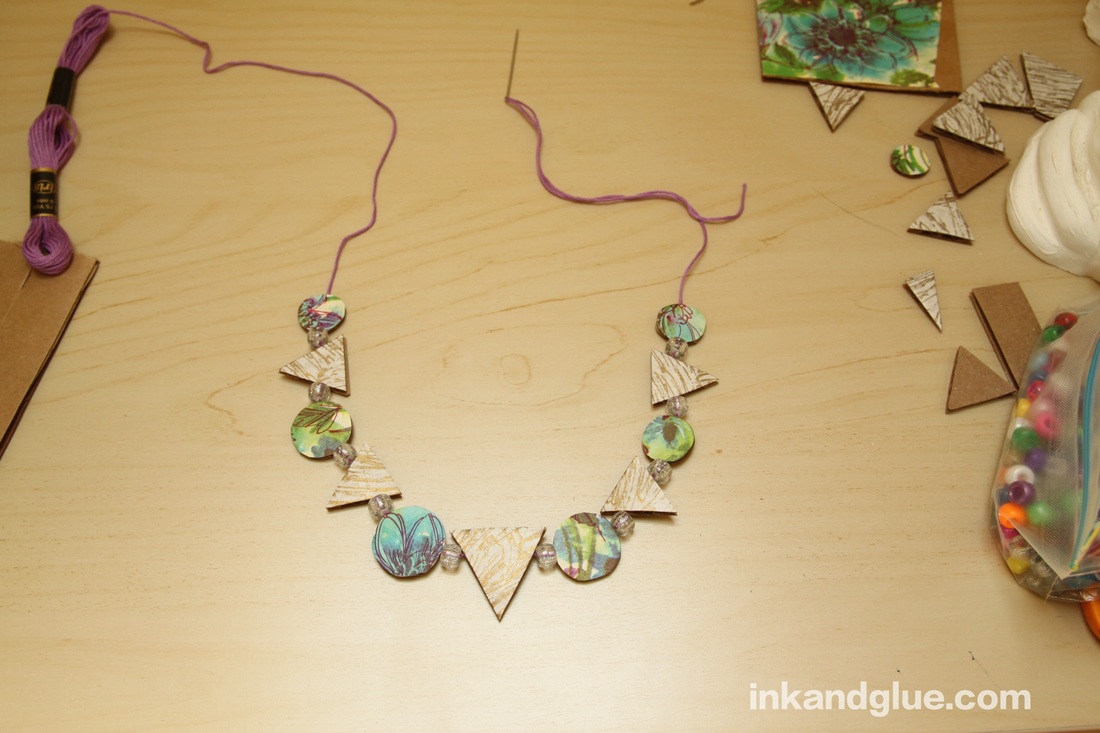
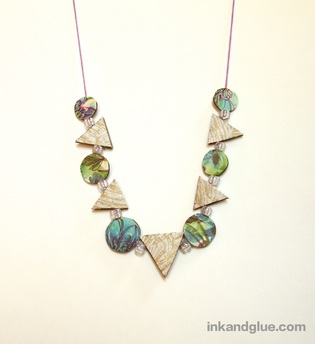
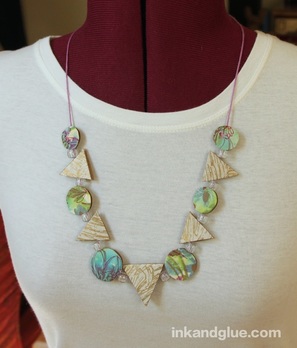
 Corrugated cardboard is such a fun, stress-free craft material. It's free (ask for a box at a grocery or liquor store), it's sturdy, it takes paint/marker/pen well, you can cut it and glue it and stand it on its edge... I could go on and on. I've been thinking recently about ways to utilize the corrugations — the channels, or flutes, inside a sheet of cardboard — in crafts. Those channels happen to be plenty wide enough to fit an embroidery or yarn needle. With that discovery, and my love of "statement" jewelry, I had myself a plan. Start by brushing a thin layer of Mod Podge (you could also use white glue, though you should be extra careful to use only a thin, even coat) onto a piece of corrugated cardboard. Smooth a piece of decorative paper, such as a scrap of vintage wrapping paper, on top. 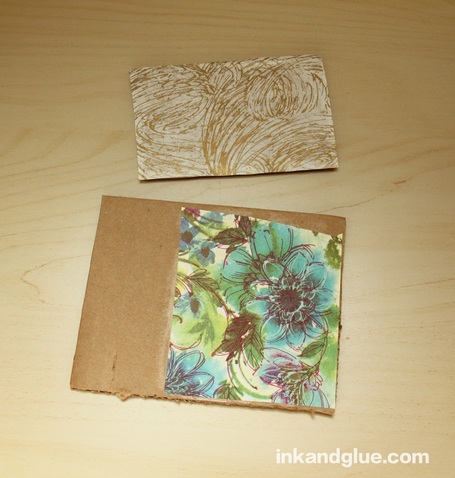 Let the Mod Podge dry completely. If you'll be doing this project with kids, make a few of these panels in advance of your crafting time so they won't have to wait. Then, cut the panels into "beads." I went with a geometric look with one of the panels, cutting a strip into triangles. 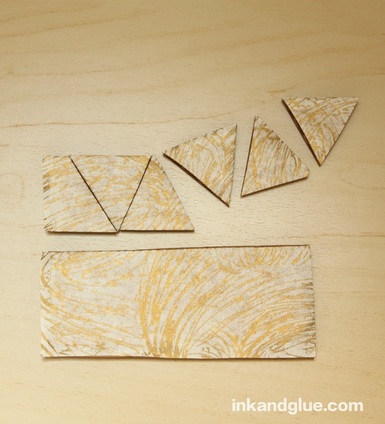 When cutting out the beads, pay attention to how and where the channels are running. If you make your bead too small, there won't be a complete channel for stringing it. Too large, and you won't be able to pull your needle through the other side. My beads ended up ranging in size from about a half-inch to one-and-a-half inches wide. 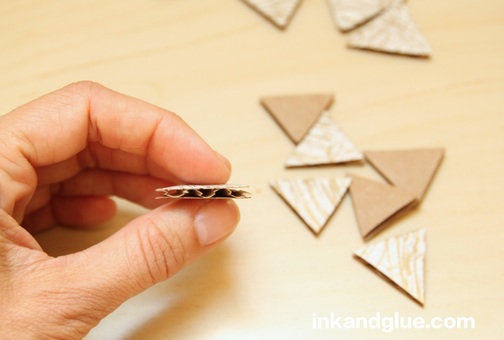 I could have stopped right here and used just a few of these beads for a minimalist look. (I used embroidery floss and an embroidery needle. A yarn needle would have a dull, more kid-friendly point.)  But, I had this other panel just waiting to be cut into beads! I chose free-form circles for this set. If you'd like a more exacting look, trace a bottle cap on the unpapered side and cut out the shape. 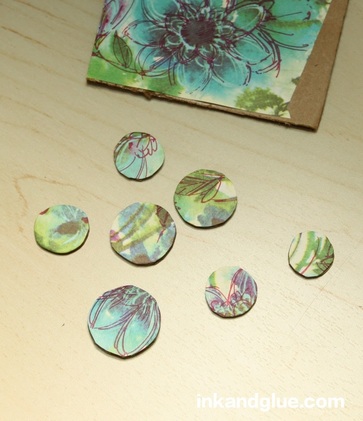 Then, I laid out the cardboard beads and arranged them to my liking. 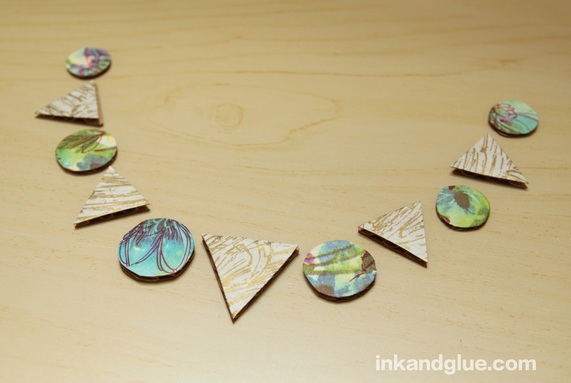 I happened to have some clear, silver-sparkly pony beads, so I used them as spacers between the cardboard ones when I finally strung it all together. I recommend using at least a few "real" beads in order to give the necklace a bit of weight so it won't go flying around while you wear it. If you'd rather go with an all-paper look, add weight by gluing a penny or a dime to the back of your center bead. 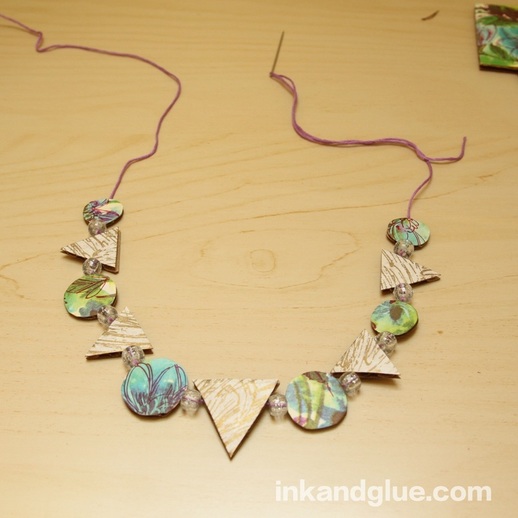
This craft is easy for a wide range of ages and abilities to do, and the finished product can make a great gift!
Comments are closed.
|
Categories
All
Archives
March 2017
AuthorI'm Debbie Way, an artist and writer who enjoys making things. |
 RSS Feed