|
I only learned in the last couple of years that maple keys are also called samaras, which is just a lovely name, don’t you think? Whatever you call them, they are fun to throw into the air and watch them spiral down in a quick flutter. You can make crafts with samaras too, of course. The classic is the dragonfly -- the shape of the key is a near-perfect match for a dragonfly wing, and if you collect a suitably-sized twig while you’re gathering samaras, you have pretty much all you need. Fowl Single File has a lovely example of this craft: 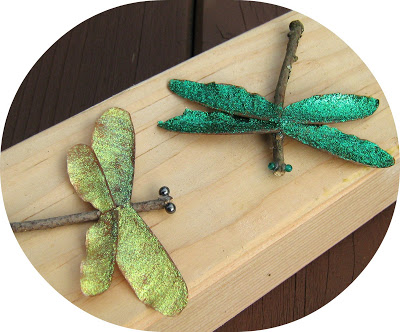 I wanted to use samaras in a new way. I collected a heaping handful, then I looked at them up close, then far away. I turned them all around, and cut one open to see what that was like. (There’s a flat little seed in there, and apparently, you can eat it!) The maple key shape started suggesting other things, like commas, or fluttering sleeves, or... well... eyebrows, and mustaches. With that thought, I whipped out my trusty copy of Fred Archer On Portraiture and got to work. 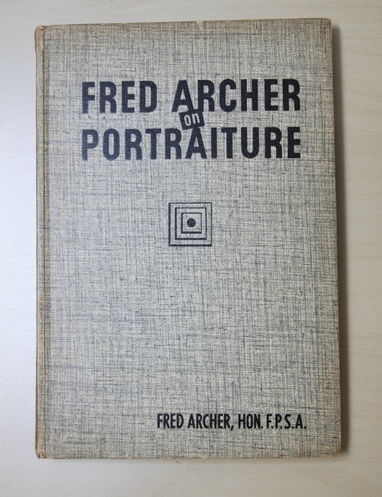 (What, you don't own a copy of FAOP? That's fine. For the following project, you can cut out big photos of faces — human or otherwise — from a magazine or newspaper. Or, you can print out a photo of your very own gorgeous mug.) Herewith are my “additions” to Fred Archer’s portraits. Please forgive me, Fred! 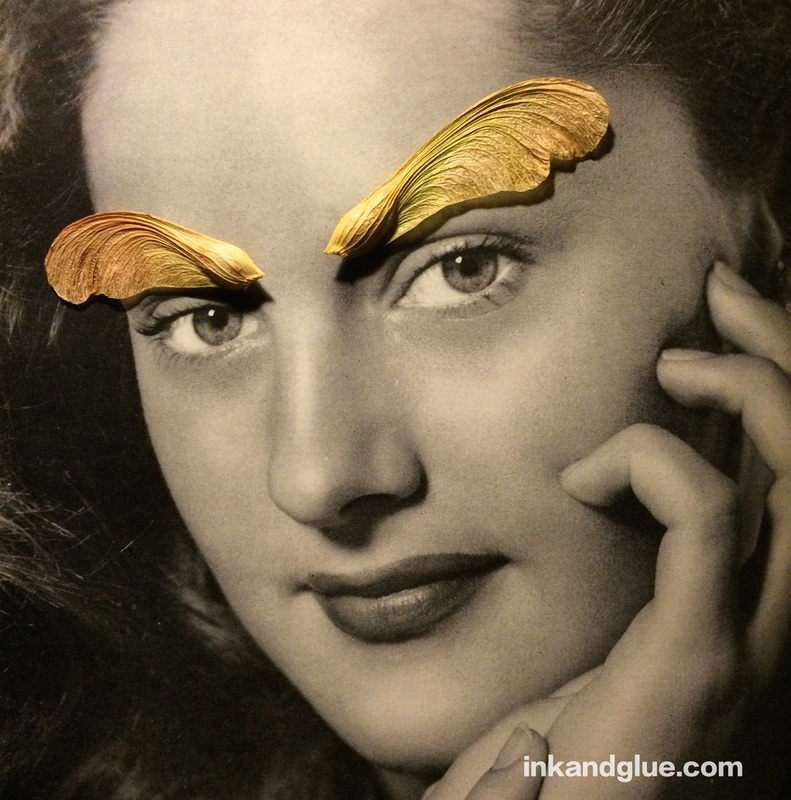 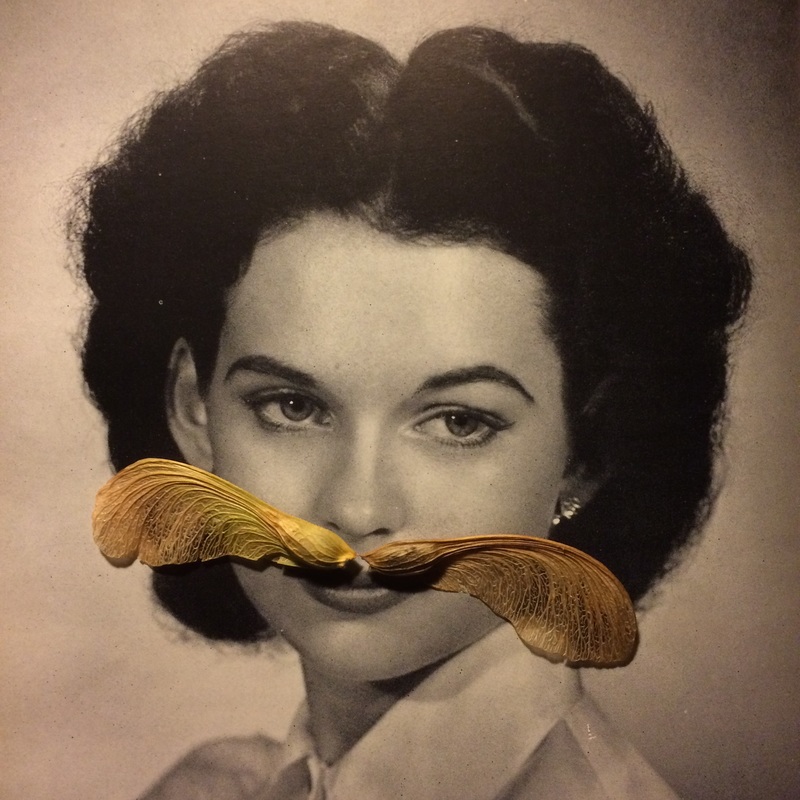 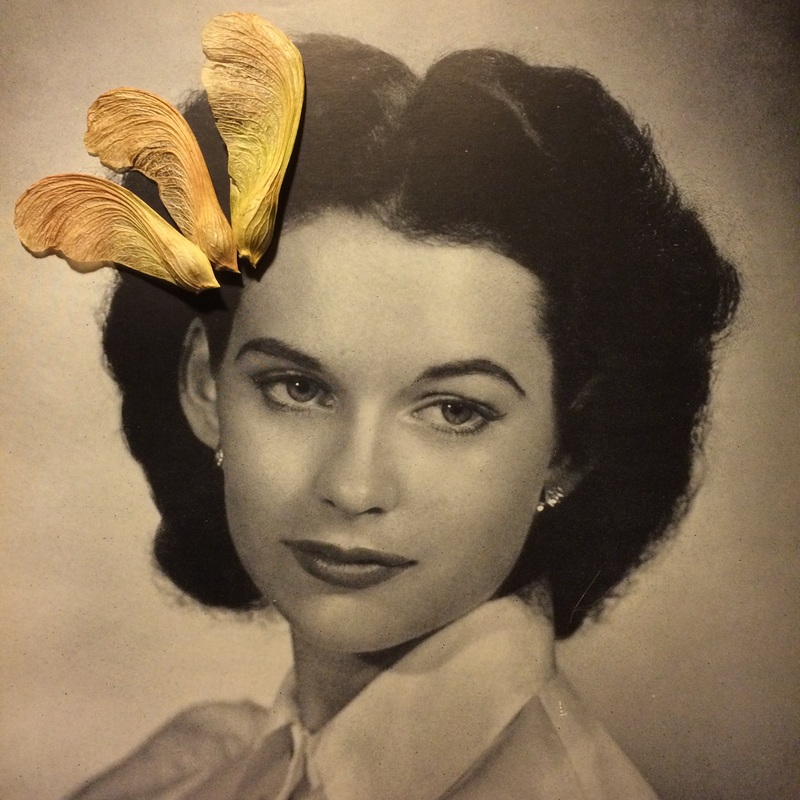 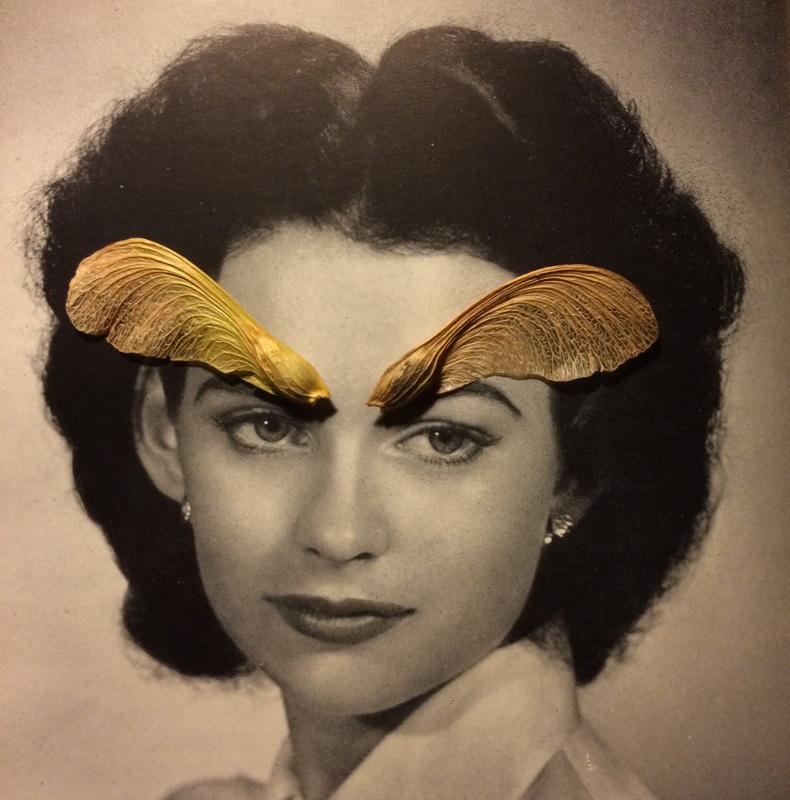 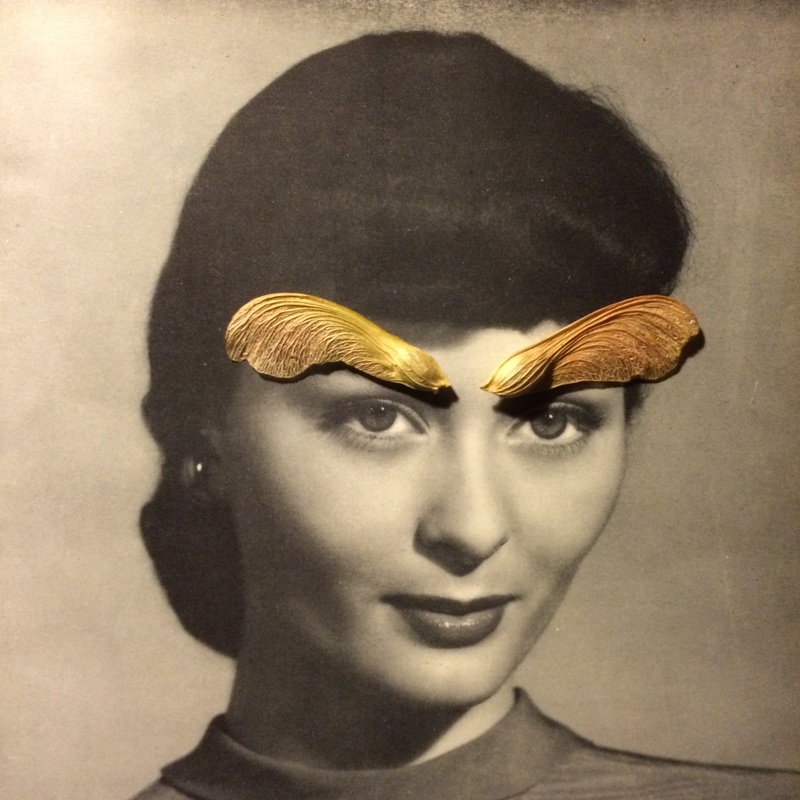 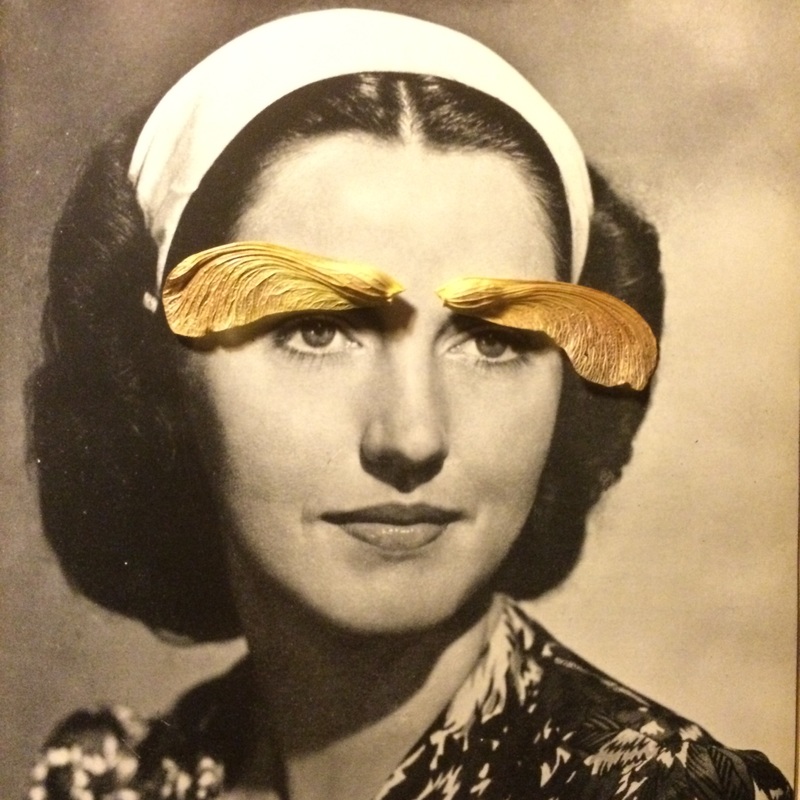  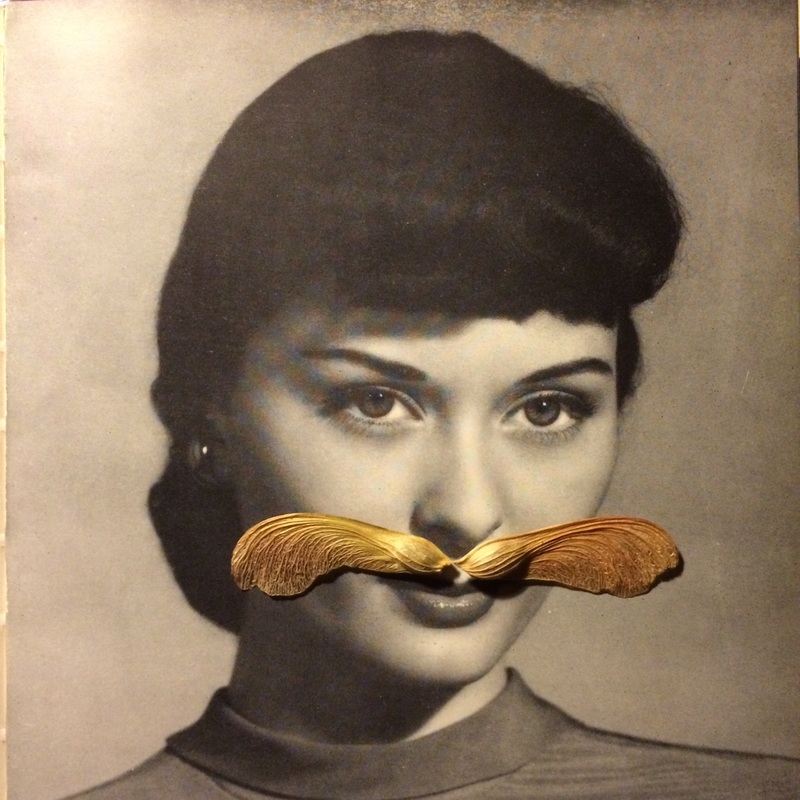 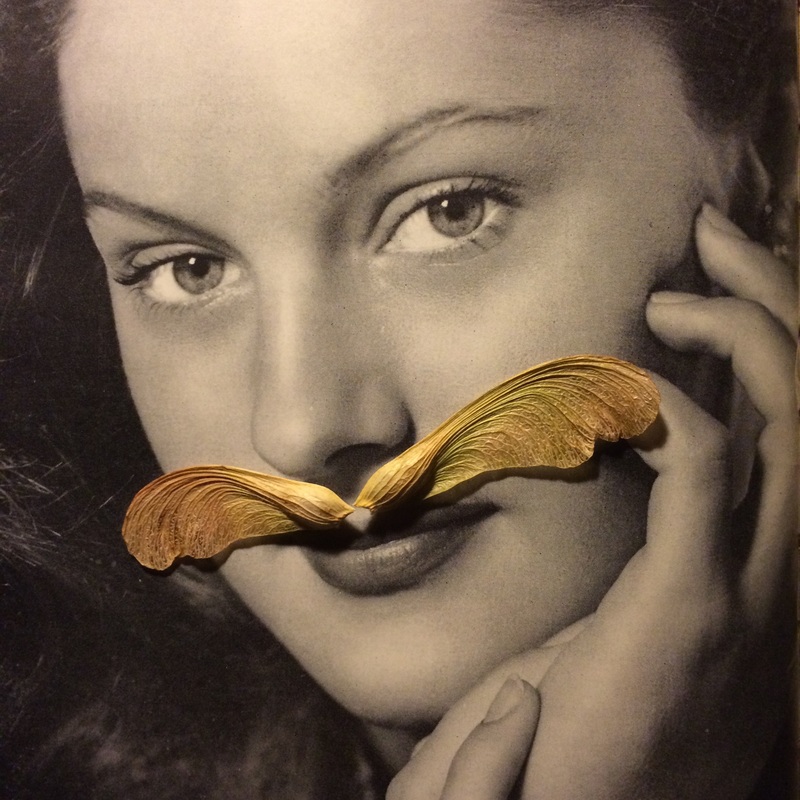 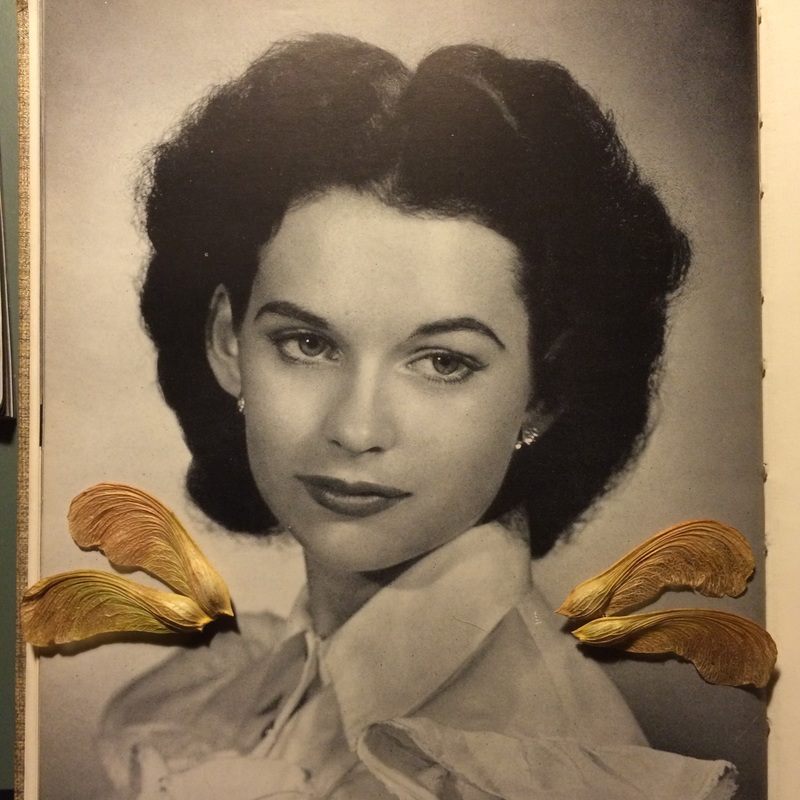 Super-fast, silly, and fun!
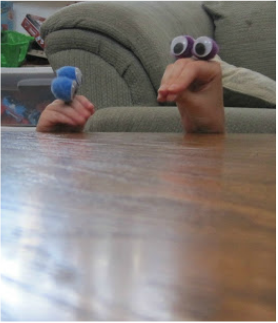
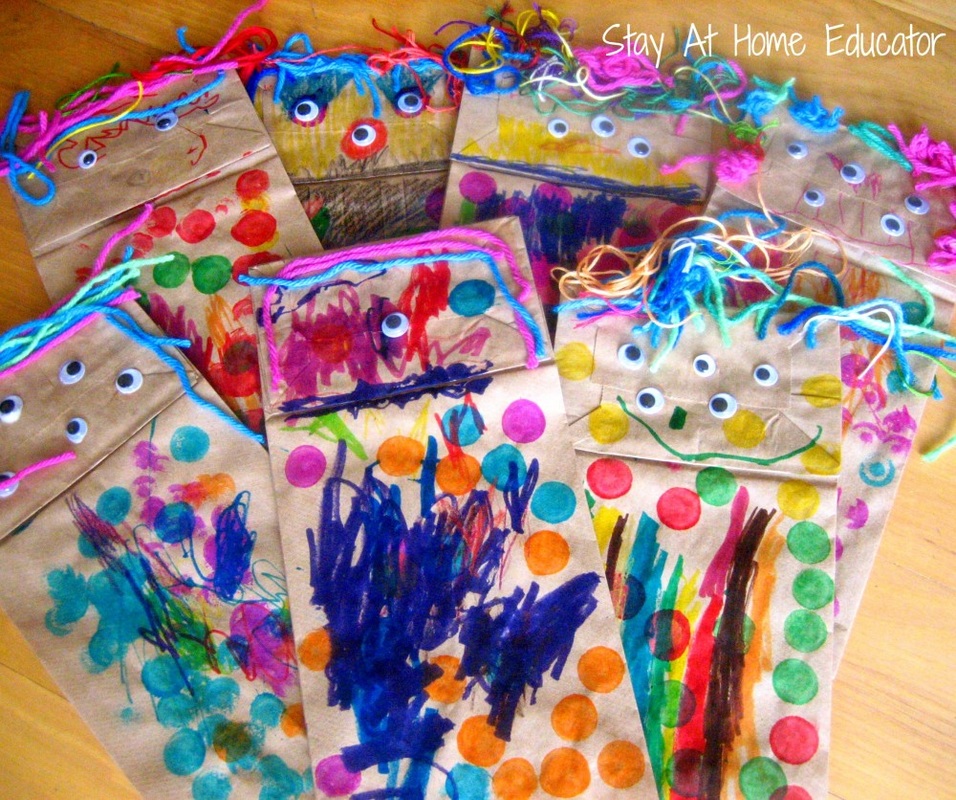
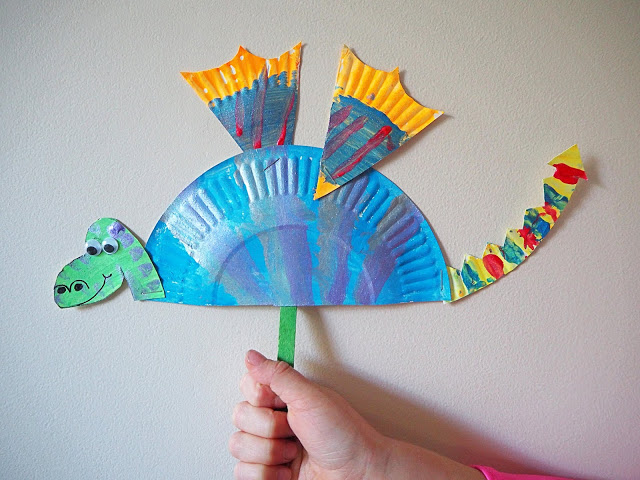
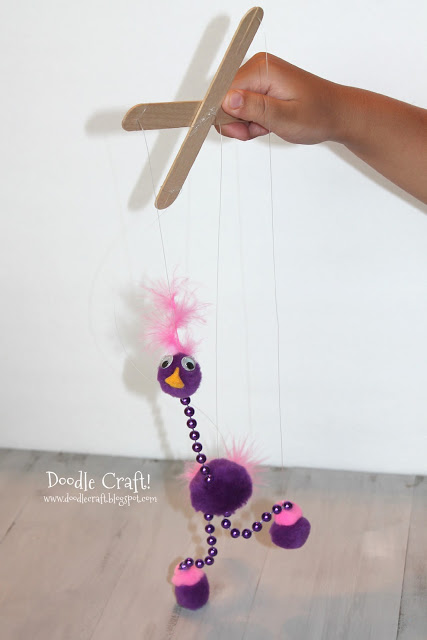
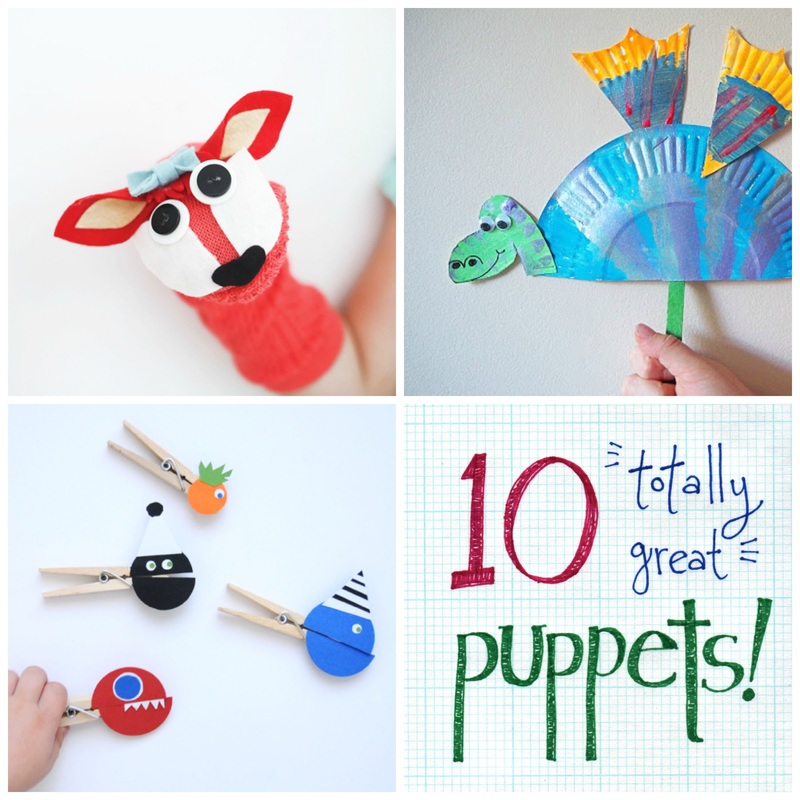 When I was a kid, my twin sister and I would hide ourselves behind the sofa, raise up our puppet-covered arms, and put on shows for our patient parents. We had several store-bought characters, but for our wilder screenplays, we'd build our own puppets from paper, tape, and popsicle sticks -- pretty crude stuff compared to these ten projects from ten great blogs. I've posted them in order of skill level, from easy to more advanced. Of course, this is my subjective ranking: you can always choose to spend a couple of hours perfecting your paper bag persona, or make a simpler sock puppet with just buttons and fabric glue. Click on each image for complete directions. P. S. If a behind-the-sofa setup doesn't work for your production, make a simple theater from a cardboard box (see a charming example here.)
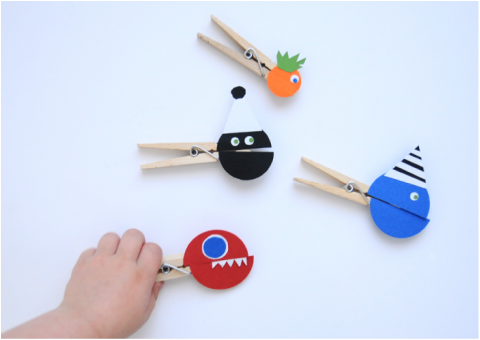
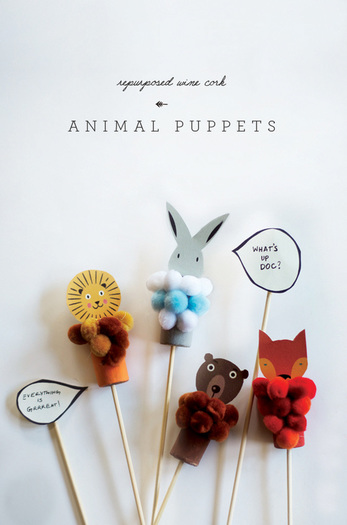 Little Monster Blog created these little guys, which are made with painted wine corks. I love their style and their soft pom-pom bodies! 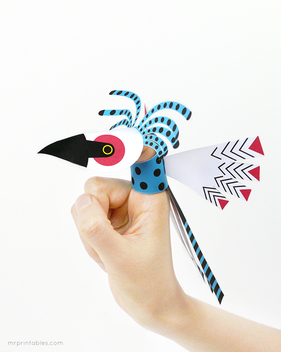 If you don't already know about the amazing Mr. Printables, go there right now. I mean it -- that's an order. Mr. P has loads of gorgeous free printable projects, such as these cleverly-designed bird finger puppets.
Do you have a favorite puppet craft I missed? Share it in the comments below!
xo 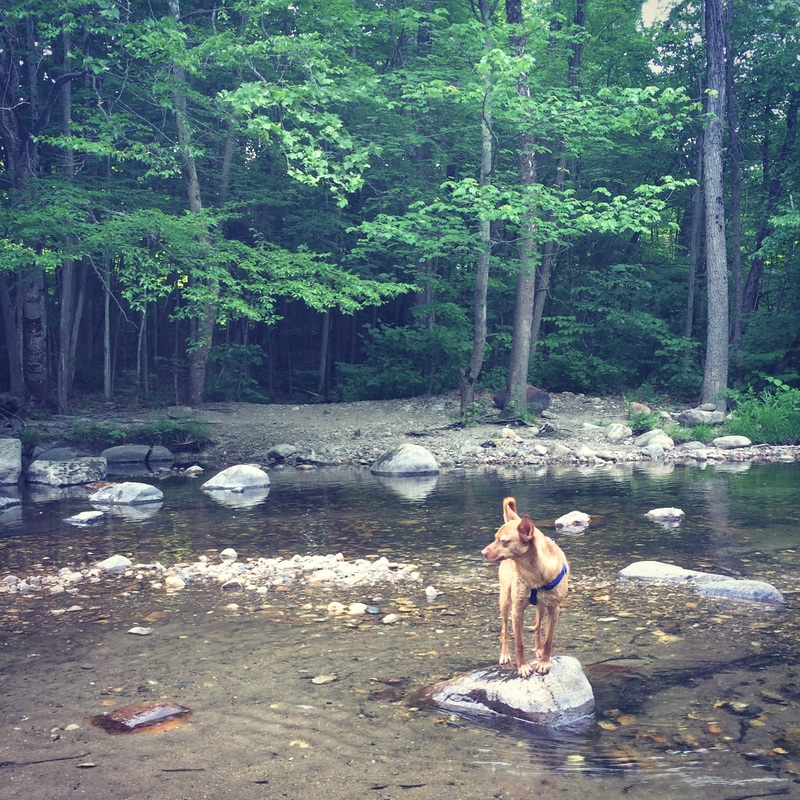 Because what is the internet for, if not for sharing adorable photos of our pets? This photo was taken at, and in, the gorgeous Mill River in Northampton, MA. Have a wonderful weekend!
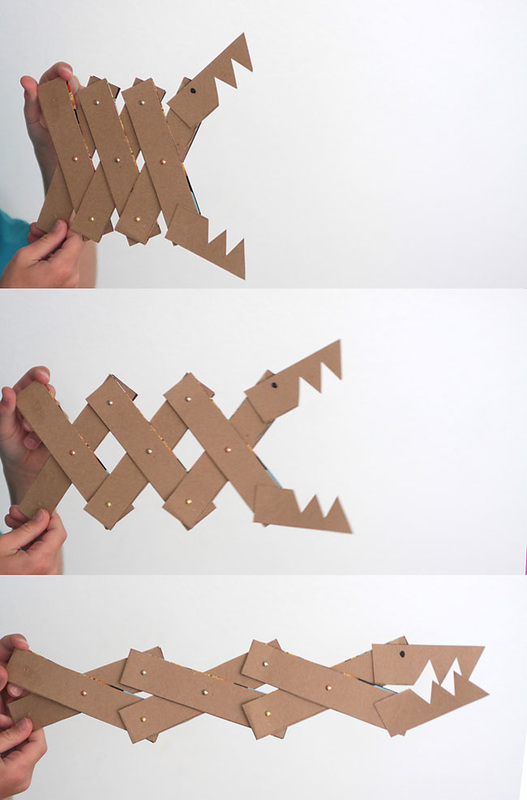
xo Have you met Roger Titley? I came across him when I was looking for inspiring ideas for making puppets. (That's a hint about the topic of an upcoming post.) He builds these scaffolding-like figures that can move much like the animals they represent. 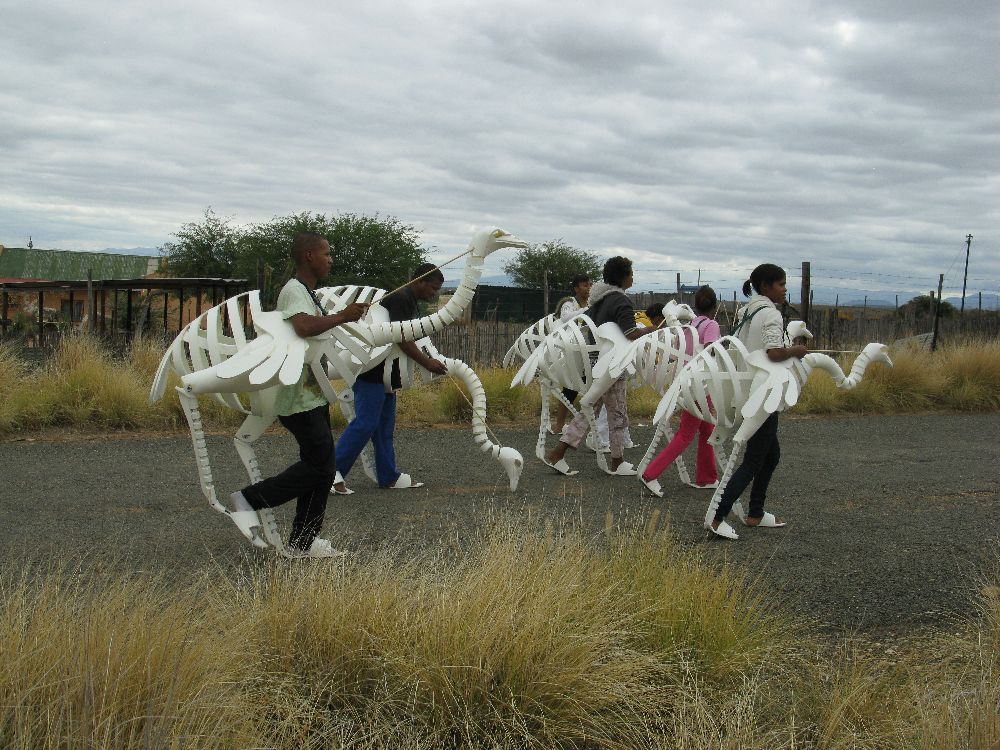 These hand-held ibises are inspiring. I wonder if I could make a much simpler version. Hmm... 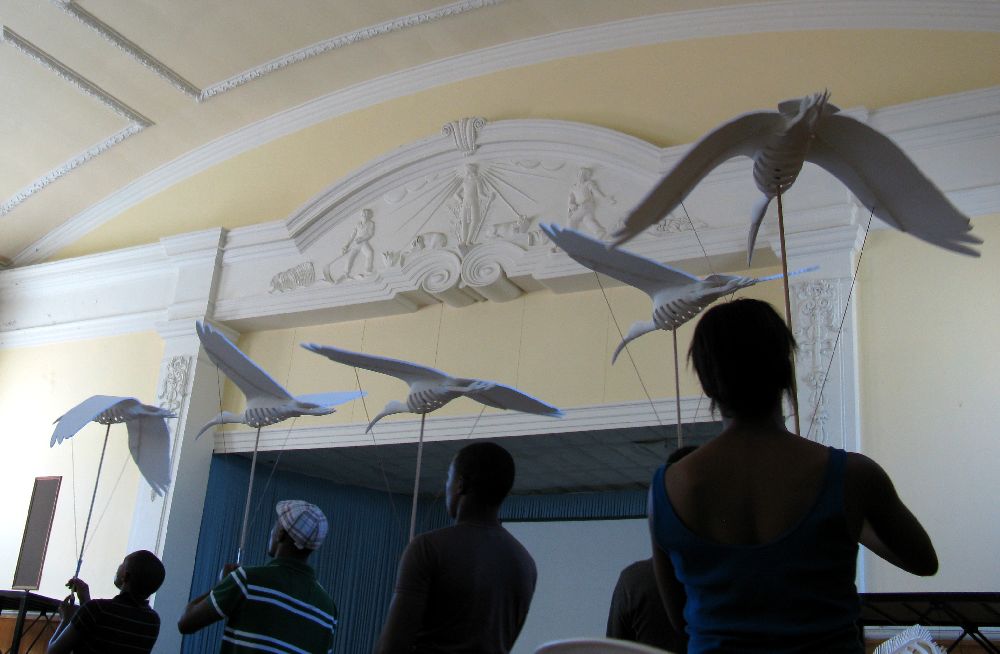 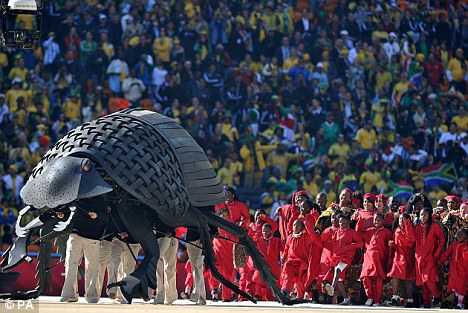 This giant dung beetle was built for the World Cup opening ceremonies in 2010. He's also made a bunch of more realistic animals for various ads. From what I can gather, he's South Africa's answer to the Jim Henson Creature Shop. Roger was interviewed about his work here. What a dream job!
This post is about color registration boxes. You know, these: 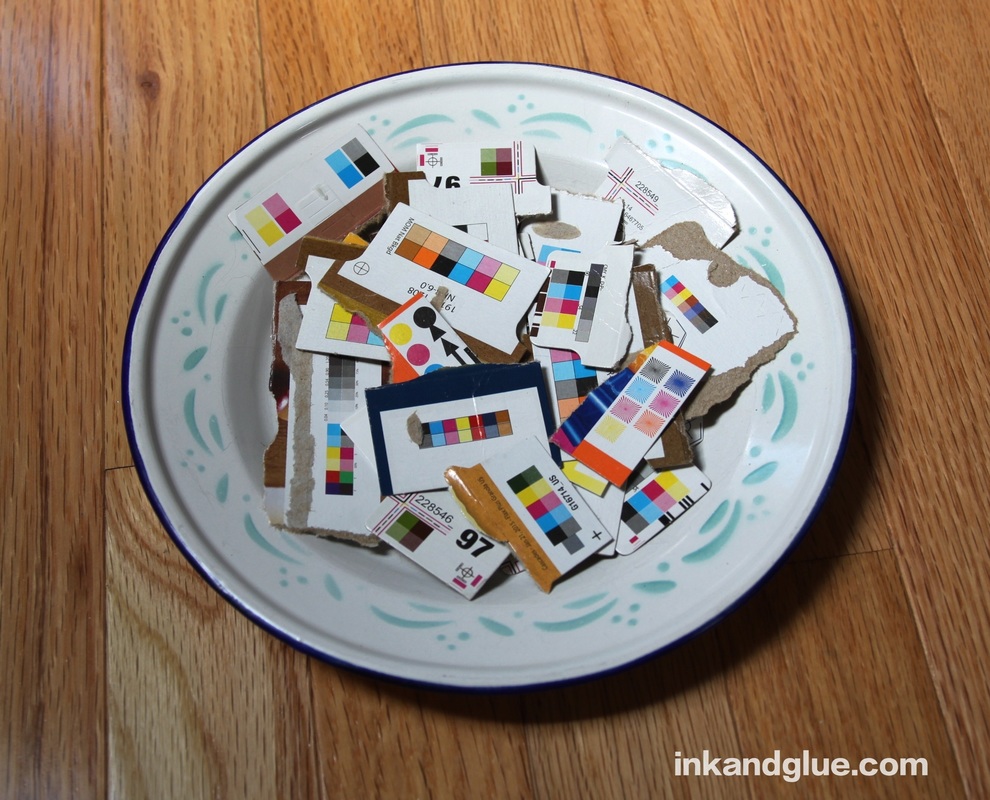 Apparently, in the package-printing business, they’re officially called Process Control Patches, or Printer’s Color Blocks. Slate had a “What’s That Thing?” column about them. I was one of those kids who found merely sitting and eating cereal unbearably boring, so I would read every inch of the cereal box, inside and out. These miniature pop-art canvases were always a delight to find tucked under a glued-down flap. Now that I am a bona-fide grownup, I flatten my cereal (and cracker, and tea, and tissue) boxes for recycling, and that process makes it easy — almost too easy — to tear off and save the little color-block tabs. So, now I have a bunch, as you can see above. But, for what? I didn’t want to alter them too much, since I think they’re visually interesting on their own. However, they don’t get a lot of views in my kitchen junk drawer. I decided to treat them like the blocks they are, and build a 2D city. First I trimmed them all with a craft knife. A child could use scissors. Or, to avoid mixing kids and blades altogether, trim the blocks into simple rectangles yourself before giving them to your child. 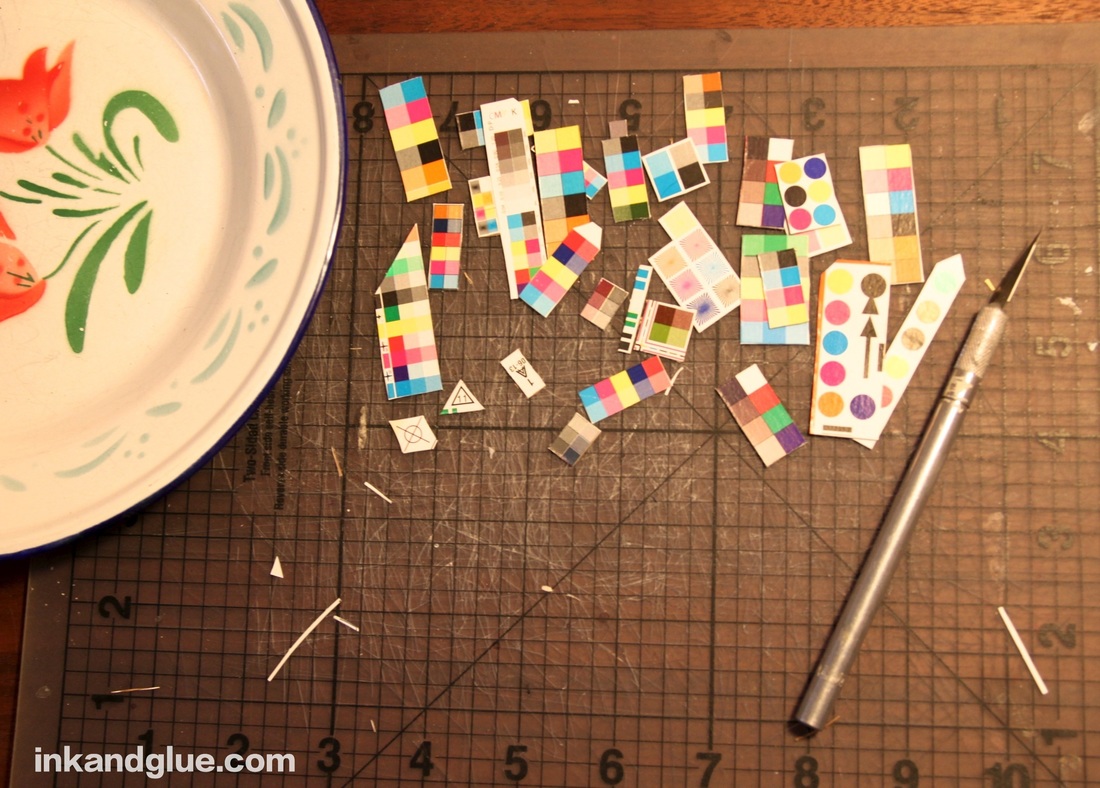 Then, I played around with them on a sheet of thick watercolor paper. You want to use a heavy paper whenever you're planning on gluing things down; regular paper warps and ripples and gets all crazy. Here's my first attempt: 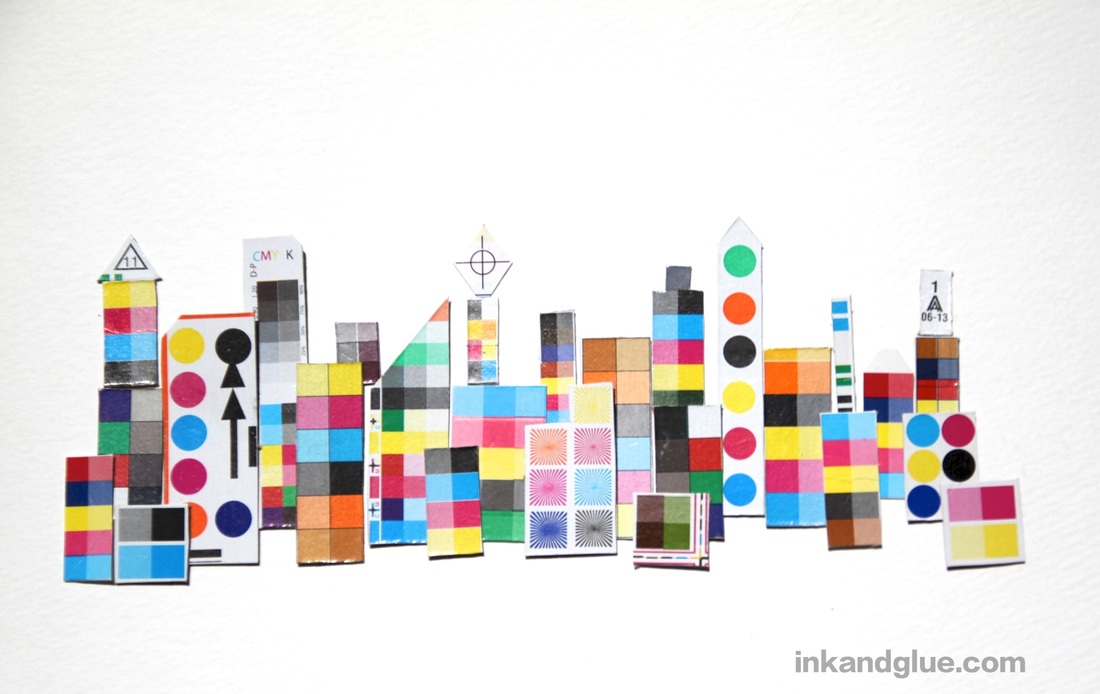 Kinda fun, right? I had cut out a few of the other registration marks to add steeples and roofs, which breaks up the roof line, as it were. But since so many of the blocks have a white border, I thought a darker background paper was in order. So, this: 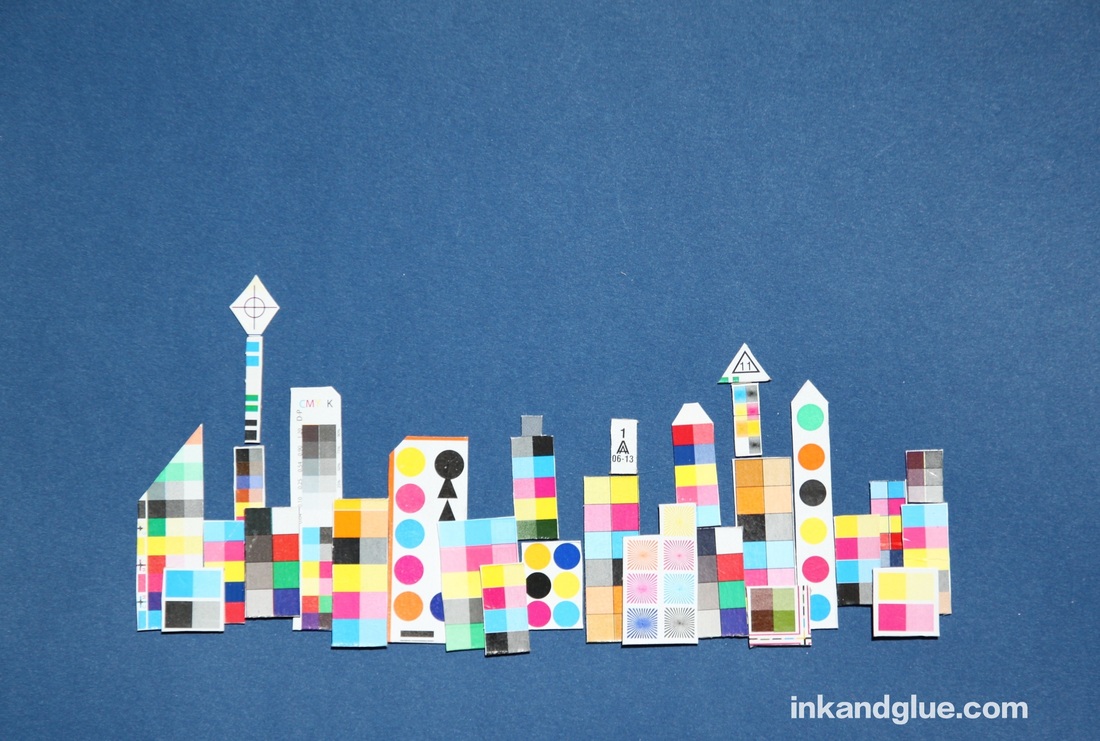 Nice! It's now a city at night, and the bright registration mark squares become glowing windows.
I glued this one down, using Uhu All-Purpose Adhesive. It's like a clear tacky glue, but it doesn't dry quite as fast as regular (i.e. Aileen's) white tacky glue, making it good for exacting people like me who need to nudge things a little after they're glued down. I hope I've inspired you to at least take a look at your cartons before you toss them — you can find art in surprising places, if you're open to it. xo  This is my inaugural post at Ink & Glue. Thanks for stopping by! Please check out my "About" page to find out more about me and my plans for this blog. Here's a photo of my dog Franklin to tide you over until things get up and running.
|
Categories
All
Archives
March 2017
AuthorI'm Debbie Way, an artist and writer who enjoys making things. |
 RSS Feed