|
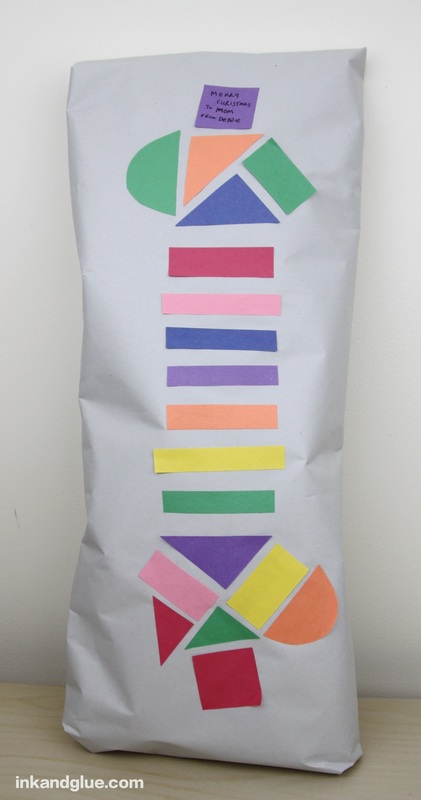
Consider this a time-traveling companion piece to yesterday's gift tag/cards. First, there's a "frothy" Christmas tree wall hanging: 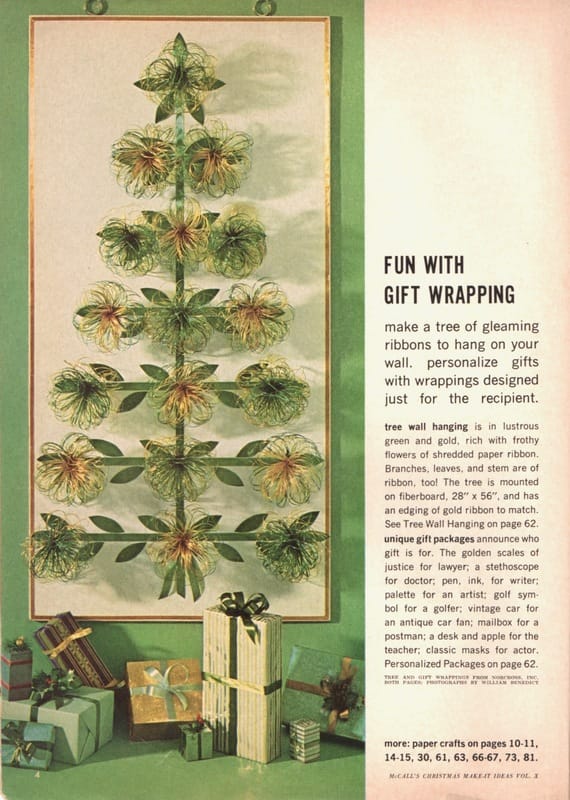 And then, the unique gift packages, which are decorated — very specifically — for each recipient. This pic gave me a double-take at first, as the pink gentleman seems to be wearing earbuds (and listening to something very embarrassing, I guess). Turns out the earbuds are supposed to be a stethoscope.  Directions? Sure. 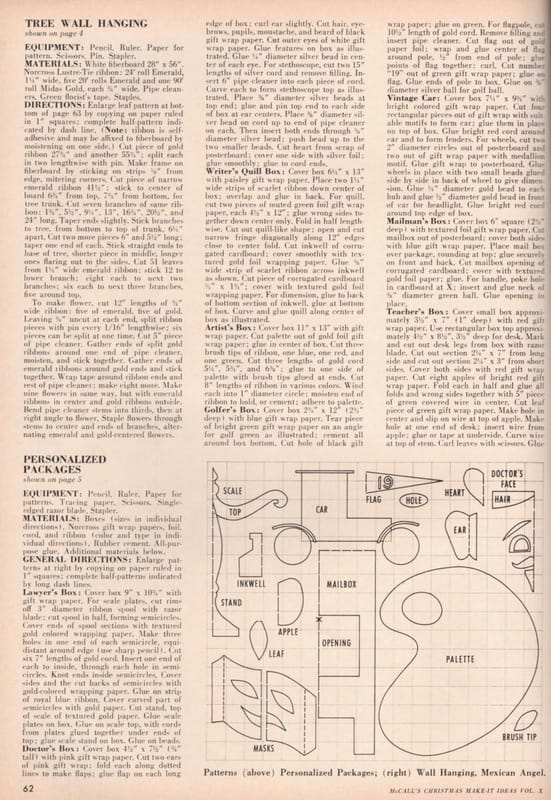  I hope all of your holiday gift wrapping is going smoothly and enjoyably!
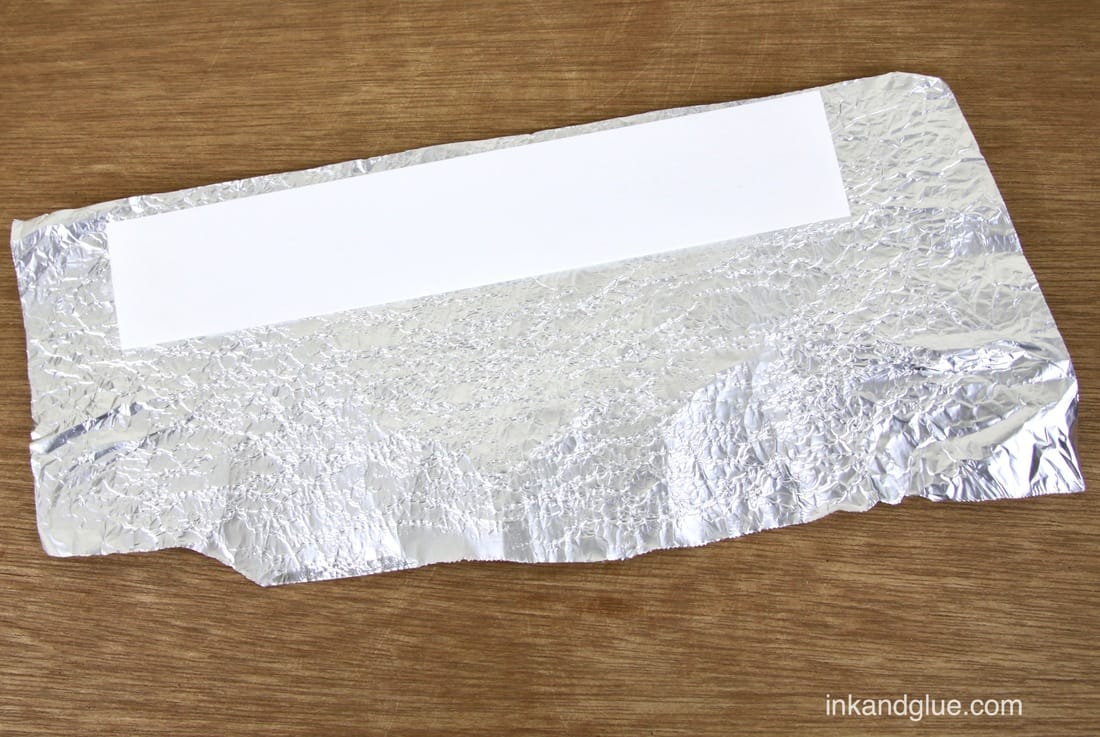
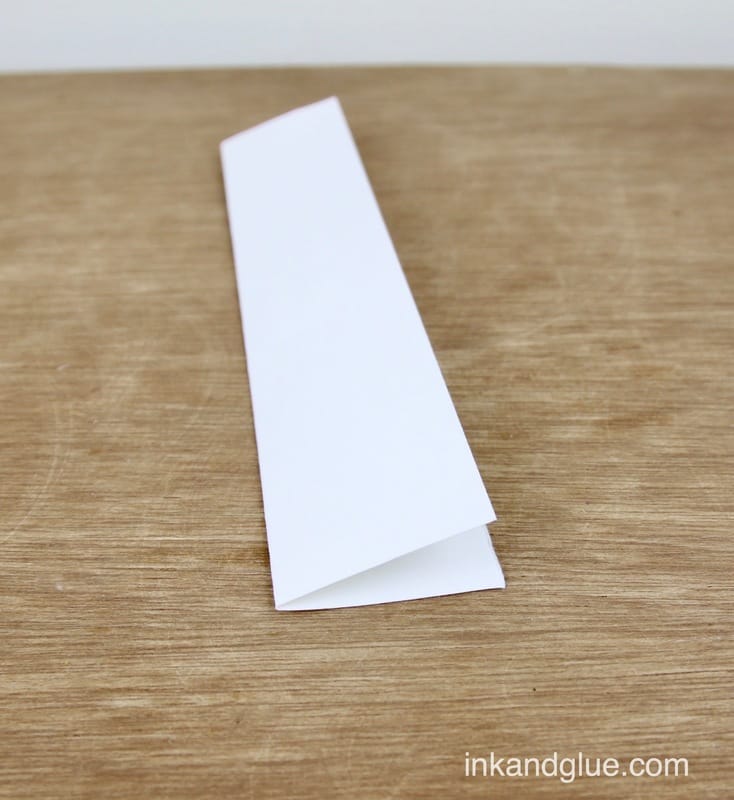
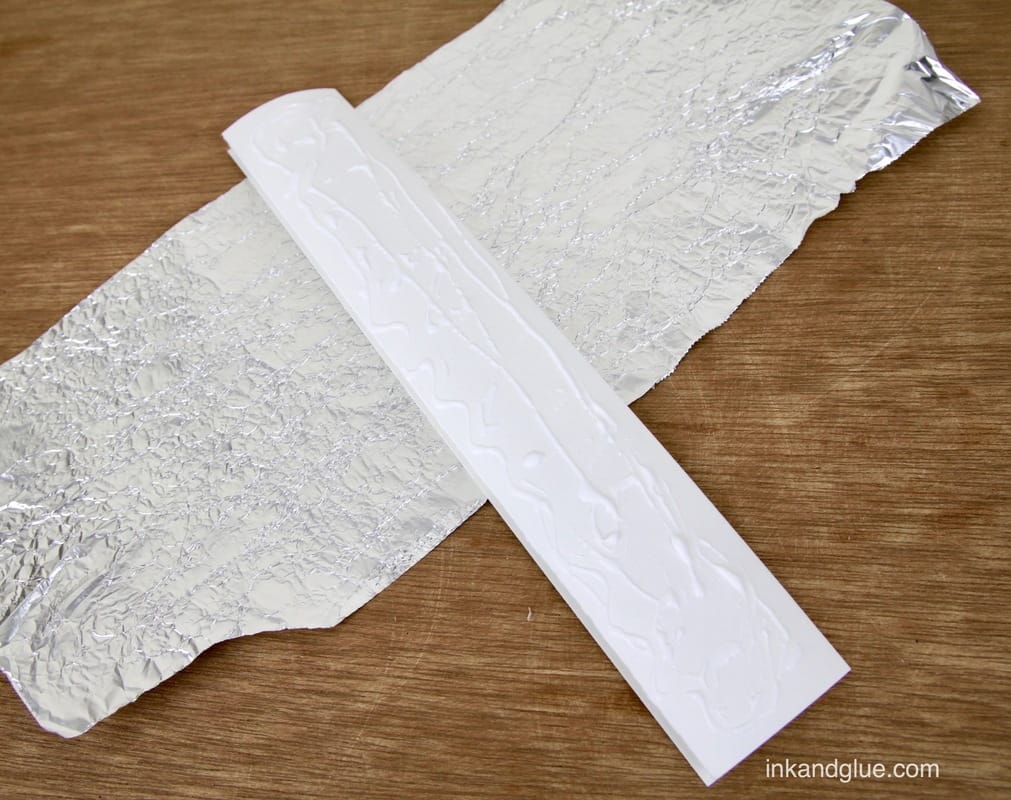
xo 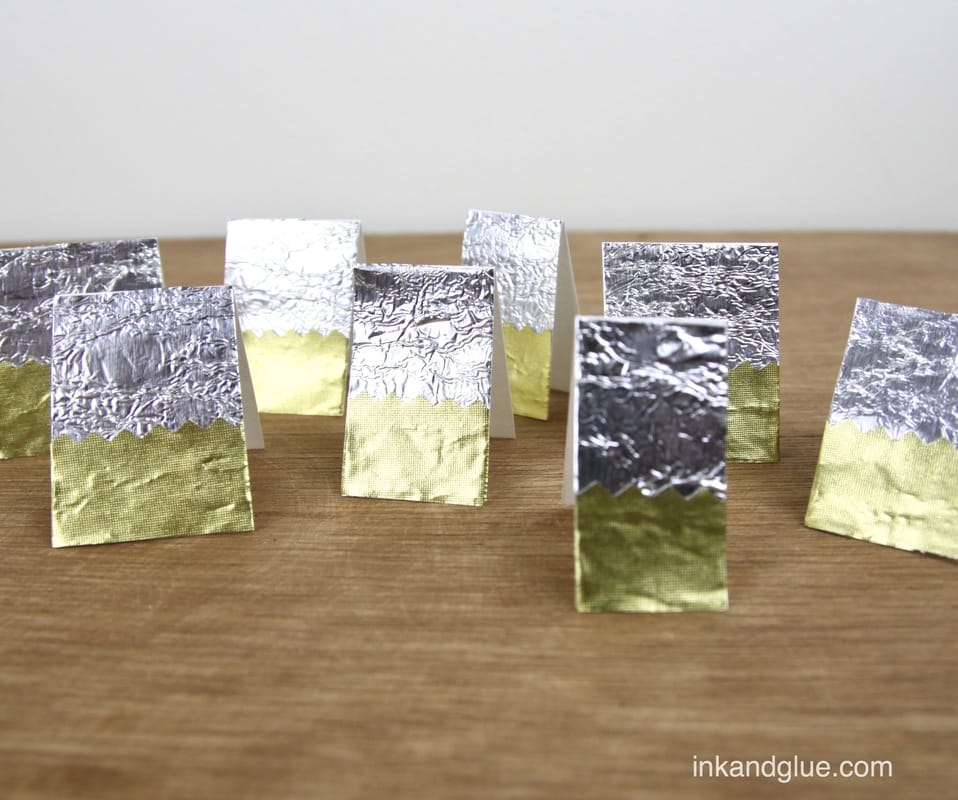 I have been in the depths of Christmas prep, which (naturally) includes wrapping presents. I try to be thrifty with wrapping gifts, because the paper etc. will end up being thrown away or recycled in one way or another anyway—it feels wasteful to invest actual money into it. Instead of gift tags or stickers, I like to tape simple little cards to each gift. Here's how I make a whole bunch of little cards in a row. Mine are decorated with aluminum foil and gold metallic paper, but of course you can use any paper (or wrapping paper) you choose. First, fold a 4-inch-wide (or so) strip of plain white drawing paper in half like you're making one really tall, narrow card. Apply glue to one side of the folded strip, and press it onto a piece of aluminum foil. (I first crumpled up and smoothed the foil to give it some texture.)
 Trim the excess foil from the paper.  The front will look like this. Ooh, shiny! 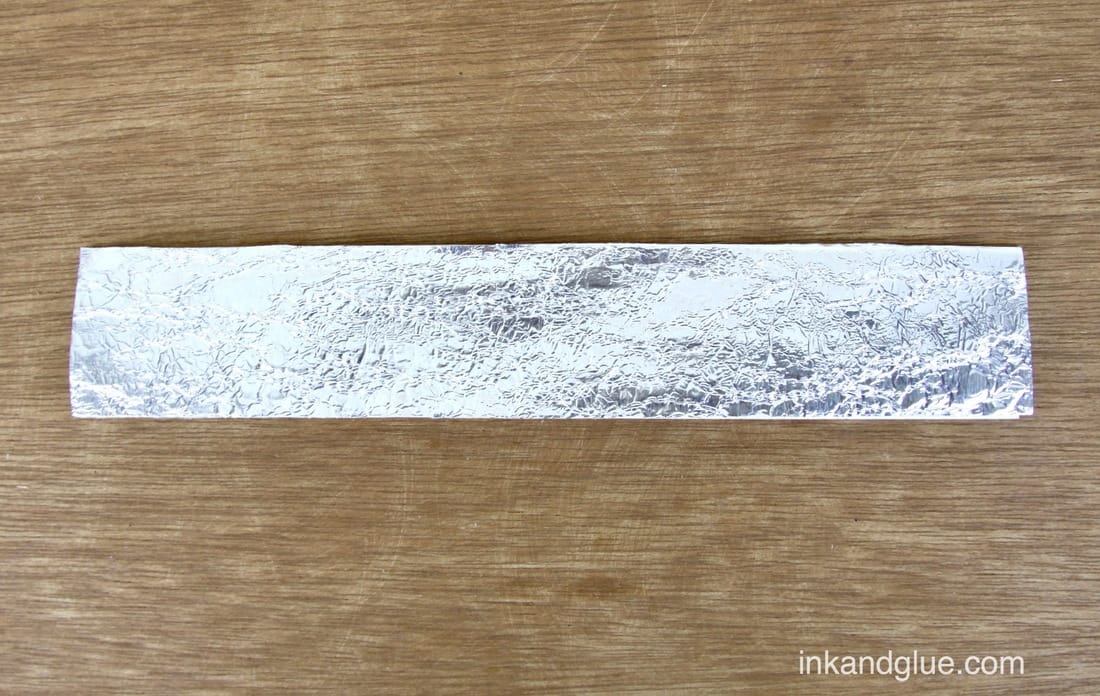 Apply glue to a second strip of decorative paper, then smooth it onto the be-foiled paper. Trim the edges as you did the first go-round. 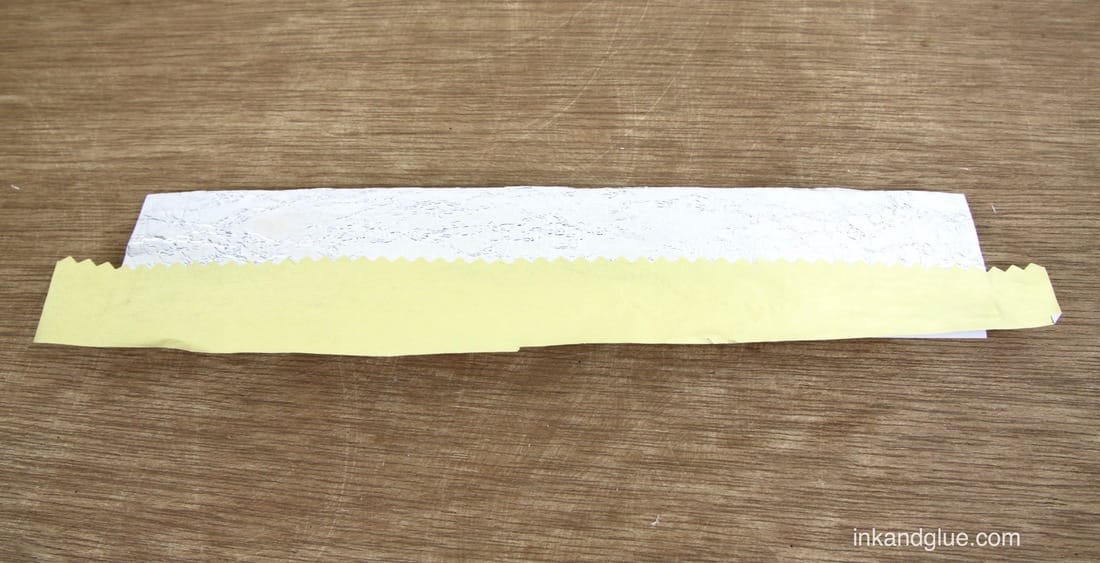 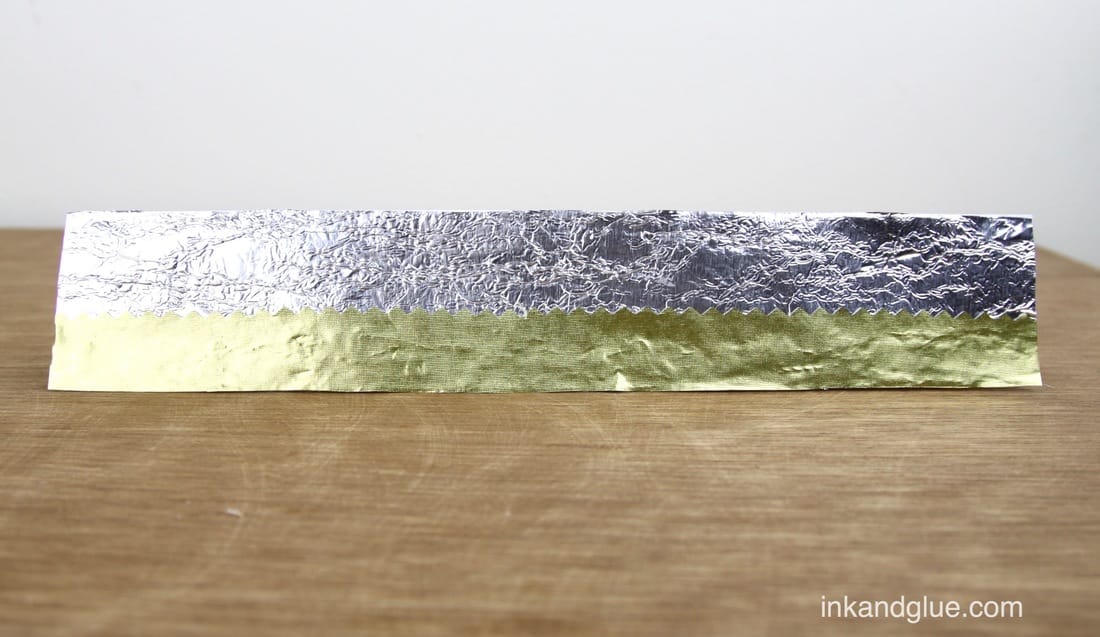 Let the glue dry, and then cut the strip-card into a bunch of little guys—eight, in this instance. 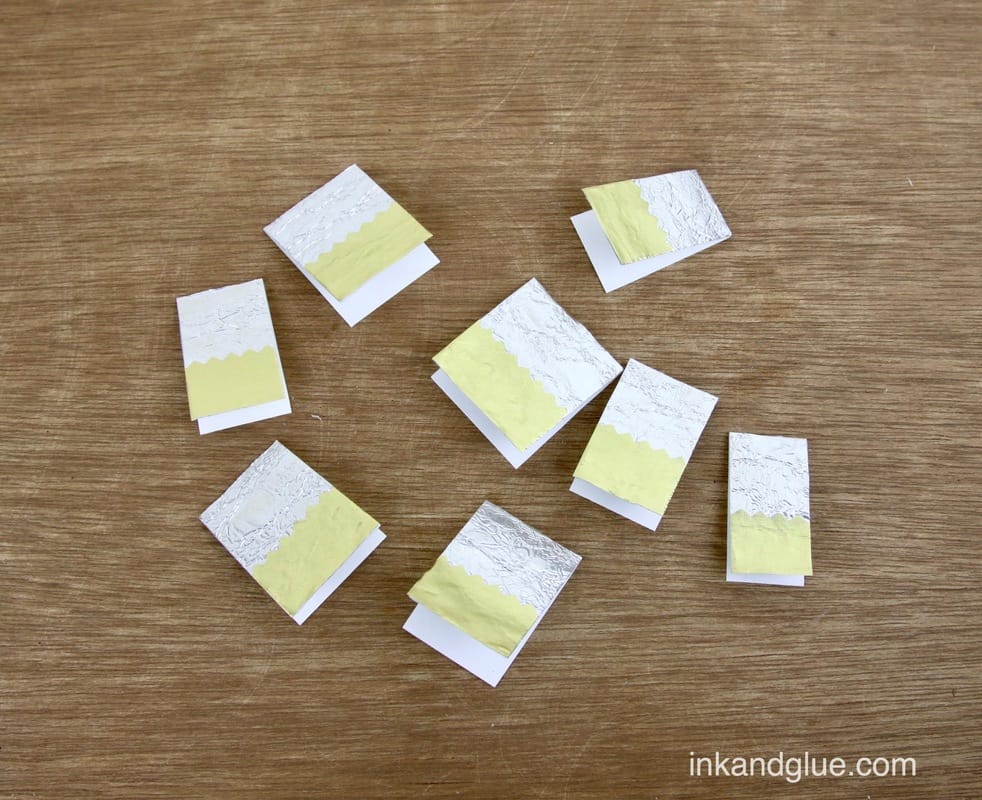 So easy! I hope your holidays are going easily and smoothly, too.
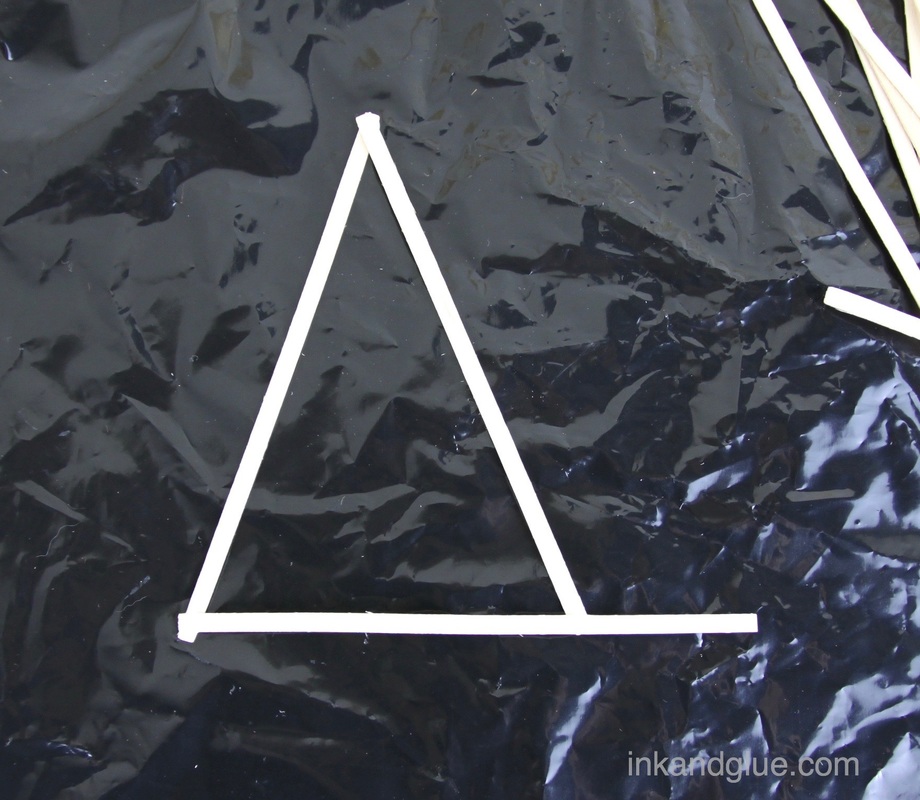
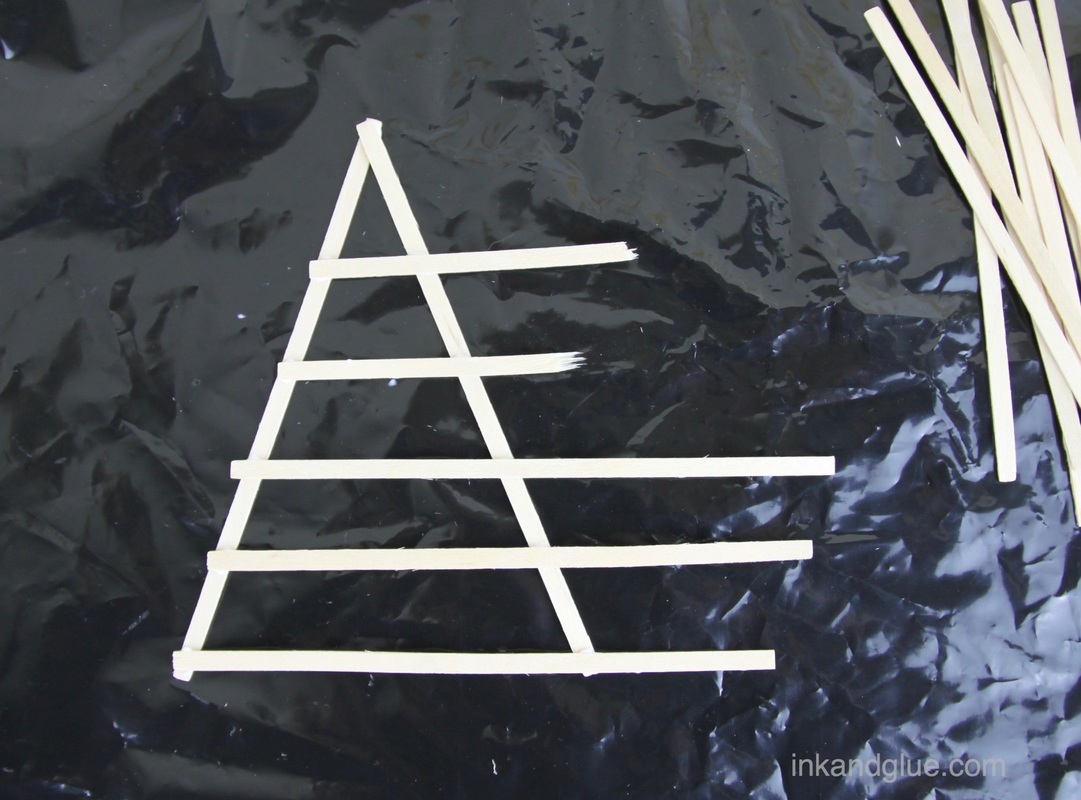
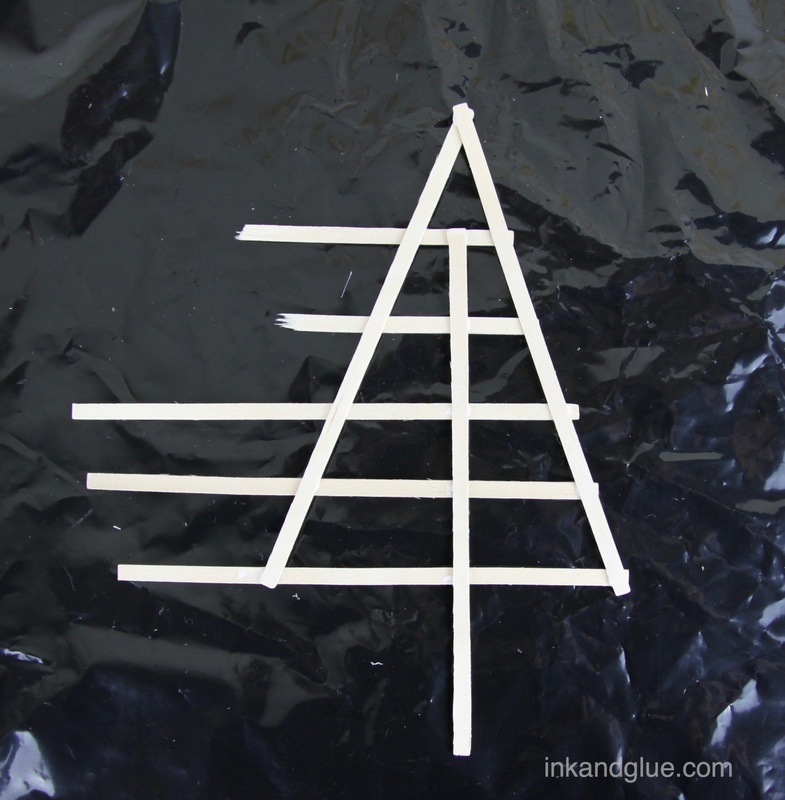
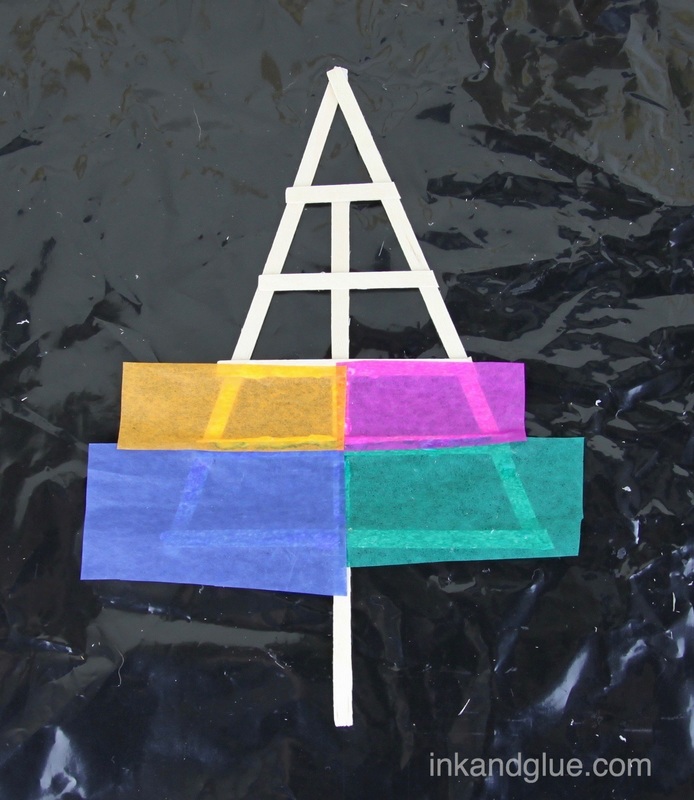
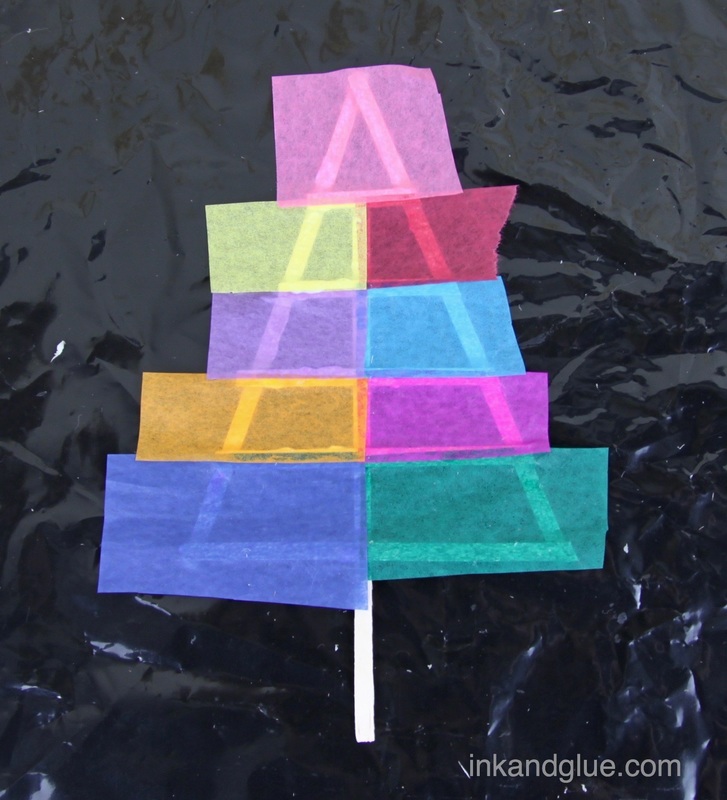
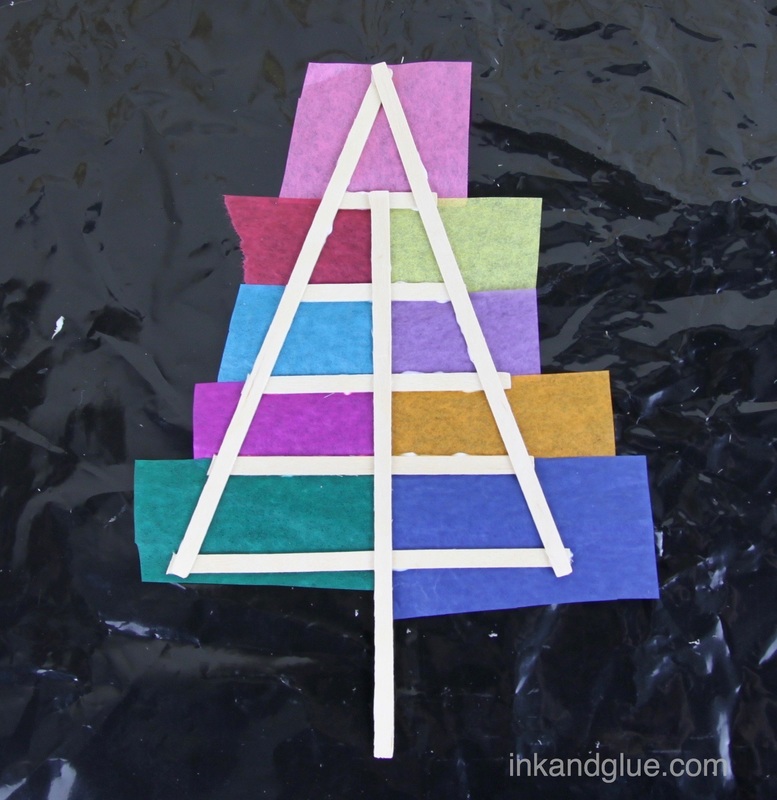
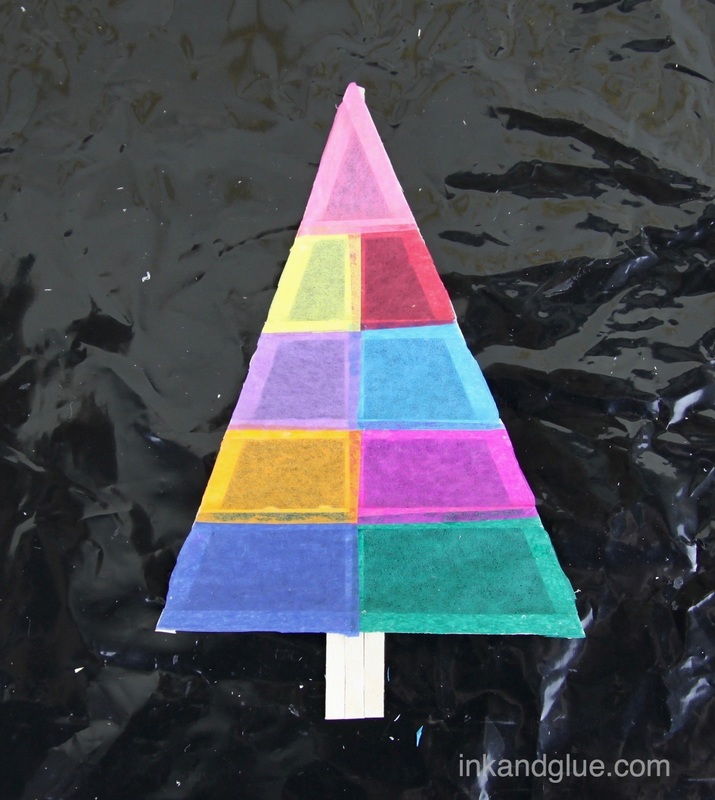
xo 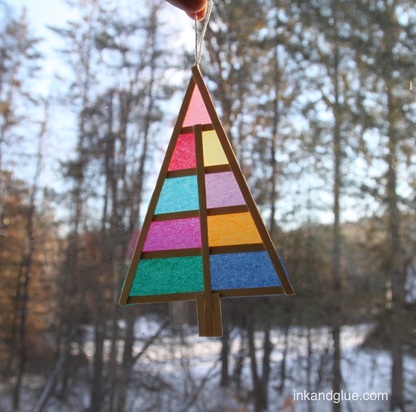 Ok, I admit — this ornament/sun catcher is not made of stained glass. It is made of tissue paper, and wooden coffee stirrers. Isn't it grand? I love colorful holiday decorations; anything other than the usual green and red is alright with me. You may feel differently, and if so, feel free to customize the colors of your tree to your liking. To make one, gather a few coffee stirrers. I probably didn't need to borrow quite so many; I think I ended up using 7 or so. 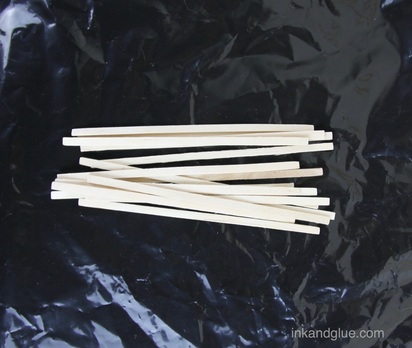 Lay three of the stirrers in a triangle shape on a piece of plastic or waxed paper. With tacky glue, adhere the three stirrers together at the corners. Then, glue several more stirrers, evenly spaced, parallel to the skinny side of the triangle as shown. Break the sticks in half for the shorter pieces, to save wood.
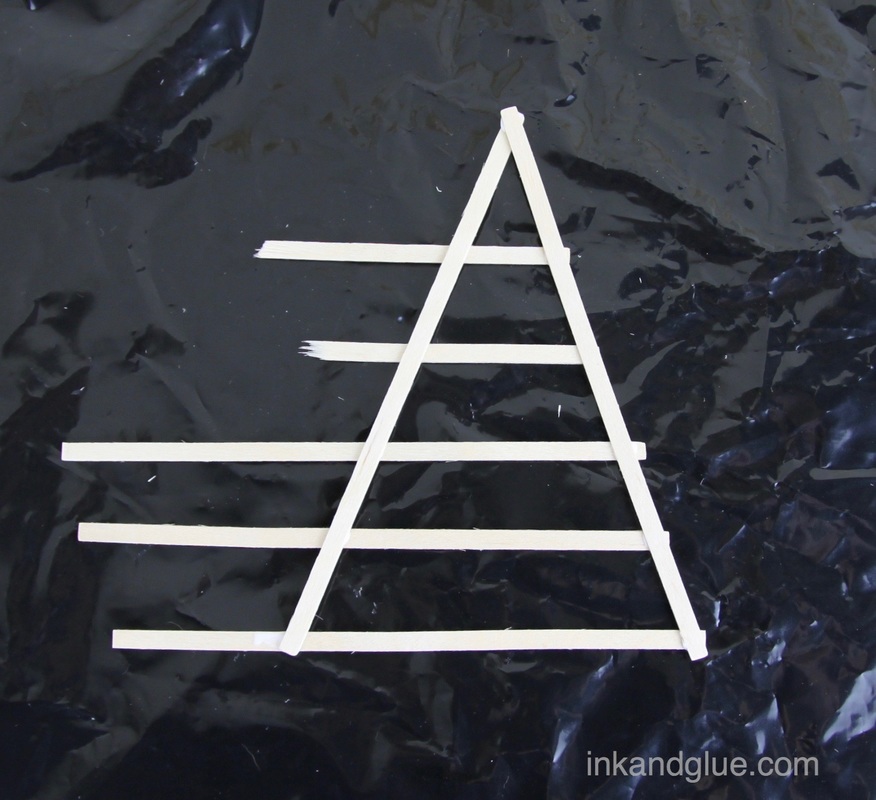
Once the glue is dry enough, flip over your stirrer set-up. Glue a stirrer to the center of the inner lines, as shown.
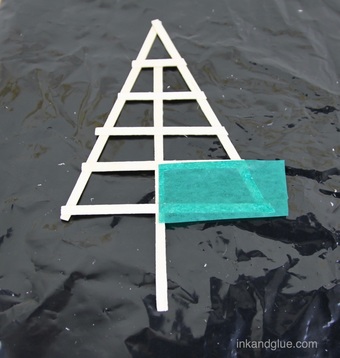
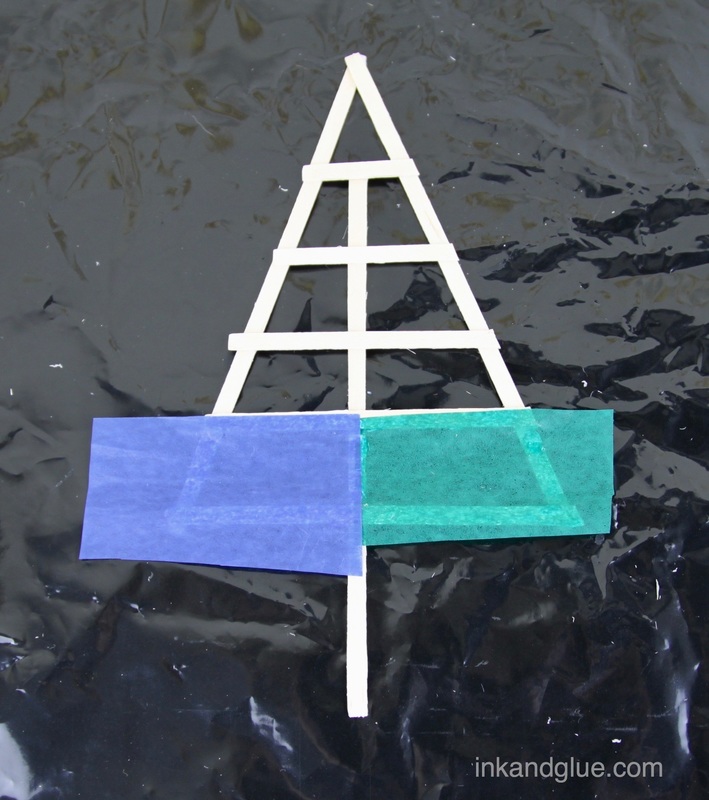
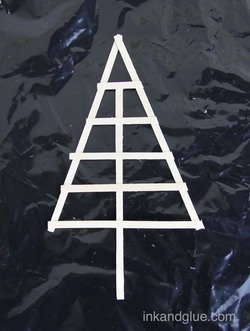 Use strong scissors to trim the excess lengths of the stirrers. Now it's time to add color! Choose a scrap of colored tissue paper and trim it into a rectangle or strip that's basically the same width as the space where you'll be gIuing it, plus a little extra. Don't worry about getting the paper the perfect size; just making it the right width will be enough. Align the paper over the stirrers so its interior edges won't need trimming further down the line. Spread a thin amount of glue onto the stirrer window, then smooth on the paper piece. Do the same with a second color, again lining up the interior edges neatly.
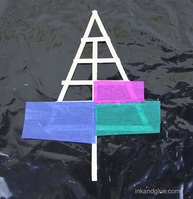
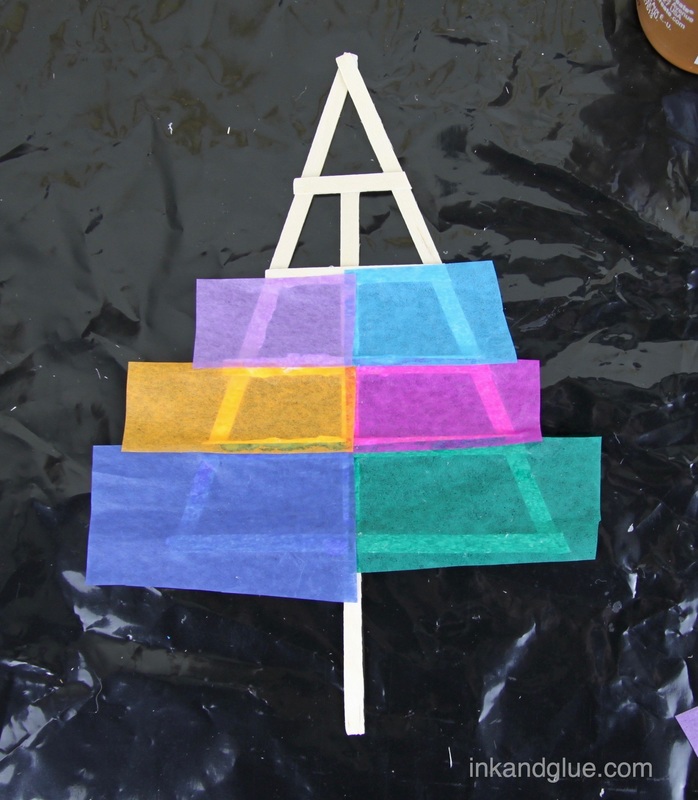
Keep adding trimmed pieces of paper to the windows, as shown.
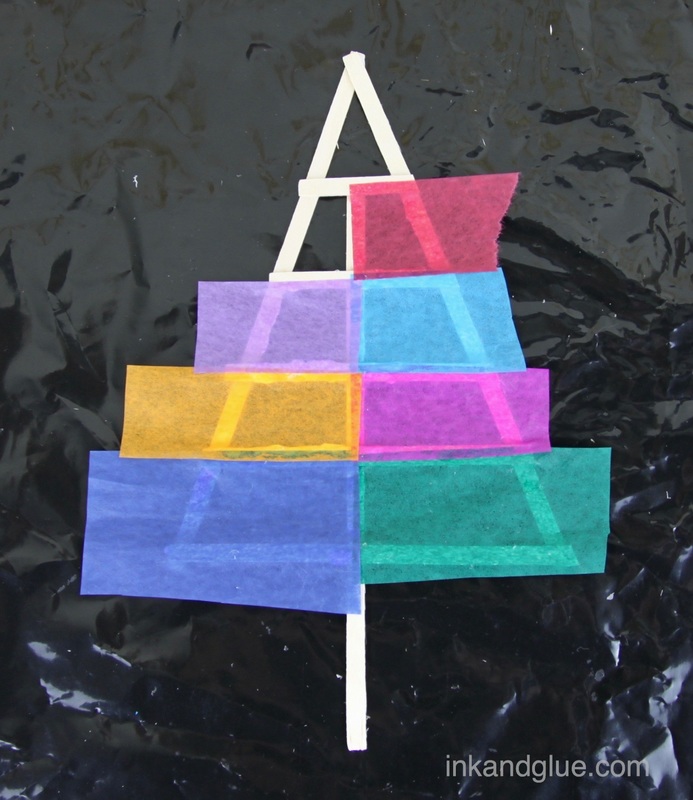
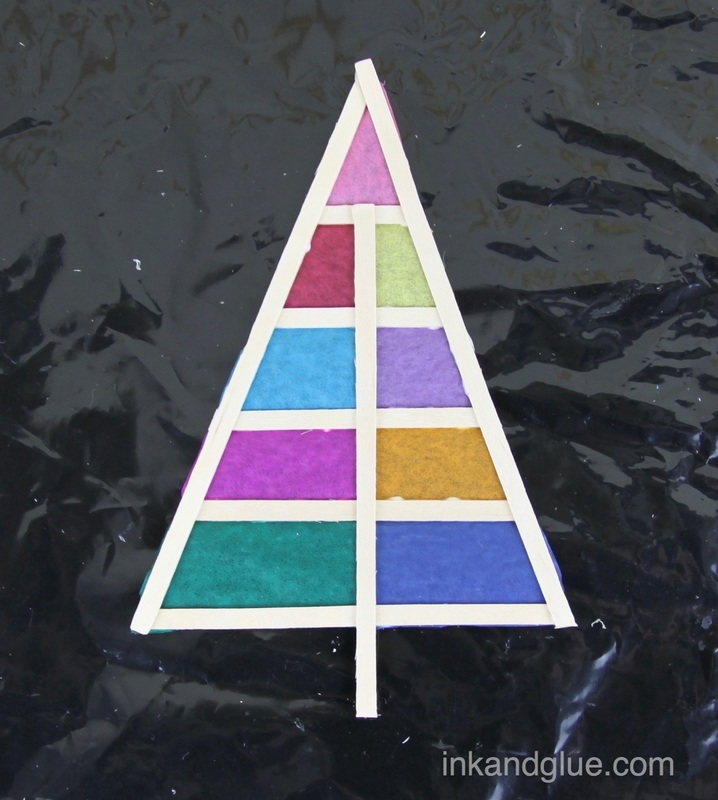
After you glue on the last piece of paper, flip the tree over.
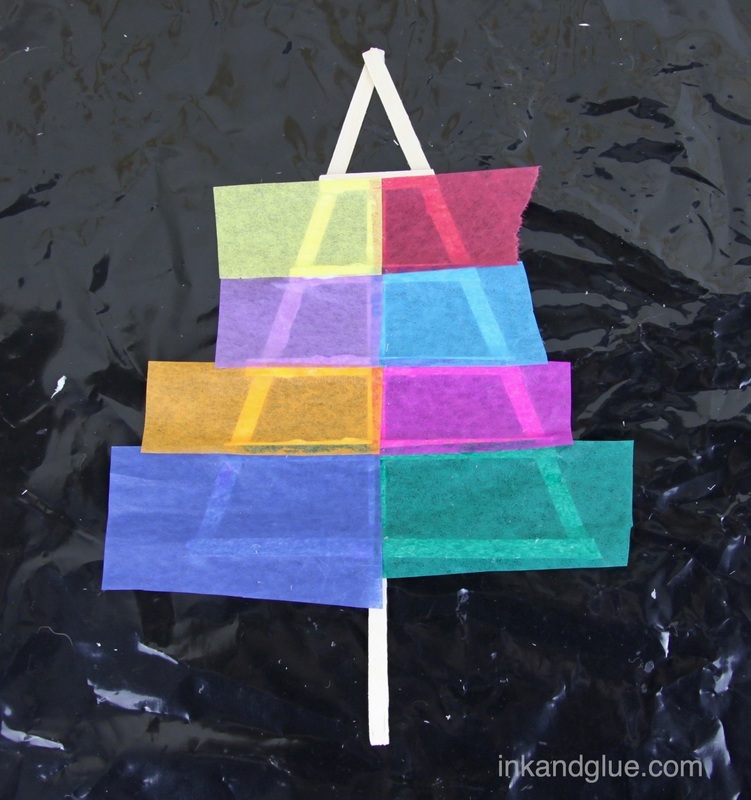
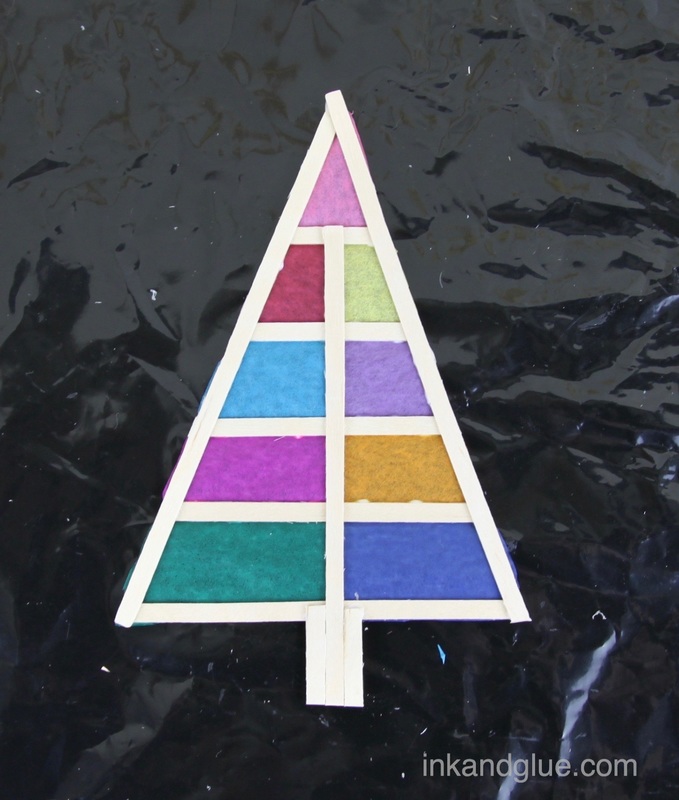
This part's totally optional, but I made my trunk wider by cutting and gluing two lengths of stirrer to fit against the center one in the tree. Here's a shot of both sides of my tree, at this point of the process (i.e. almost finished!).
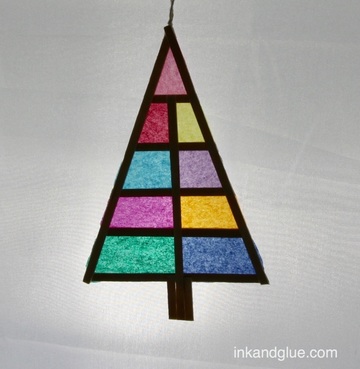
Tie a simple loop in a piece of string, and trim the ends so you have about a quarter-inch of excess from the knot. With the tree paper-side up, put a little glue on the (paper-covered) stirrers at the very top point of the tree, and press the knot ends onto the glue. 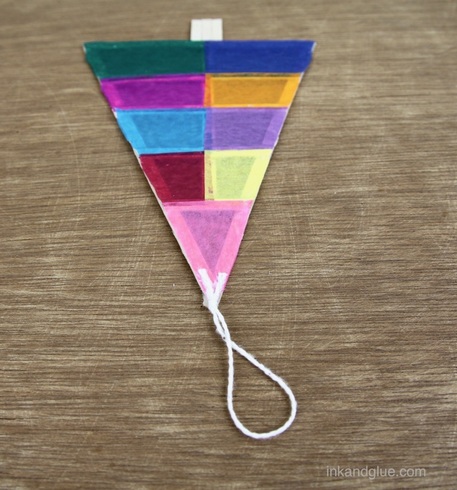
xo!
That odd turn of phrase above is from today's i love vintage: another project-and-a-half from 1967! 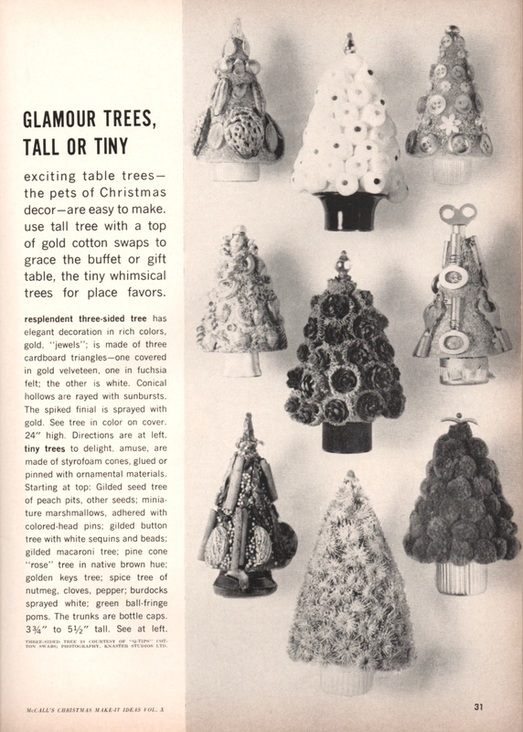 I'm not sure what makes those tiny trees glamorous, especially the one that's just some glued-on peach pits and pumpkin seeds. But this tall 3-sided tree certainly is. Why, you can almost not tell that the crowning star is made from cotton swabs! (Just kidding, you can 100% tell.) 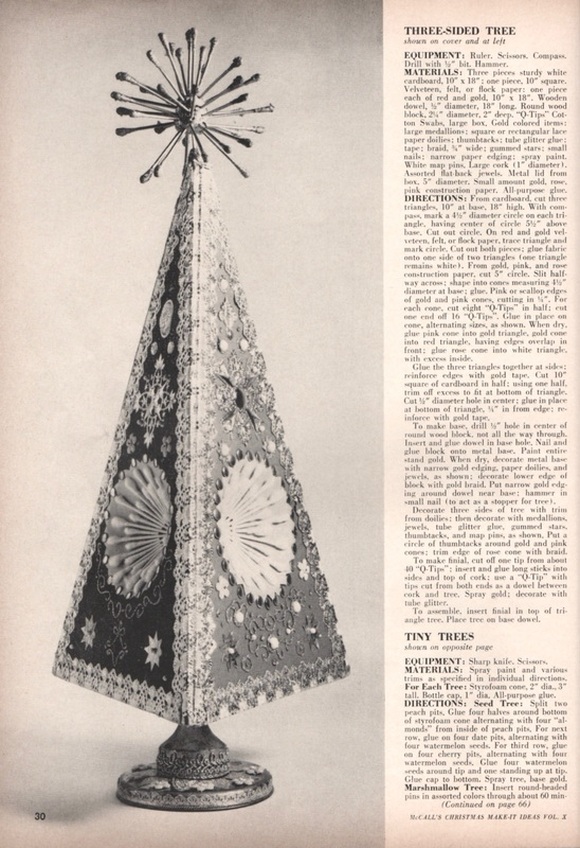 The conical insets of the 3-sided tree are very cool. Might have to apply that idea in some project or another...
xo! That odd turn of phrase above is from today's i love vintage: another project-and-a-half from 1967! I'm not sure what makes those tiny trees glamorous, especially the one that's just some glued-on peach pits and pumpkin seeds. But this tall 3-sided tree certainly is. Why, you can almost not tell that the crowning star is made from cotton swabs! (Just kidding, you can 100% tell.) The conical insets of the 3-sided tree are very cool. Might have to apply that idea in some project or another...
xo! (Just a little editor's alliteration joke, up there. Heh.) Hey look, it's 1967 with some holiday crafts that kids can make! The environmentally-gross styrofoam balls used as heads in the dolls are offset by the reusing of newspaper as wrapping paper (instead of buying new). Well played, McCall's. 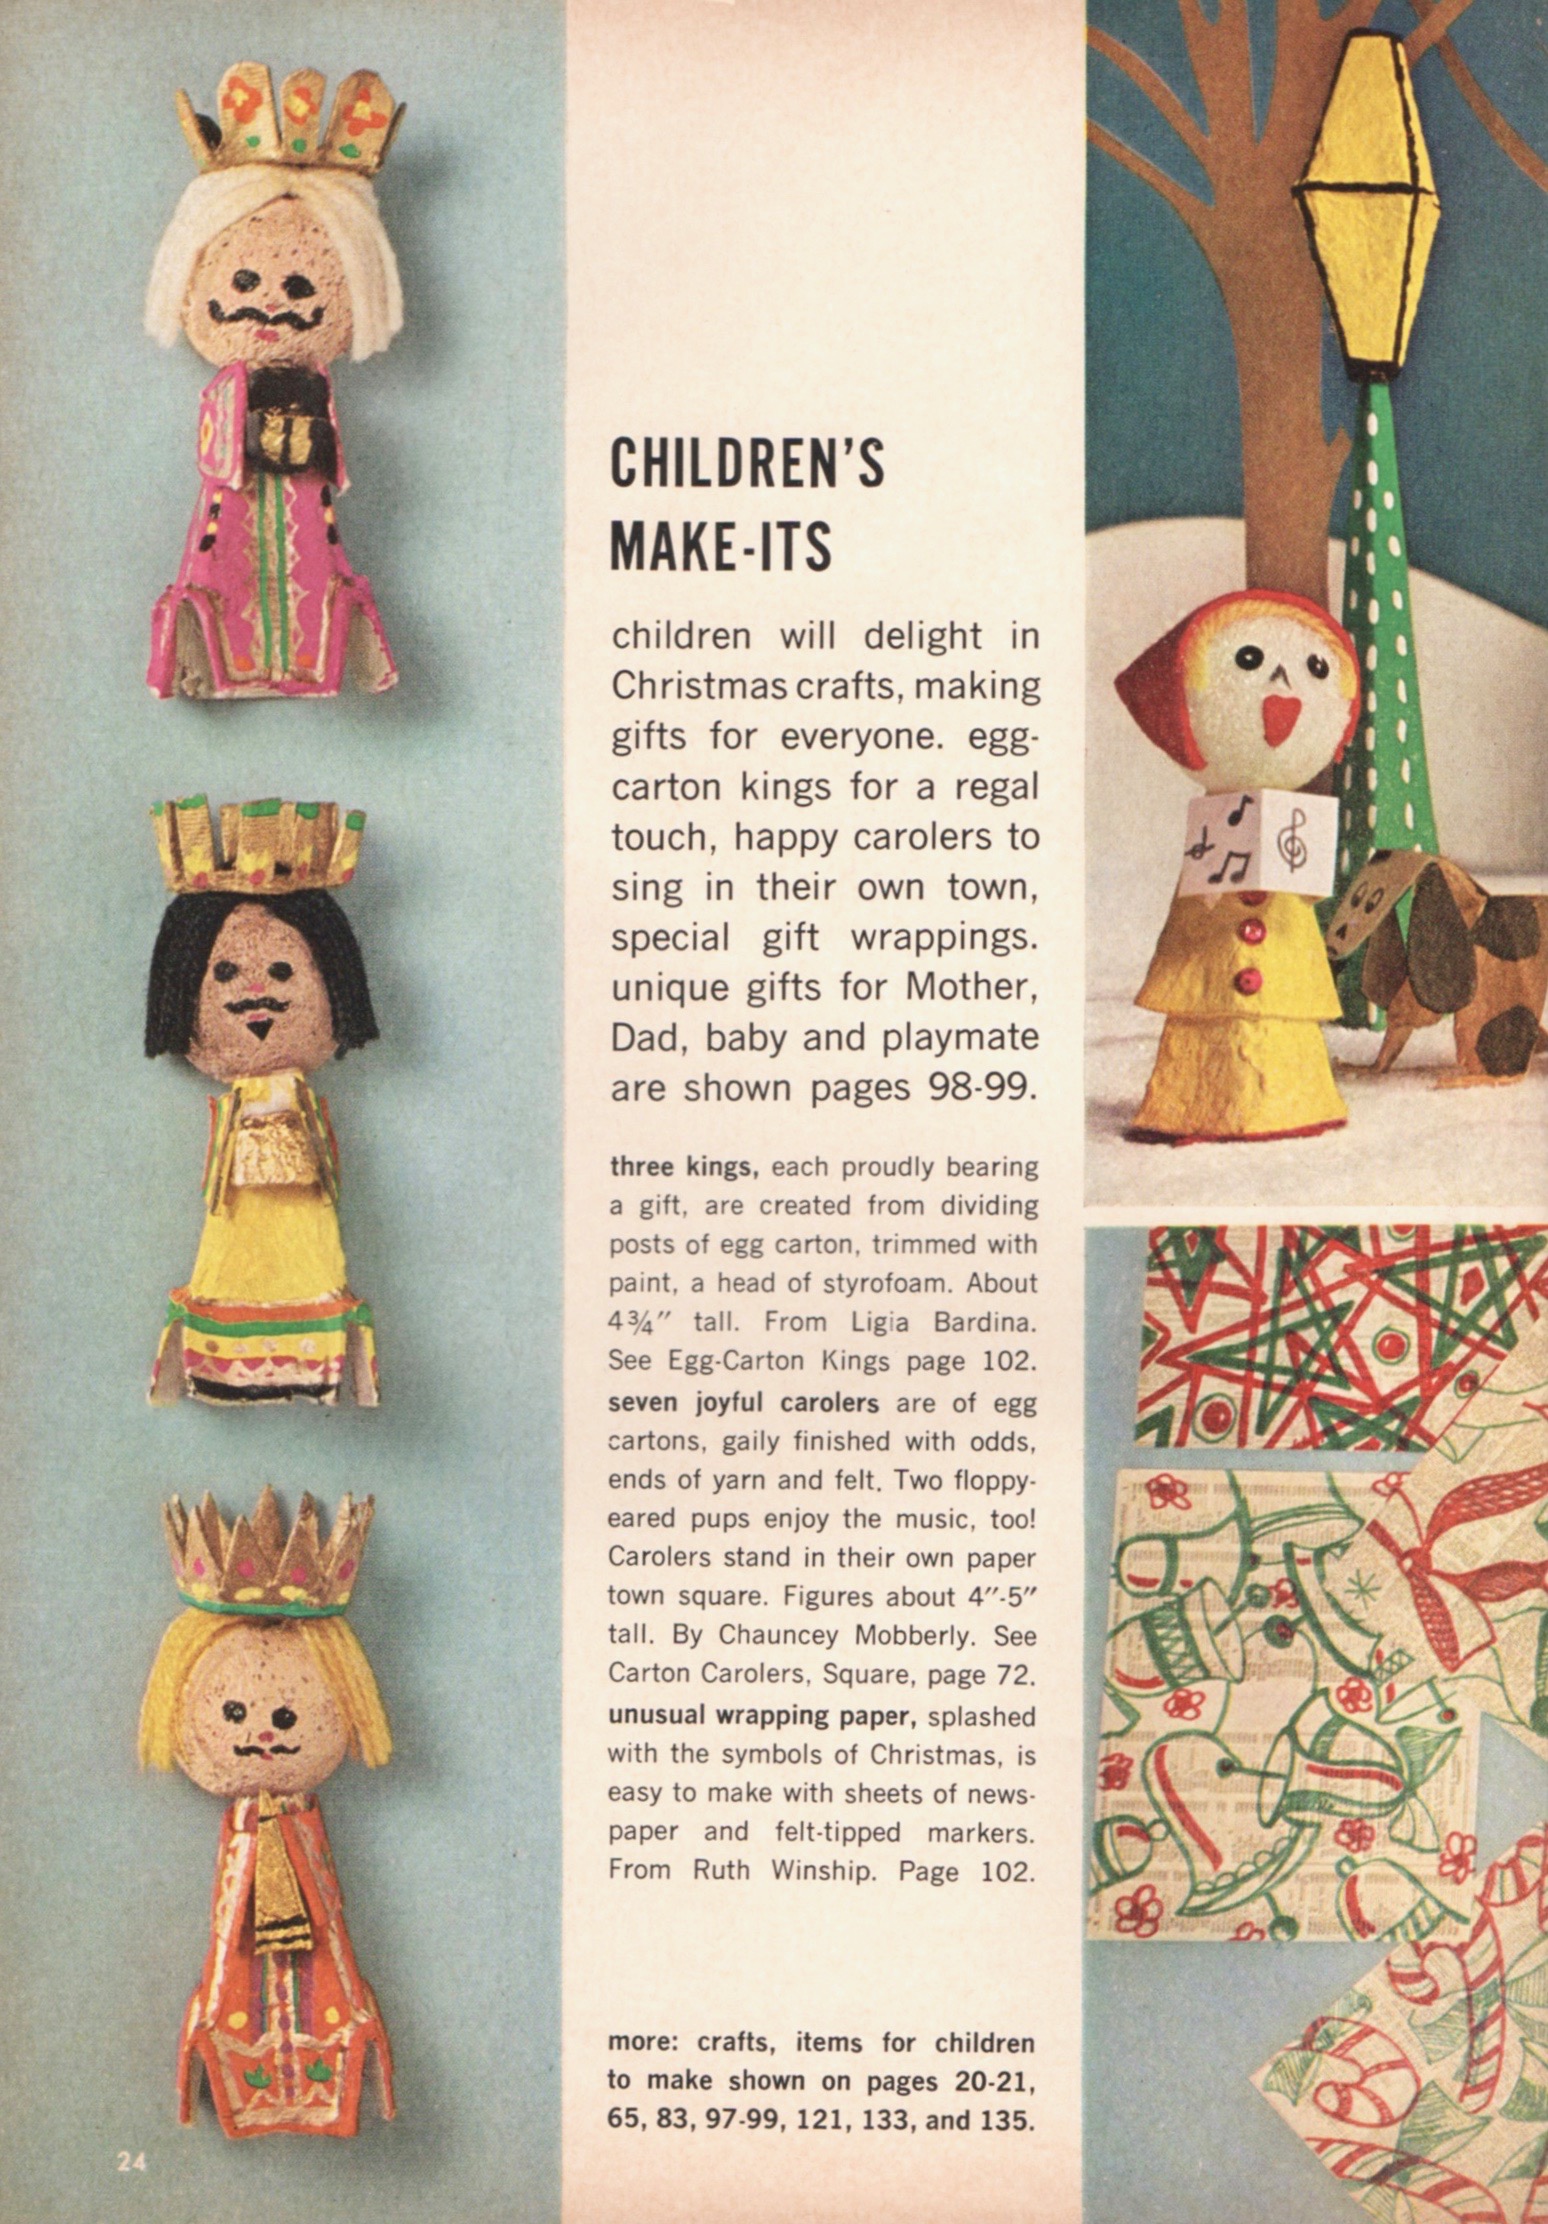 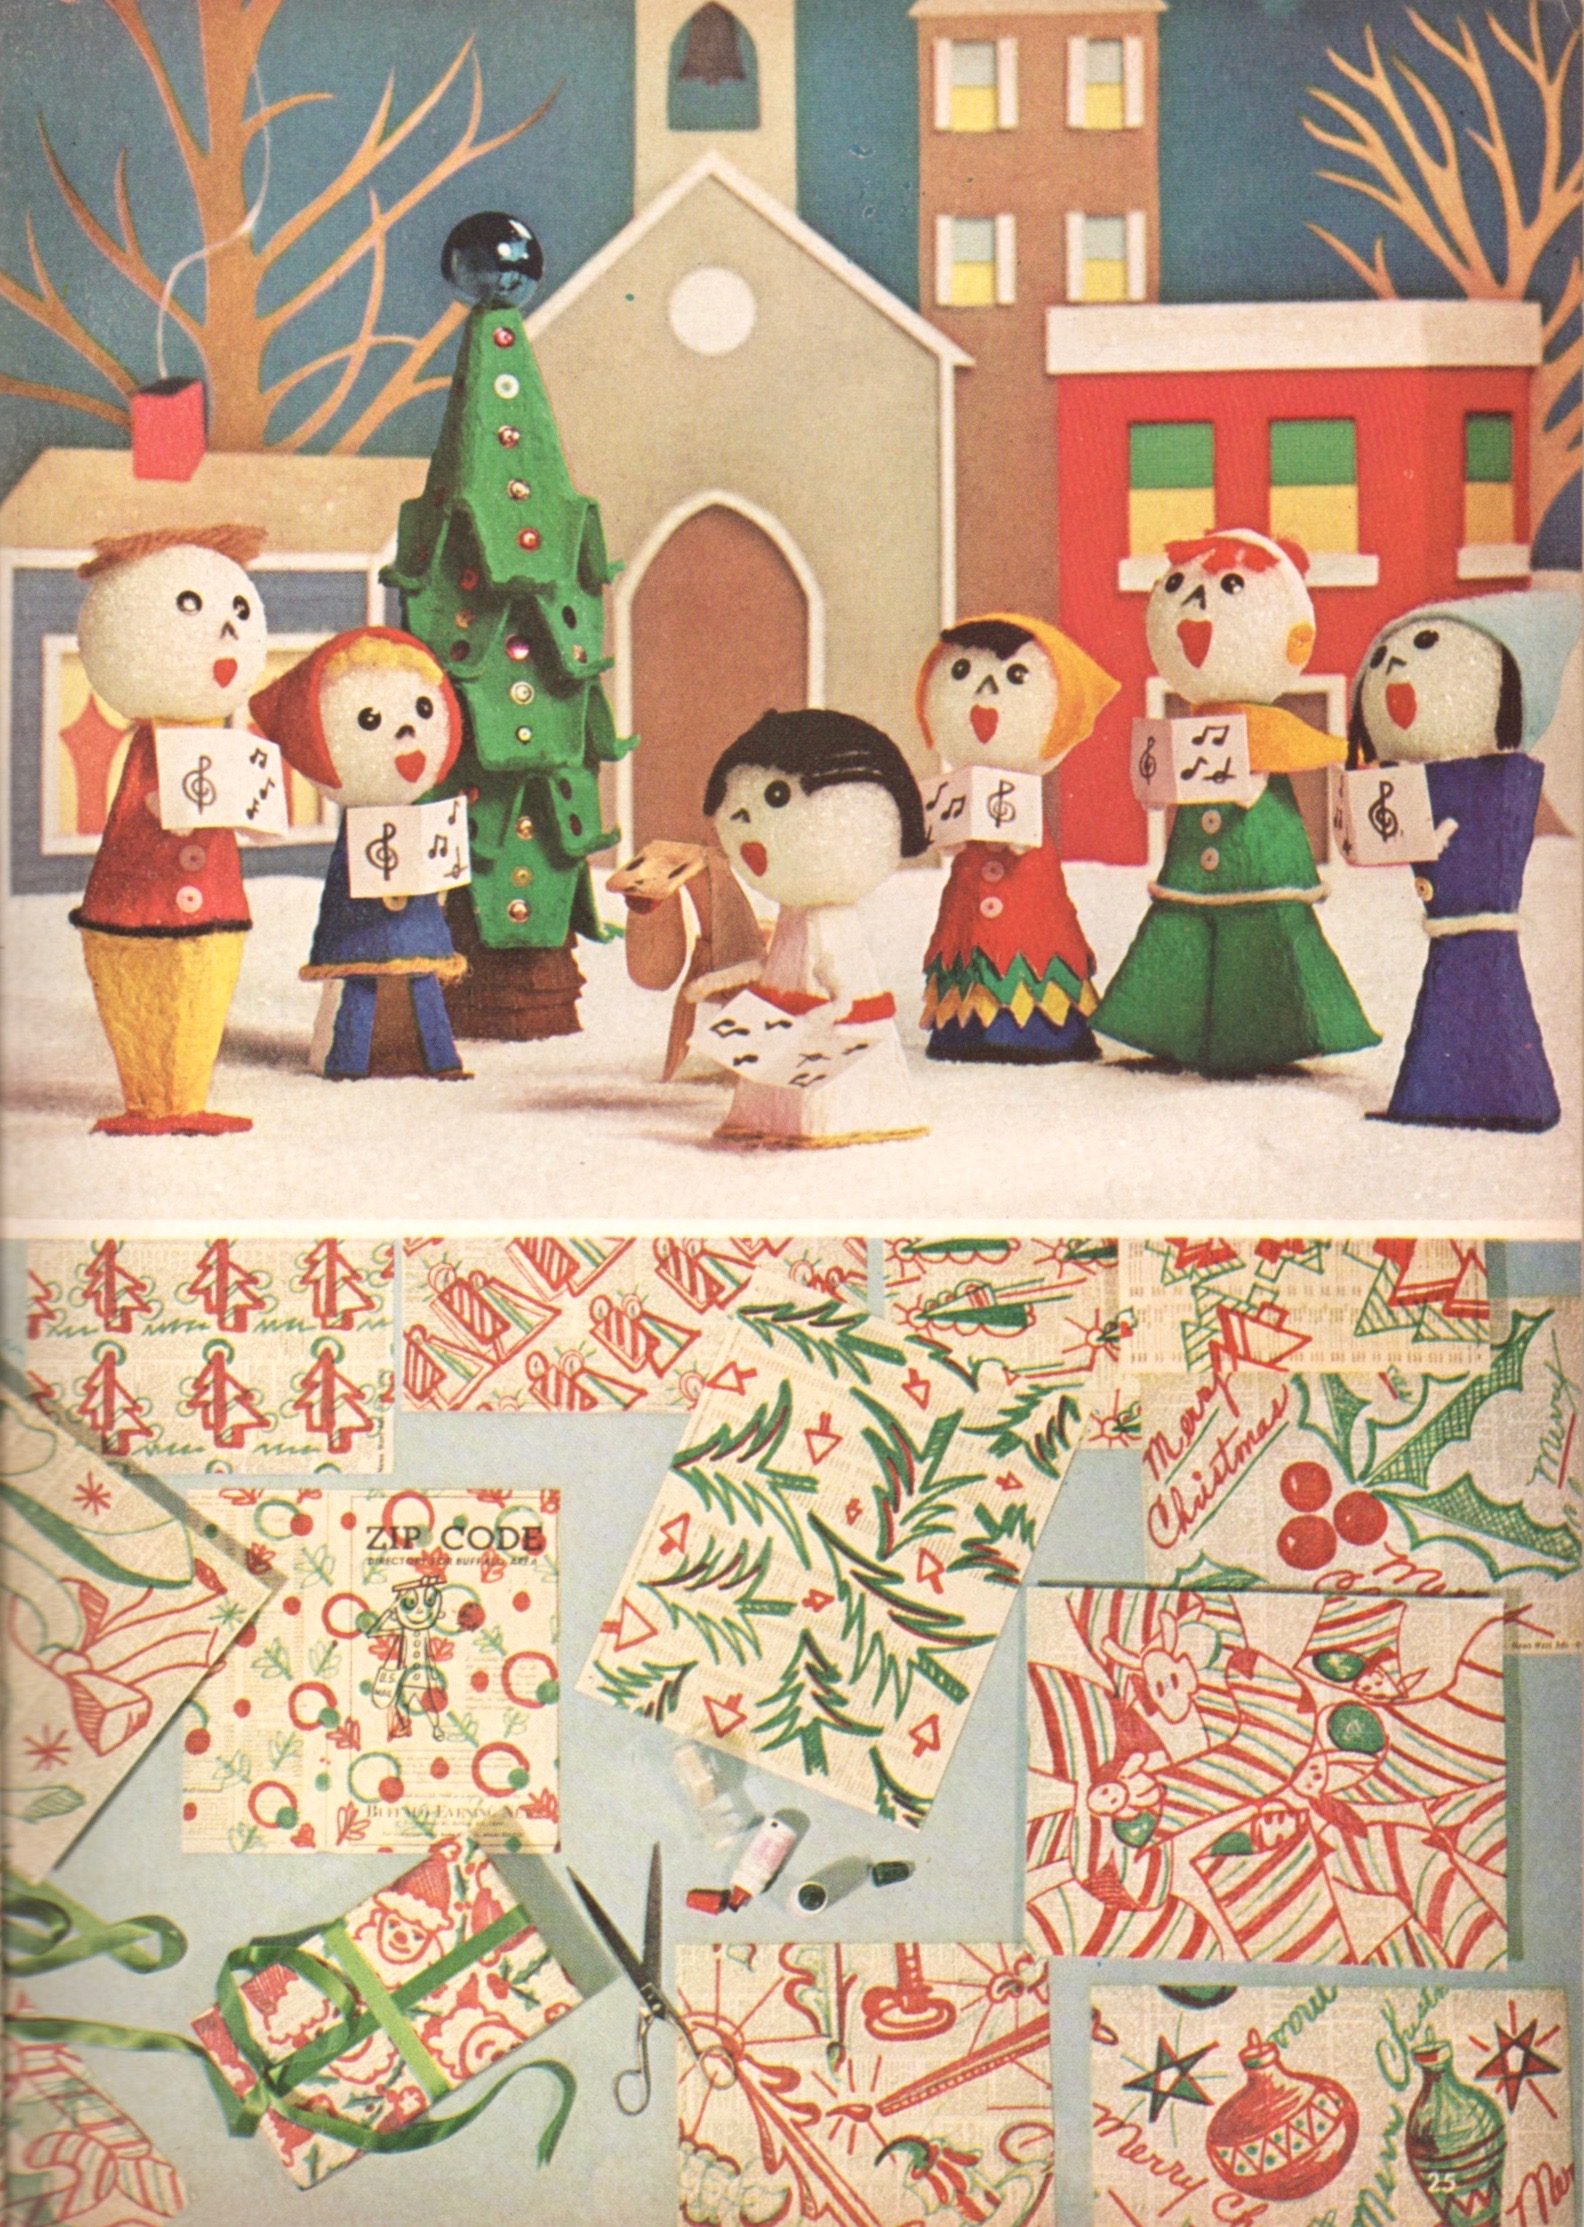 xo!
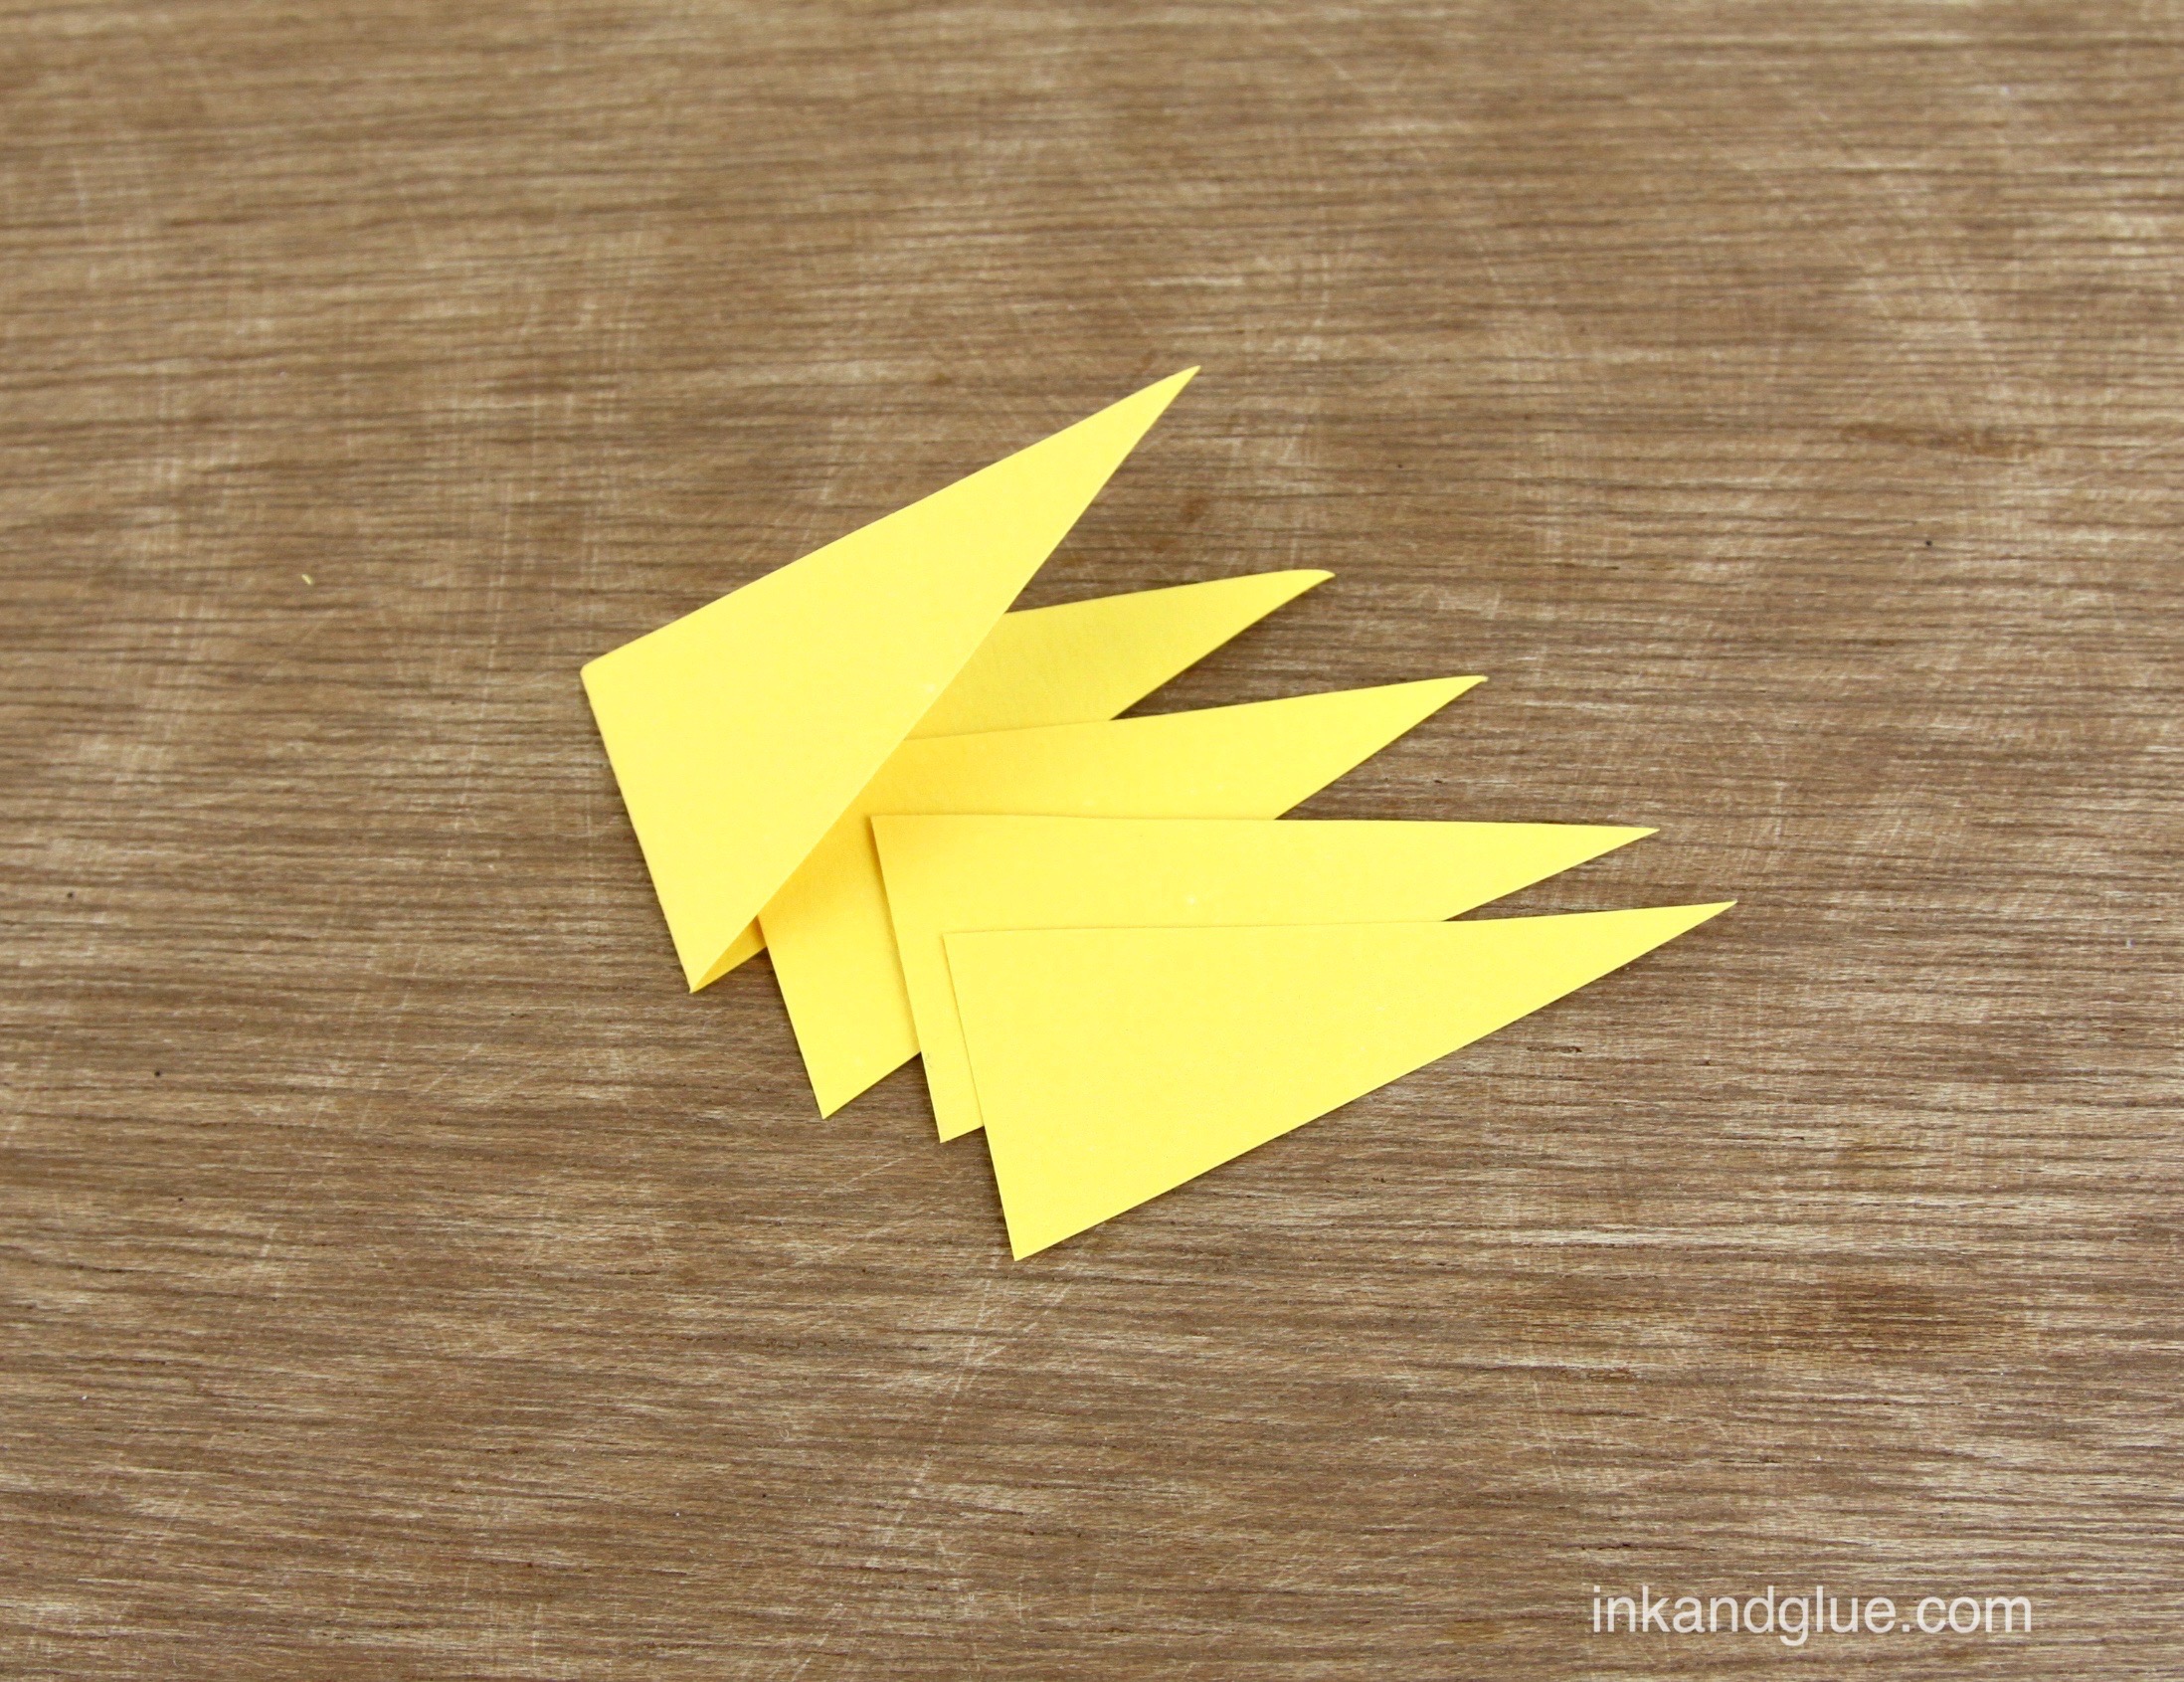
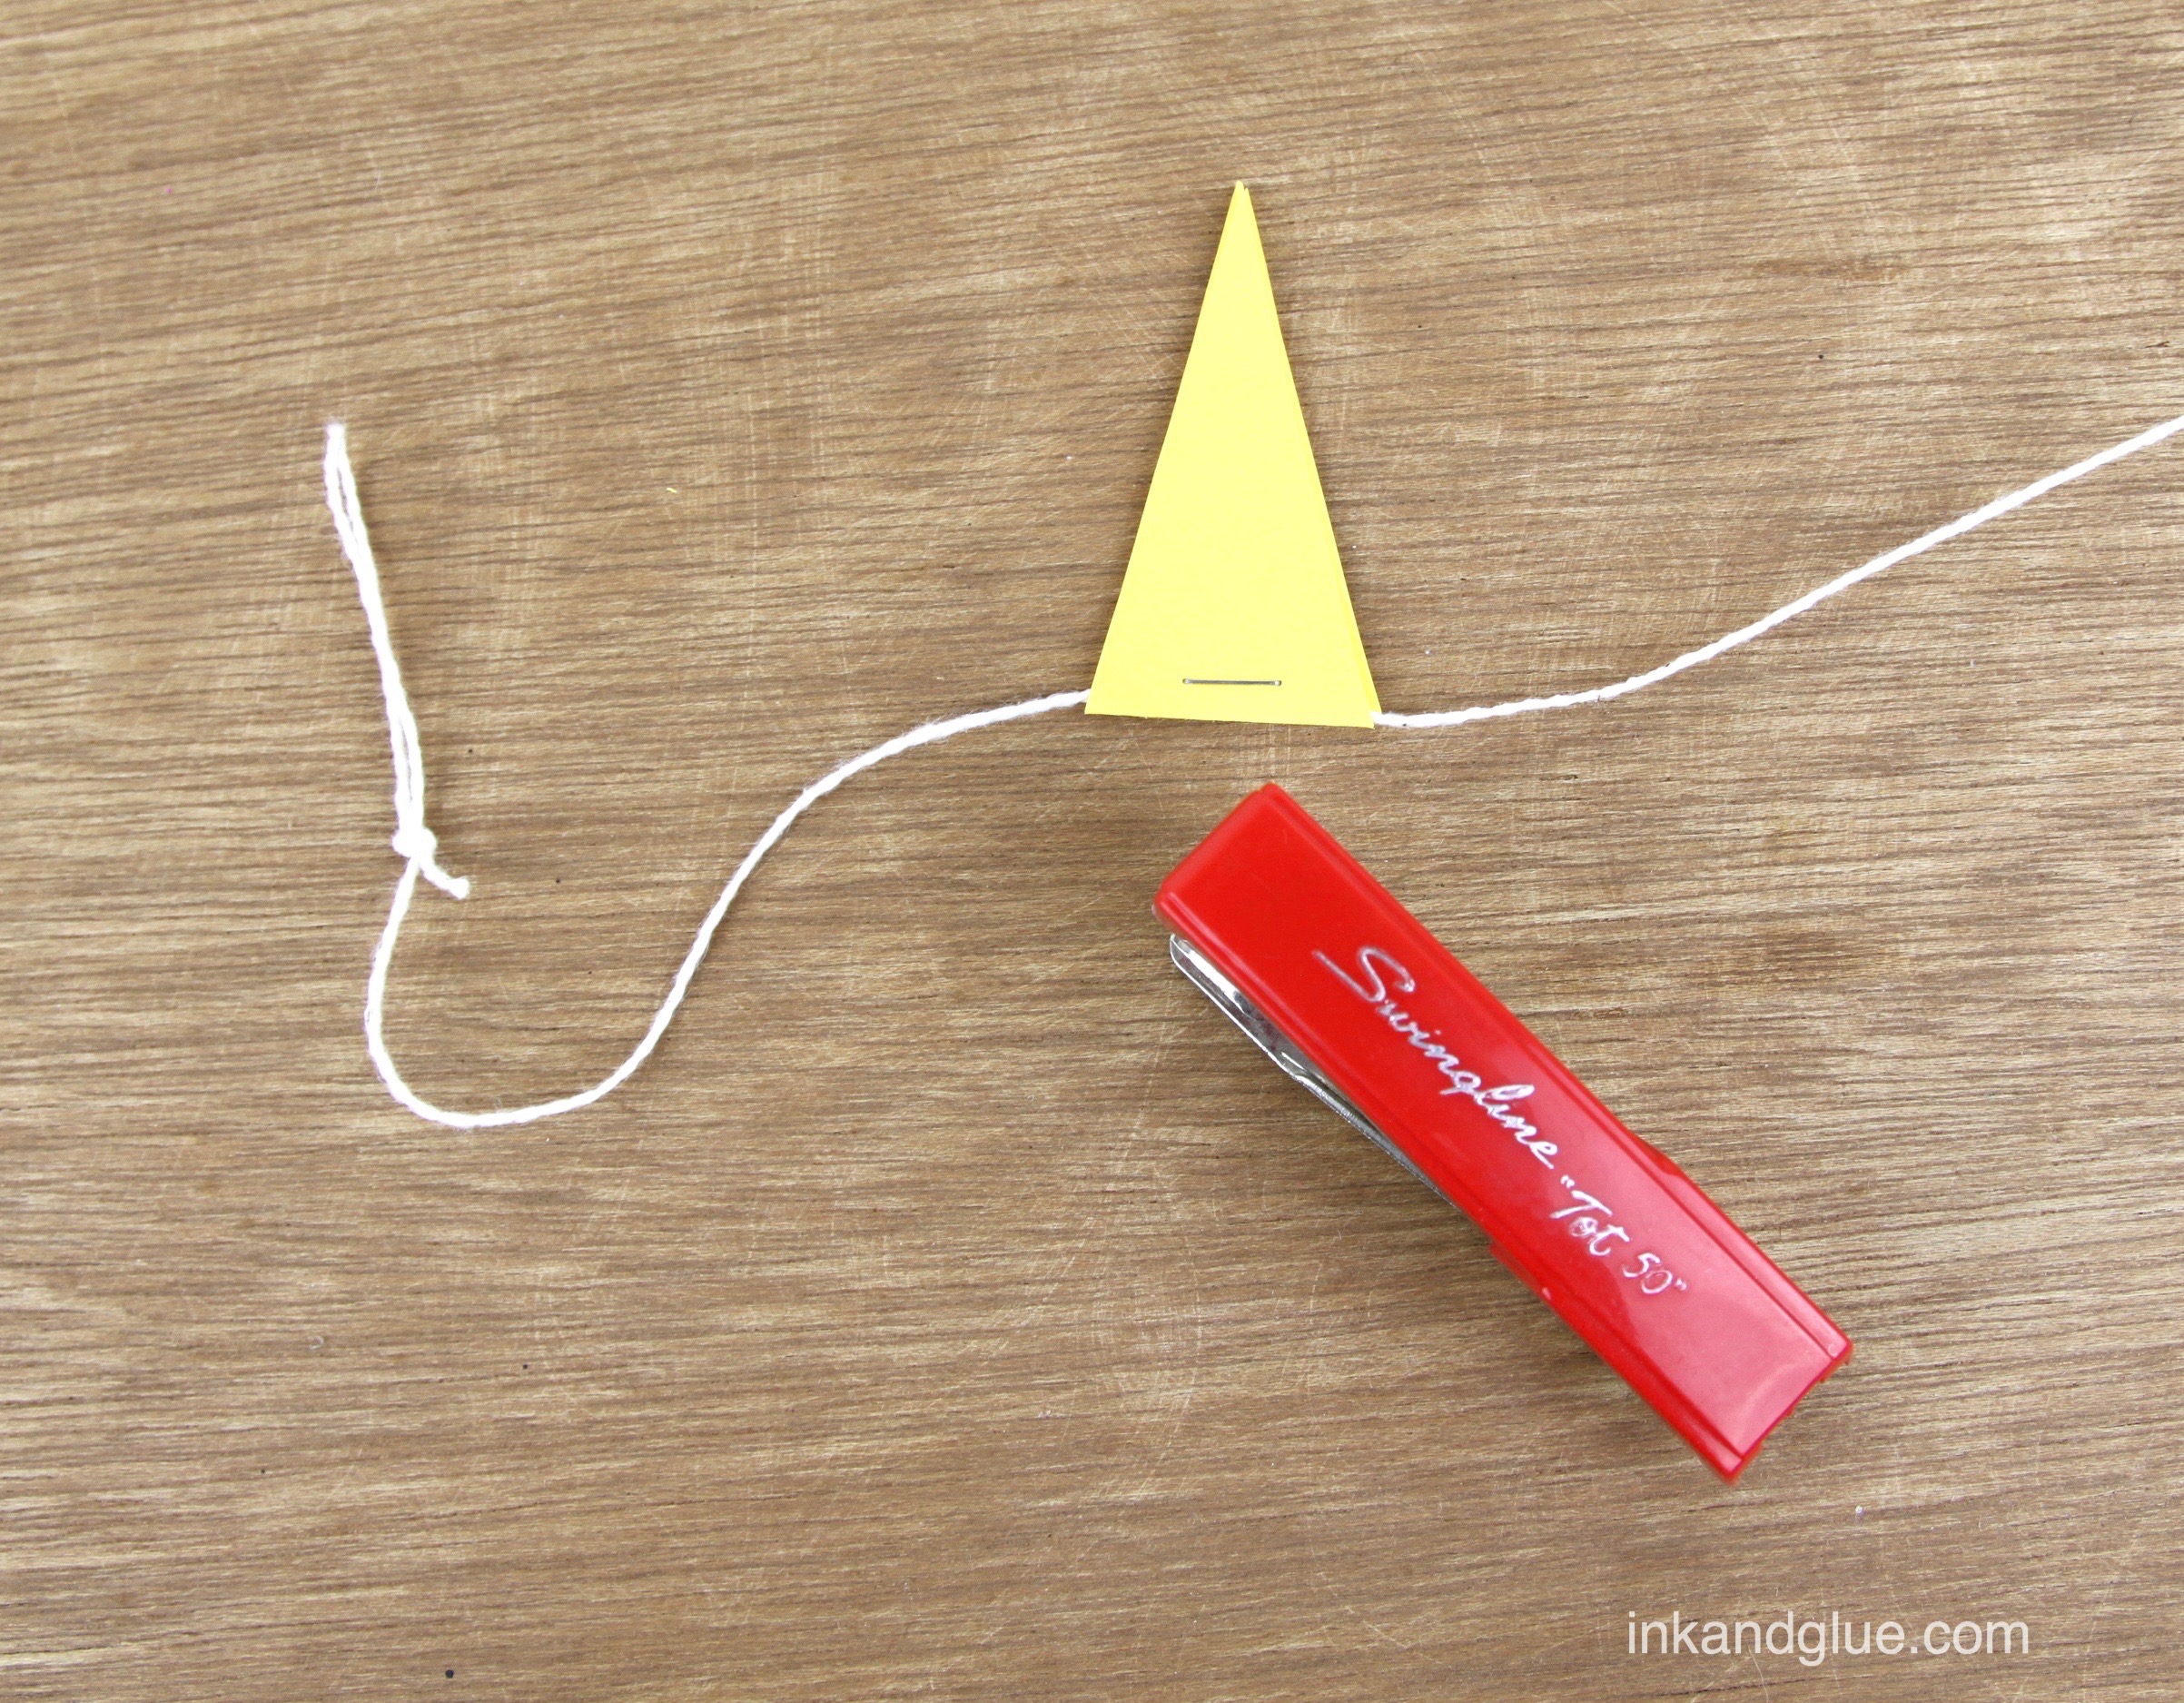
 Here's another simple project — made with just construction paper, string, and staples — that you can take in many different directions. Use blue and white paper and six-pointed stars for a Hanukkah garland; use silver and gold paper for a more luxe Christmas look; use totally different shapes and make a garland of flowers; and of course, intersperse your stars with other shapes or items, such as pom-pom beads or sandwiched circle stickers. To make my simple yellow star version, first cut a five-inch-wide rectangle from a sheet of construction paper, and fold it in half the long way. Then, cut the folded strip into triangles. Half the triangles will have a folded part (and will be one long diamond shaped piece, if you were to unfold it), and half of the triangles will actually be two stand-alone triangles. 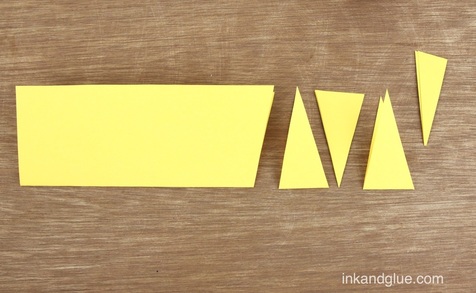 Sort through your collection of triangles and assemble sandwiches of five points. That means you'll have two folded pieces and one single piece in the middle, or one folded piece with three singles in the middle.
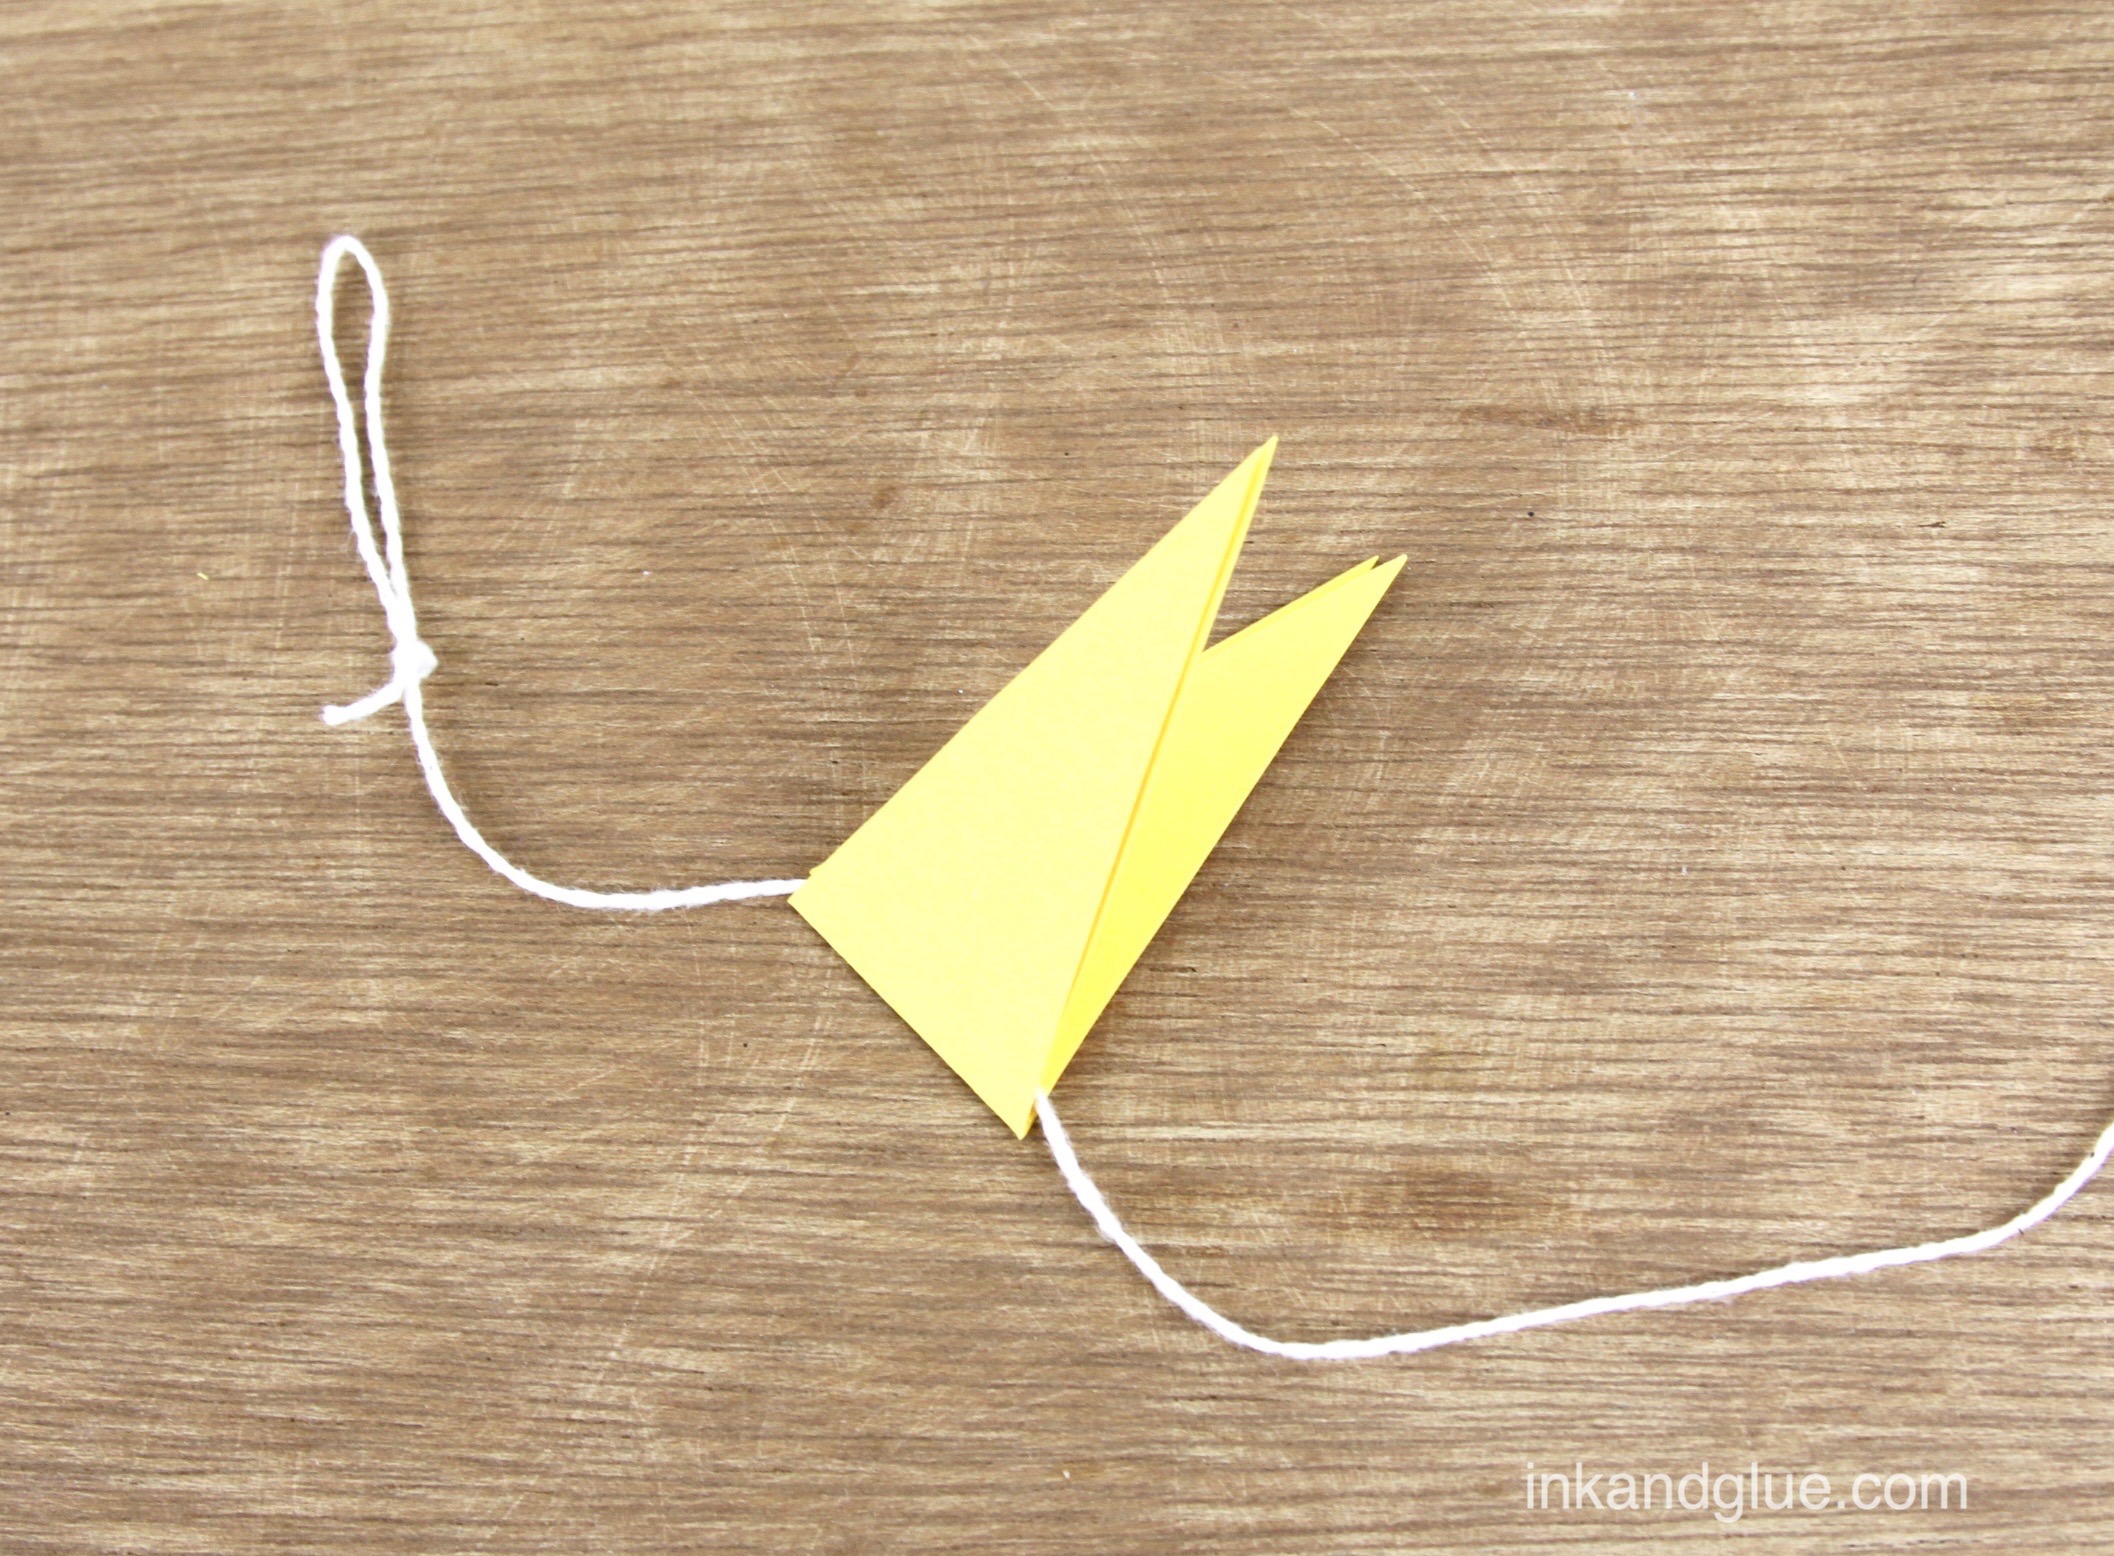
Tie a loop around the end of a ball of string. I used basic cotton twine. A few inches down from the loop, fold a five-point sandwich around the string, with the string tucked into the folded part. Staple the paper very close to the fold. (Note: I am using a very tiny pocket stapler, which might be giving you false clues as to the scale of this thing.)
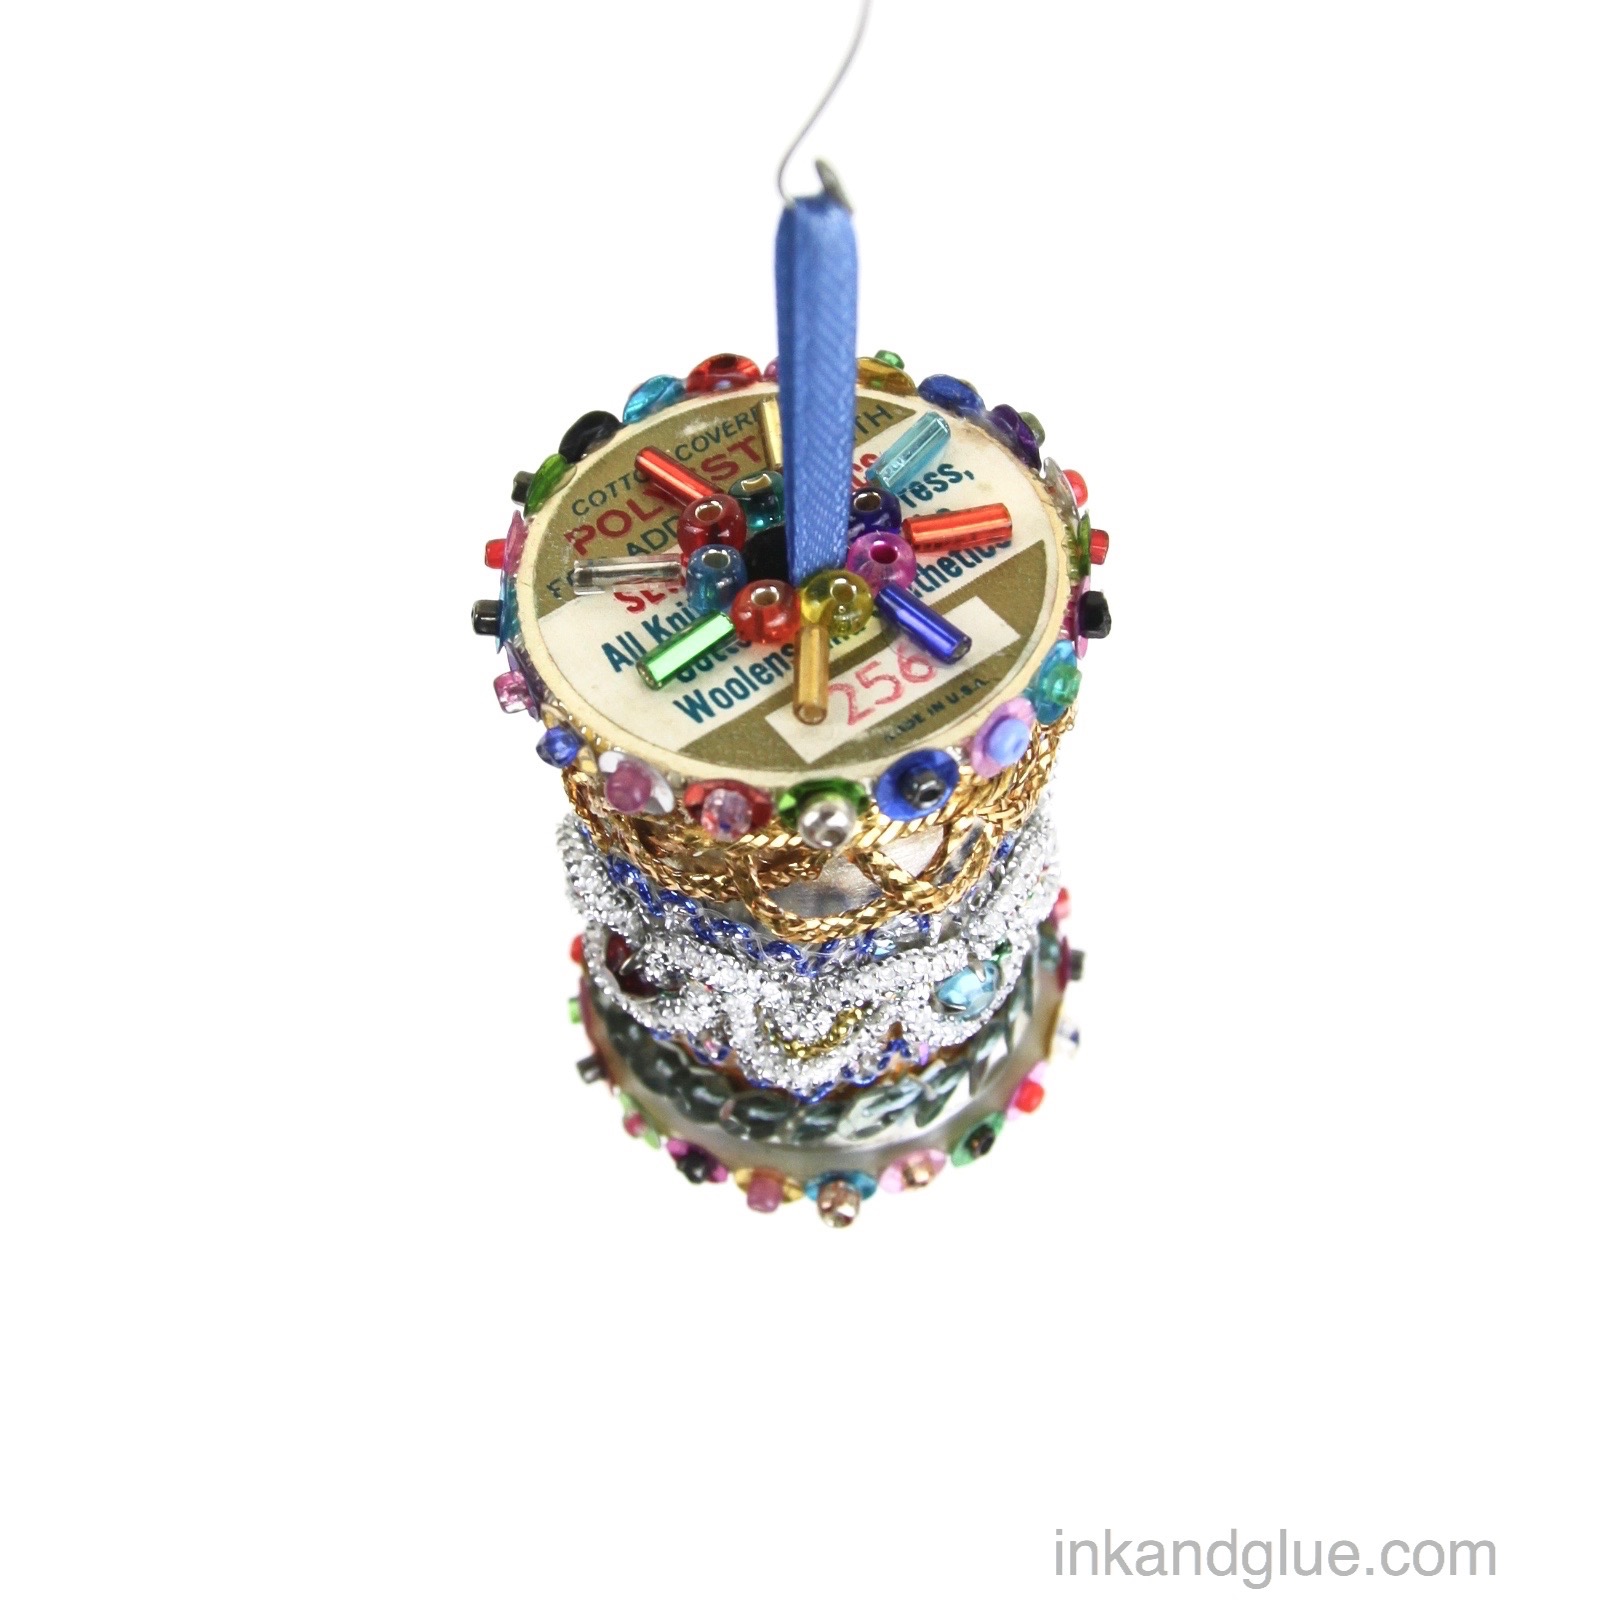
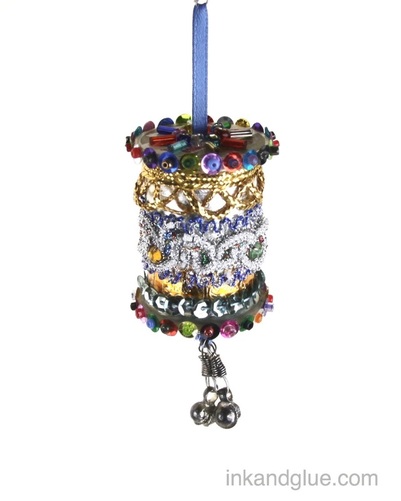
Add a whole bunch of these five-point sandwiches, spaced evenly apart, to the string until your garland is as long and as full as you'd like. Cut the string, leaving several inches free, and tie another loop for hanging at the end. When you're ready, make the sandwiches into stars by folding the two outer triangles all the way open, and the next two triangles to about 90 degrees, to make them roughly star-shaped. Adjust your fold angles as you please. 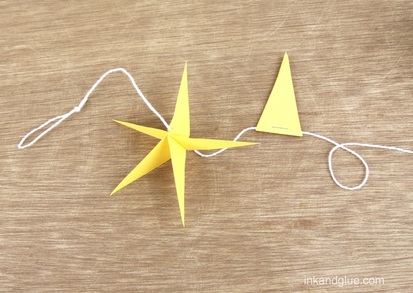 This is so easy. Really. This garland took me maybe half an hour to make, and I kept pausing to take photos of it.  I hope you try this one. It's fun, and pretty much foolproof! xo!  As I teased yesterday, I made a spool ornament inspired by the previous post's scan from a 1967 magazine. I quite like how it turned out! I had an old-ish empty spool made of a silvery plastic, a box of mixed beads and sequins, and some old lengths of metallic trims. Use whatever you have! 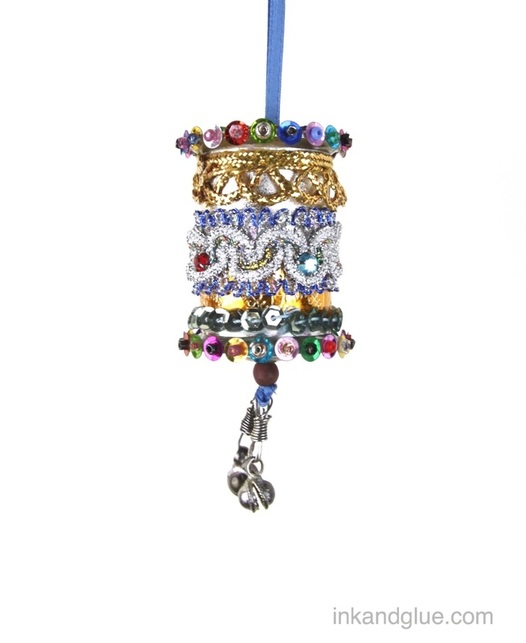 I don't have any detailed how-to directions for you, because 95% of the craft is "glue shiny/sparkly/colorful things to an empty thread spool." And I bet you already know how to glue a thing to another thing.
That's it! It's a fun project to do in a group, if you have enough fripperies and bits and bobs lying around. The project can take as long or as short as you want it to. It's very adaptable to multiple ages! Just the way I like it.
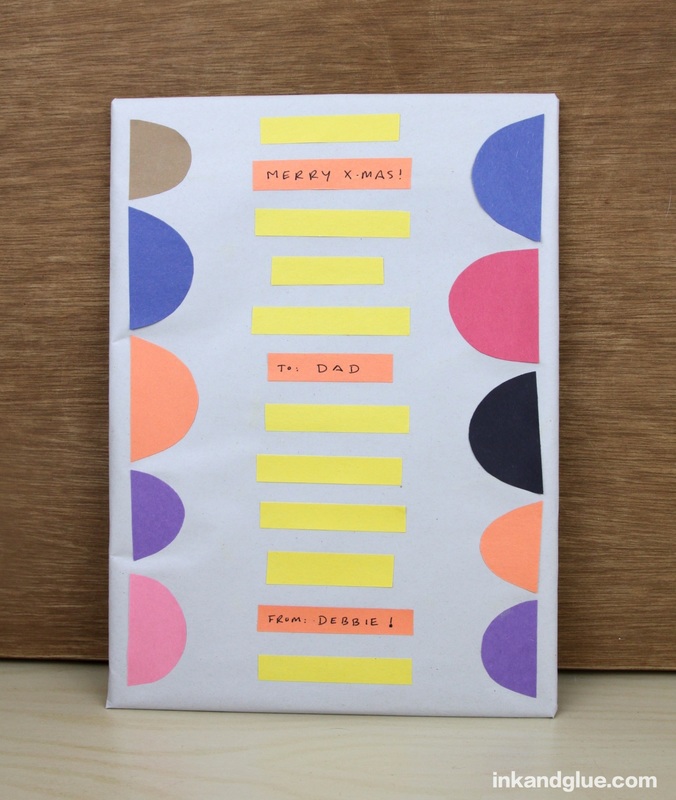
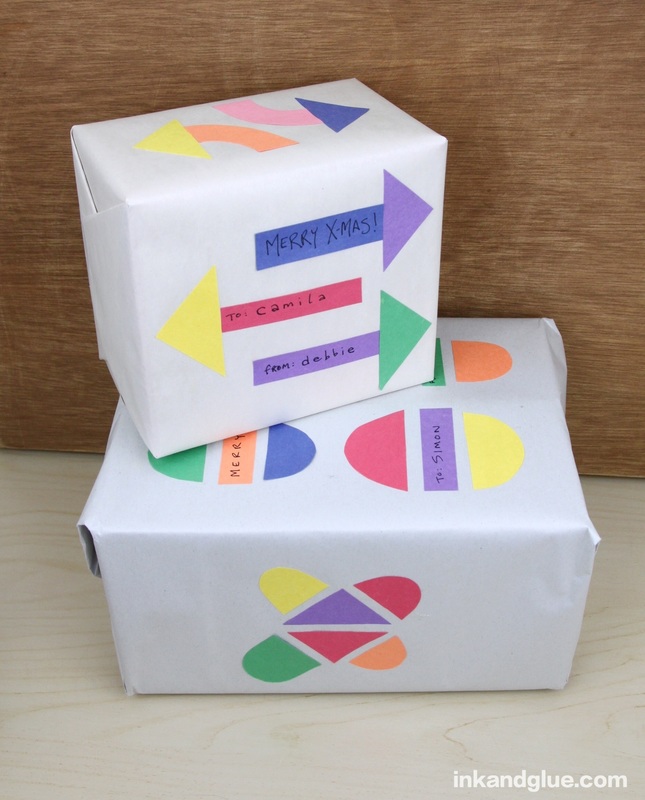
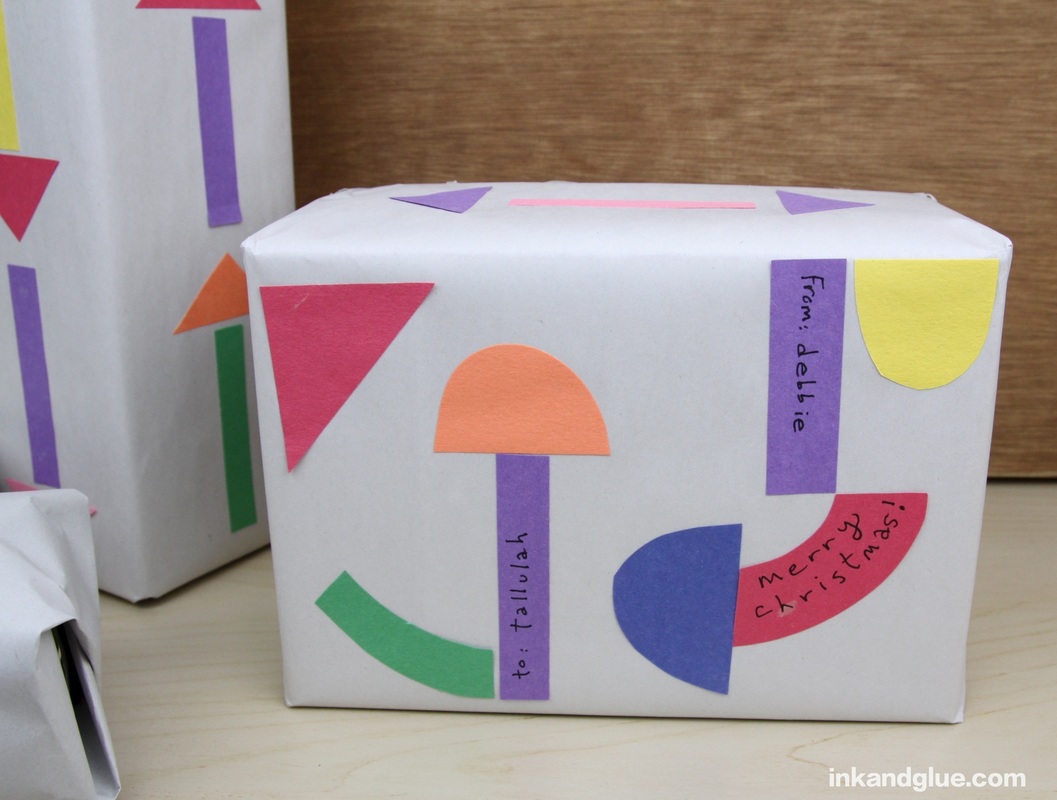
xo! I truly enjoy wrapping presents. I like to add unusual embellishments or trims to my packages when I can, and when the presents all "match," that's even better. I have a bag full of construction-paper shapes that I prepared for the menorah craft I did a few weeks ago, so I thought up a good way to use them. (Some of them, at any rate; there's plenty left.) 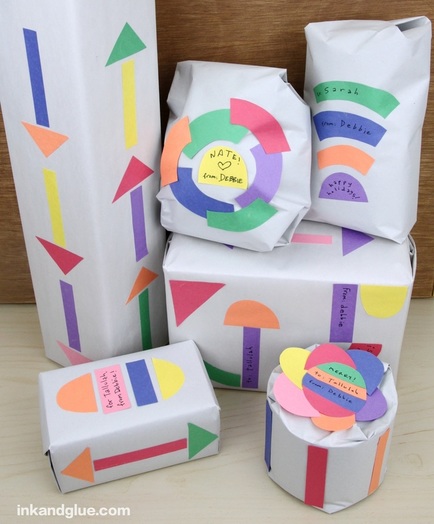 Collaged gifts! My original thought was to buy a roll of drawing paper to wrap everything, but it was prohibitively expensive. I say prohibitive, because I don't think it's worth spending very much on something that is meant to be torn to pieces. Instead, I went to Home Depot and picked up a roll of 70 sheets of packing paper. It's essentially newsprint paper, and the sheets are big enough to wrap almost everything I had, though for a couple of packages I had to tape two sheets together. I wrapped each gift in newsprint, then used glue stick to attach the paper shapes. I deliberately didn't want to create any complete pictures, opting to stay on the abstract side of things. I wrote the 'to: from:' info right on the shapes, which cut down on time, and (I think) looks cute.
They were a fun task to do while semi-watching TV, an activity I don't usually do without some handwork in front of me. Guilt-free TV watching, what a gift!
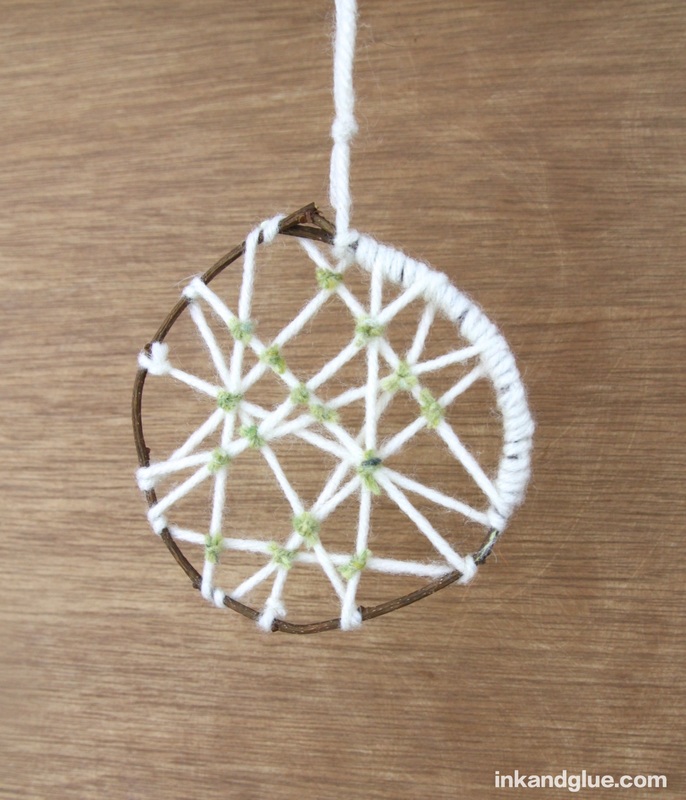
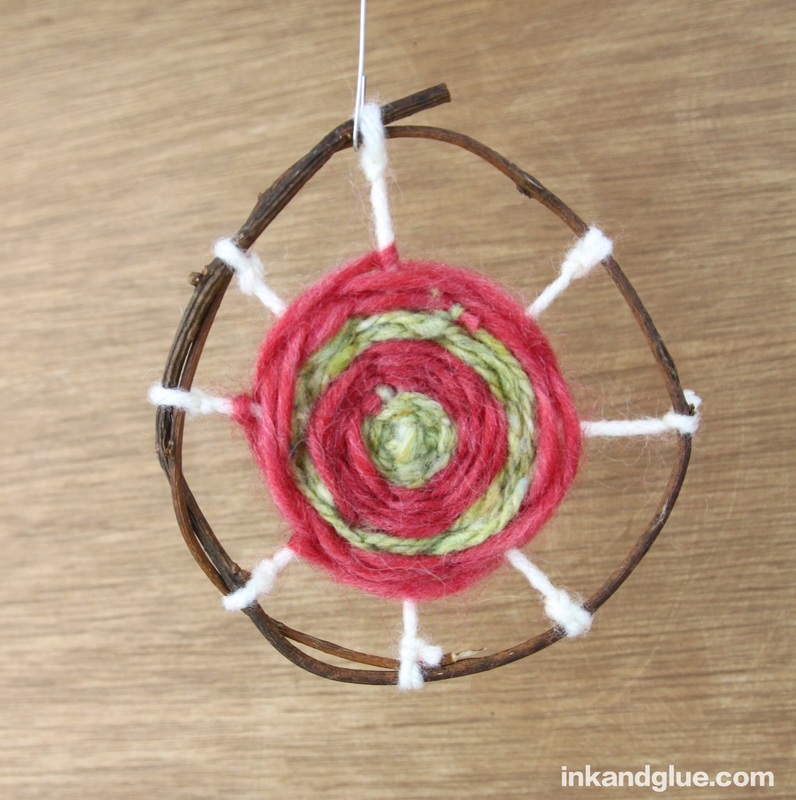
Happy holidays, everyone. xo I actually made these a little while ago, and decided not to create a how-to for them, because they're kind of persnickety to make. However, I am rather fond of them, and they seem somehow appropriate for the solstice, having been made with flexible twigs from the woods and wooly yarn. And weaving has a back-to-basics feel to it. So, I present them to you.
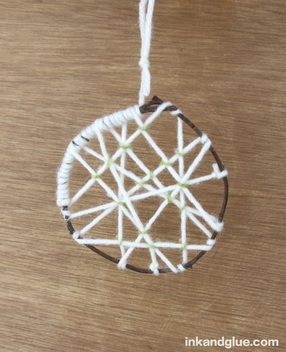 Some directions/tips: Both of the vine-twigs I used were cut from a weedy shrub that lives near my house. For the criss-crossy web one, I carefully bent the twig into a circle, then tied an end of a ball of white yarn around the overlapping twig ends. I wrapped the yarn around the overlapping sections of the twig (that's the wrapped section you see above), then tied it off. Then I wound the yarn around the circle at random. When it seemed fairly full, I tied it off. Then I tied a knot of green yarn at the intersections of the criss-crossed white yarn. I trimmed the ends of the knot very short. 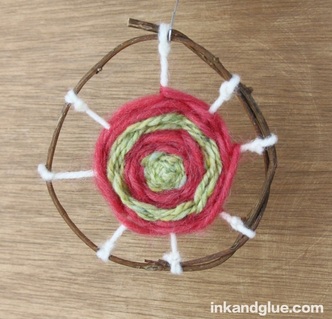 For the woven circle one, I bent the twig into a circle and just tied the ends together with one loop of white yarn. I tied the other end of the yarn to the opposite side of the circle, and then I did the same thing three more times, creating what looked like the spokes of a wheel. The problem with having an even number of spokes is that your weaving doesn't naturally alternate between over and under; it ends up like a god's eye, if you can imagine what I mean. If I did this again, I would tie a piece of yarn around the center of the spokes, and tie its other end to the twig circle, thereby creating an odd number of spokes. As it is, I had to skip a spoke each round in order to make it be a true weaving, and it was tricky to make it look neat. Anyway: Once you have your spokes, tie your weaving-yarn to the center, then start weaving around the spokes, spiraling out from the center. To change colors, just tie the new yarn to the end of the old yarn. If you use pleasingly-plush yarn, the knot is easy to hide with a poke. So there they are! Happy winter solstice! xo |
Categories
All
Archives
March 2017
AuthorI'm Debbie Way, an artist and writer who enjoys making things. |


 RSS Feed