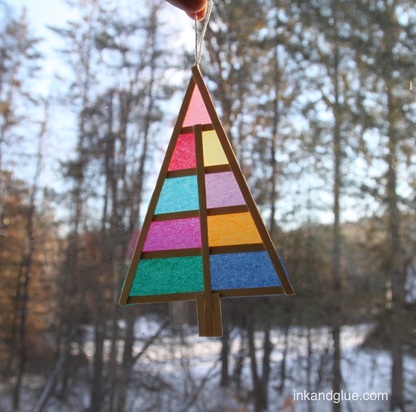
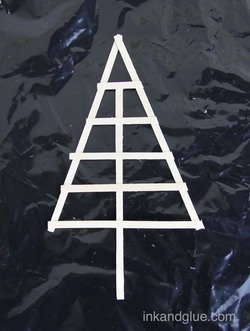
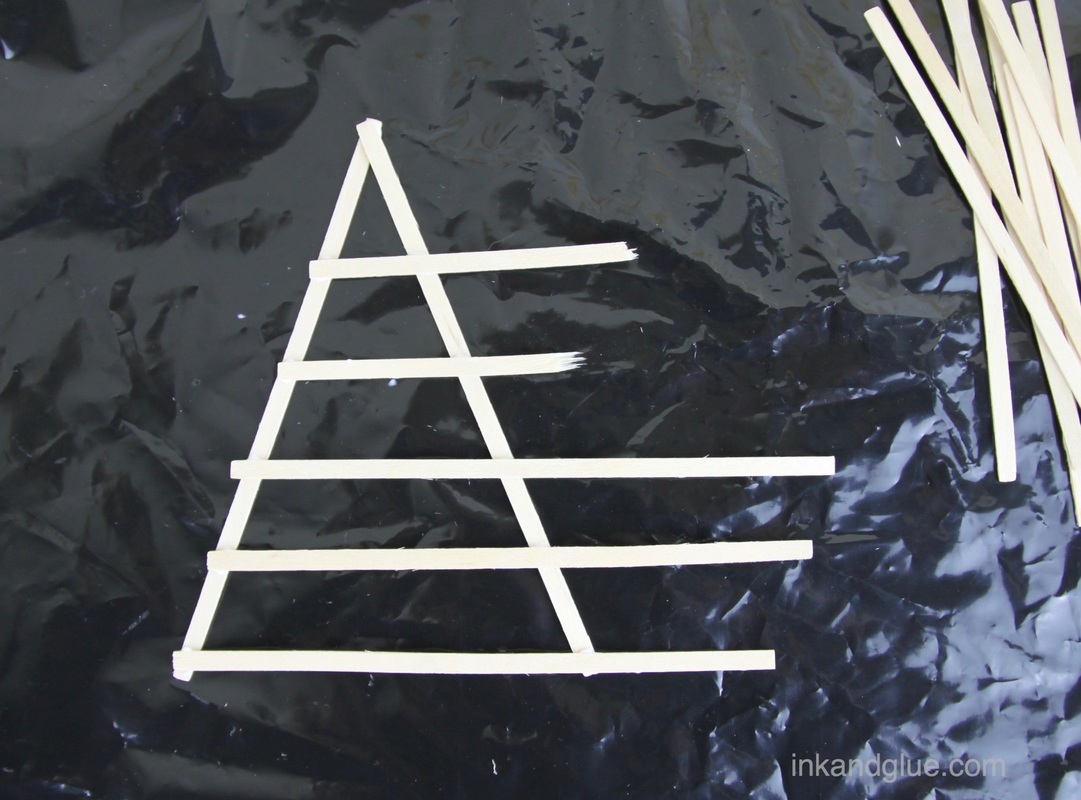
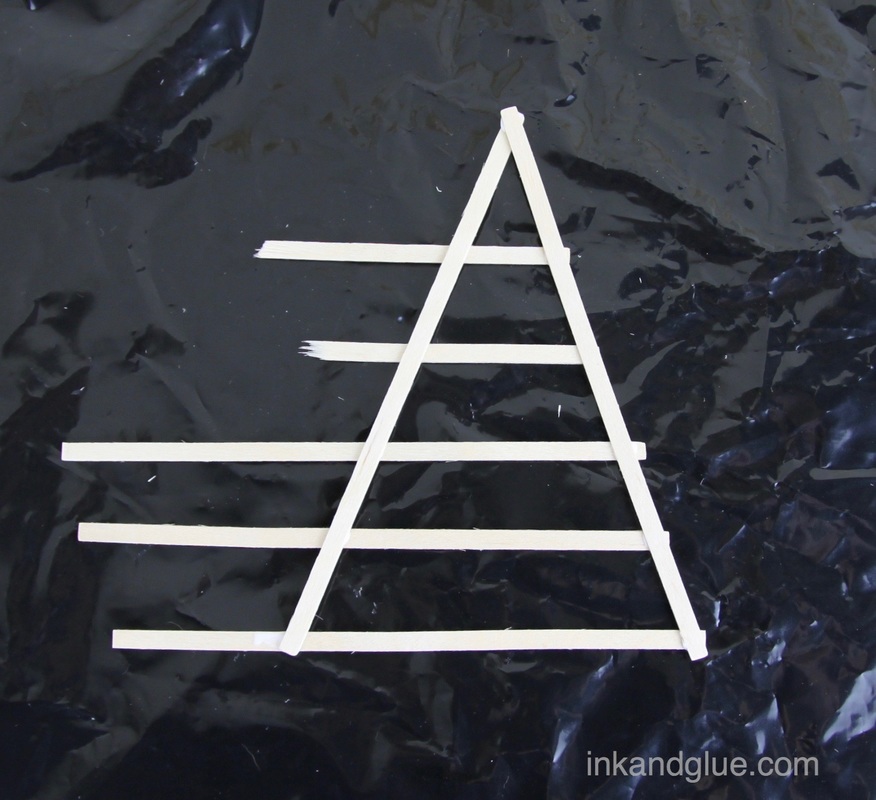
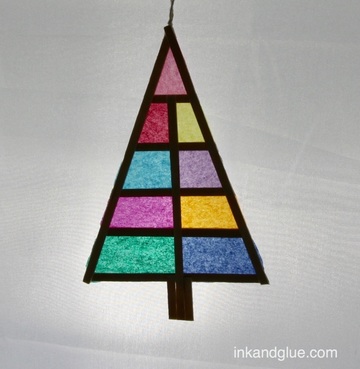
 Ok, I admit — this ornament/sun catcher is not made of stained glass. It is made of tissue paper, and wooden coffee stirrers. Isn't it grand? I love colorful holiday decorations; anything other than the usual green and red is alright with me. You may feel differently, and if so, feel free to customize the colors of your tree to your liking. To make one, gather a few coffee stirrers. I probably didn't need to borrow quite so many; I think I ended up using 7 or so. 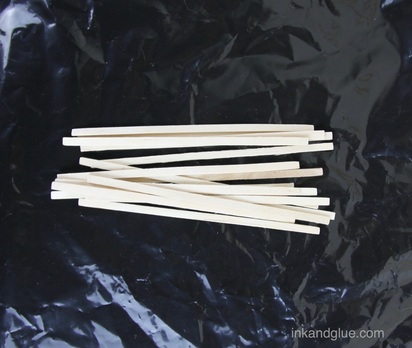 Lay three of the stirrers in a triangle shape on a piece of plastic or waxed paper. With tacky glue, adhere the three stirrers together at the corners. Then, glue several more stirrers, evenly spaced, parallel to the skinny side of the triangle as shown. Break the sticks in half for the shorter pieces, to save wood.
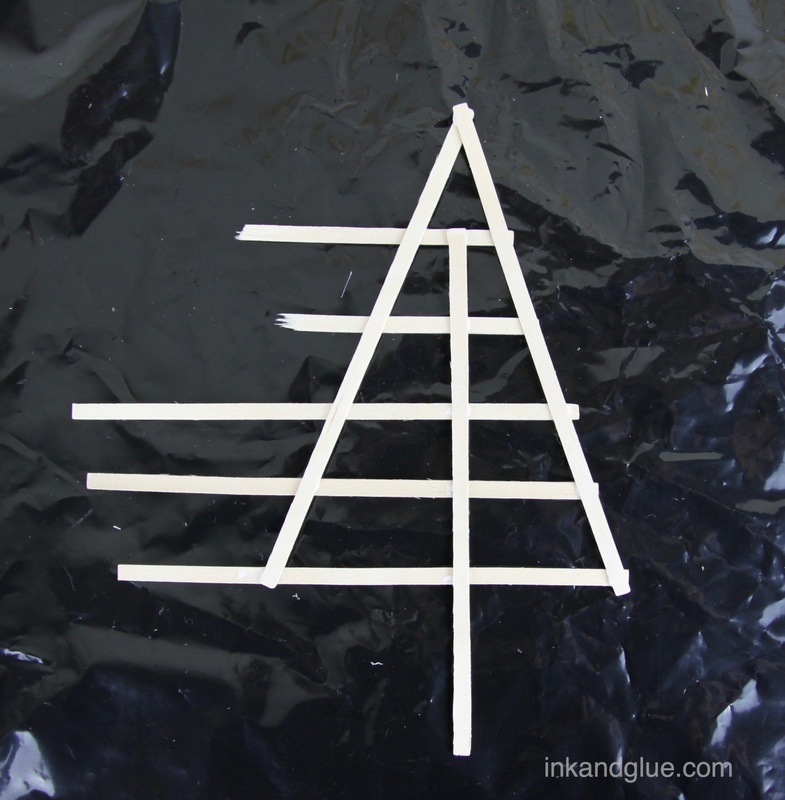
Once the glue is dry enough, flip over your stirrer set-up. Glue a stirrer to the center of the inner lines, as shown.
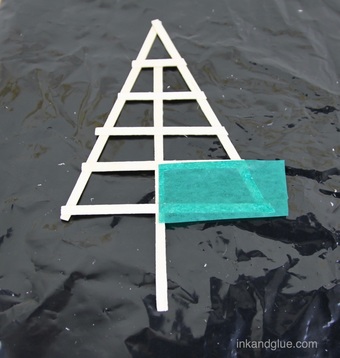
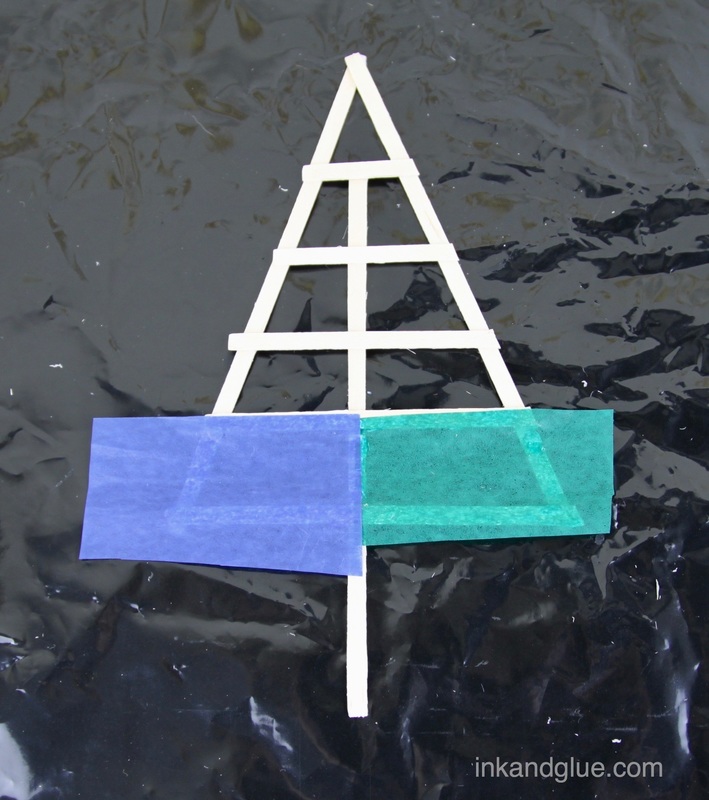
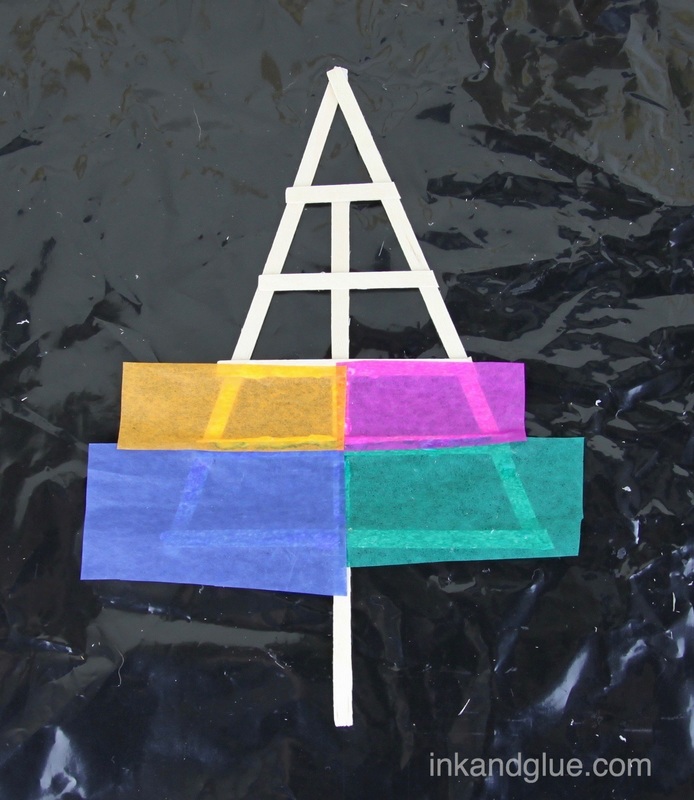
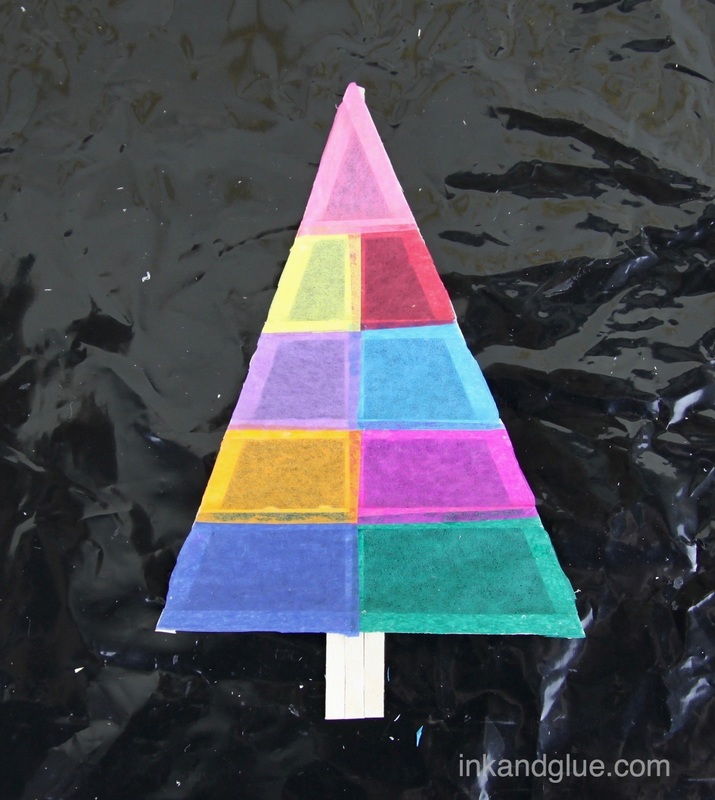
 Use strong scissors to trim the excess lengths of the stirrers. Now it's time to add color! Choose a scrap of colored tissue paper and trim it into a rectangle or strip that's basically the same width as the space where you'll be gIuing it, plus a little extra. Don't worry about getting the paper the perfect size; just making it the right width will be enough. Align the paper over the stirrers so its interior edges won't need trimming further down the line. Spread a thin amount of glue onto the stirrer window, then smooth on the paper piece. Do the same with a second color, again lining up the interior edges neatly.
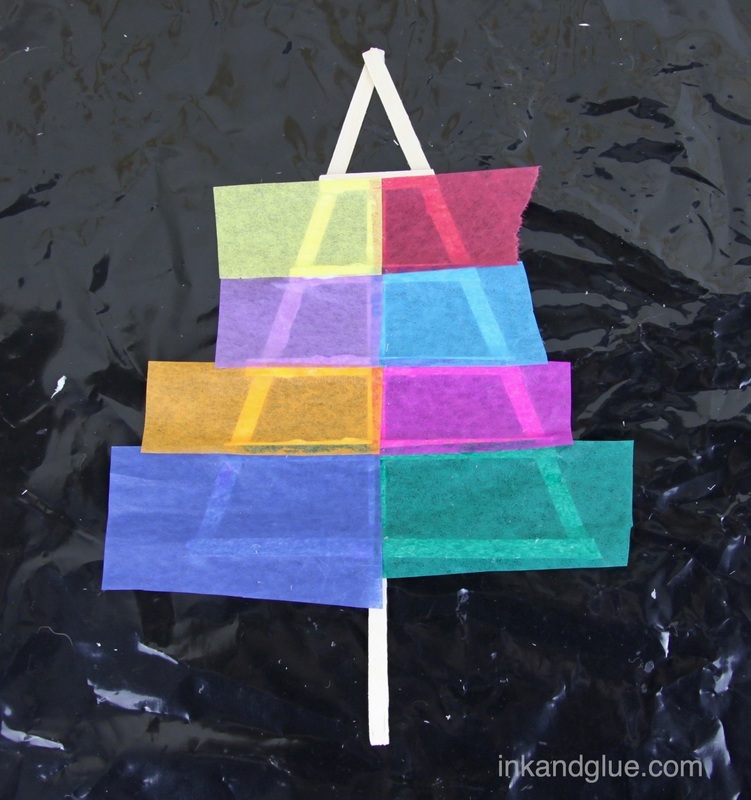
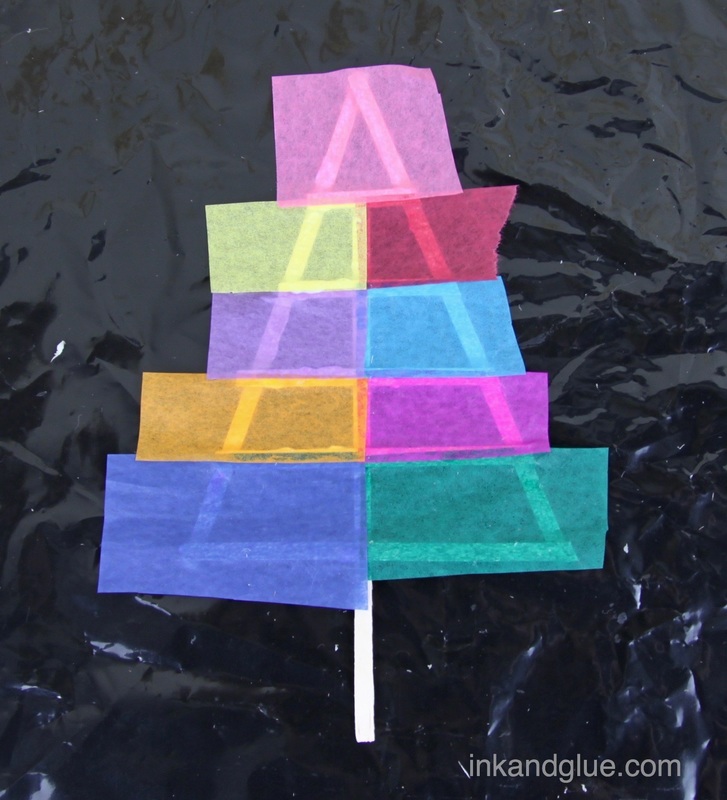
Keep adding trimmed pieces of paper to the windows, as shown.
After you glue on the last piece of paper, flip the tree over.
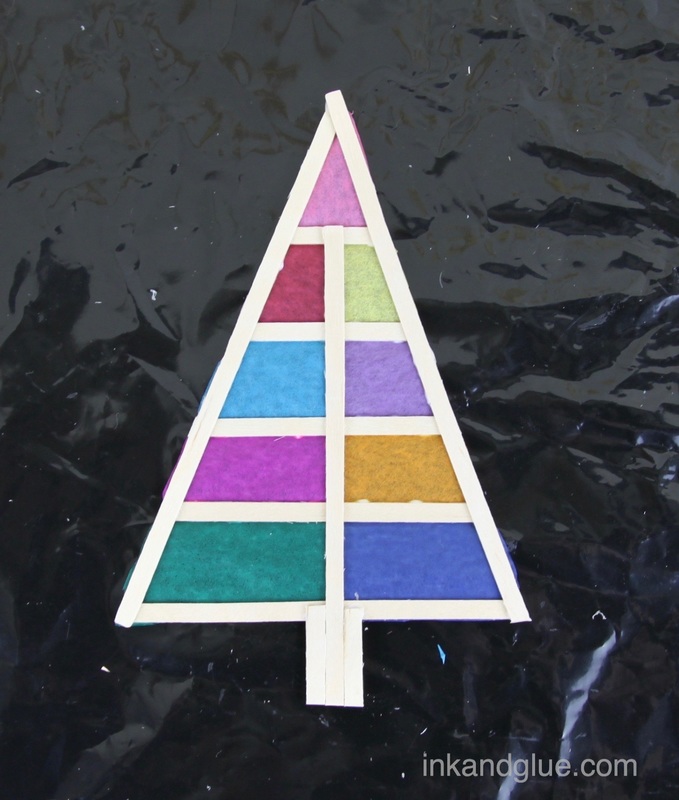
This part's totally optional, but I made my trunk wider by cutting and gluing two lengths of stirrer to fit against the center one in the tree. Here's a shot of both sides of my tree, at this point of the process (i.e. almost finished!).
Tie a simple loop in a piece of string, and trim the ends so you have about a quarter-inch of excess from the knot. With the tree paper-side up, put a little glue on the (paper-covered) stirrers at the very top point of the tree, and press the knot ends onto the glue. 
xo!
Denise A
12/16/2016 03:47:46 am
This is great! Could it be made weather proof for an outdoor use, maybe with painting a layer of glue wash? Or a shellac, maybe? Comments are closed.
|
Categories
All
Archives
March 2017
AuthorI'm Debbie Way, an artist and writer who enjoys making things. |


 RSS Feed