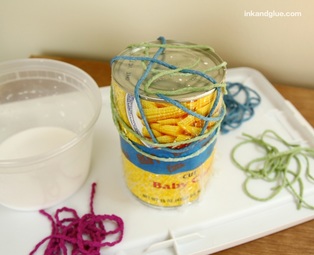
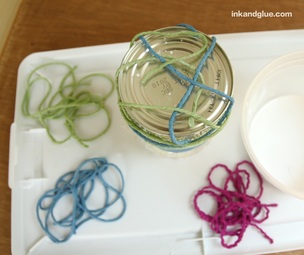
 This glue-and-string project is as simple as can be. Choose a can from your pantry, cover half of it with gluey yarn, let the glue dry, and that's it. The finished object can hold lightweight items like cotton balls or acorns or Shopkins or Squinkies or whatever gumball-sized plastic collectable your child is currently into. Start by collecting three (or so) colors of yarn, and a can. Cover the can with plastic wrap, and secure it with tape. Try to keep the plastic wrap taut over the top of the can so you don't have to deal with the ridge around the edge. 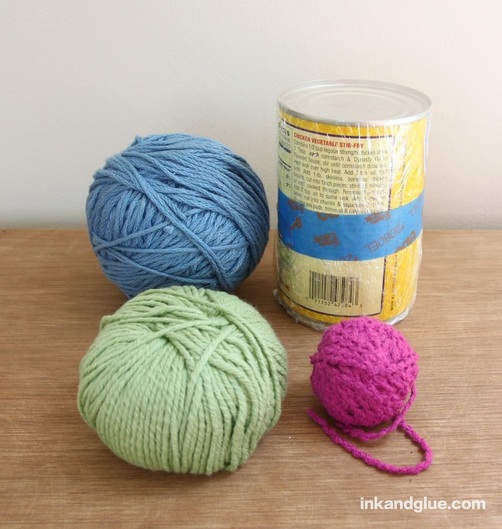 Cut each color of yarn into 4 or 5 foot-long lengths. Put everything on a work surface that can get wet; I used the upside-down lid of a plastic storage bin, but an old Sunday newspaper would work fine too. 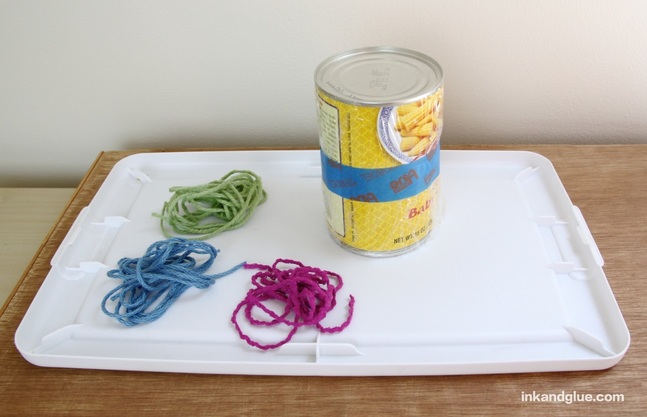 Make a 50/50 solution of tacky glue and water. One at a time, dip a string in the water and swizzle it around so it gets saturated. Let a bit of it drip off (don't squeeze it dry), and wrap it around the can. With each additional strand you add, make sure you're crossing previous strands in order to create a sturdy-ish matrix.
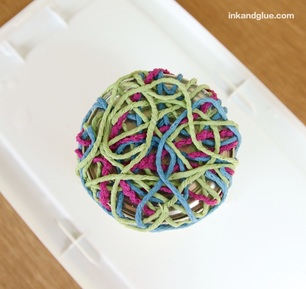
Once you've added what looks like enough strands — I prefer an airy, lacy look — gently press the strands onto the can so they'll adhere to each other even better as they dry.
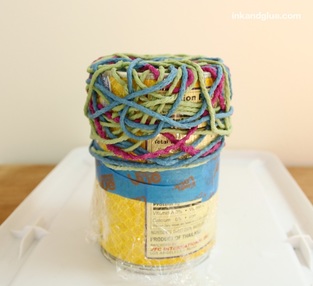
I put my yarn-wrapped can outside on a summer day and it was dry in just a couple of hours, but be sure to leave it alone until it's entirely dry. When it is, remove the string cup from the can. 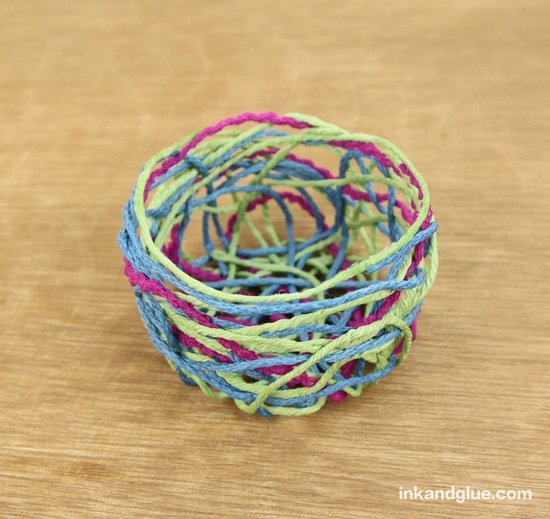 If you have any wayward strands that aren't anchored to enough cross-strands, just add a drop of tacky glue to any key junctures. That's it! 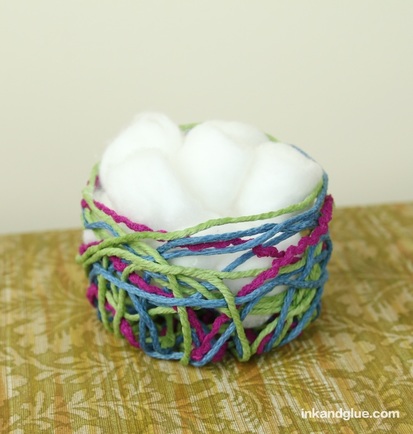 xo!
Comments are closed.
|
Categories
All
Archives
March 2017
AuthorI'm Debbie Way, an artist and writer who enjoys making things. |
 RSS Feed