Ink and Glue
  • Home
  • About I&G
  • Contact
  • Home
  • About I&G
  • Contact

chunky paper bangle

5/12/2016

 
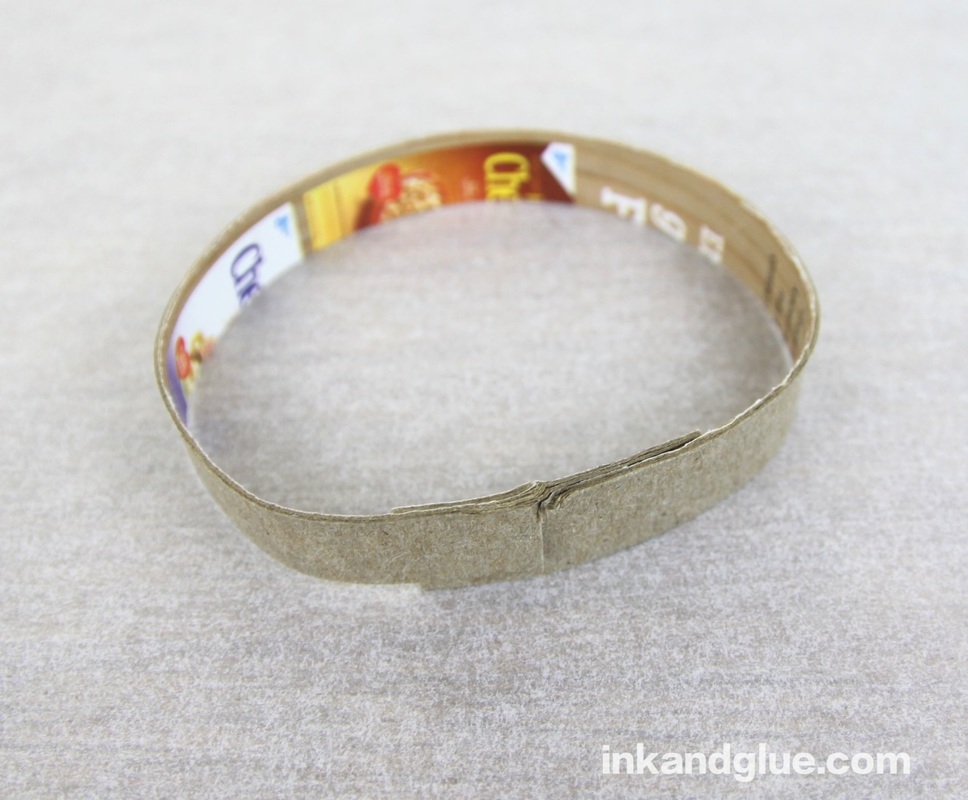
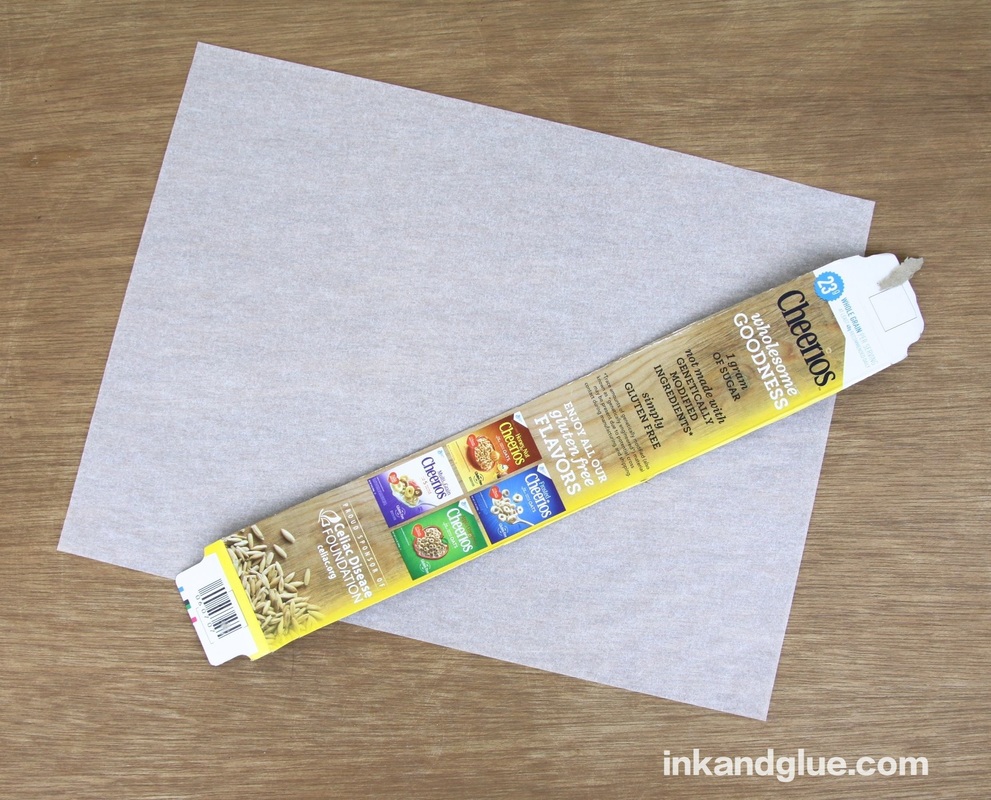
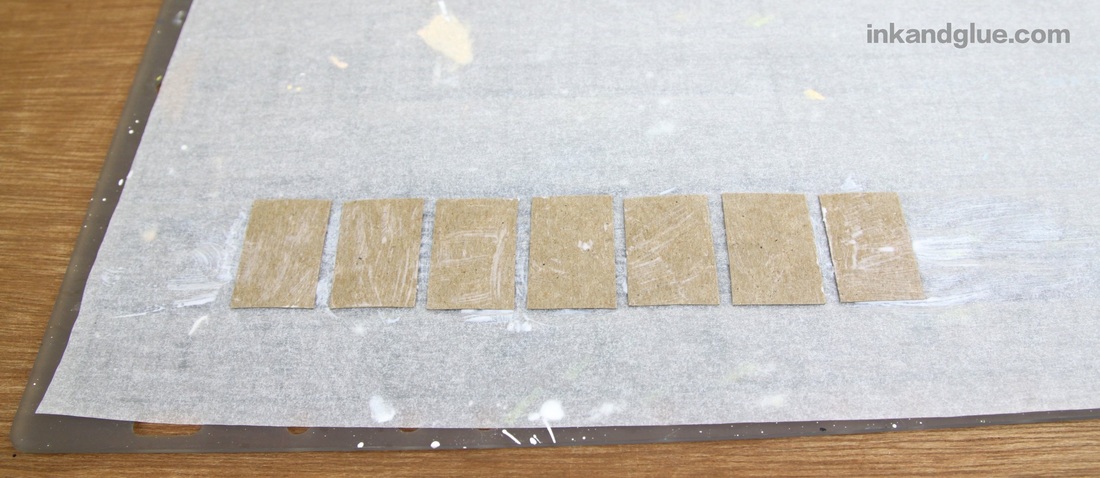
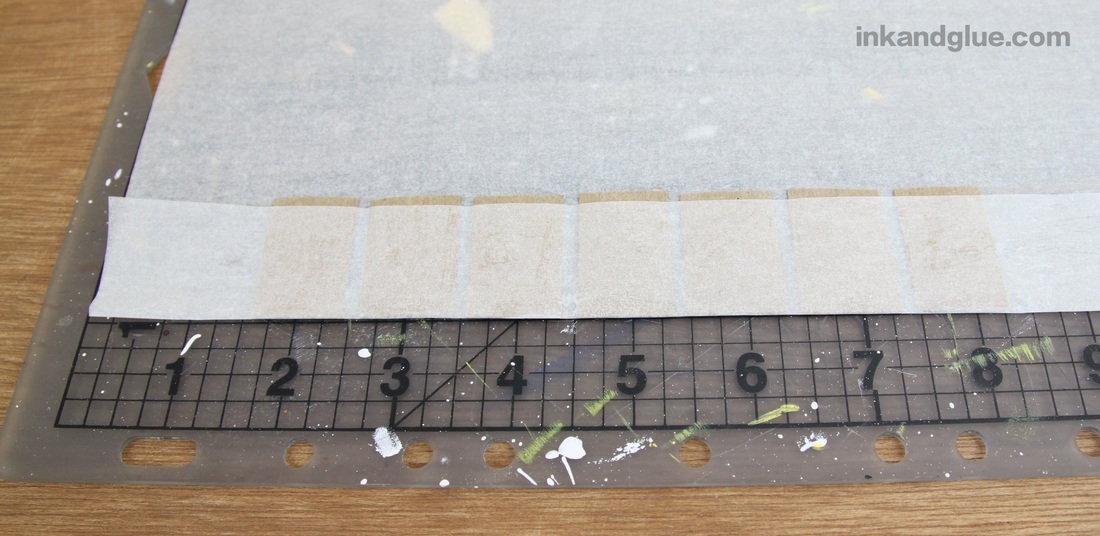
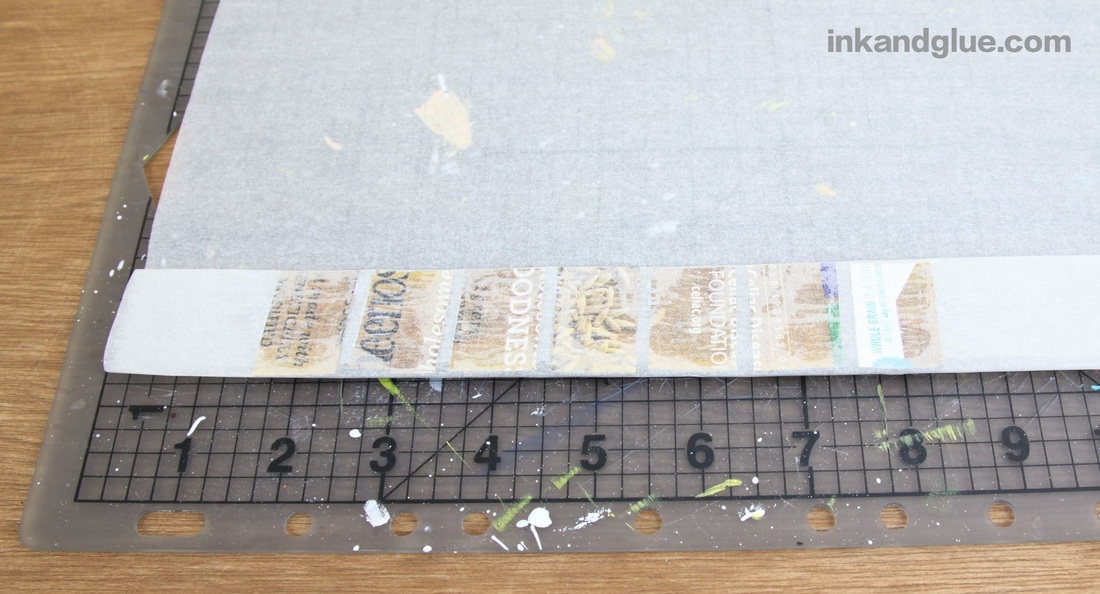
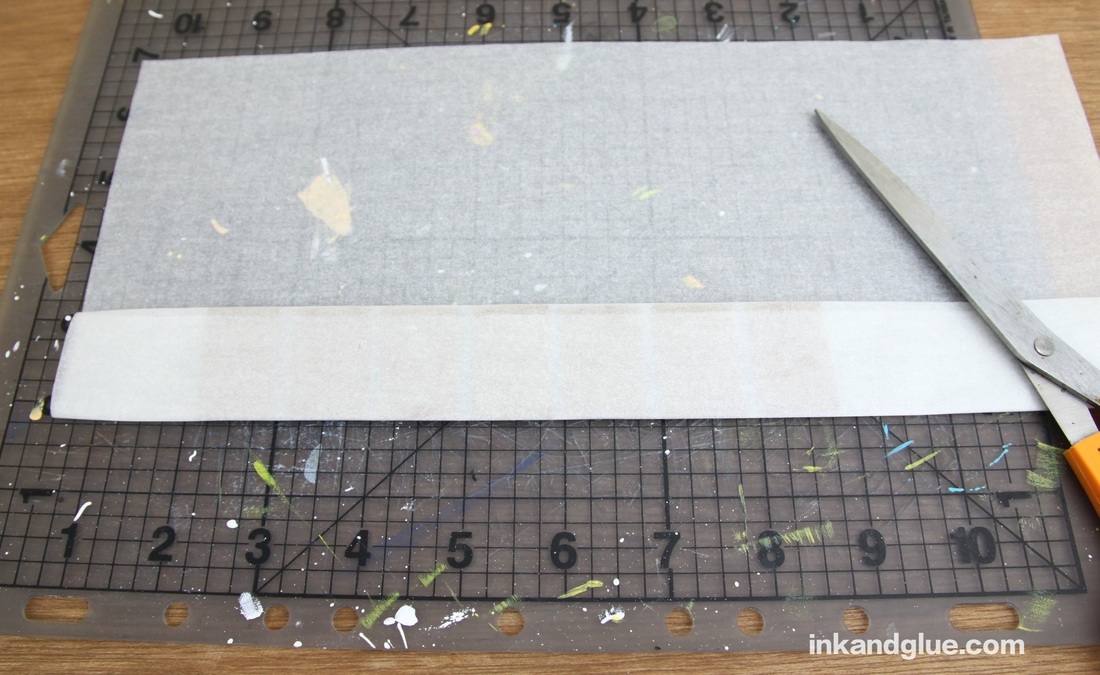
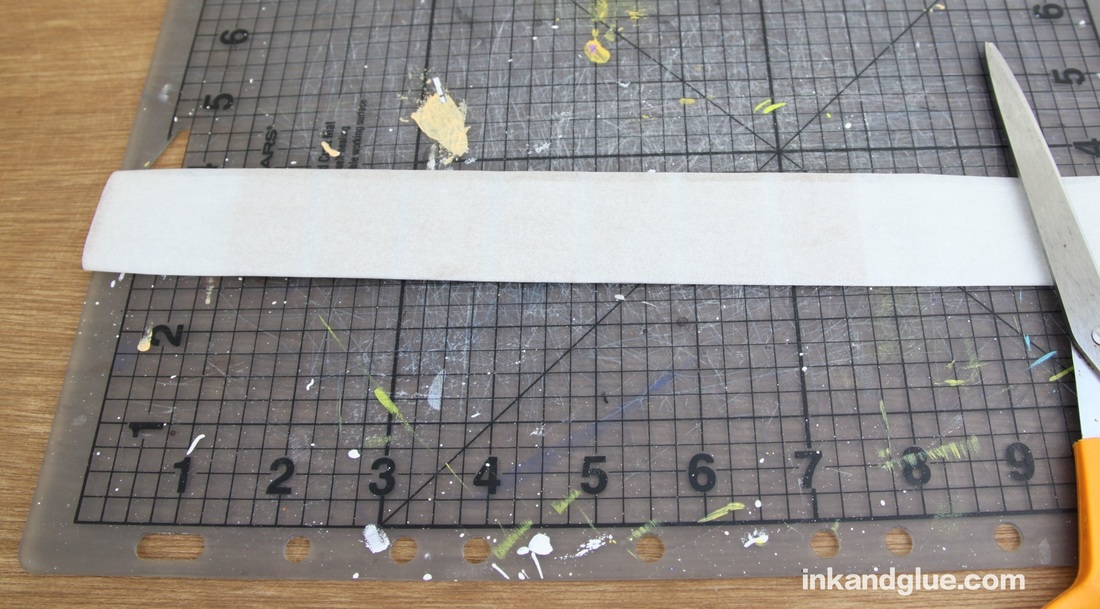
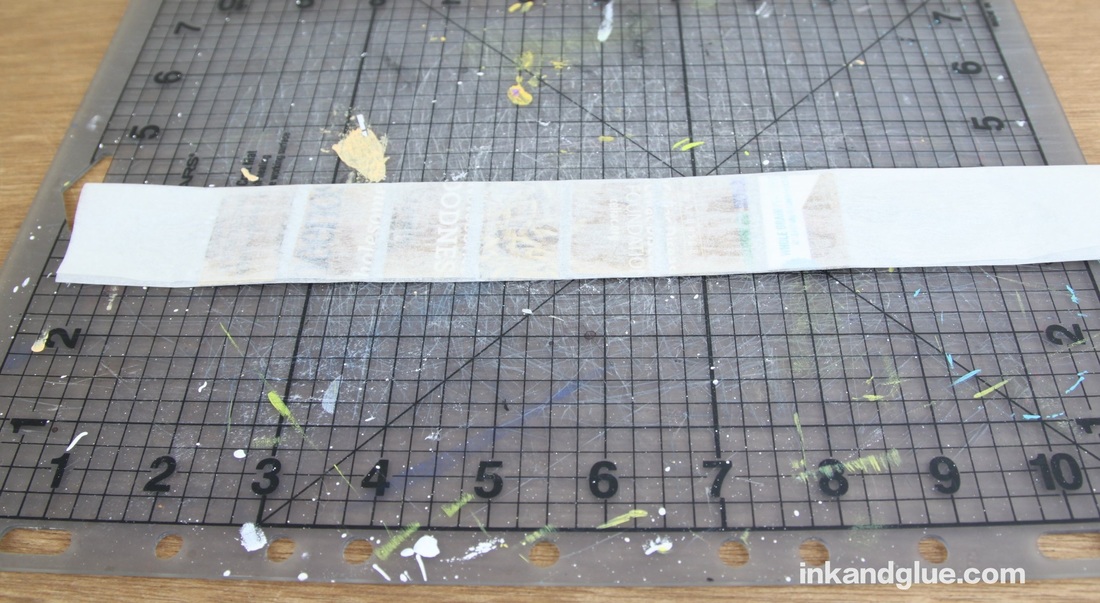
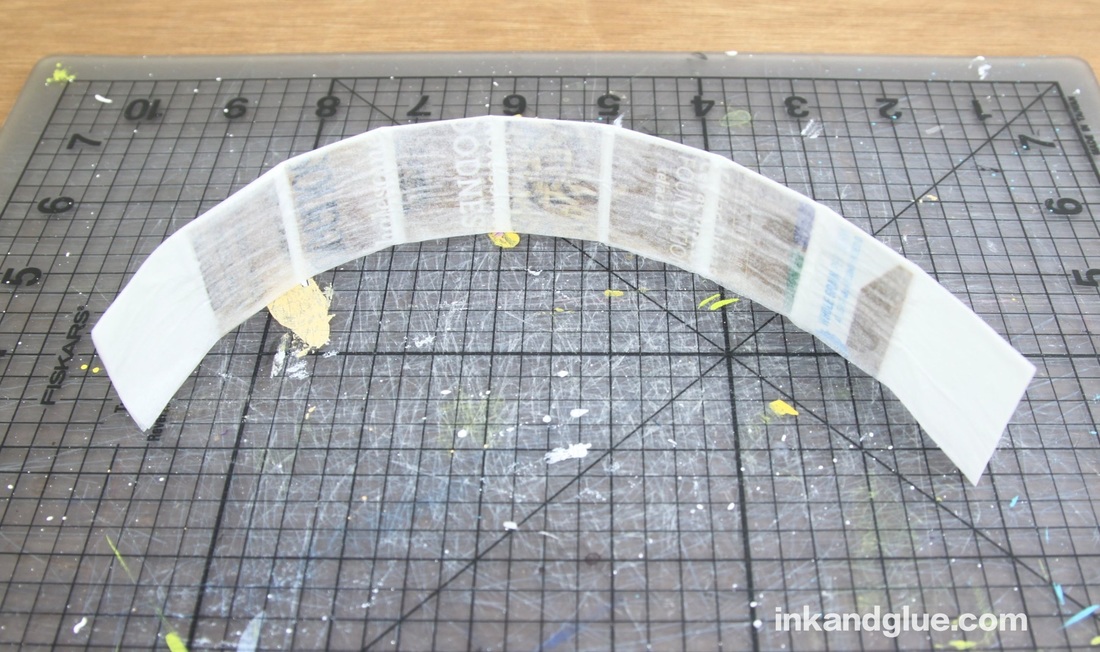
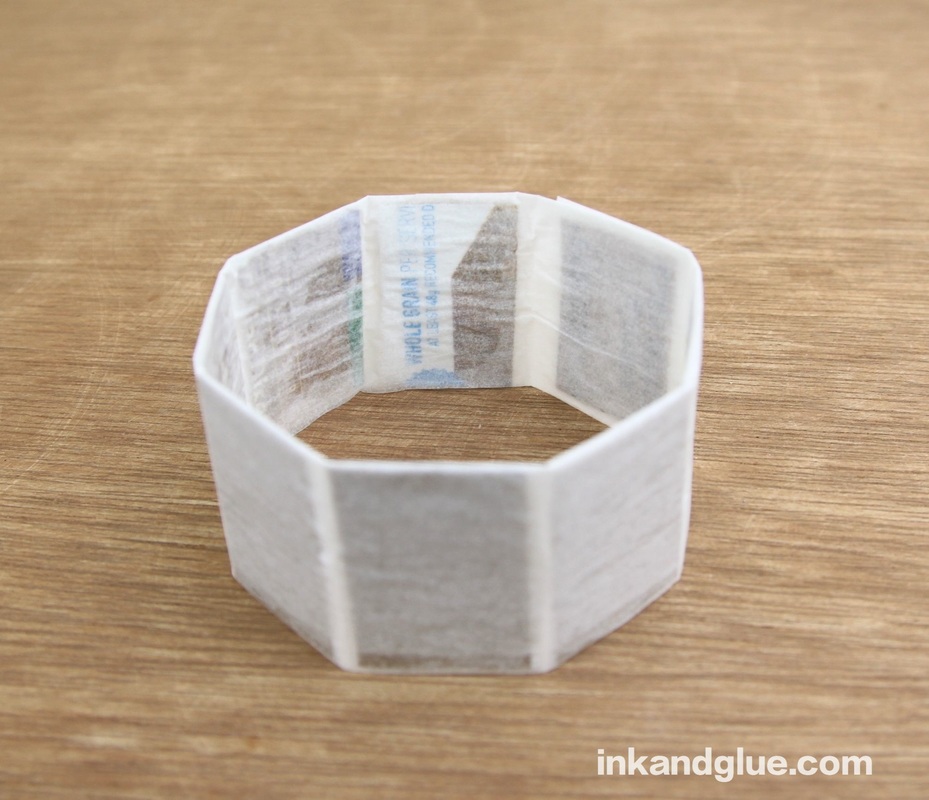
Bracelet week concludes with this project that's totally different from the previous three. It's kind of a faceted chunky bangle that I made with plain paper to act as a blank canvas for paints, markers, collage, or whatever you'd like. 
Picture
Picture

​First, make a quick bracelet to measure the correct length of your bangle. Cut a thin strip from cereal box cardboard, and wrap it around your wrist, leaving enough room to slide it off your hand. Mark the spot where the ends of the strip cross, and cut slits in each so you can slot them together.  Trim the ends, leaving a half inch or so from the slit on each end.

Now for the actual bangle. Start with a sheet of tracing paper (why tracing? it folds nicely and cleanly, and I like the translucency) and a strip of cereal box. 


Picture
Picture

Cut the cereal box cardboard into somewhat-equal rectangles. I have tiny wrists so I kept my rectangles kind of small. Cut enough rectangles to match the length of your measuring bracelet, with a bit of space in between.

​About an inch and a half from one corner, brush the tracing paper with a stripe of Mod Podge and add the rectangles. Brush more Mod Podge on top. 
Picture
Picture

Quickly fold up the edge of the tracing paper over the cardboard and smooth it flat with your hand. 

Brush more Mod Podge on top of the strip you just folded up, and fold it over again. 
Picture
Picture

One more time, brush Mod Podge onto the strip, and fold it up and over.

​You're basically rolling up the cardboard rectangles in the paper, with Mod Podge in between each layer.

Trim the excess tracing paper. 
Picture
Picture

​Flip it over so the printed side of the cardboard is facing up. (If it's already facing up, you're good!)

Use your measuring bracelet to find out where to trim the ends of your rolled-up strip, allowing for an inch or so of overlap. Curve the strip into a circle, keeping the printed side on the inside of the bangle. 
Picture
Picture

Use Mod Podge to glue the overlapping ends together. I sandwiched another rectangle of cardboard between the two paper ends, but that's purely optional. 

Wait for the glue to dry, and paint your bangle. Or collage it, or draw on it with markers, or dip it in paint... the possibilities are nearly endless! 
​
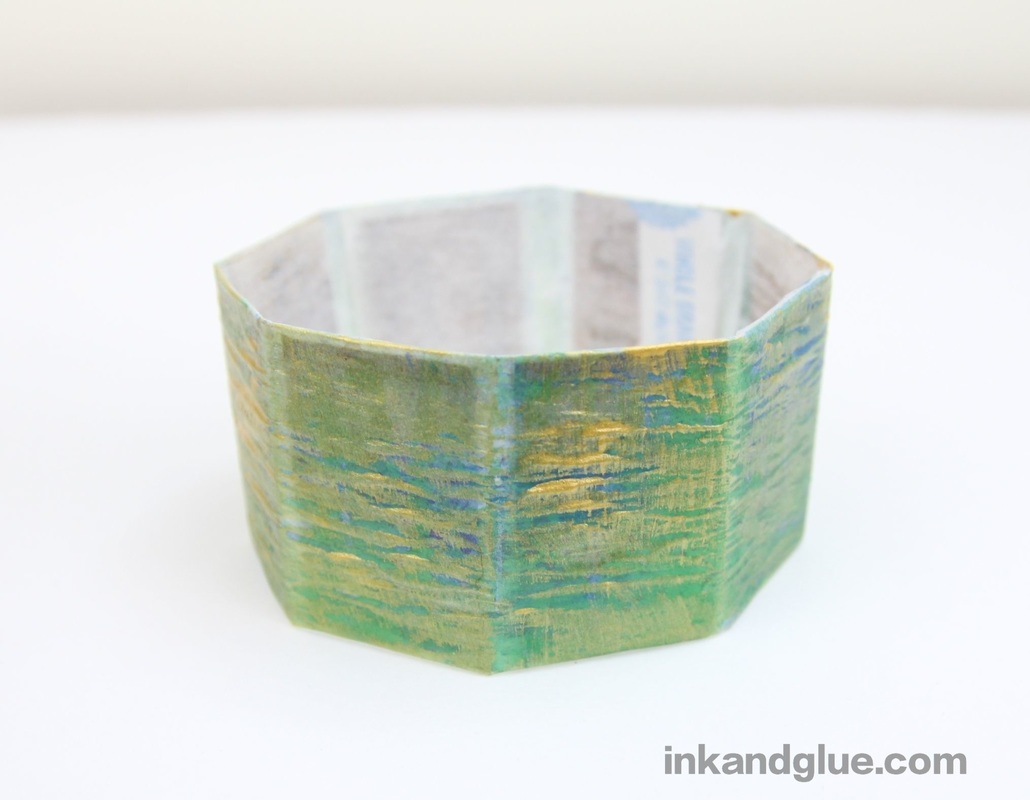
To decorate mine, I painted it all over with green and blue watercolor paint. After that dried, I lightly brushed on some metallic gold acrylic craft paint. It ended up with kind of a patina'd look. Neat!
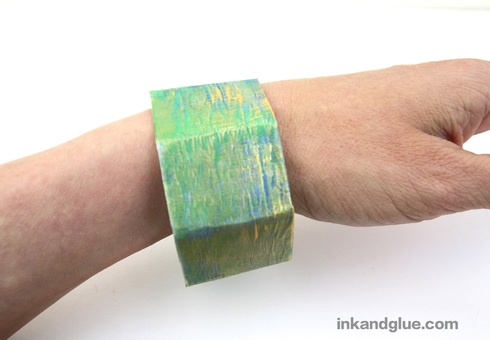
Picture
xo!

Comments are closed.

    Categories

    All
    Christmas
    Easter
    Franklin Friday
    Halloween
    Have You Met?
    I Love Museums
    I Love Stuff
    I Love Vintage
    Inspiration
    My Projects
    Nature Craft
    Recycling Crafts
    Round Ups
    Thanksgiving
    Valentine's Day

    Archives

    March 2017
    February 2017
    January 2017
    December 2016
    November 2016
    October 2016
    September 2016
    August 2016
    July 2016
    June 2016
    May 2016
    April 2016
    March 2016
    February 2016
    January 2016
    December 2015
    November 2015
    October 2015
    September 2015
    August 2015

    Author

    I'm Debbie Way, an artist and writer who enjoys making things.

    RSS Feed

Proudly powered by Weebly