|
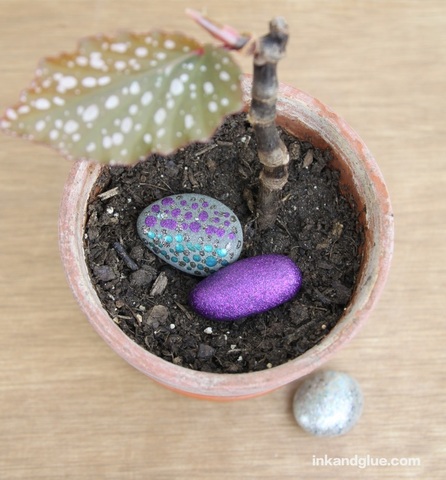
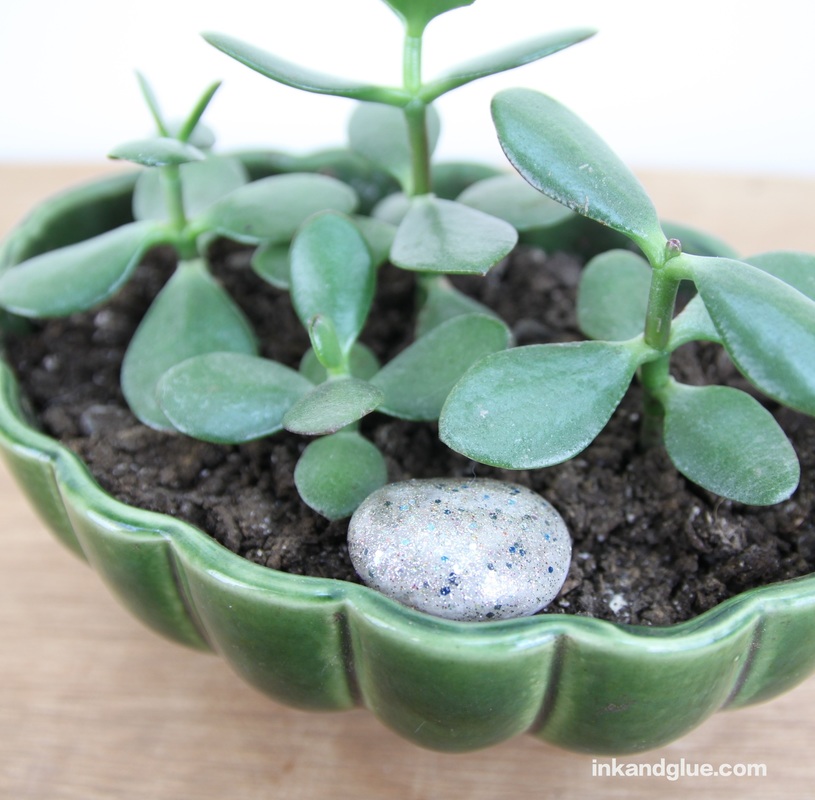
OK, these rocks may not magic, per se, but they're certainly fanciful and sparkly, like something from the fairy-folk. Nestle them in house plants or in a tiny garden outside, or treat them like talismans, or faux gemstone.
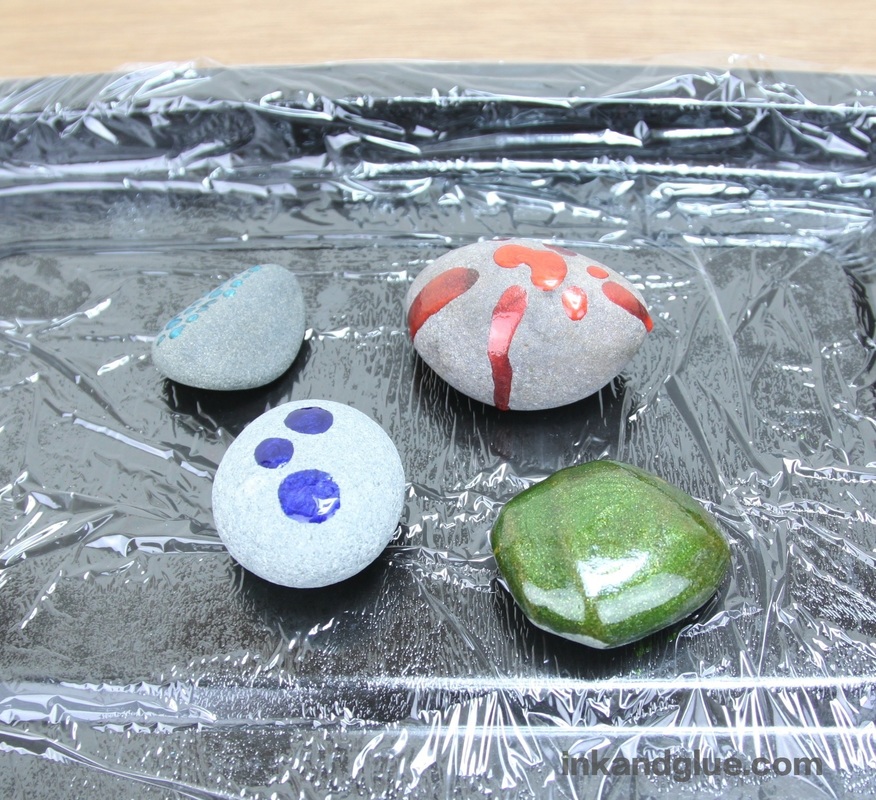
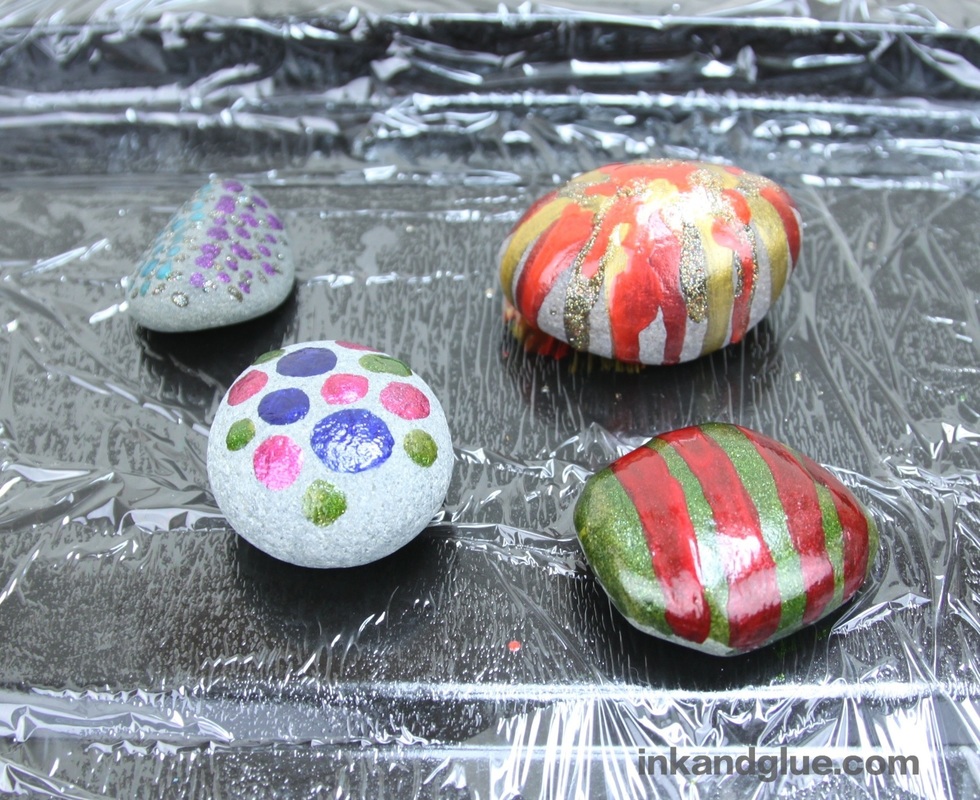
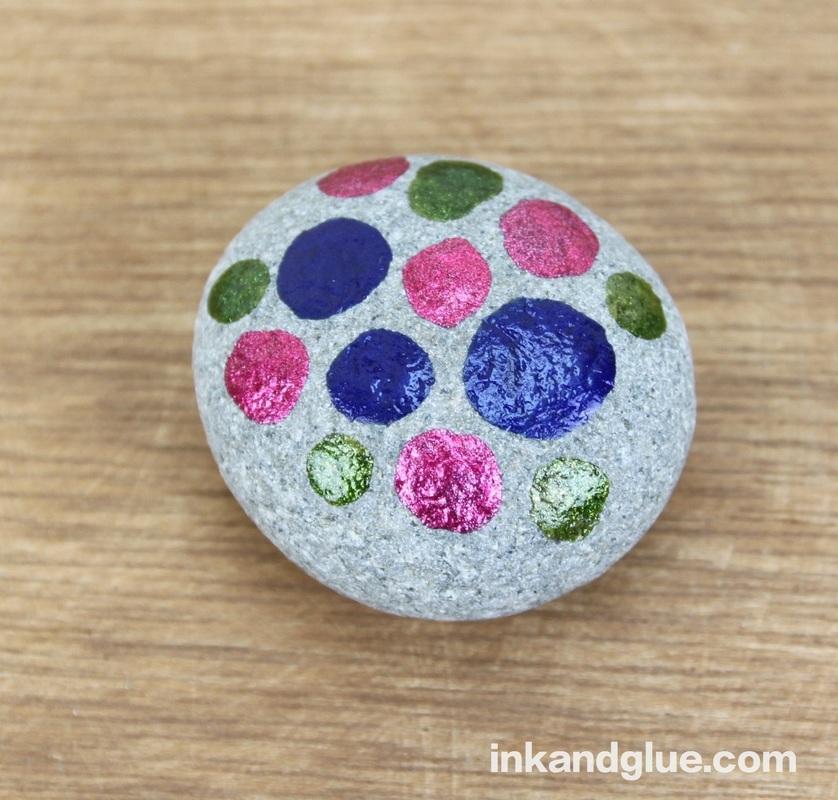
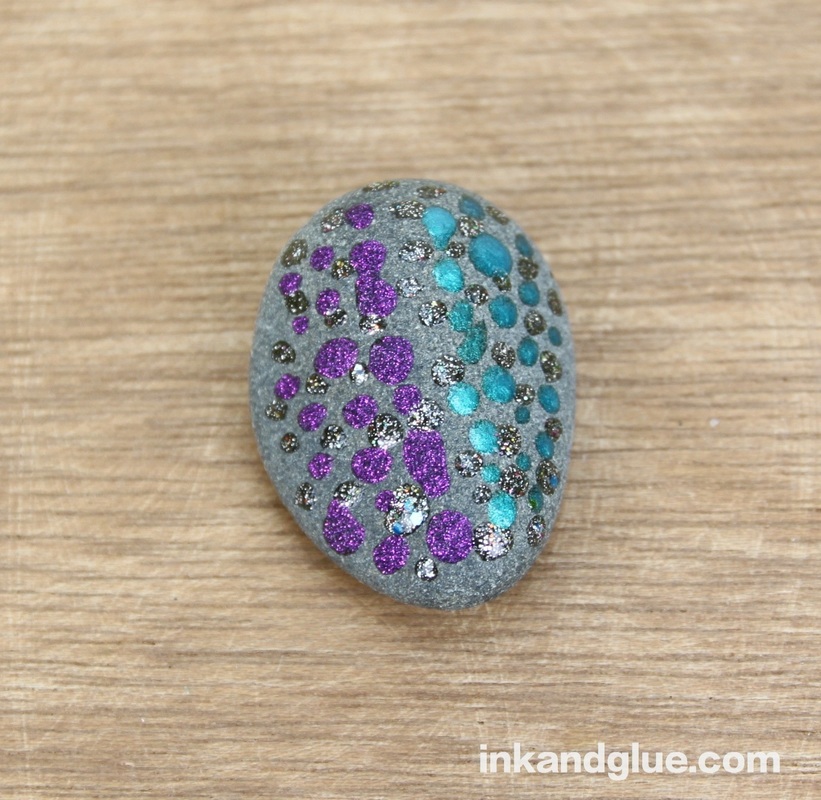
They are easy as pie to make, and basically free, if you or your child is already a nail polish hoarder like I am. If not, you'll want to hit the dollar store for a few sparkly, glittery shades. You will also definitely want to do this project OUTSIDE. This is a fair-weather project, due to the nail polish fumes. Collect a few rocks, and wash them if they need it. Place them on a plate or a pan that's been covered with a sheet of plastic wrap. 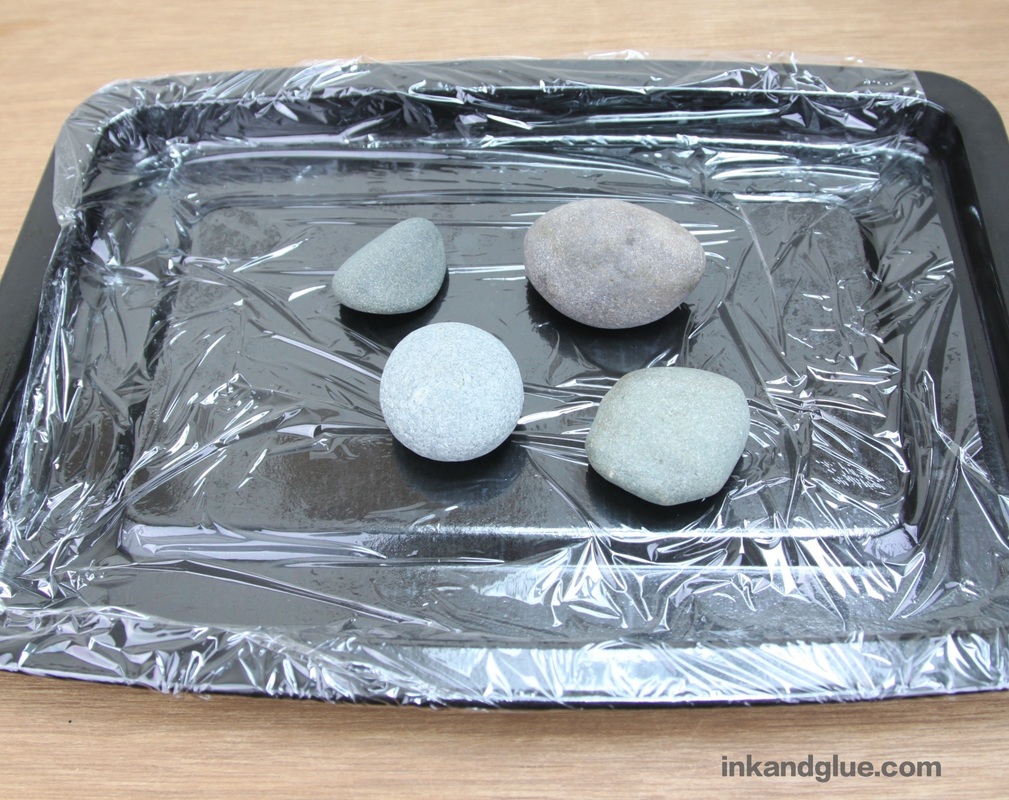 Now, paint the rocks with nail polish! I tried a few different techniques, with varying results. I'll take you through my steps, layer/color by layer/color. Below, I dripped the orange polish, dabbed big blue dots and tiny aqua dots, and covered one with a solid coat of green.
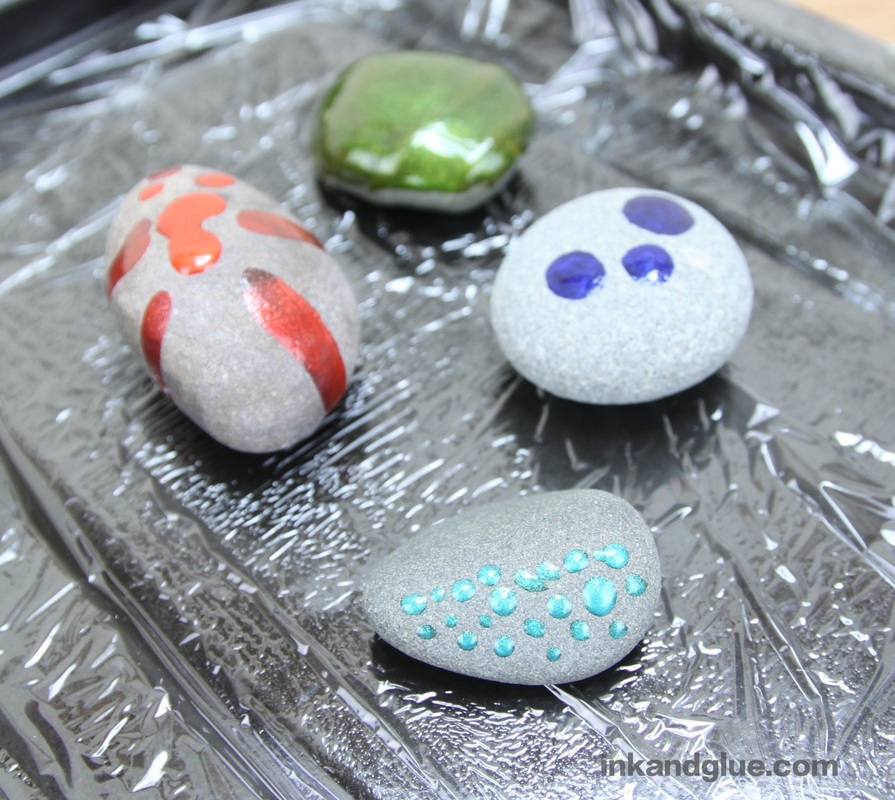
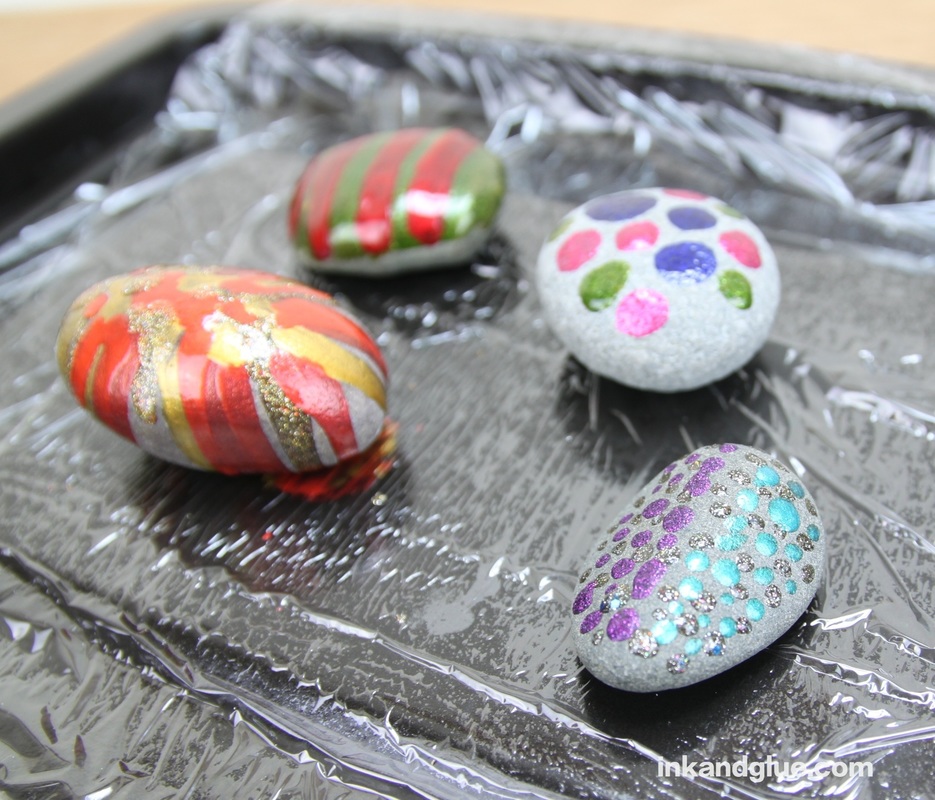
The polish dries pretty quickly, so you can continue with the second color just a minute or two after the first. I added yellow-gold drips to the orange, big fuscia dots to the blue, tiny purple dots to the aqua, and red stripes to the green. I regretted the red stripes almost instantly. 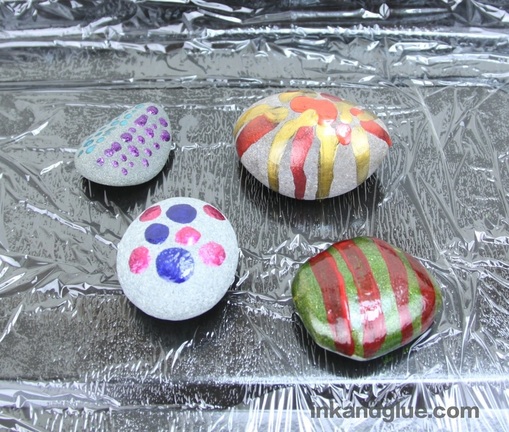 I added a third color to each rock, and did a second coat to the red stripes, which did not improve matters. For the drippy one, I added a foil-glitter gold, and added more drips of the previous two colors for better coverage.
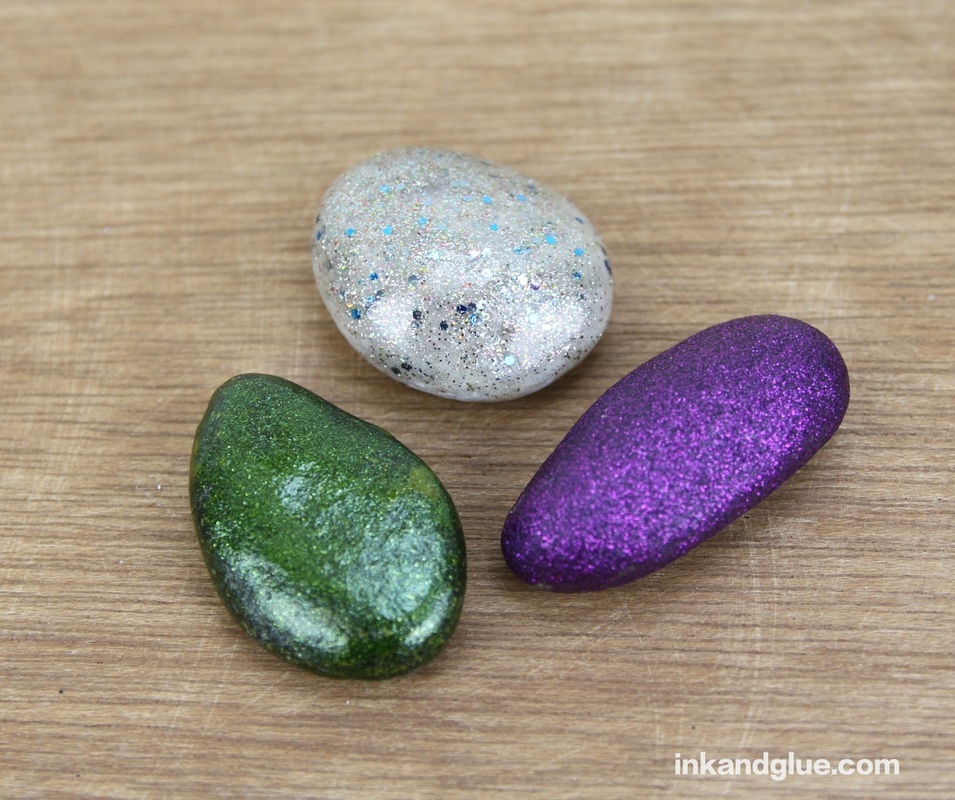
And, besides the green and red one, these are pretty neat. I was missing the perfection of the green one unmarred by stripes. So, I picked out three more rocks and covered each with a single color. Look at how luscious they are! 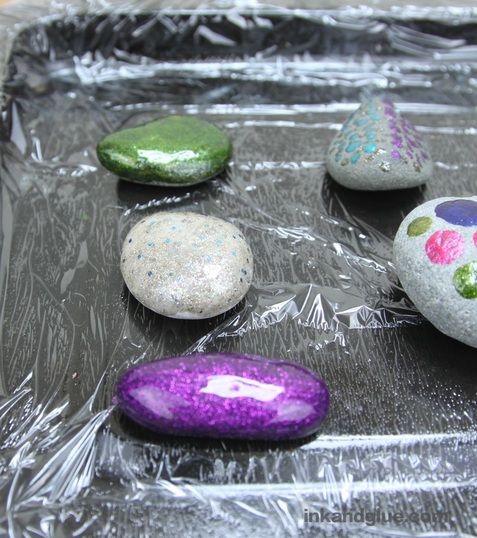 Let 'em dry for an hour or two before attempting to handle them. The drippy one had some polish pooled at the bottom that was still wet, so I flipped it over and let it dry a bit longer. The rest were ready to admire. The purple I have dries matte, which gives it a cool effect.
 xo!
Comments are closed.
|
Categories
All
Archives
March 2017
AuthorI'm Debbie Way, an artist and writer who enjoys making things. |
 RSS Feed