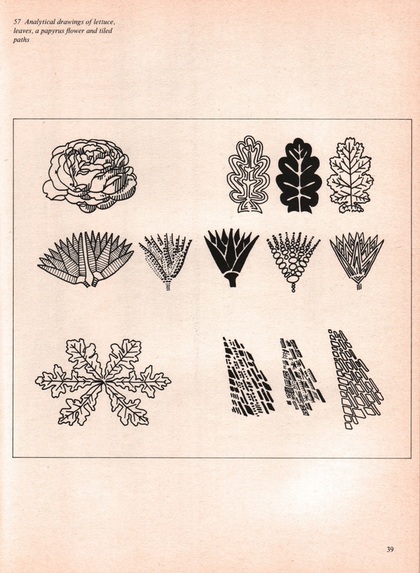
 I scored this hardback at an artists' studio sale for a mere 25 cents. It was published in 1975, which is still inside, but nearing the edges of, my design sweet spot. All of the macrame, and macrame-like projects, give off a sweet hippie/groovy earth-mother vibe. You can buy a vintage copy here; it looks as though it only had one printing. 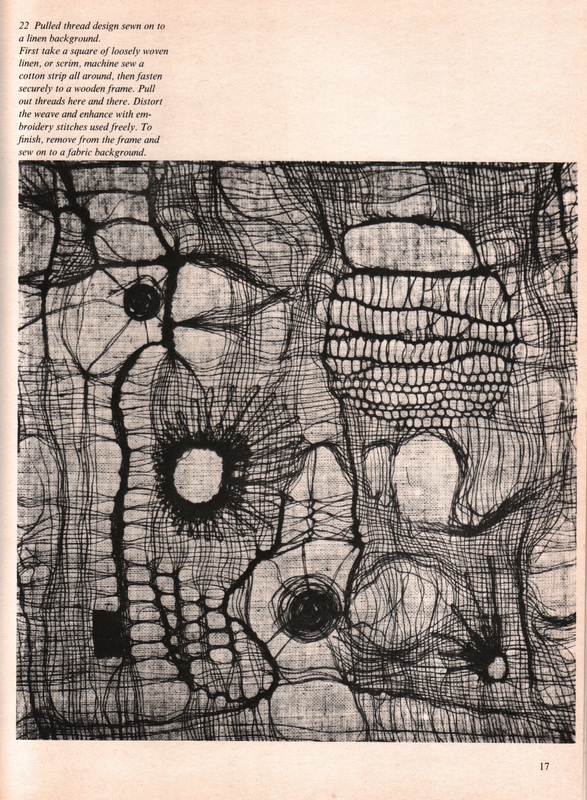 Most of the photos and illustrations are in black and white, and the projects are, for the most part, meant for the adult with serious amounts of focus and free time. However, I found a couple of projects and exercises that would be both fun and thought-provoking for a child to do. One is shown above. You could simplify the project by using duct tape to secure the edges of a square of cheesecloth to a board or a canvas, then play with the weave by cutting and pulling out some strings, tying others together... It might look terrible, but the worst that can happen is you decide to not to keep it, and peel off the tape and toss the cheesecloth. Not too terrible an ending for an hour or so of creative exploration. Then there's this idea, which could be done with any medium. 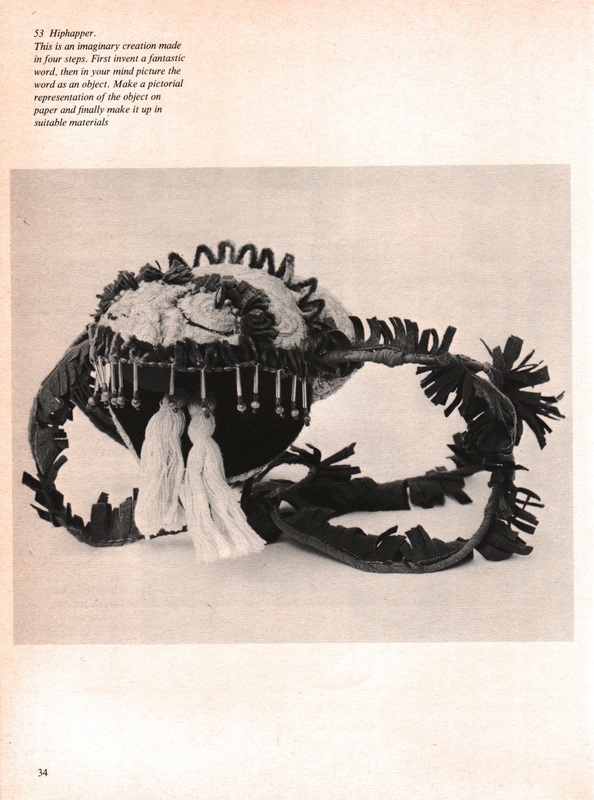 If you can't read the above caption, it says, "Hiphapper: This is an imaginary creation made in four steps. First invent a fantastic word, then in your mind picture the word as an object. Make a pictorial representation of the object on paper and finally make it up in suitable materials." That project is in a chapter called "Design" which has some great ideas for ways to start looking at the world as an artist. It also suggests some exercises that gets the reader practicing making images more abstract, distilling them to their cores. All of the is written in this oddly formal, passive voice, so I'll try to distill the basic messages at the end. A few excerpts: "Try out the following exercise. Look closely at the leaves of a tree, noting the outside shape and the pattern of the veining within that shape; touch and appreciate the texture of the bark; study the changes of colour within an area. Now make a small sampler in any medium to bring out the character of some aspect of the tree which you have observed. Repeat the exercise with a stone, noting its overall shape, whether the surface is smooth or pitted like a crater. Find a suitable technique in which to convey your impressions. Man-made objects, too, can serve as a starting point for design: for instance a wrought iron gate, the pattern of tiles on a roof or windows on a wall. The main thing is to always be aware of one's surroundings, making mental notes to be filed away for future reference." ... "After an object has been looked at and touched, an attempt should be made to transfer the experience to paper (ie to make a design based on impressions gained while handling the object). This will not be easy at first, but a start can be made in quite a simple way and confidence will grow with practice. "Start by basing a design on the veining in a stone or the grain in a piece of wood. Although it may seem alarming at first, make the drawing boldly, say with a felt tip pen on a large piece of paper. Start in the centre of the paper with one firm, unbroken line. If this proves to be incorrect resist the temptation to start again, and put in the next line, and the next, until the drawing is complete. The original piece of wood or stone serve only as a starting point and need not be copied slavishly. Keep your mind open to any chance effects which may be produced and learn to make use of them. [...] As a more advanced exercise take, for example, a thistle, and try to convey in stitches not the actual appearance of the thistle, but the prickly feeling which it suggests. This will entail finding the right materials and searching for the most expressive stitches to convey the prickly sensation." A simplified version of the above: Look at and touch a chosen object such as a leaf, or a stone. Examine the texture, colors, surface, patterns. Make a piece of artwork (in any medium: drawing, painting, collage, etc.) depicting one aspect of your object. Next, after further studying the object, draw it in marker using big, bold lines. Finish the drawing even if you feel like you've messed it up. The key point is to treat the object as just a starting off point; don't try to faithfully reproduce it . I like how the patterns the author comes up with are so Zentangle-ish:
"Another way of building up a design is to cut out a few geometric shapes, such as circles, and arrange them on a background, sewing [or gluing] them down when a satisfactory arrangement has been found by trial and error. A more complex pattern could then be evolved superimposing a linear pattern on the solid circular patches. Full use should be made of any chance effects which occur in the development of the work. " There aren't any images given to accompany this activity, so I chose a couple of inspiring images that could, conceivably, be the end result: 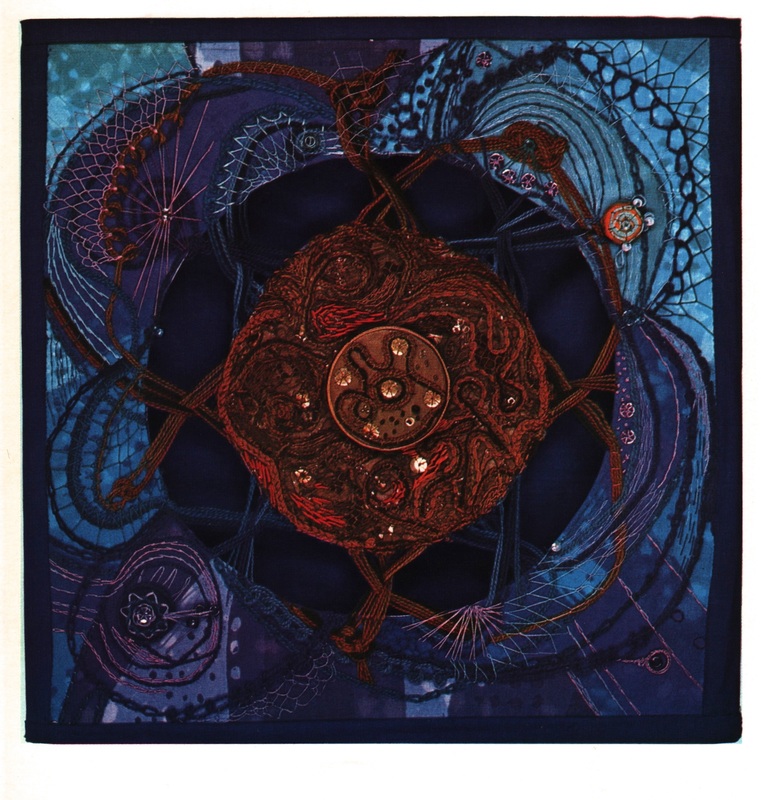  I hope you get a chance to do some creative exploration today!
xo Comments are closed.
|
Categories
All
Archives
March 2017
AuthorI'm Debbie Way, an artist and writer who enjoys making things. |
 RSS Feed