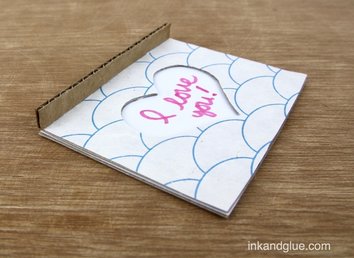
This is a tough project to write about, because who knows what these little bead/ball toys are called? Not me. I did a few google searches and "mini ball game" seemed to be a phrase that some knew, so I'm going with that. This one is a little different because shaking up the balls reveals a lovely message. But you still "play" it by tilting and shaking it until the balls all fall into place — one big area, instead of multiple single-ball spots. Here's how to make one like mine. Before you start, make sure you can source a flattish piece of clear plastic from a blister pack or a take-away container or a report cover. Mine is from a package of hole reinforcement stickers from Staples. Also, cut a couple of straight, even strips from corrugated cardboard, with the corrugations running the short way. Perpendicular to the length of the strip. I think you'll know what I mean. Now: Cut three identical rectangles from a cereal box, and one matching rectangle from a piece of white drawing paper. Cut a heart shape from one of the cereal box pieces. Align that piece on top of a second rectangle, trace it, and then cut out the second piece's heart. 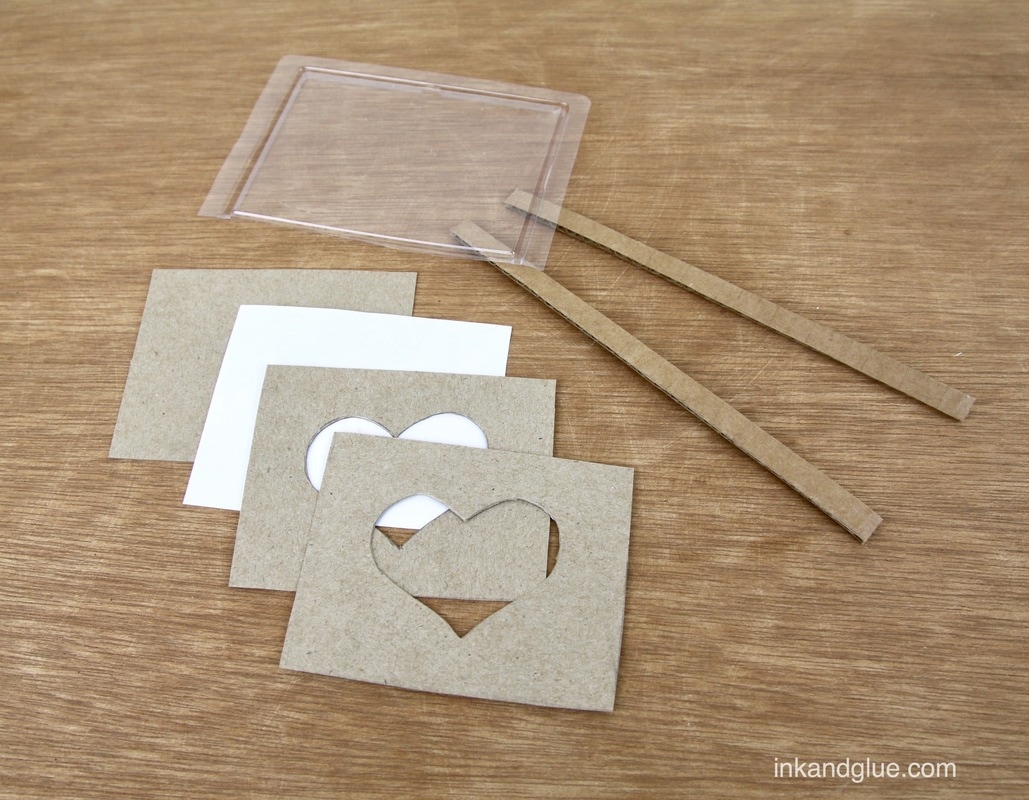 Align the heart-ed cardboard on top of the paper rectangle, and lightly trace the shape in pencil. Write your message inside the shape, then erase the pencil lines. This is what it should look like with the pieces stacked together: 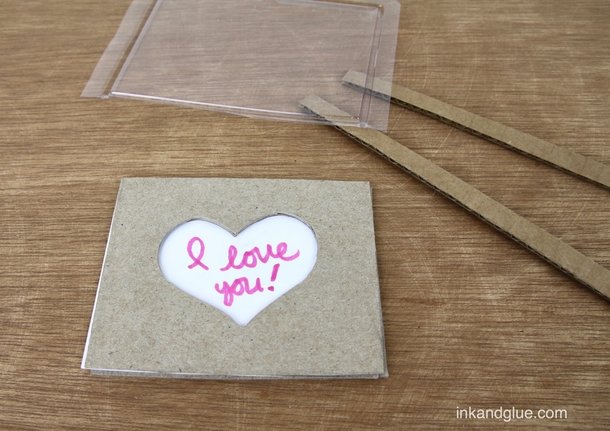 At this point it's safe to start do some gluing. Use glue stick to adhere the white paper onto the intact cereal box rectangle. Use tacky glue or glue stick to adhere the two heart-ed rectangles together, making sure the hearts align nicely. Lay the heart piece, front-side down, on top of the back of a piece of decorative paper, and trace the outside edges and the heart. Cut them out. Glue-stick this on top of the heart piece. 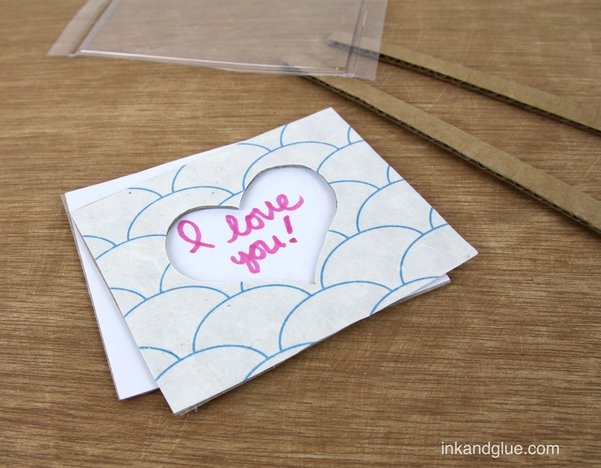
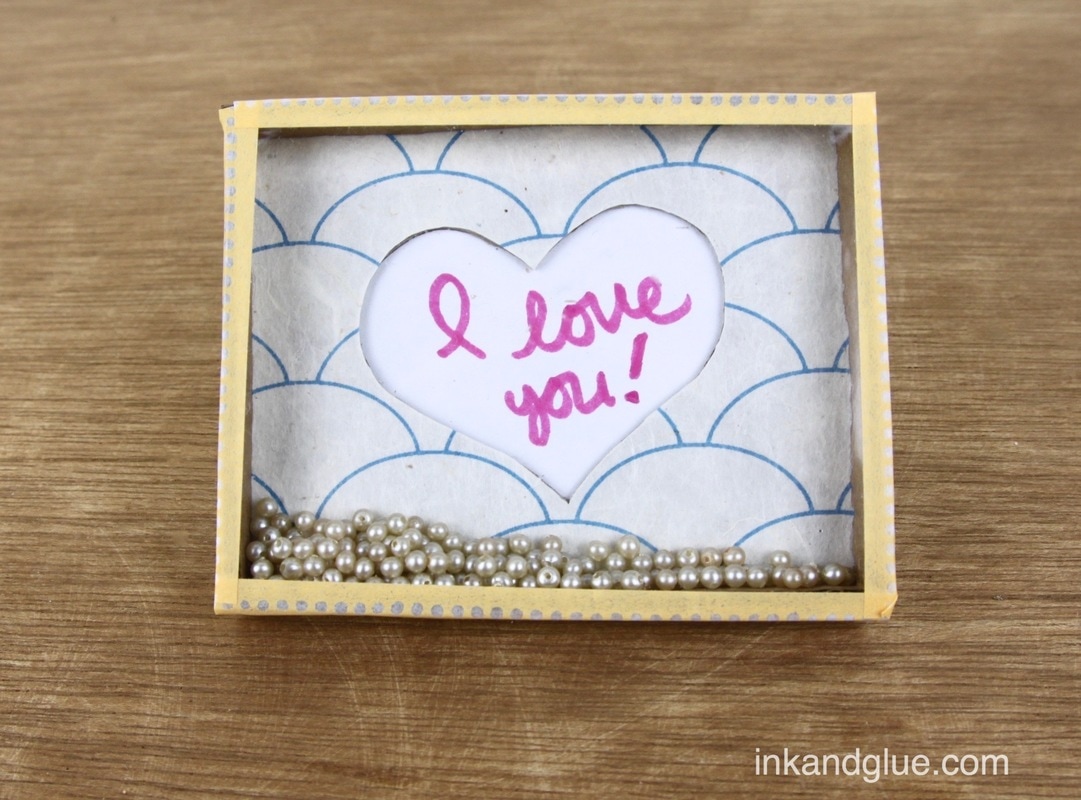
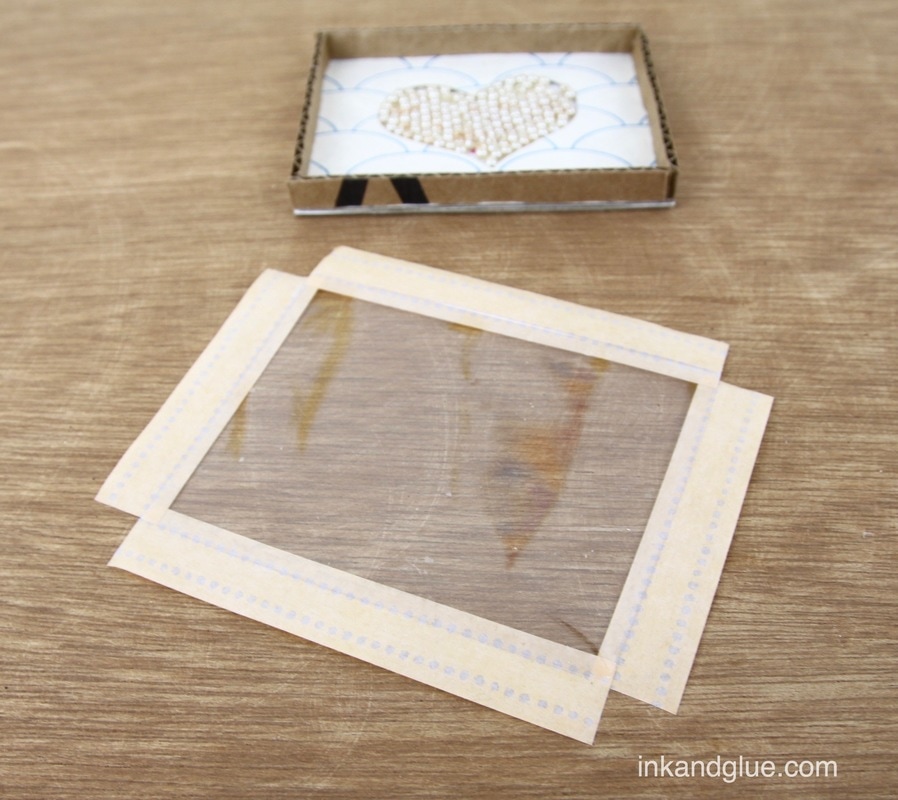
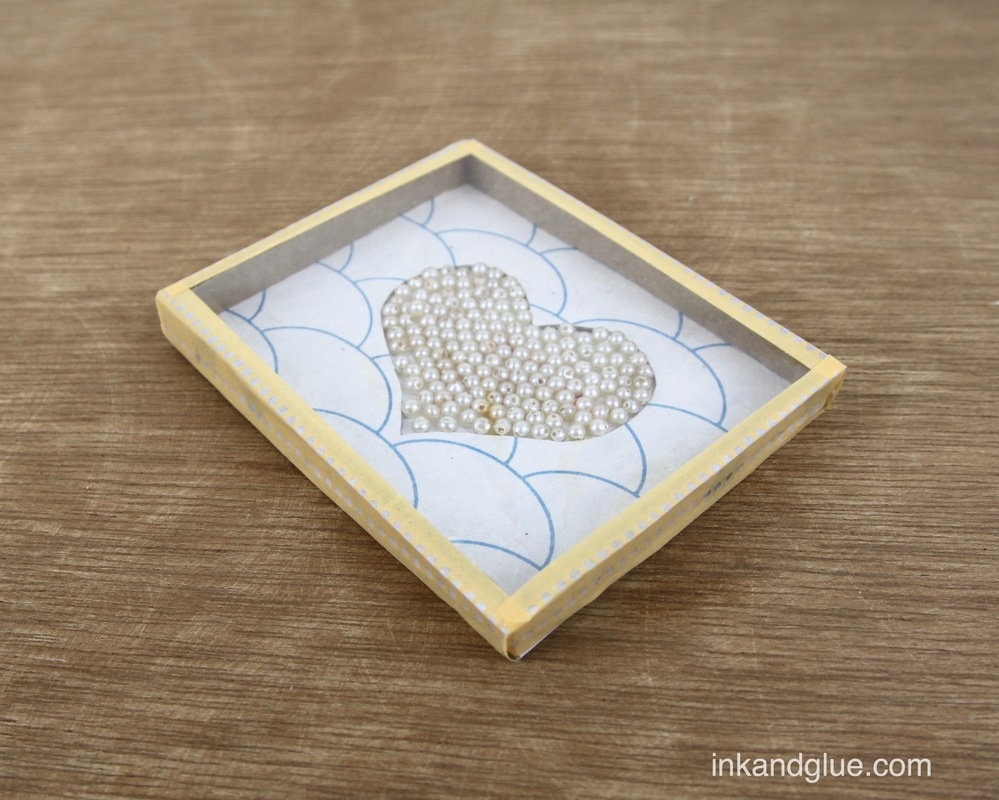
 It's time to add a bunch of tiny balls! I have an ancient strand of round, very-faux pearl beads that were just right for this purpose. Any small glass beads would work fine, even if they aren't perfect spheres. Add enough to cover the heart without being too impossibly-packed full. You want to make this a "winnable" "game." 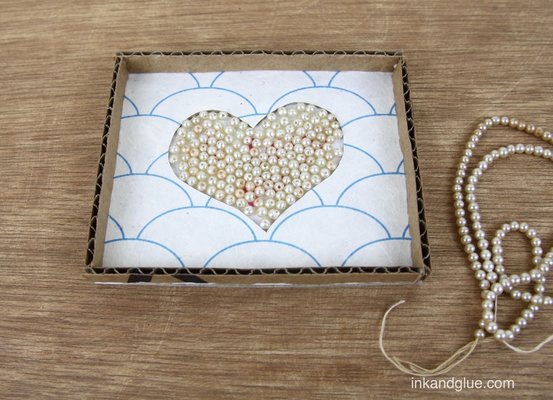 It's cover time! Place the box you've just made on top of the plastic piece and make some tiny dots with a marker to indicate where to trim it.  Tape the plastic piece to the top with washi tape (or any narrow tape you have). I did this in a finicky way: I stuck tape to the four edges of the piece, keeping the sticky-side up so it wouldn't get attached to anything, and I trimmed the four strips to fit as I added them. My sides and edges came out a bit crooked, so I assume I got the plastic piece turned around (and my box isn't perfectly even and square). So: Only do this finicky method if you're finicky all the way through.
And you're done! Have fun, then give it to a special someone. (You, yourself, count as a special someone.) xo!  Comments are closed.
|
Categories
All
Archives
March 2017
AuthorI'm Debbie Way, an artist and writer who enjoys making things. |

 RSS Feed