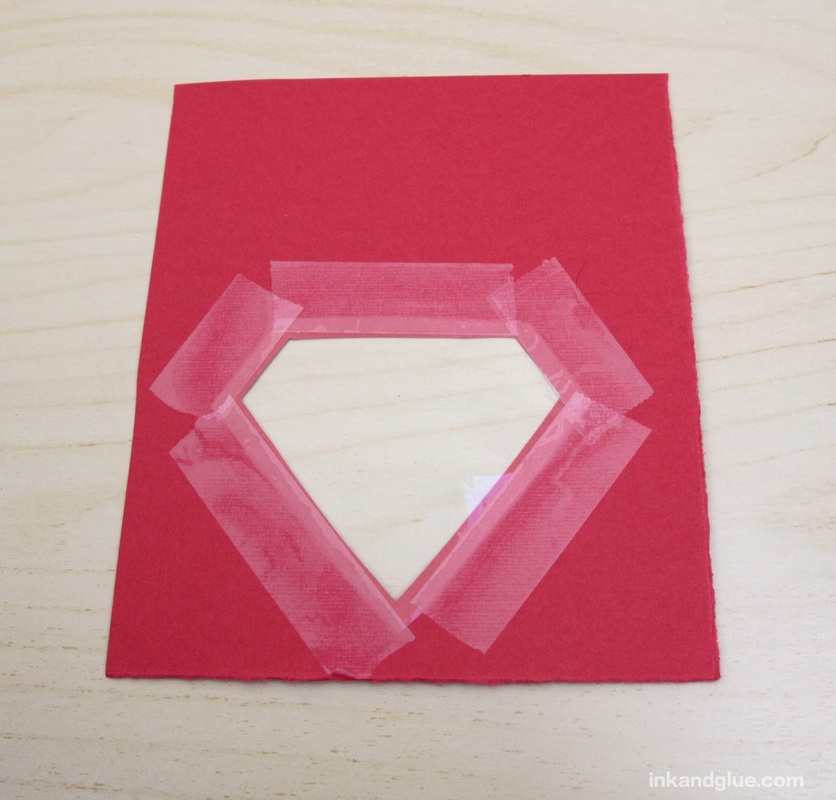
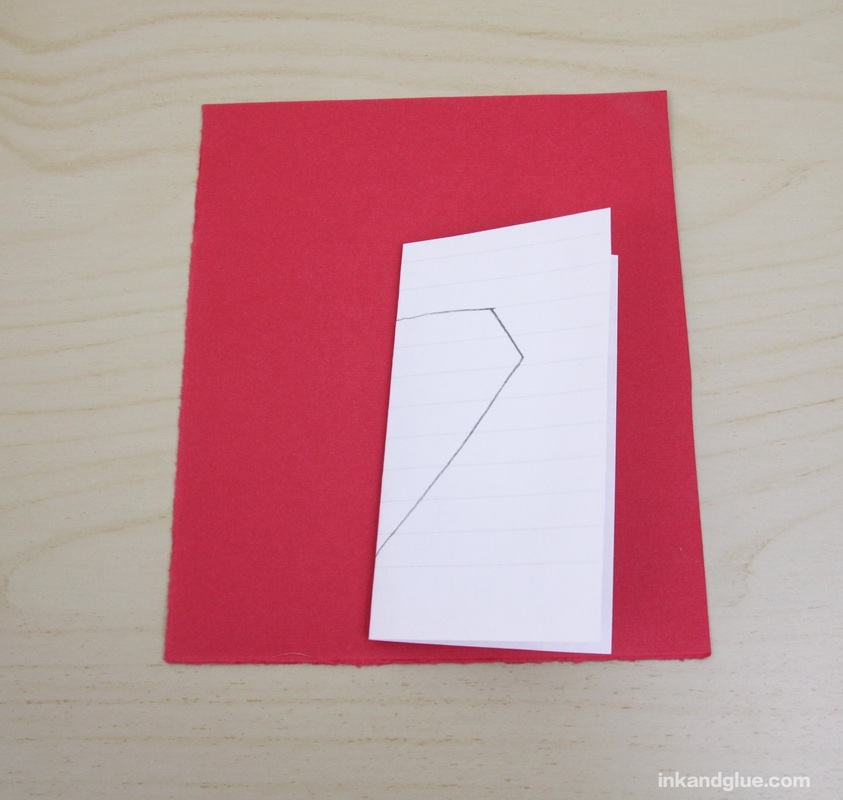
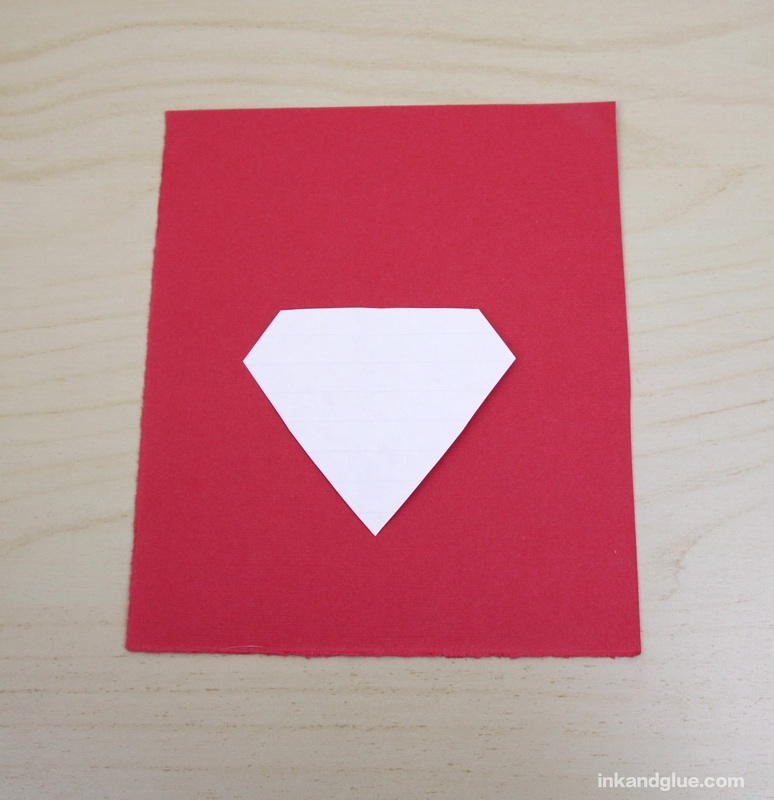
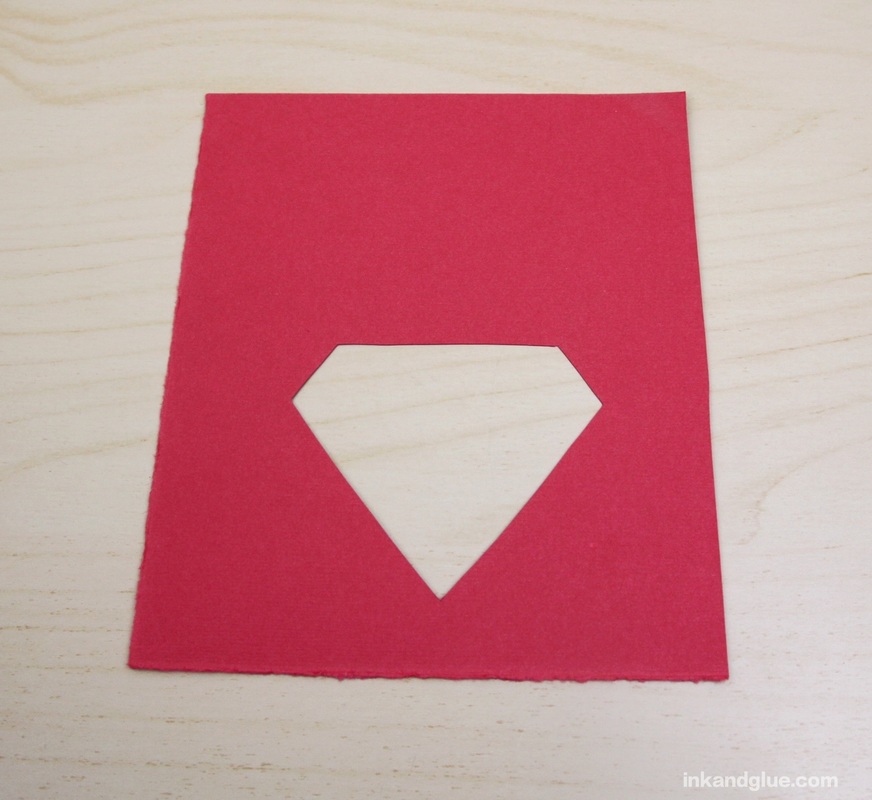
 This Valentine's Day card combines two things I love: rock candy, and letter stamps. I also enjoy a card with a window, but that's more of a 'strongly like' than a 'love.' Here's how you make it! First, fold and cut a sheet of card stock into quarters. You'll need two quarters for this card. (It's more of a postcard, really.)
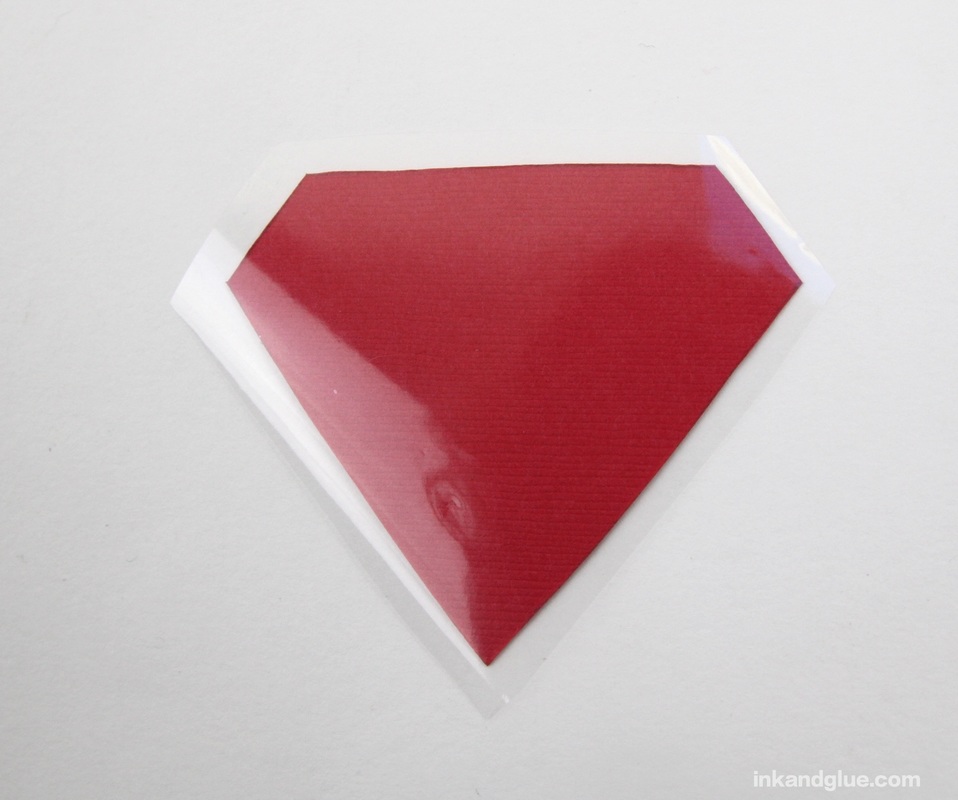
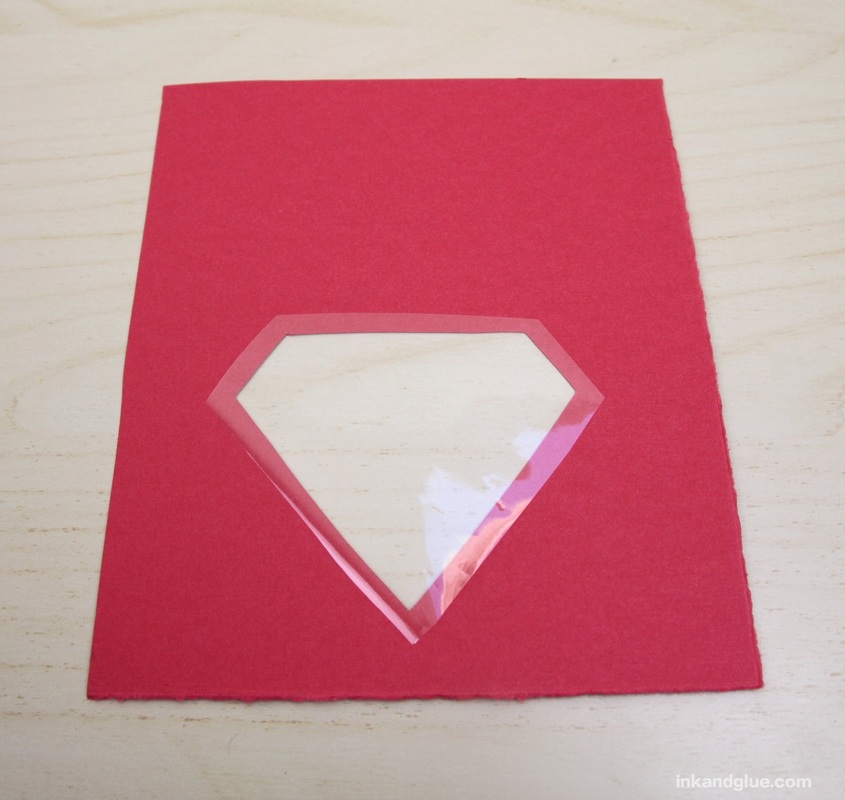
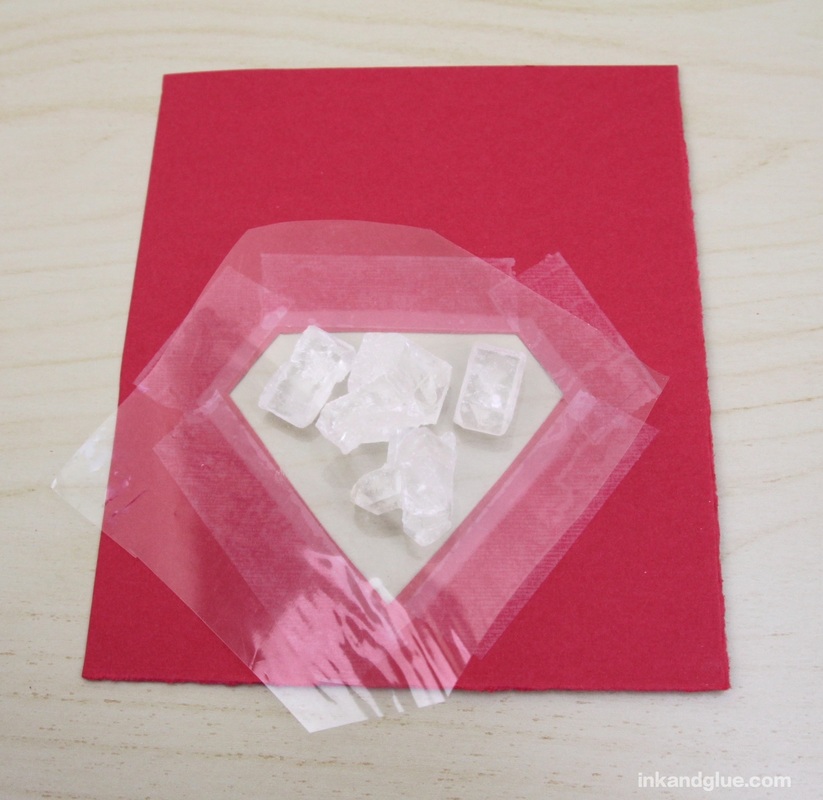
You know that diamond shape you cut from the center? Use it as a rough template to cut out a piece of cellophane or plastic bag that's about an eight- to a quarter-inch larger on each edge. Lay the plastic shape over the hole in the card, and tape it down.
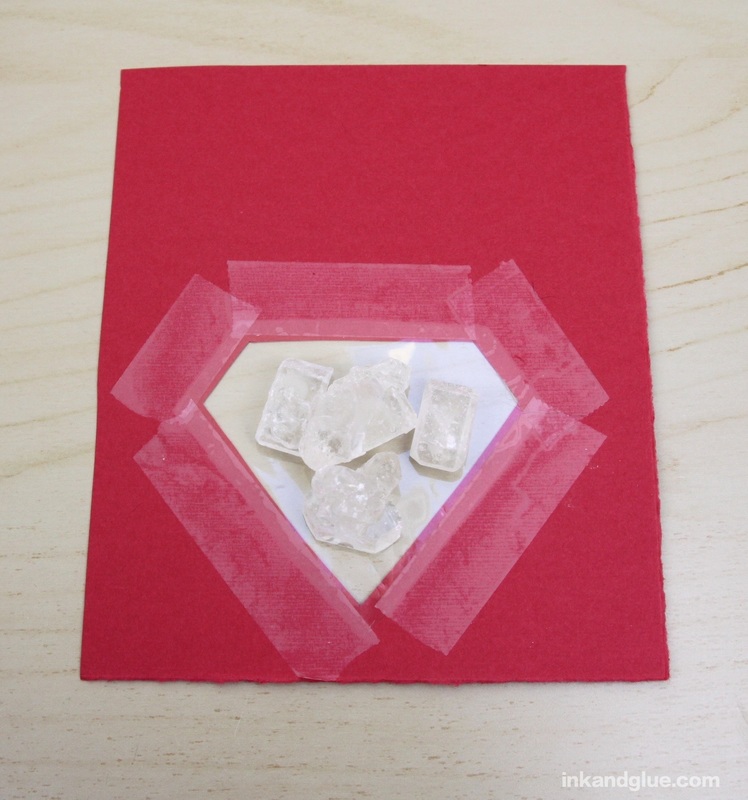
 Place a few rock candy crystals in the middle. I have a local 'by the pound' candy shop that sells rock candy in bulk, but if you don't have something similar near you, Amazon has it, of course. Cut another piece of cellophane or plastic that's very roughly the shape of the diamond, but a half-inch or so bigger on every side.
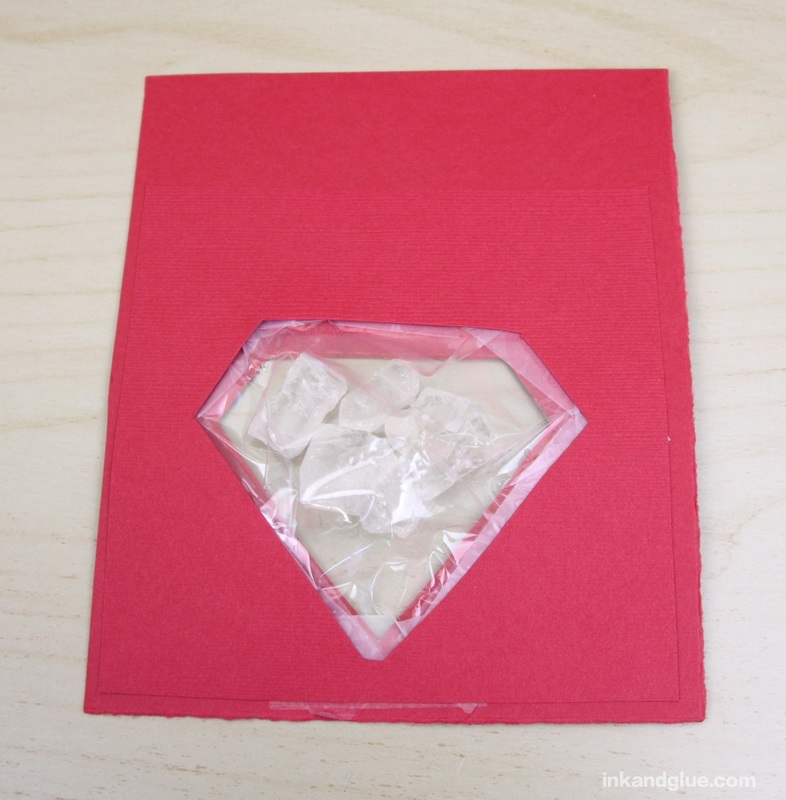
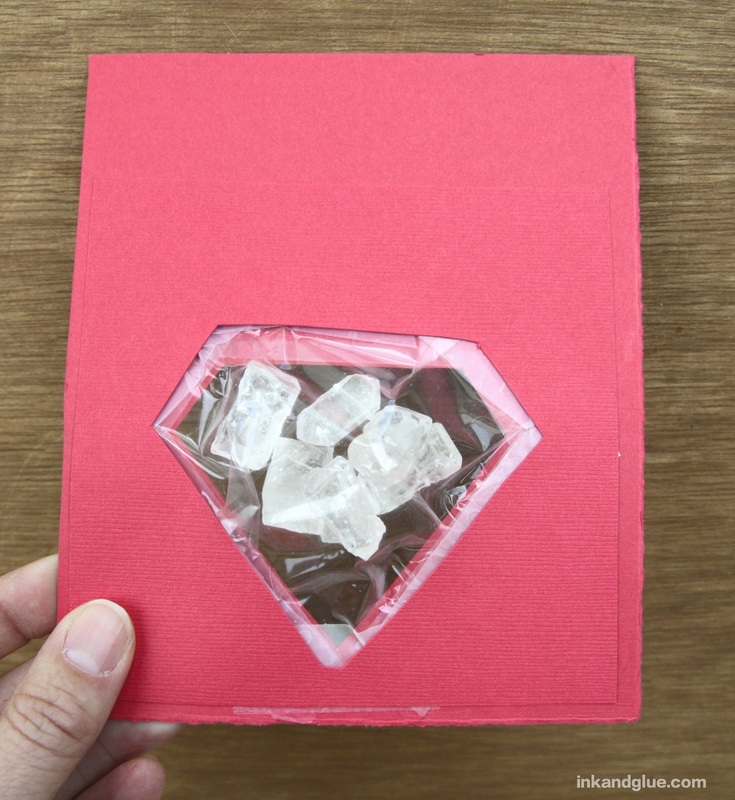
Tape down the top edges, folding and pleating the plastic as you go to fit around the bulk of the candy. Trim the plastic as needed before taping it in place. 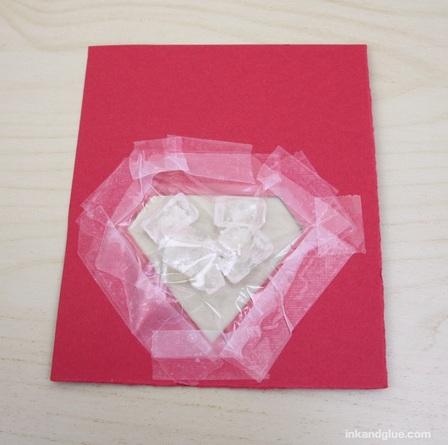 Here's how it should look from the front. 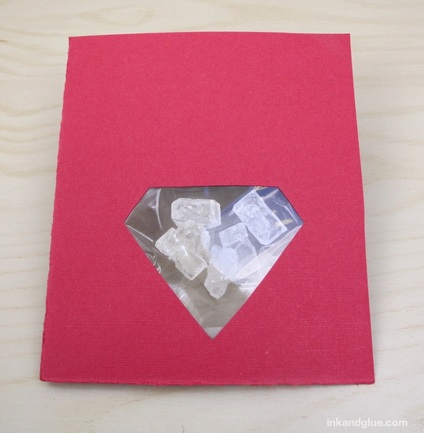 Now to add the text. I recommend trying this first on another piece of scrap paper so you get the spacing right. In general, I like to do lettering and stamping-type things on a separate piece of paper instead of right on the card, so that if you make a mistake, you can redo it without having to throw out the entire thing and start from scratch. I got these tiny letter stamps at Michael's, but there are about a gazillion different kinds out there. 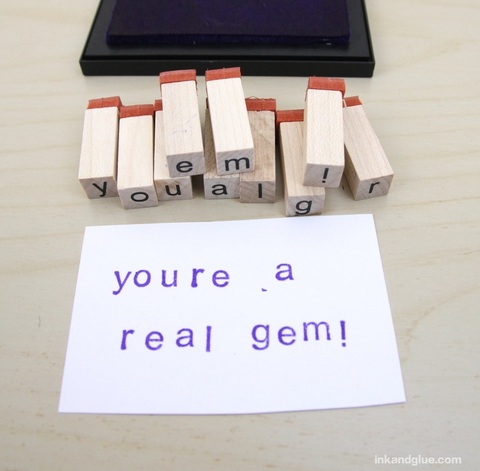 Note that the set doesn't come with an apostrophe (which makes editor-me sad) so I found a matching purple marker and added one later. Attach the final stamped message to the front with glue stick, then add a couple of pieces of washi tape, if you dig the look. I do. 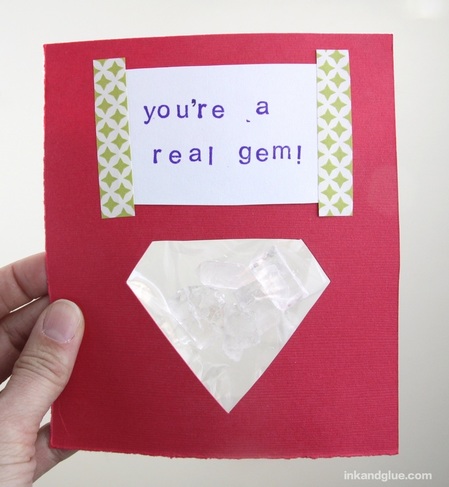 Your card is now complete, unless you wish to hide the unsightly backside with its layers of plastic and tape. You do? OK, here's how. Bring back the diamond shape you cut out from the card in the beginning, and another of the card stock quarters. Trace the diamond onto the card, but again add a border of about an eighth of an inch. Cut it out with a craft knife. (You want the opening in this card to be larger than the first so you won't be able to see it from the front.) Trim the top couple of inches from the top, just because you don't need it, and I'm paper-thrifty. 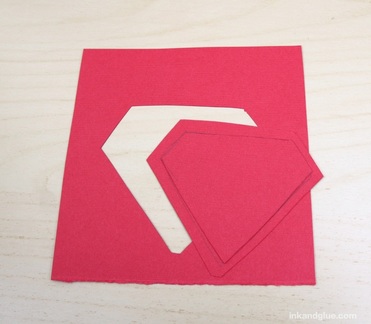 Lay this over the back of the candy-filled card, and trim anything that needs to be trimmed in order to be hidden from a frontal view. Attach it to the card with double-sided tape. Here are two views of the finished back:
Now you're actually done!
xo Comments are closed.
|
Categories
All
Archives
March 2017
AuthorI'm Debbie Way, an artist and writer who enjoys making things. |
 RSS Feed