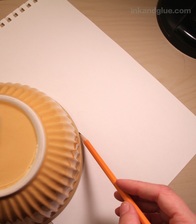
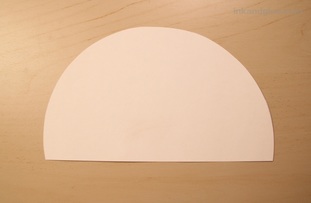
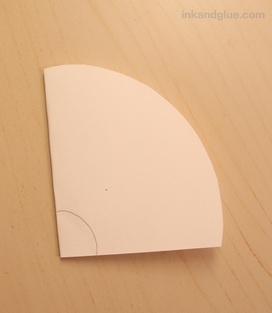
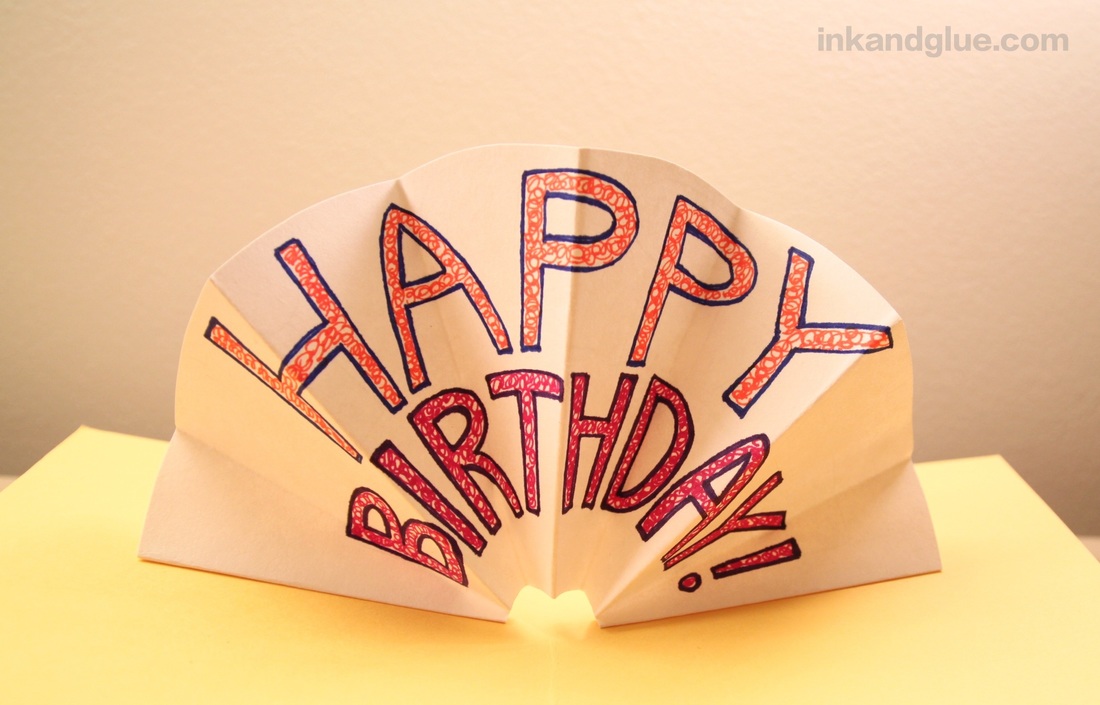
 It's my sweetie's birthday today! I made him a special card, and I want to share the how-to with you. First, use a round object —not too huge, or it won't fit inside a card — to trace a semi-circle onto a sheet of regular-weight paper. I used a sheet from a plain ol' sketchpad. Then, cut out the shape.
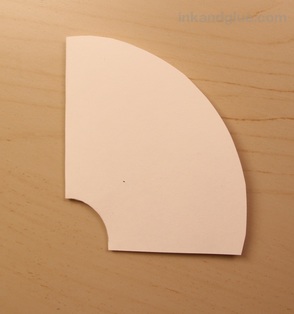
Fold the semi-circle in half, draw a small inner curve, and cut it out. No need to be fussy.
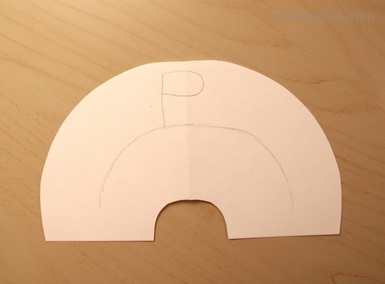
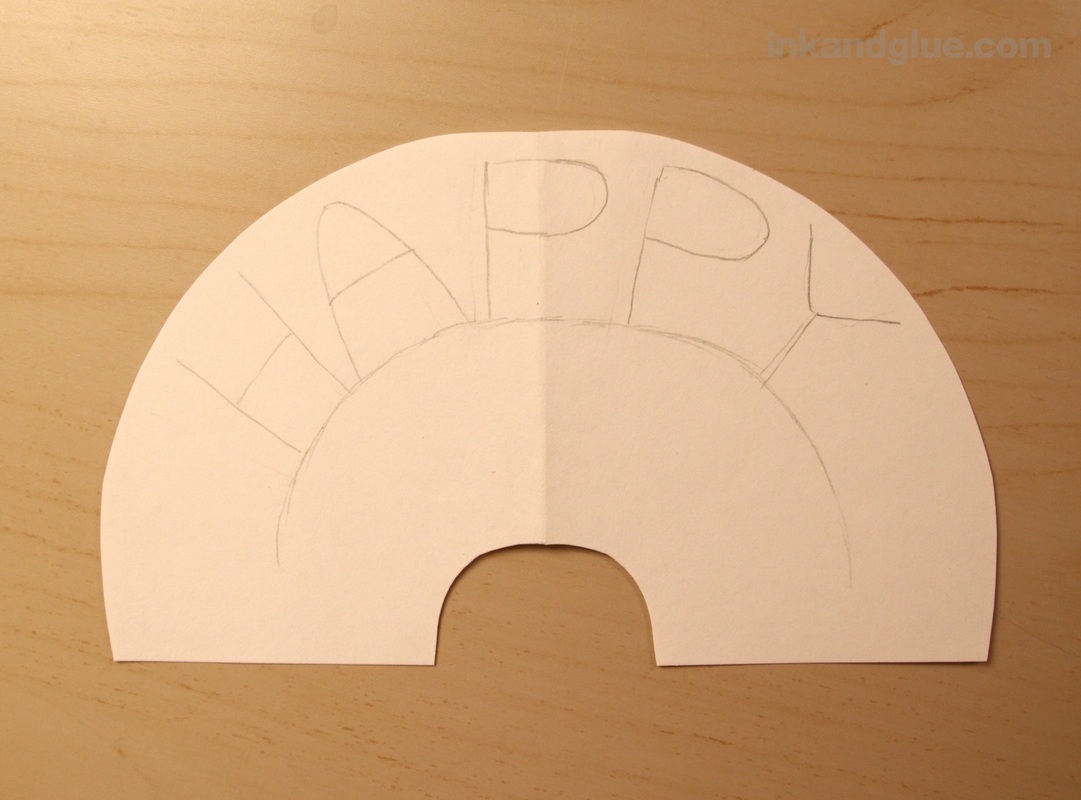
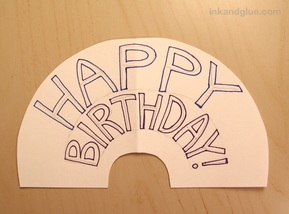
With a pencil, lightly draw an arced line for your lettering to follow. I tried to keep my line parallel with the outer edge of the circle. Then, figure out the middle of your top word. HAPPY has five letters, so a P should go in the very center of the arc. From there, add the other letters so they're spaced evenly on the arc; use pencil so you can erase and re-do as needed.
BIRTHDAY has an even 8 letters, so write a T and an H on either side of the center fold, then fill in the rest of the letters. 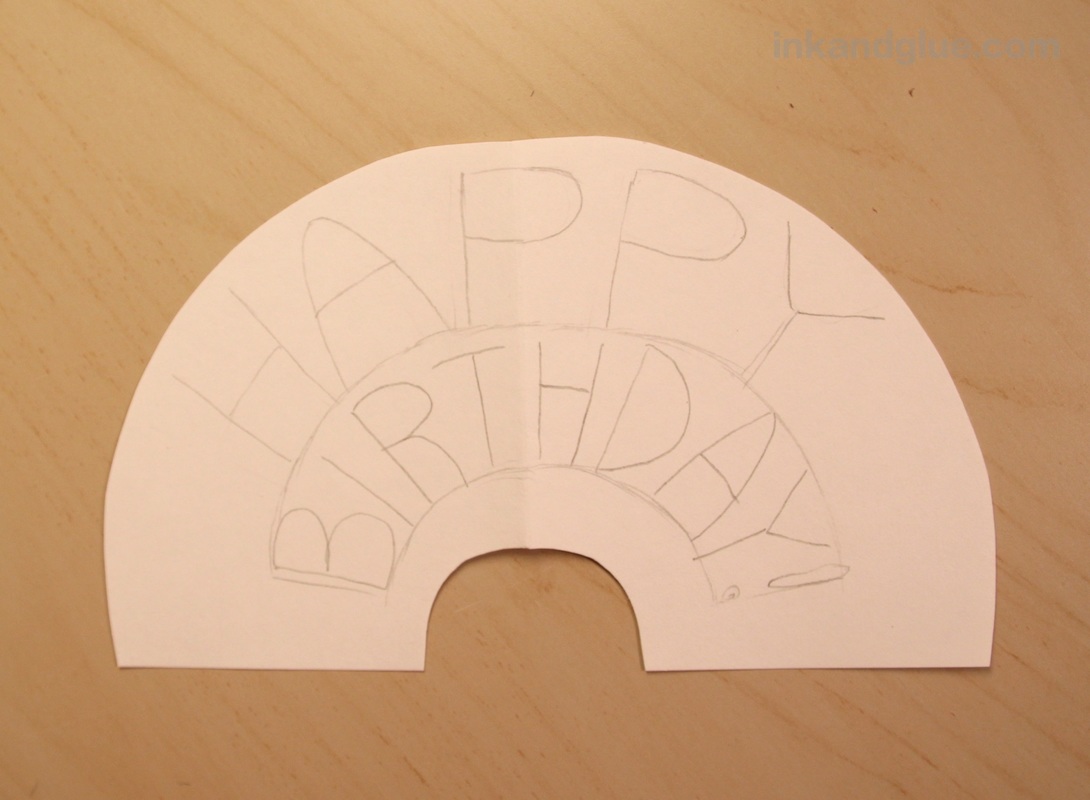 Now for the fun part! Go over your pencil letters with bright markers, and erase the pencil with a good, clean eraser. I did block letter outlines, then erased the pencil before filling them in with little loopy scribbles.
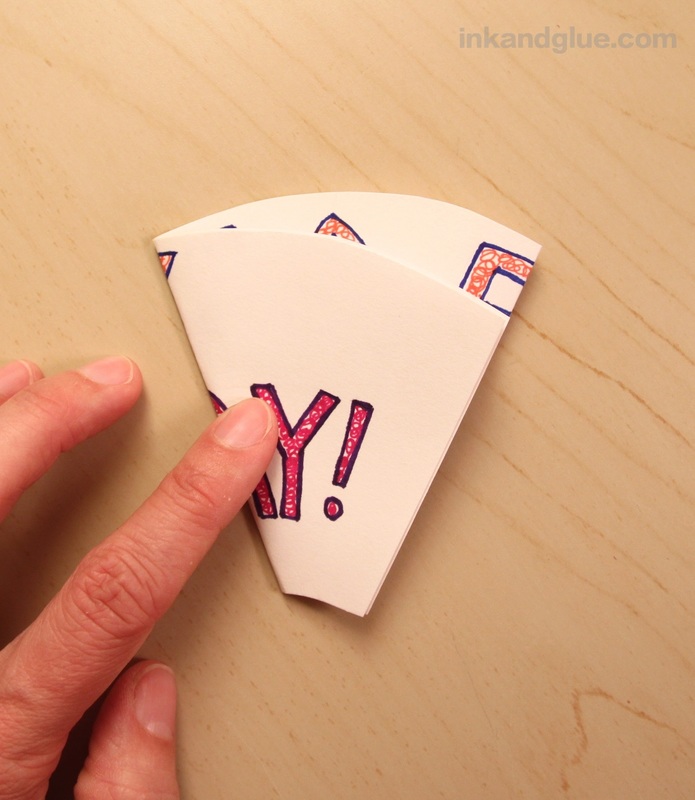
Now for the folding. Fold the arc in half, then fold it in half again, as shown at left. Fold it in half once more, as shown at right.
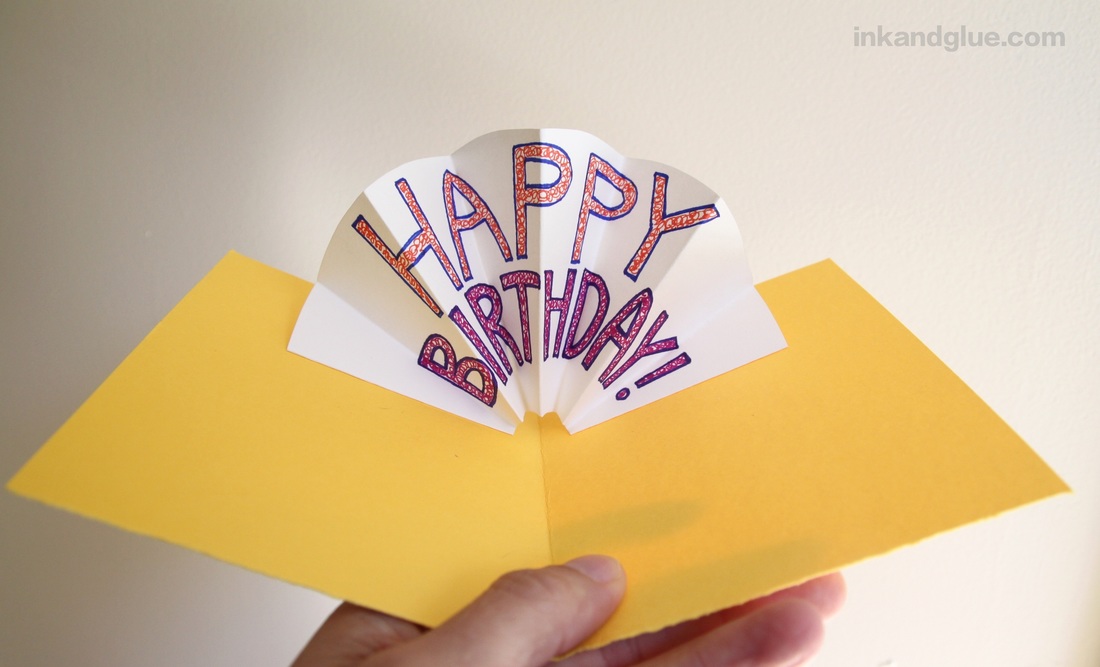
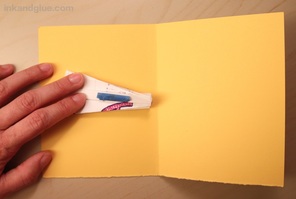
Now unfold the whole shebang. 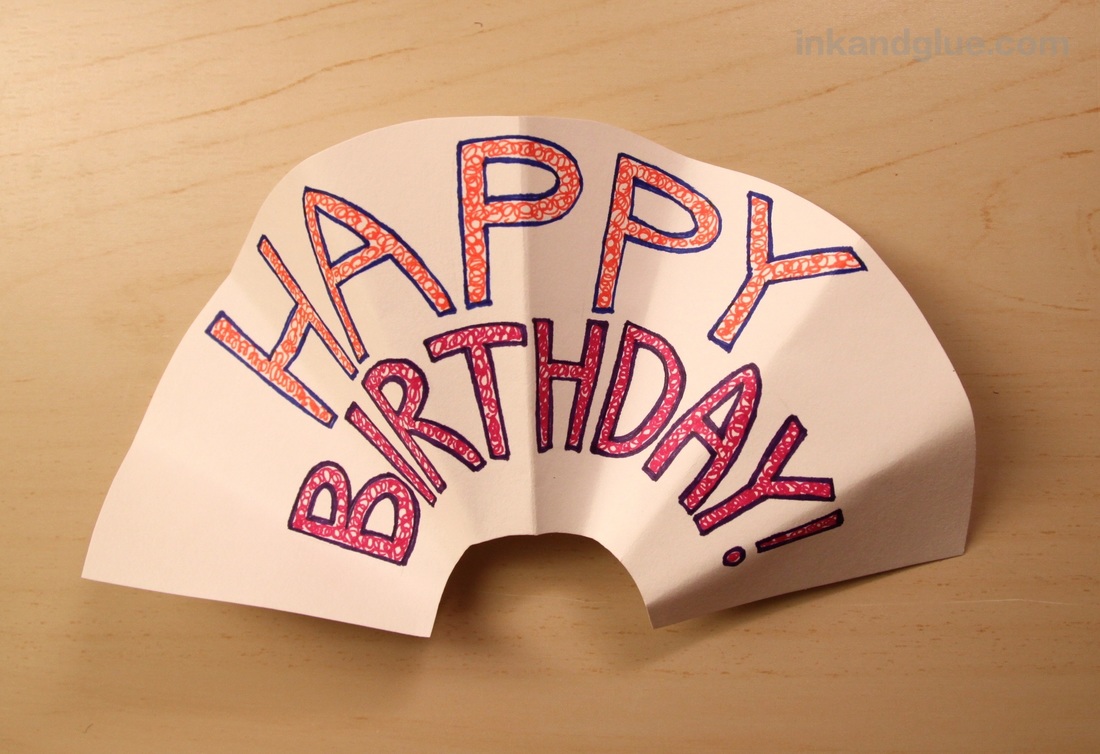 Fold up quarter-inch-wide flaps at each end of the arc. (You'll be gluing those to the inside of the card.) 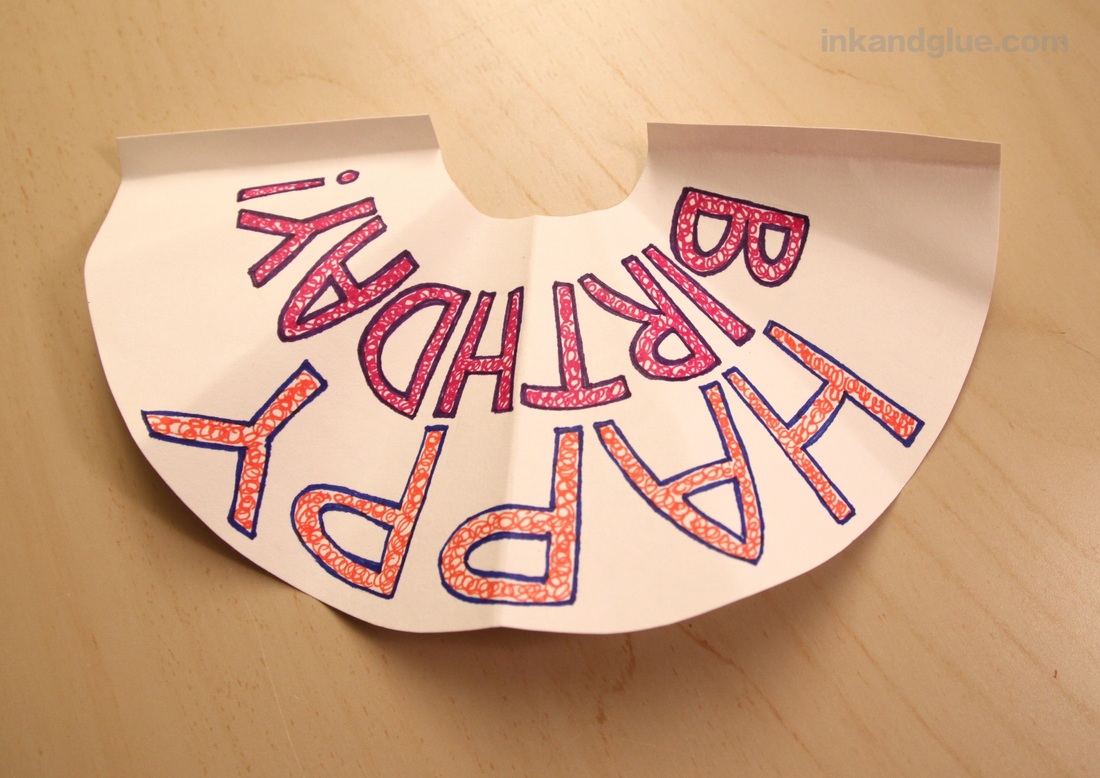 The paper needs to be folded like an accordian, and right now, only one half of it is. (In the photo above, the left side — the "PPY HDAY!" half — is correct.) Working from the middle, reverse and re-fold any of the folds that don't follow the in-out-in-out pattern. It should end up looking like a paper fan. (At some point in this process, I realized my gluing flaps were going the wrong direction. No biggie, just refold!) 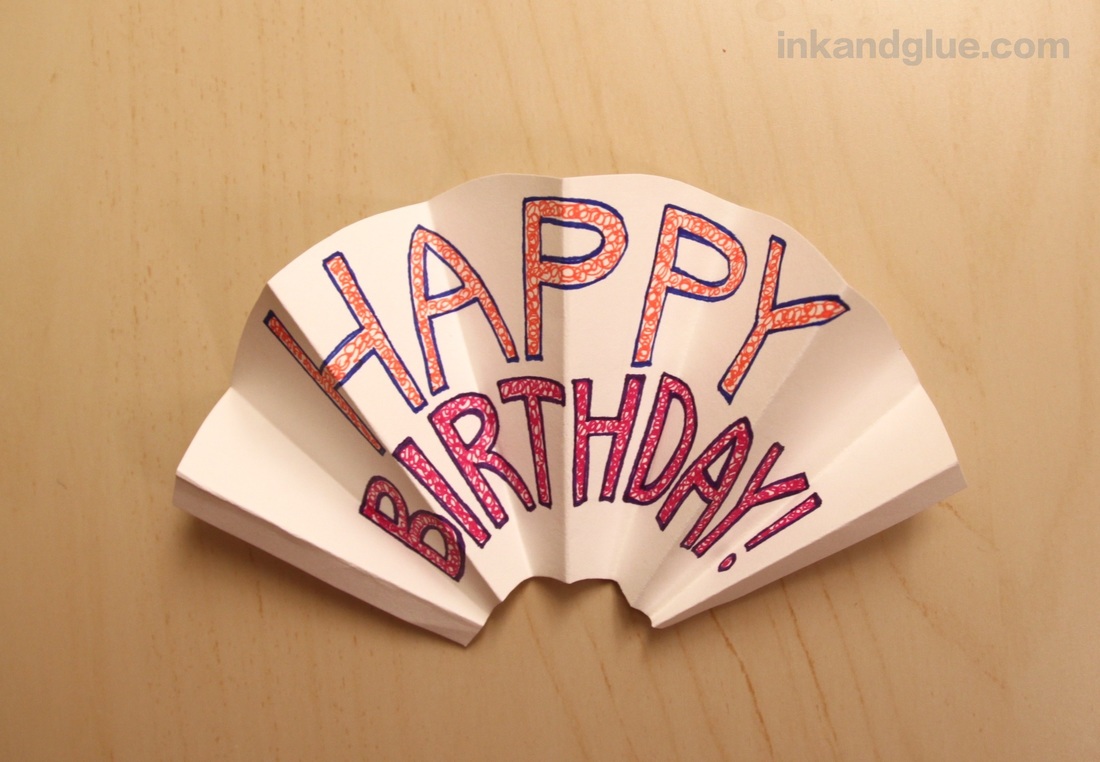 Now you'll need a card! You can use a pre-made blank card, or just fold a half-sheet of card stock in half. Fold up your paper arc tightly, and make sure everything is even. Use a rolled-up piece of painter's tape to attach the left flap to the card. Place another tape roll on the right flap, then close the card onto it. Open the card to see how well it pops up and folds closed. Using painter's tape will allow you to peel up the flaps and move them around slightly as needed. I found that putting the two flaps closer together seemed to work better for the folding-closed movement.
Make a couple of tiny, light pencil marks on the card to show where the corners of the flaps should be glued. Peel off the tape, spread a thin layer of tacky glue on the flaps, and press them back in place. If there's no glue overflow, fold everything up and set a heavy book on top of the closed card for at least half an hour. If there is some glue seepage, let it dry before doing the folding/closing and book-pressing, or you'll get everything stuck together. 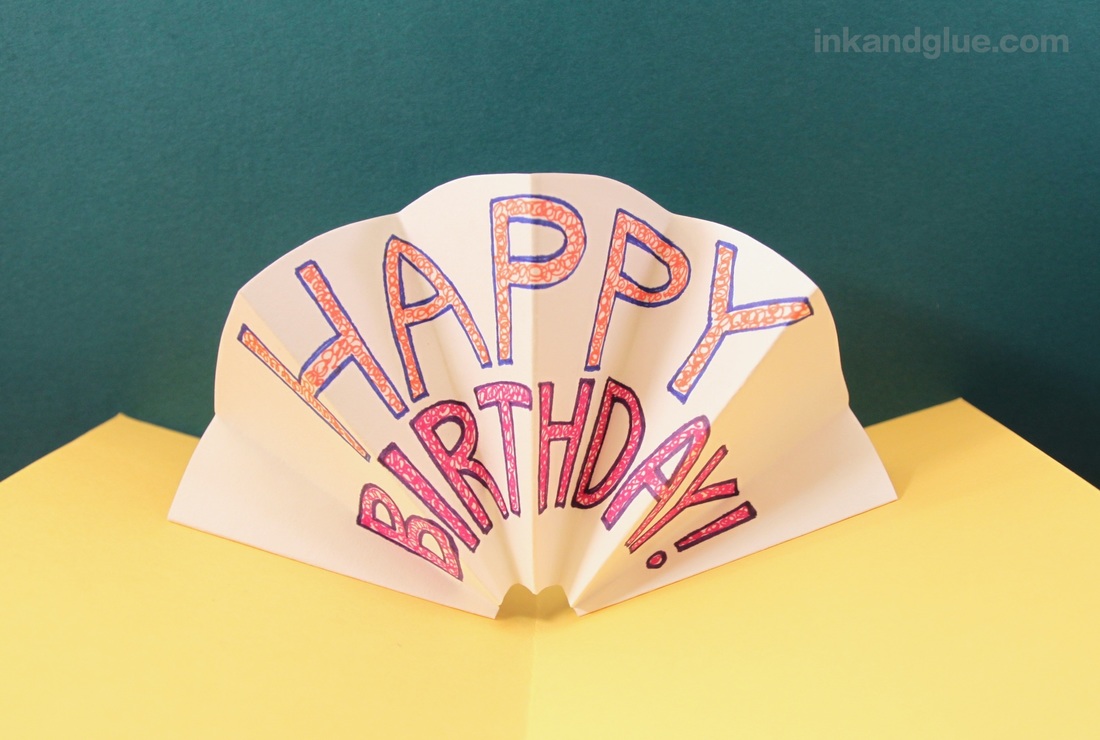 Now write a message on the outside, like, "Just wanted to wish you a..." or "Hey you!," or draw something cute or silly, or glue-stick on some decorative paper. And write a personal message to the birthday person inside, below the pop-up part.
Happy days! xo Comments are closed.
|
Categories
All
Archives
March 2017
AuthorI'm Debbie Way, an artist and writer who enjoys making things. |


 RSS Feed