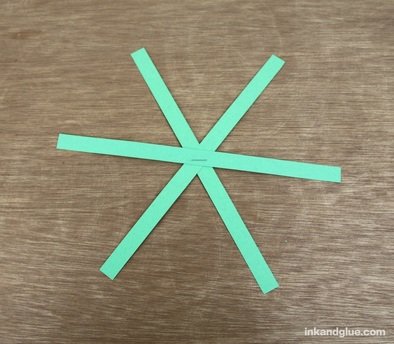
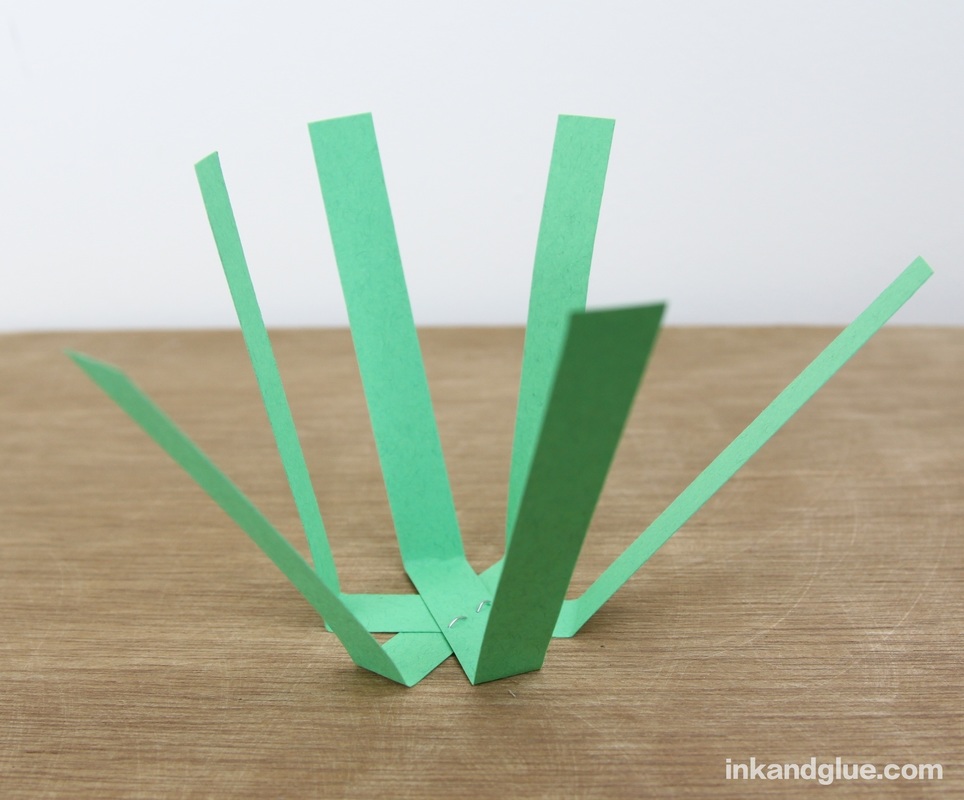
 (I couldn't resist including the bunny shaker from last week in this photo!) A few strips of paper, glue, and a single staple is all you need to make a miniature spring basket you can fill with treats (or a single, treasured egg). Here's how to make one. First, cut half-inch wide, 8 1/2-inch long strips of paper from a few different colors of paper. I used a floral pattern to mix in with the solid construction paper strips. All told, I used 6 strips to make this basket, not including the flower addition. 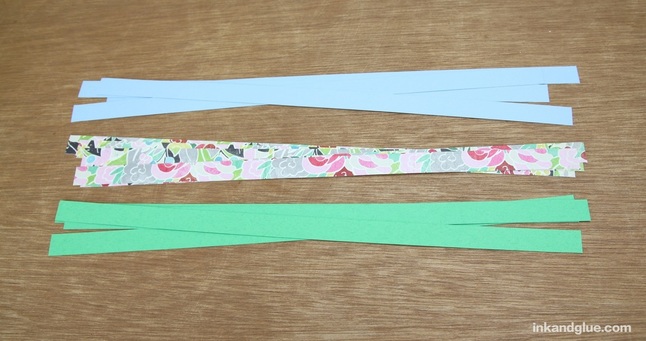
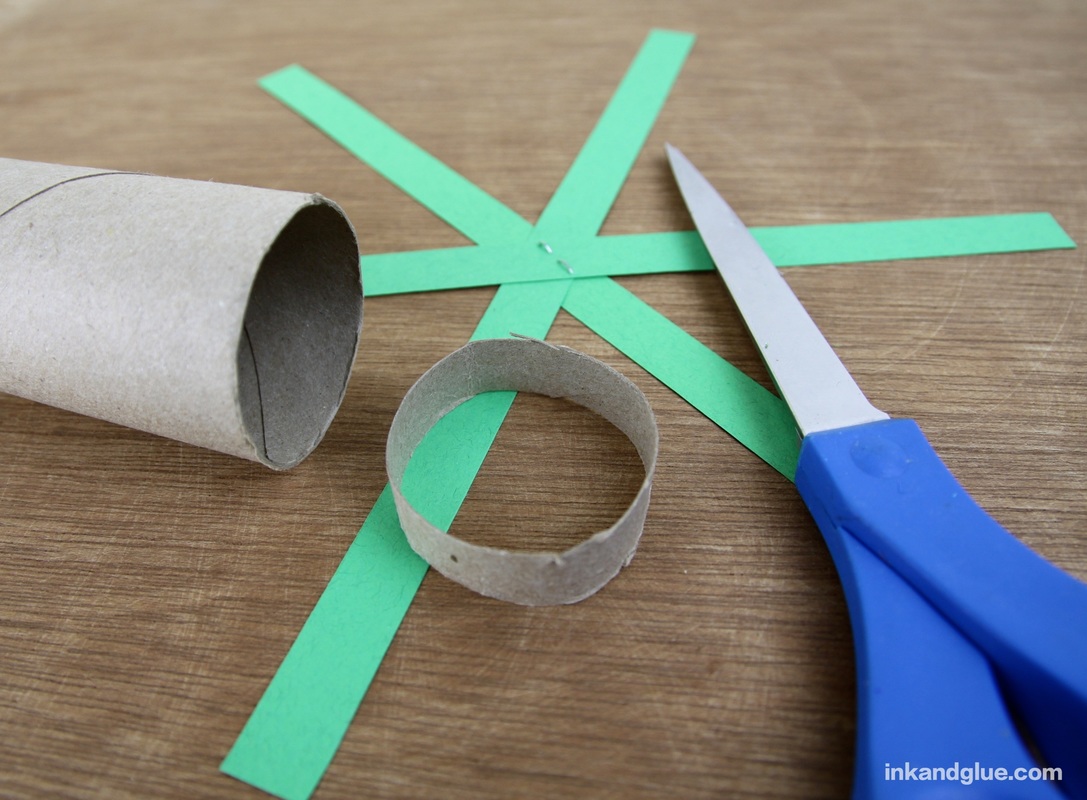
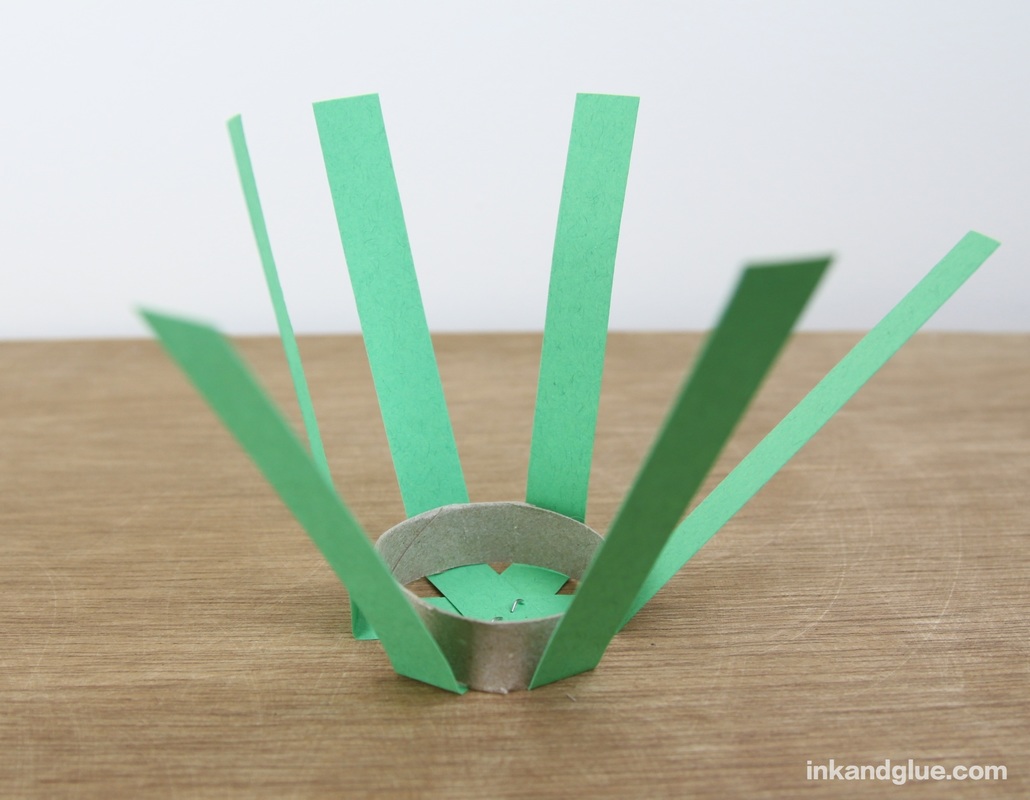
Center the ring on the asterisk, and use it as a guide to fold up the six spokes of the basket. (You can use a jar lid or something else with a round base, of course. I chose a TP tube because you can see through it, which makes it easier to center it.)
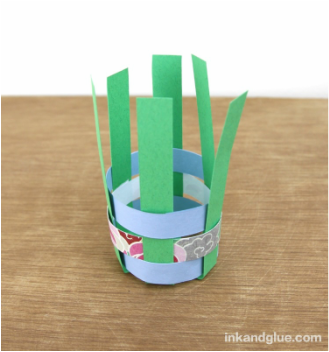
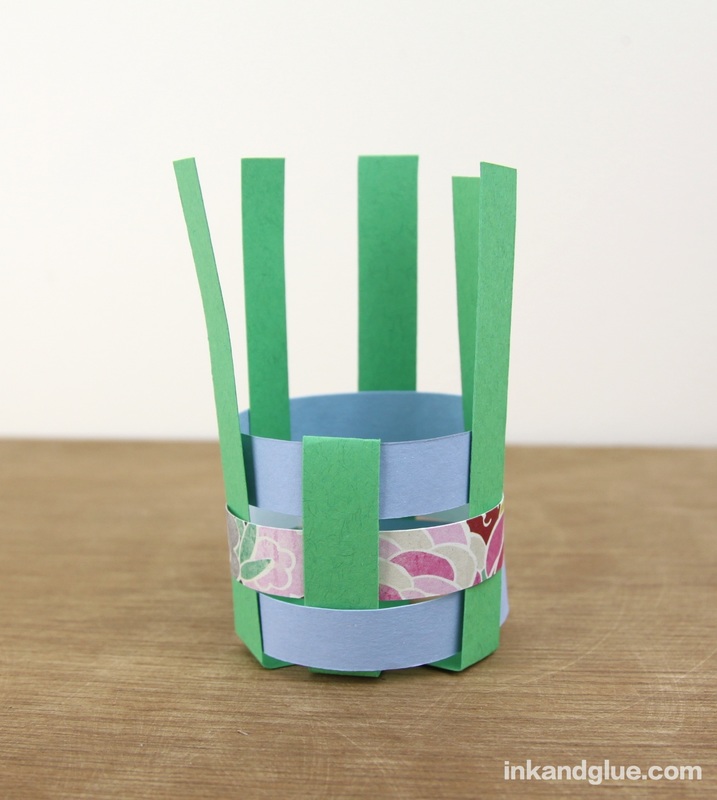
Now, weave a strip into the vertical spokes. Trim the strip so you leave a half inch or so of overlap where the ends of the strip meet. I glued the ends of the strips to themselves, and not to the spokes, so I could move them up and down (or even slide them off and reorder them) if I wanted to. To make the basket more sturdy as you build it, consider gluing the strips to the spokes. It doesn't look like much until you put on the second strip: 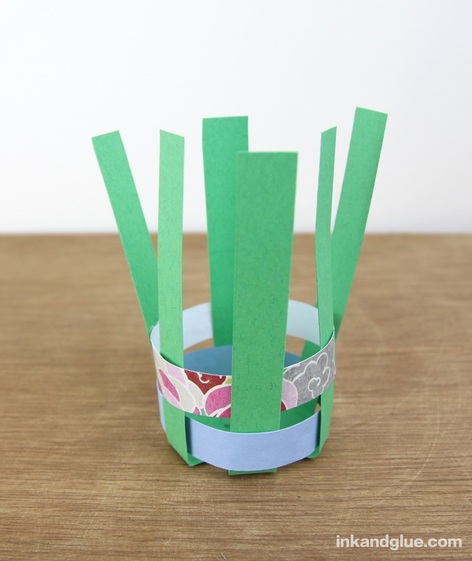
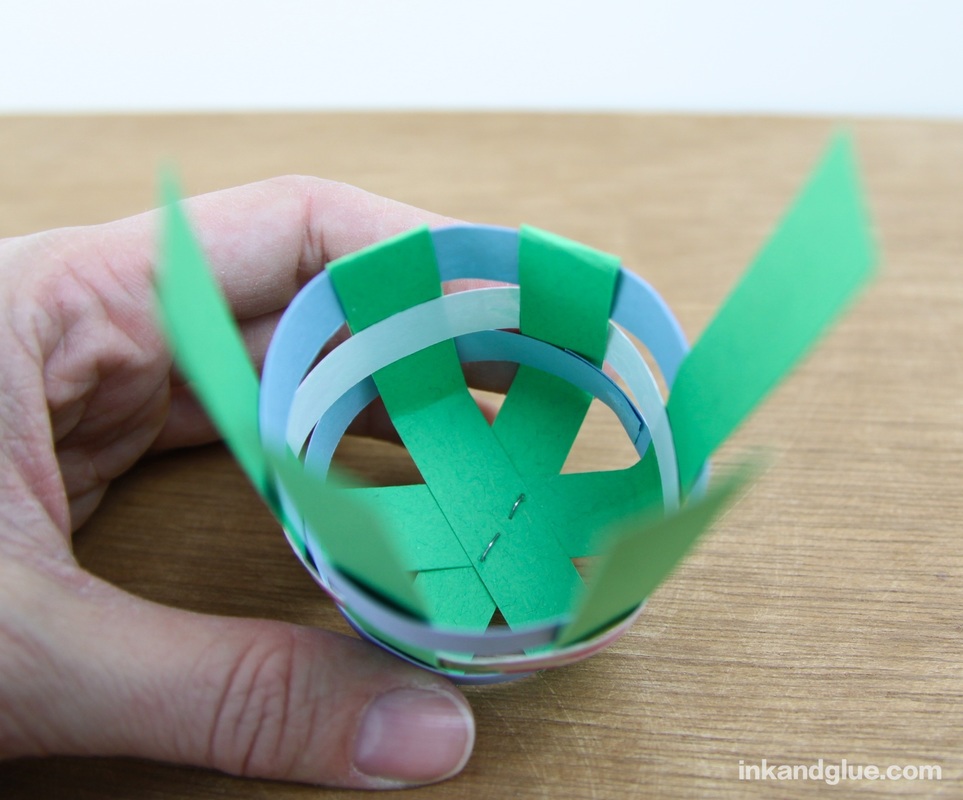
To finish the basket, you're going to fold down the spokes and slip their ends into the weaving. To make everything fit I ended up trimming about a half inch from each spoke. Fold each spoke over the top strip. This means every other spoke will be folded in the opposite direction. The one below left is folded towards the outside of the basket, then the end is tucked into the bottom strip. The one on the right shows a neighboring spoke that's been folded towards the inside of the basket, with the end tucked into the bottom strip. Unfold the spoke, add glue stick or a thin layer of tacky glue to the inside, and refold.
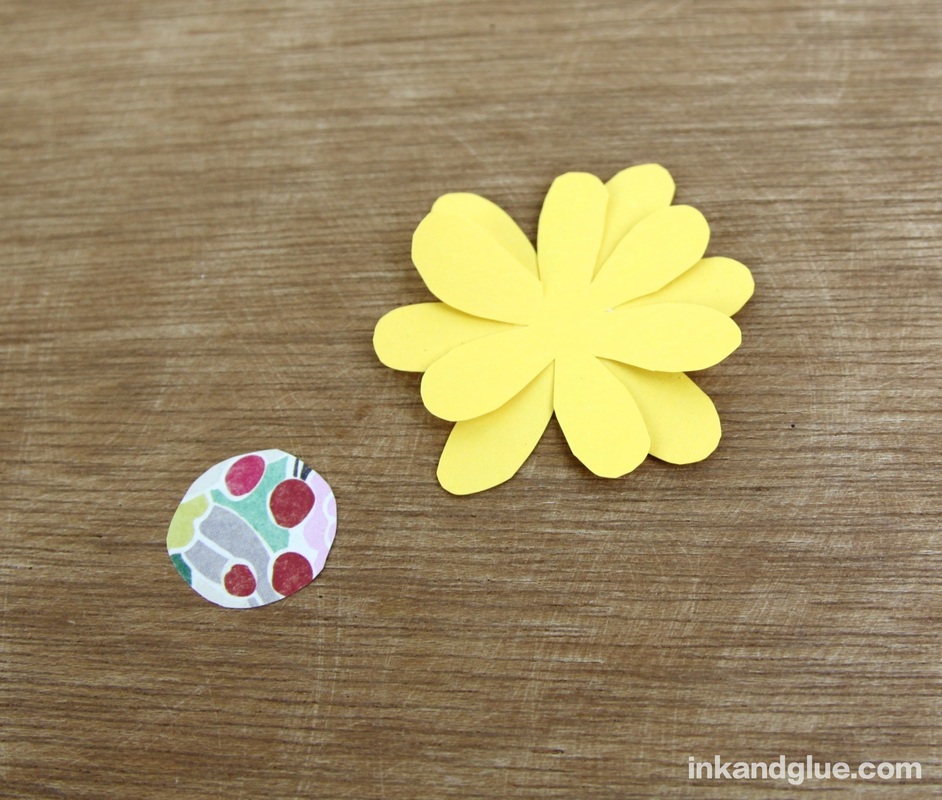
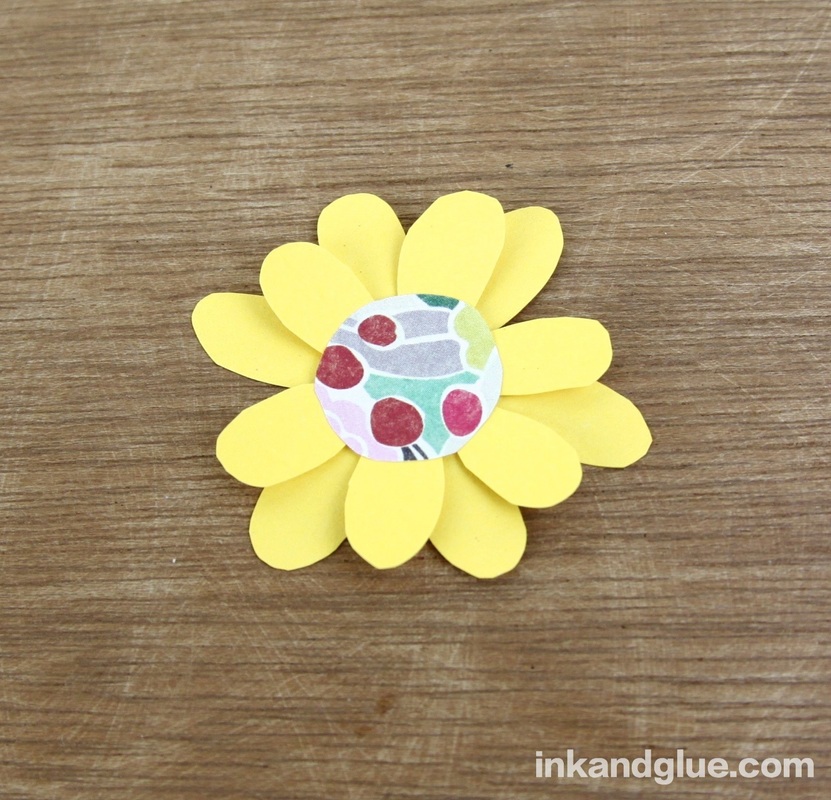
Do this with all six spokes, and you've got a tidy little basket! You can add a handle, or glue all sorts of embellishments to it. I added a paper flower. To make mine, cut out two similarly-shaped flowers, one slightly smaller than the other. Cut a circle from another color of paper. 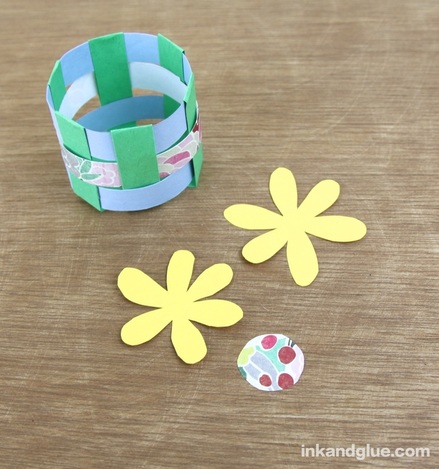 Glue the smaller flower to the larger one, and then glue the circle to the center. Fold up the inner petals a little to add some dimension.
Glue the flower to the side of your basket. Done! I placed a standard-sized plastic egg in mine to give a better sense of its scale. 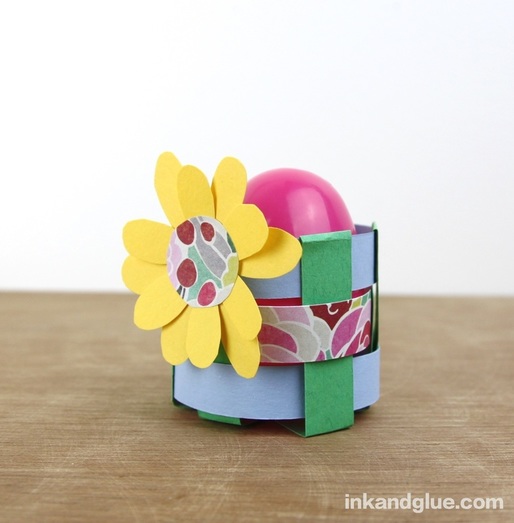 You could easily make a number of these baskets so that each person at your Easter brunch or dinner could have their own. Fill them with candy, if you'd like; I'm partial to Robin's Eggs. 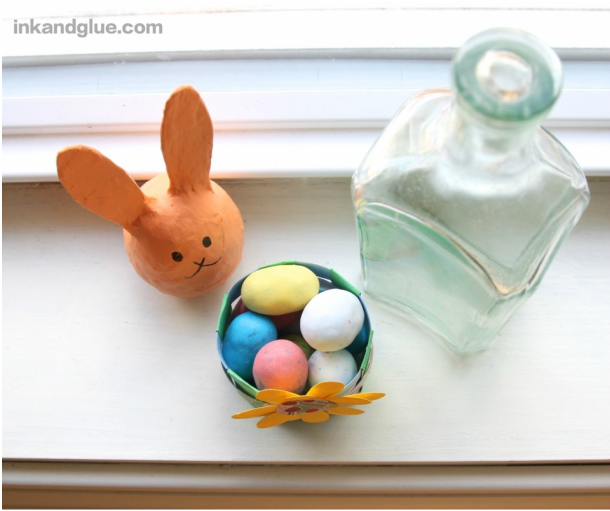 Happy Easter!
xo Comments are closed.
|
Categories
All
Archives
March 2017
AuthorI'm Debbie Way, an artist and writer who enjoys making things. |
 RSS Feed