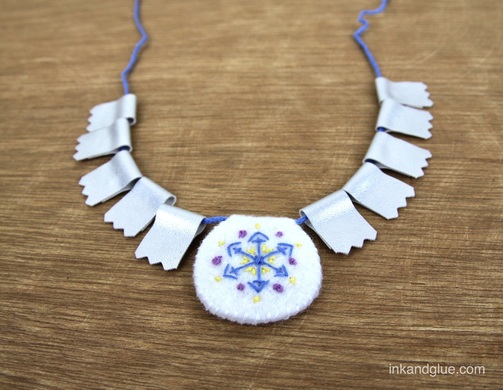
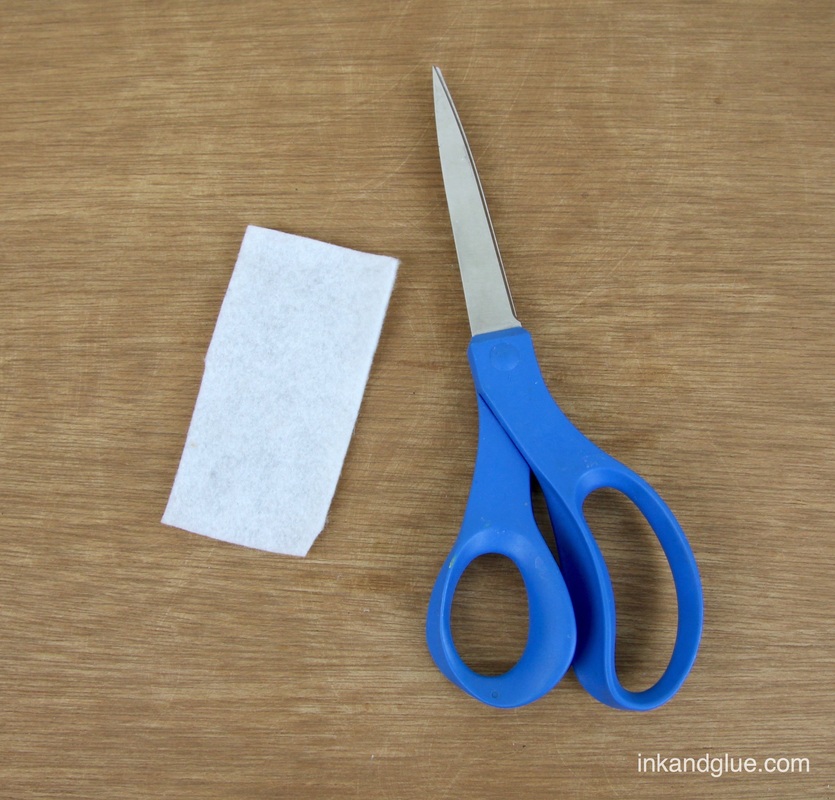
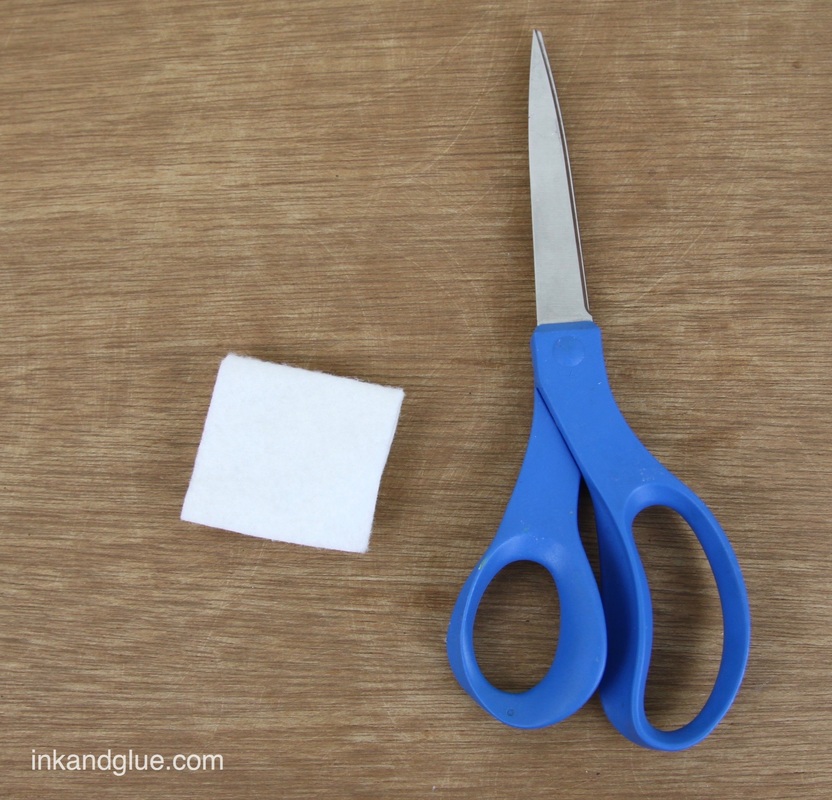
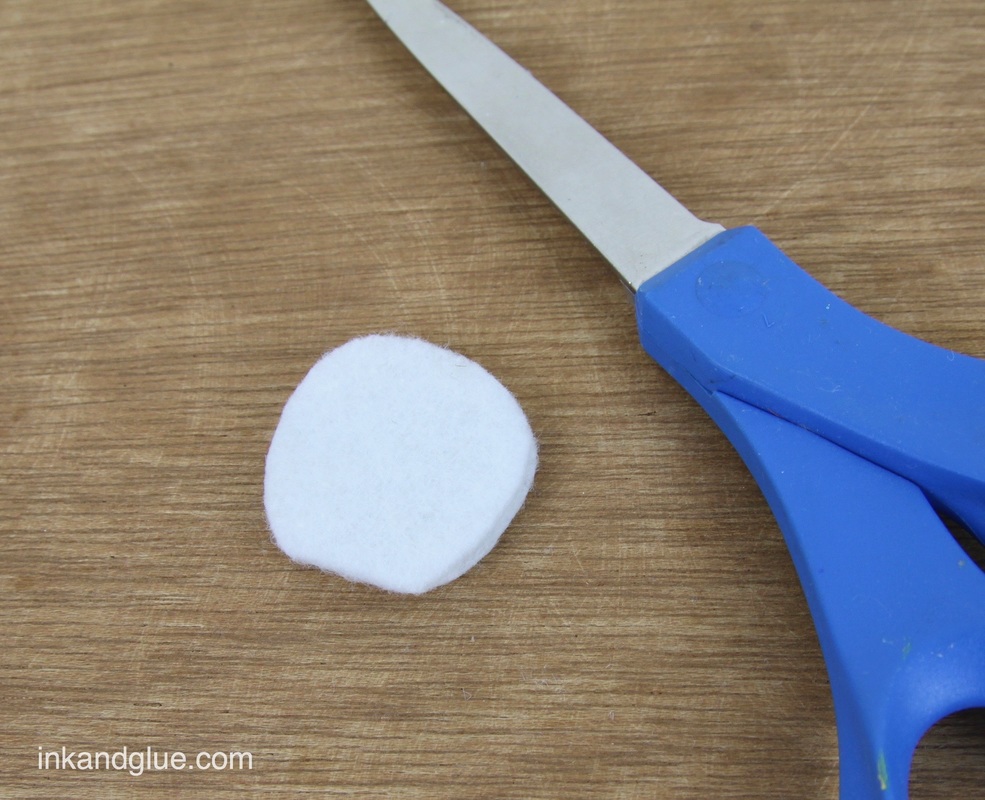
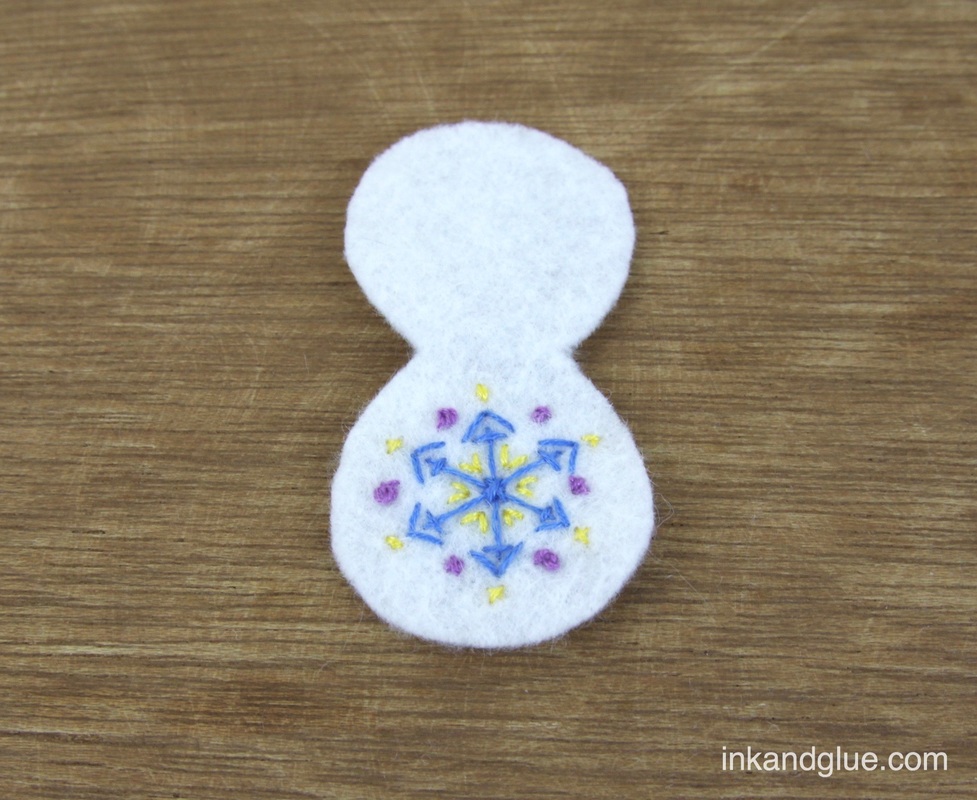
 Ever sewn your own jewelry? This is an easy little project that you can make as complicated or fancy as you like. If you or your child can make a stitch, they can make this. Really! To make the pendant, cut out a smallish rectangle from felt. Mine was about 1.5 by 3 inches. It should form a square when folded in half, which is what you should do for step two. Press the fold with your finger for a few seconds to help it stay.
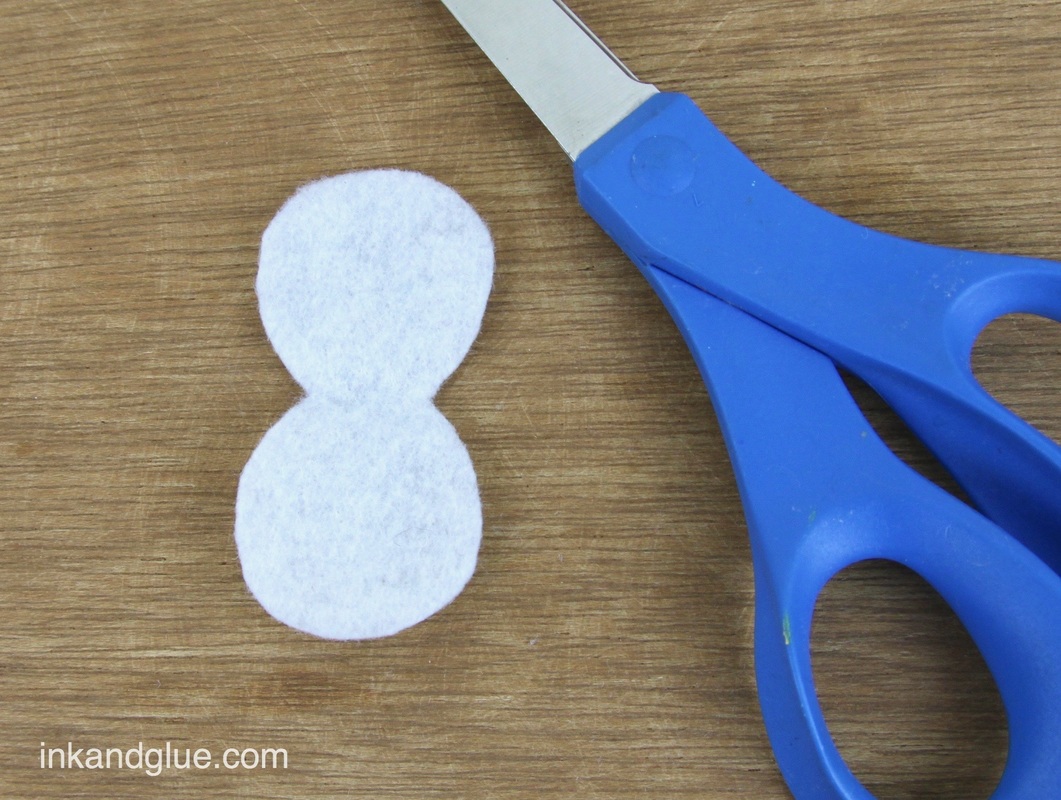
Keeping the felt folded, cut out a circle through both layers, while leaving a portion of the fold intact. It should look a little like a simple snowman if you open it up.
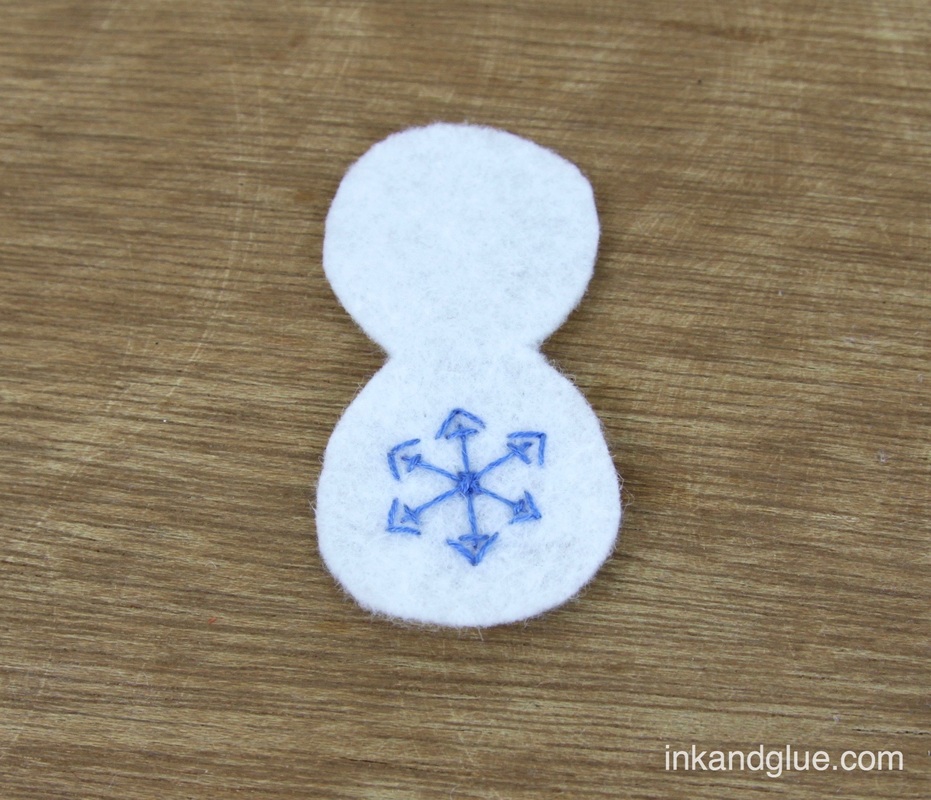
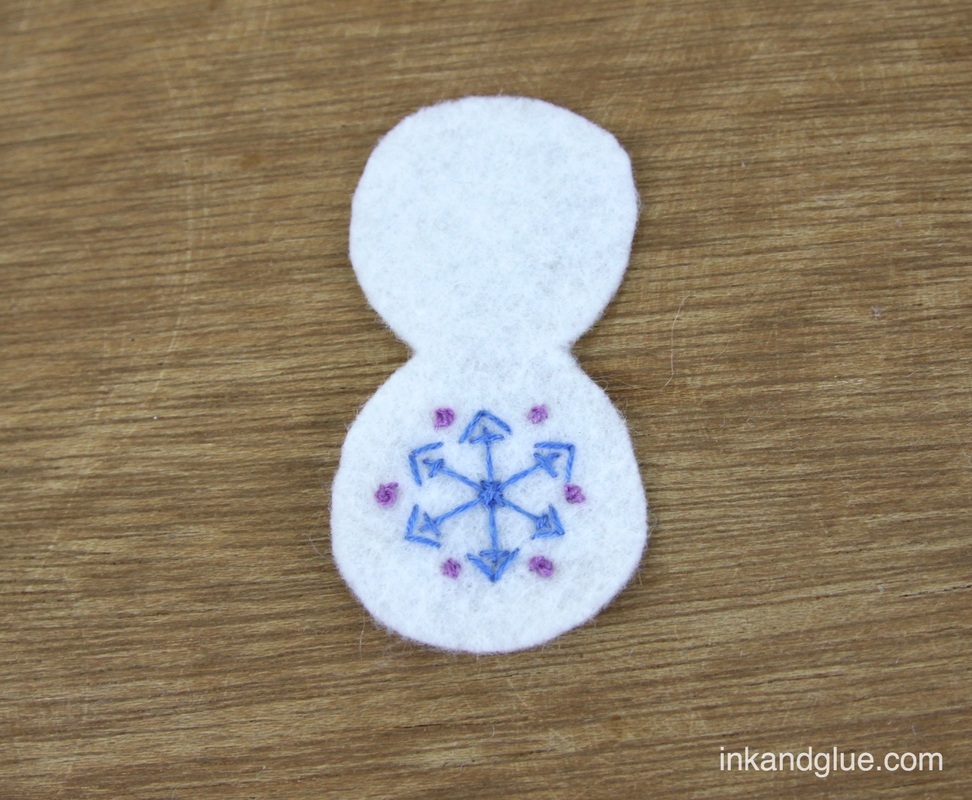
Embroider! Because I was working on such a small thing, I didn't want to use full-strength embroidery floss. I cut off about an 18-inch length and separated the six strands into three strands of two. 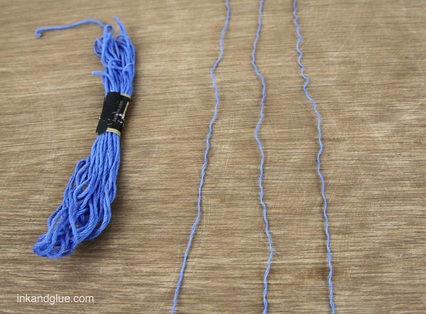 Keep your stitches inside one of the circles, and don't get within an eighth of an inch of the edge of the felt. I started with the blue, then added some lavender, and ended with a bit of yellow.
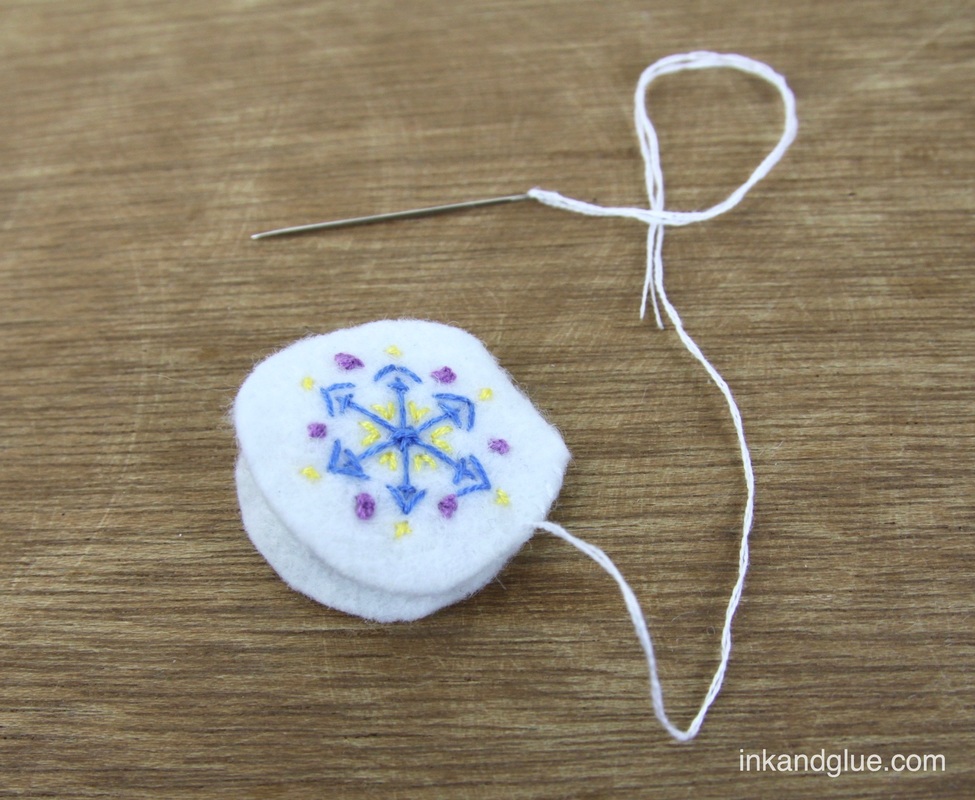
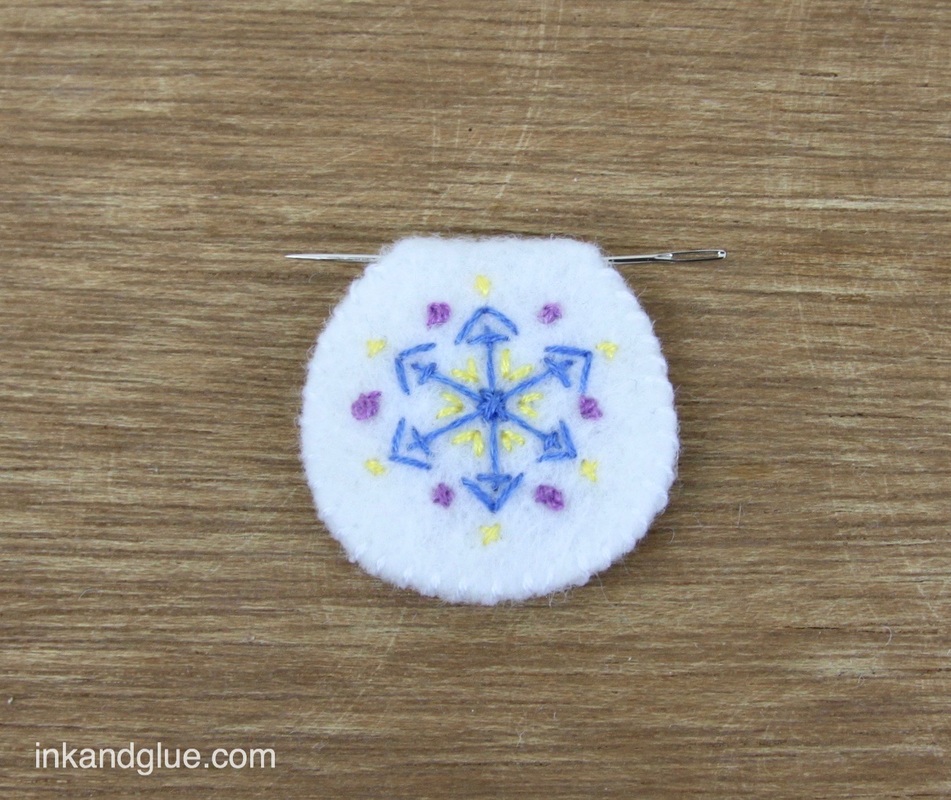
And now for the hidden surprise! In order to make wearing this a lot easier, you need to add some weight. Choose a coin, such as a penny, and place it on one of the circles of the felt piece. 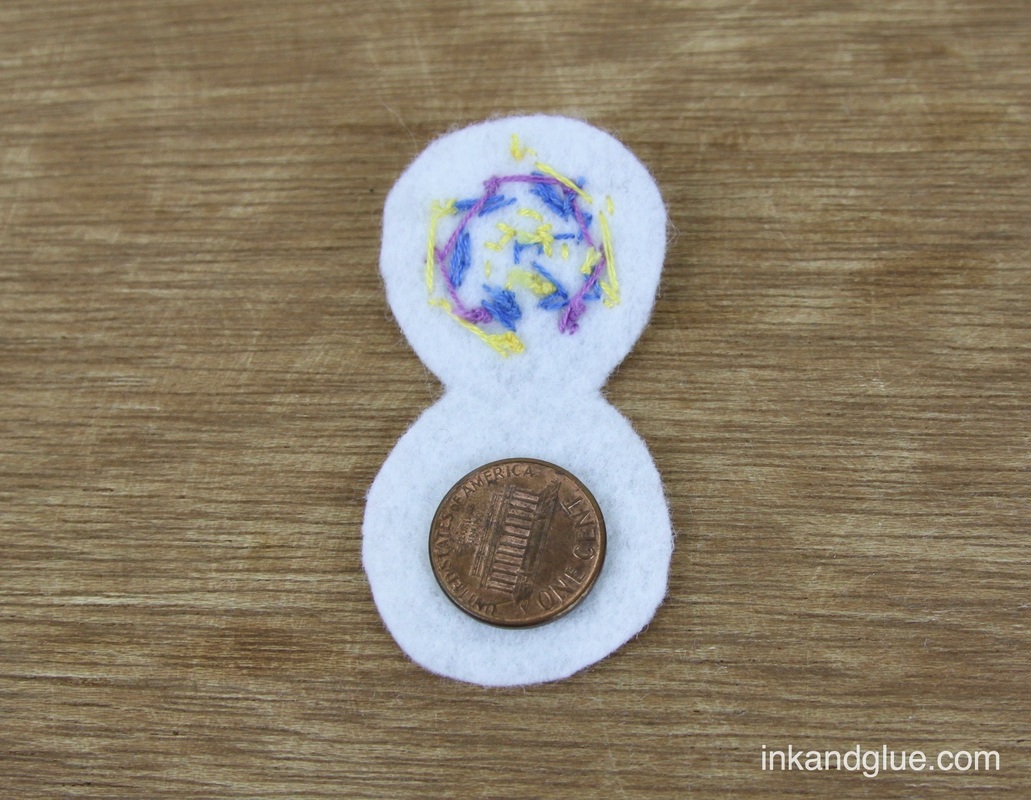 Fold the felt over and start stitching on the curve just below the fold. (Why below the fold? Because you want to leave a little channel for your necklace cord.) I used a third-weight strand of embroidery floss, like I did above, and just did a simple whipstitch. Finish the stitch line before you reach the fold. Hopefully, you will be able to slide a needle through the fold-channel without piercing the felt.
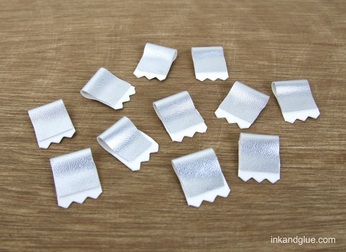
Now you have a finished pendant! You can go ahead and thread it onto a necklace-length piece of floss and call it a day. Or, make a few simple fabric beads to accompany it. This method works with non-fraying fabrics such as felt, pleather, or, what I used, shiny metallic vinyl. 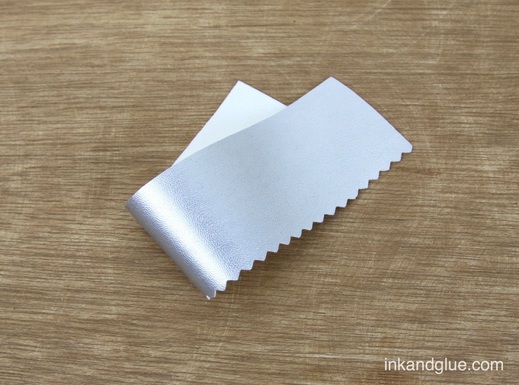 Cut a short strip of fabric and (optional) trim one edge with pinking shears. Cut the strip into a bunch of sections of roughly equal size. 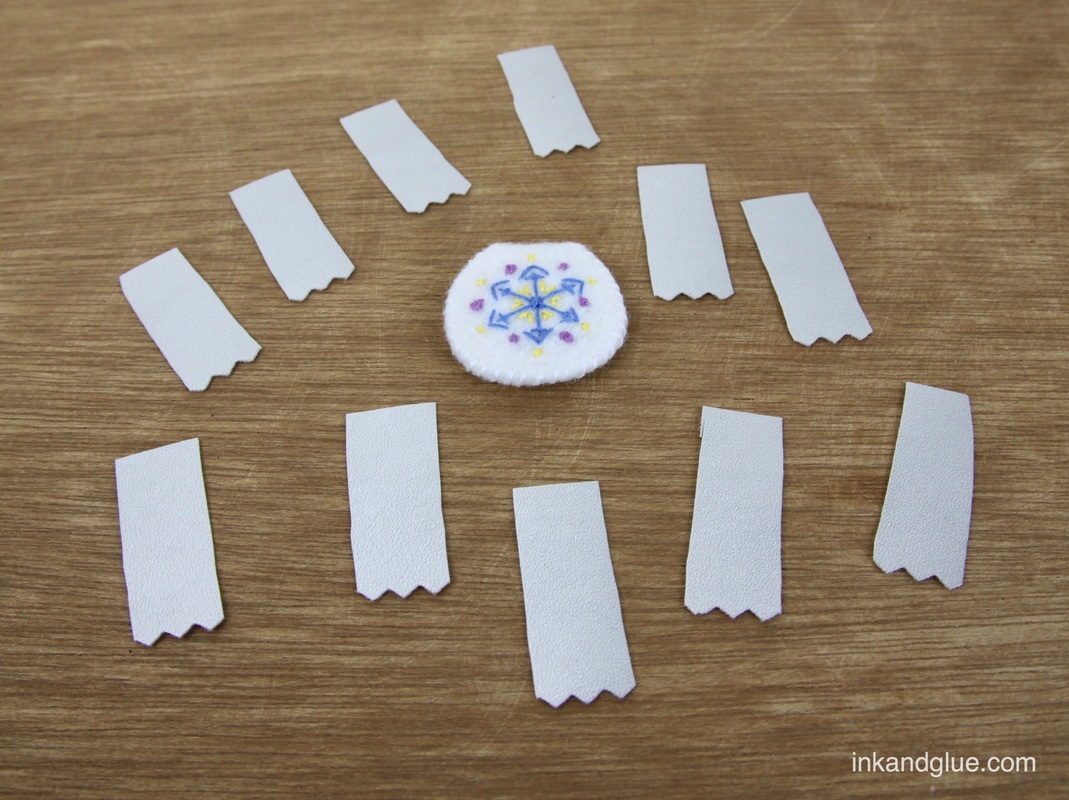 Fold and glue each little piece over, leaving a nice channel for the necklace cord. For glue, I used a fabric glue that's meant for basting (it's a white glue, not the super gooey clear gel type).
Thread a big needle with your cord of choice — I used full-strength embroidery floss — and add your fabric beads. Tie the ends together, but make sure it's long enough to slip over your head. 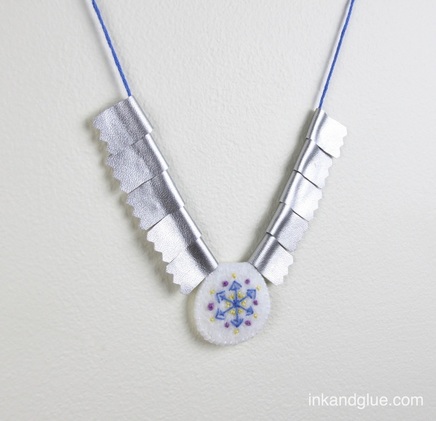 Shine on! xo
Comments are closed.
|
Categories
All
Archives
March 2017
AuthorI'm Debbie Way, an artist and writer who enjoys making things. |

 RSS Feed