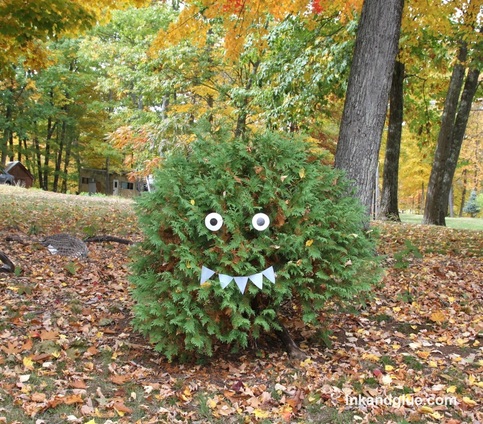
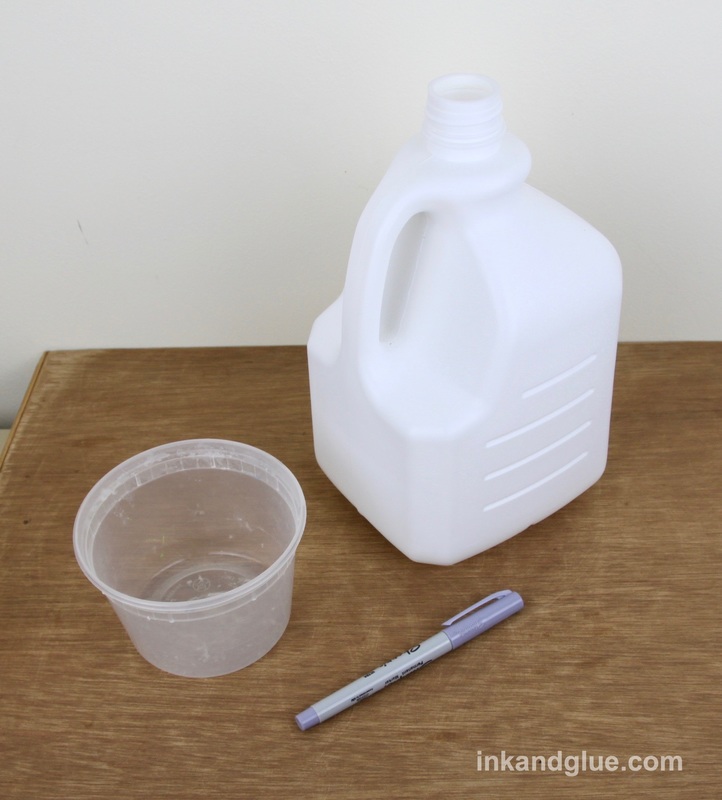
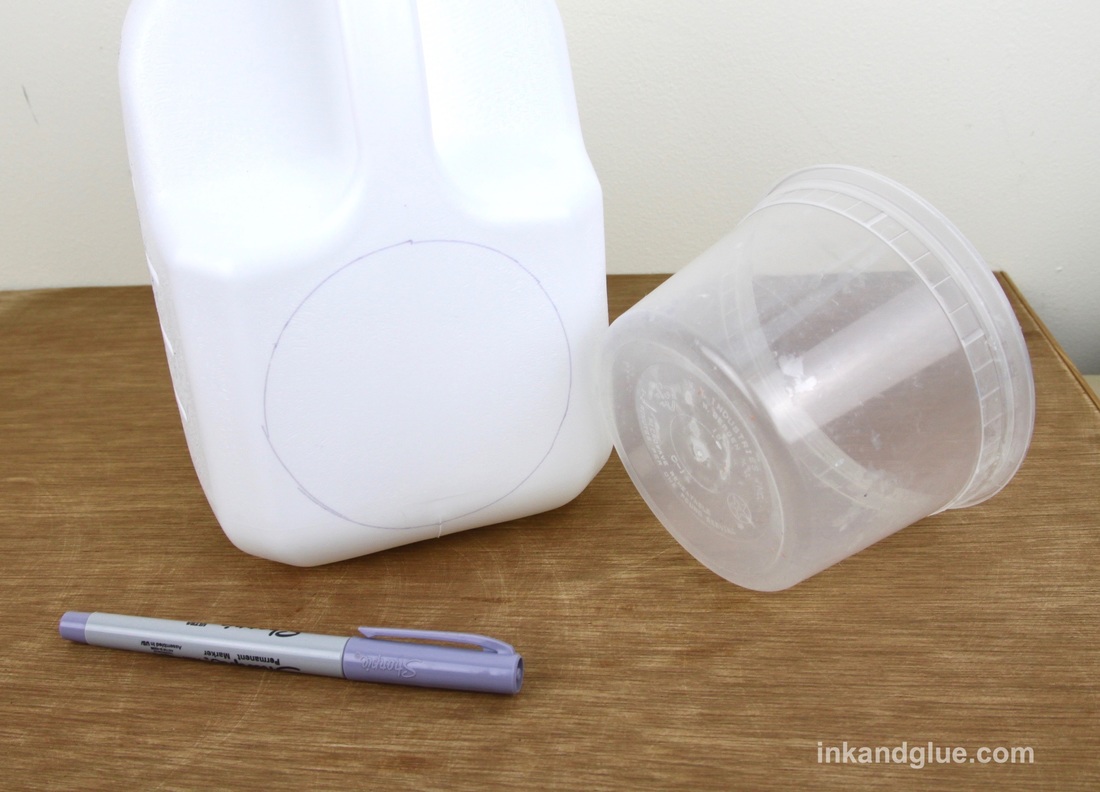
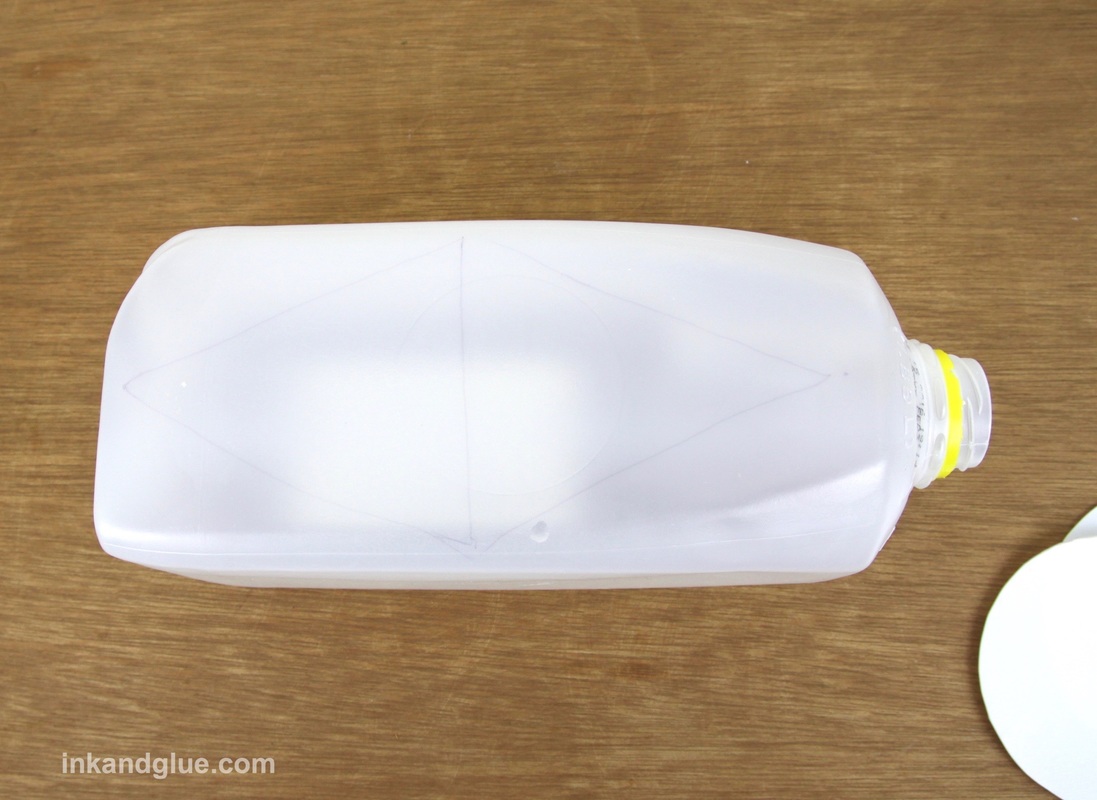
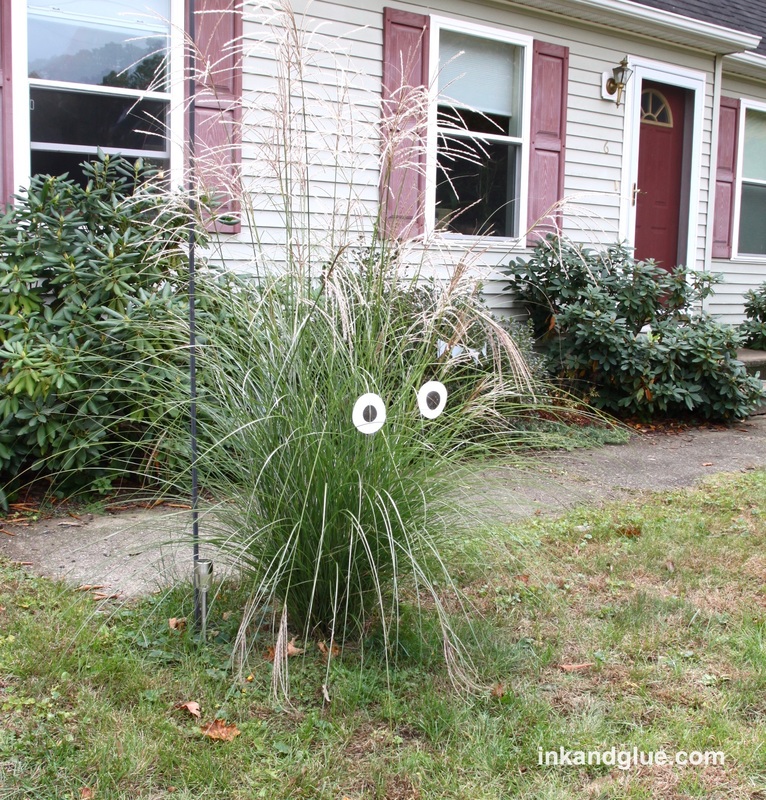
 Need a yard monster for the upcoming Halloween holiday? Of COURSE you do; everyone does. Here's a way to make one that's both quick and nearly free. Start with two white or white-ish plastic beverage jugs that have been emptied and swished with clean water. Find a round thing (such as this leftover Chinese soup container) that has a diameter that will fit on one of the flat surfaces of your largest jug. Trace the circle onto the jug twice.
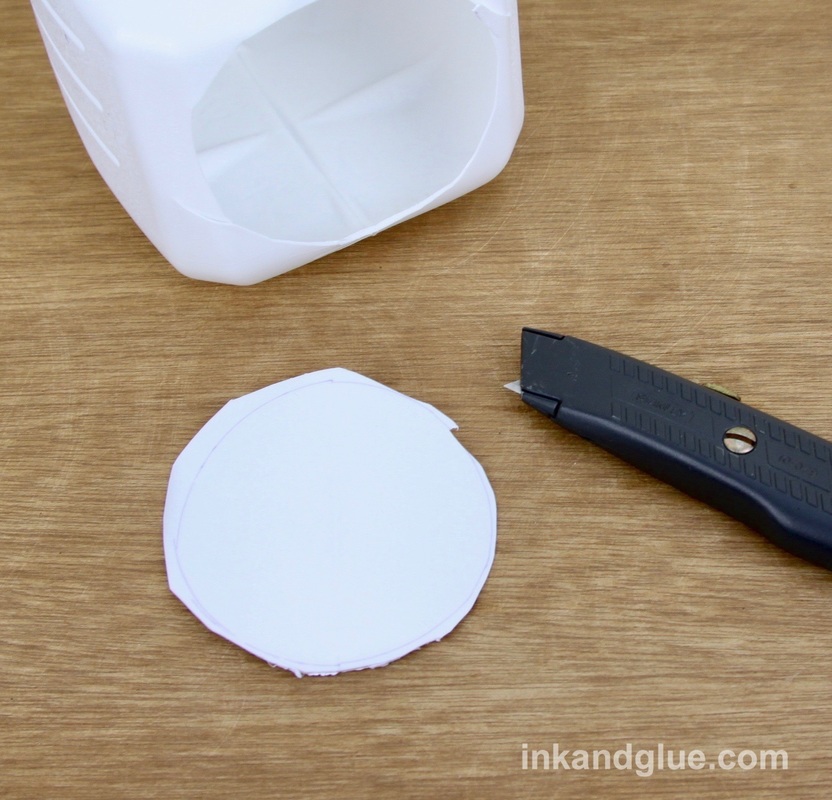
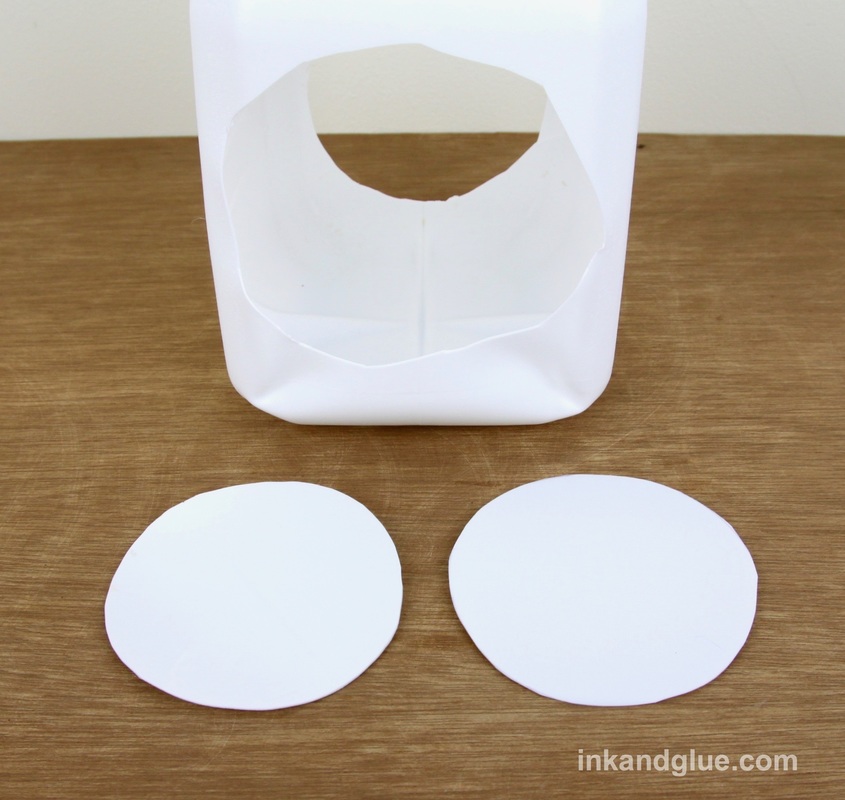
Use a utility knife to cut the circles from the jug. I cut them out pretty roughly, and then trimmed the circles neatly with scissors.
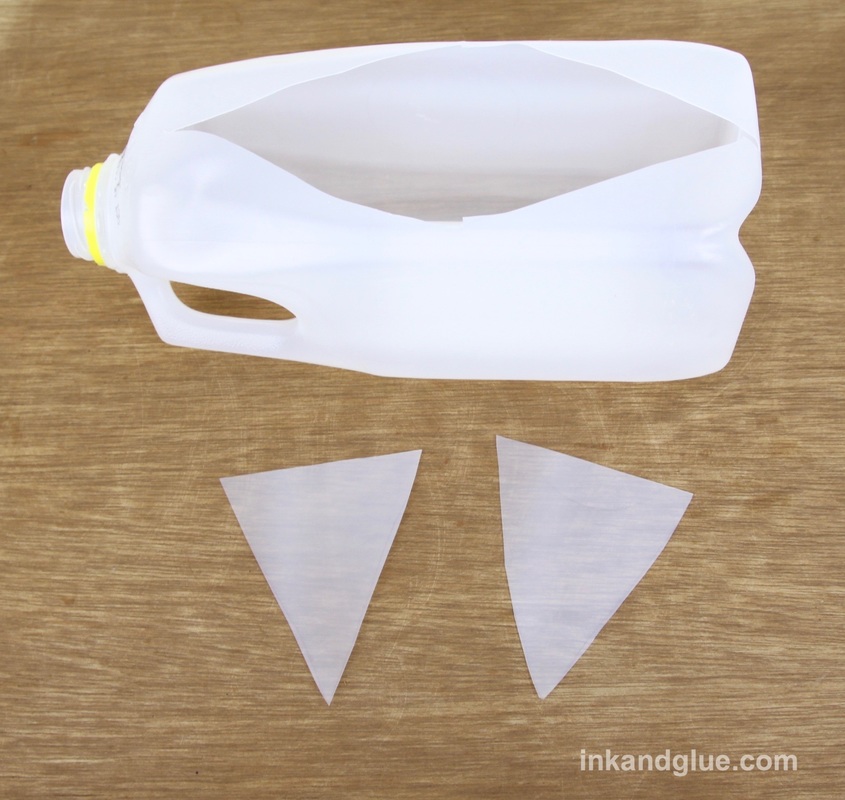
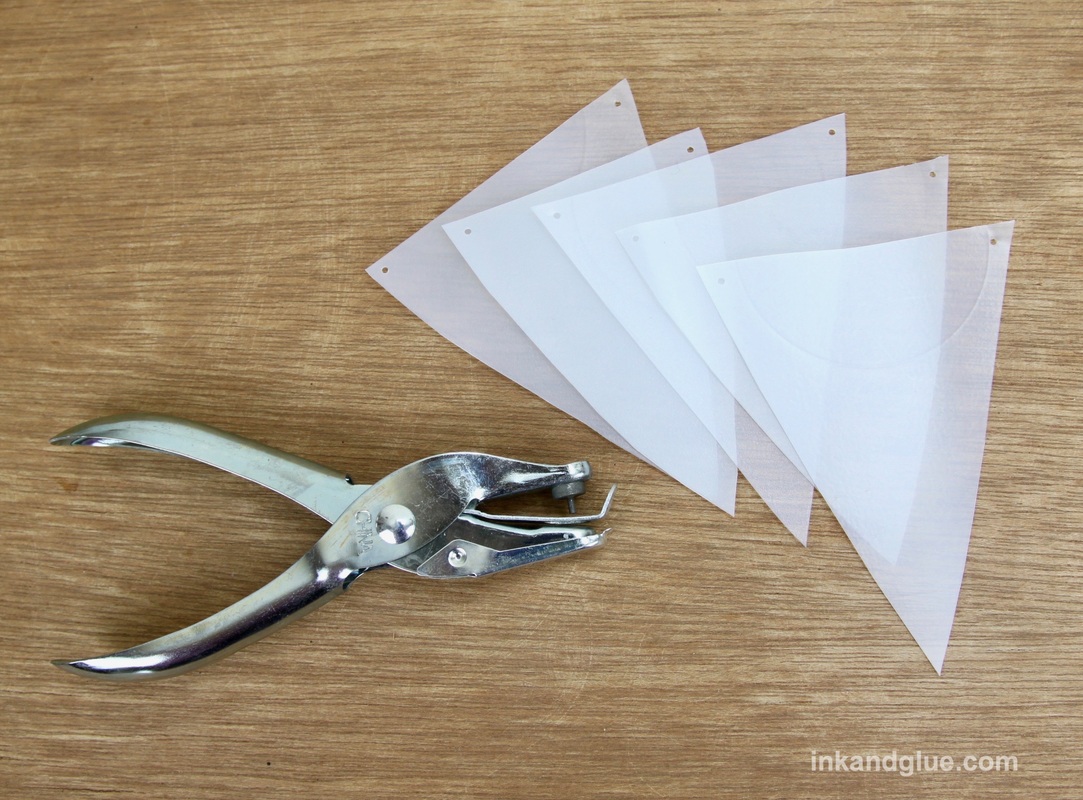
On the second jug, sketch five or six large triangular teeth on the flat panels and cut them out as you did above. My second jug was much softer plastic than the first, so I was able to just use the utility knife to start a hole, and used the scissors to cut out the shapes.
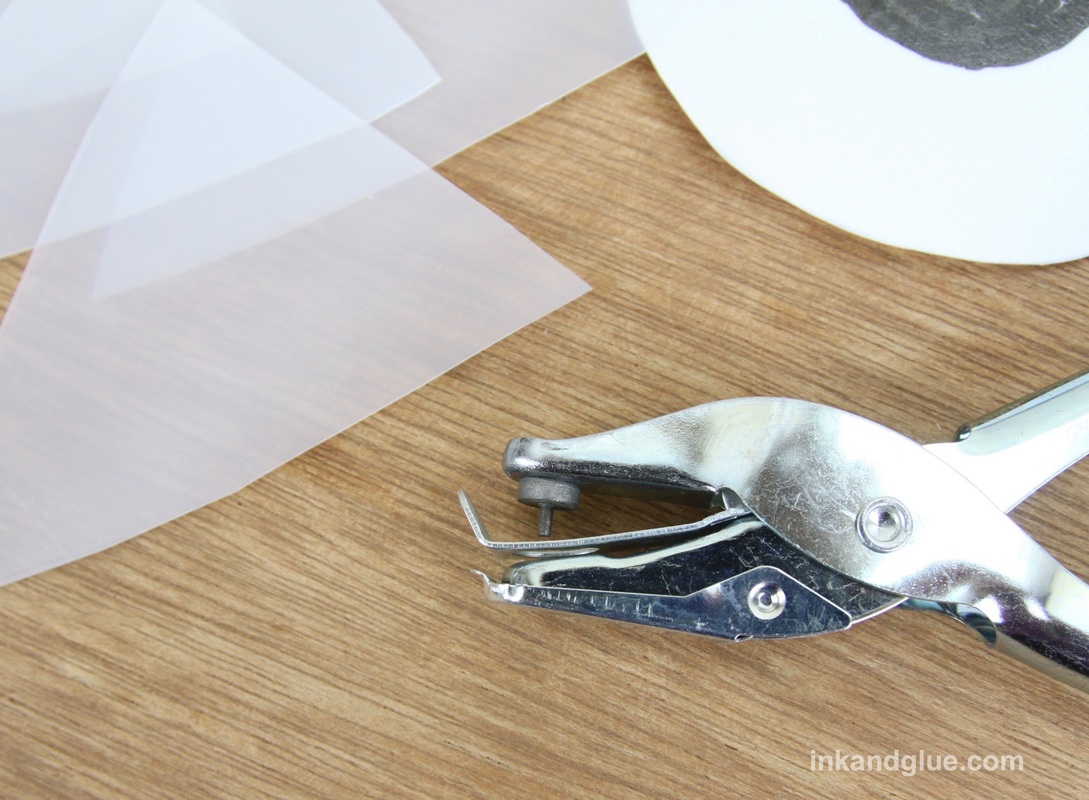
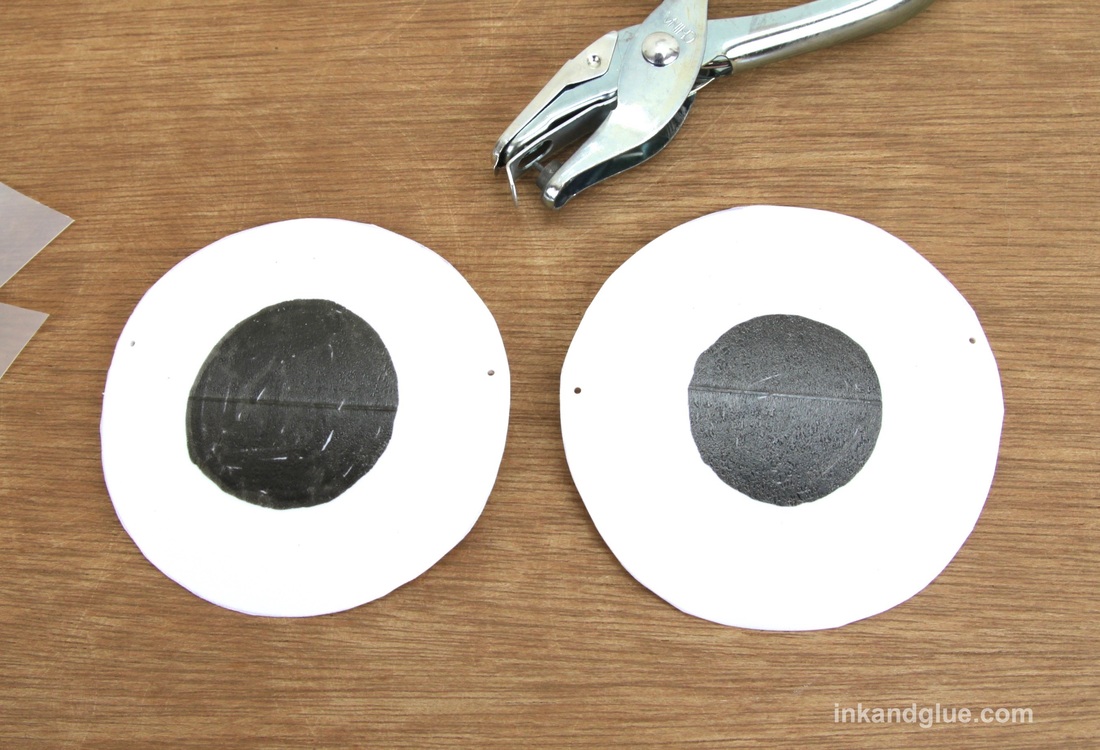
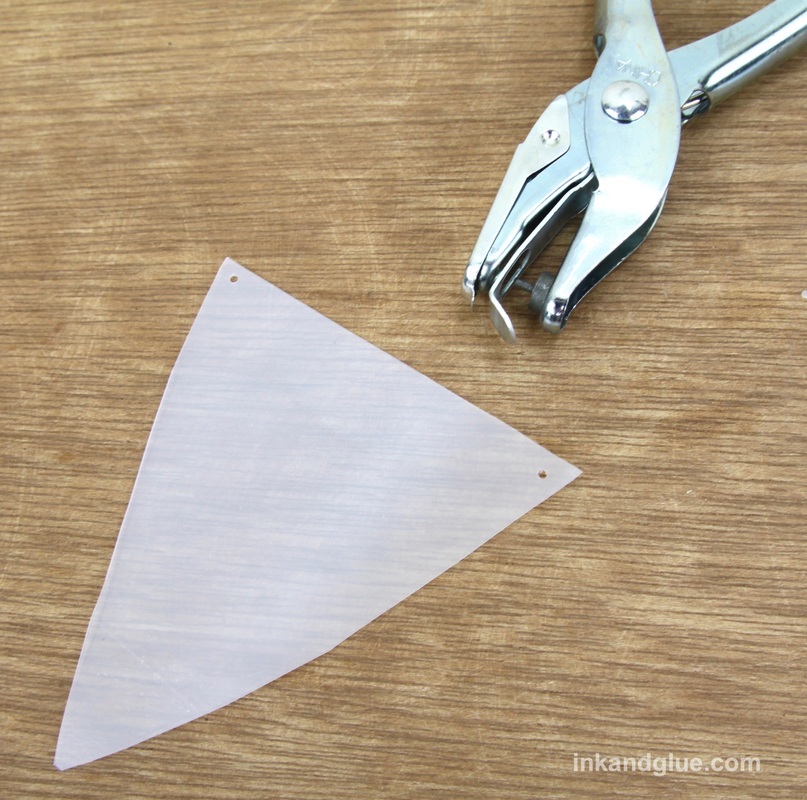
Draw pupils on the circles with black permanent marker, and let the ink dry (just a couple of minutes). As long as you don't rub and scrub, the ink will stay on the plastic in the rain.  Now you'll be punching holes in opposing edges of each eye and the corners of each tooth. You can use a large tapestry needle, or a pushpin (wiggle it to enlarge the hole), but I use a hand-held, 1/16" hole punch. I recommend it.
Punch the holes within an eighth to a quarter of an inch from the edge. For the teeth, only punch holes in the shorter two points; leave the tooth tip un-holed.
Cut two yard-long pieces of fishing line (aka clear plastic cord). Weave one cord length through the holes in the teeth. Tie a large-ish loop near each end of the cord. 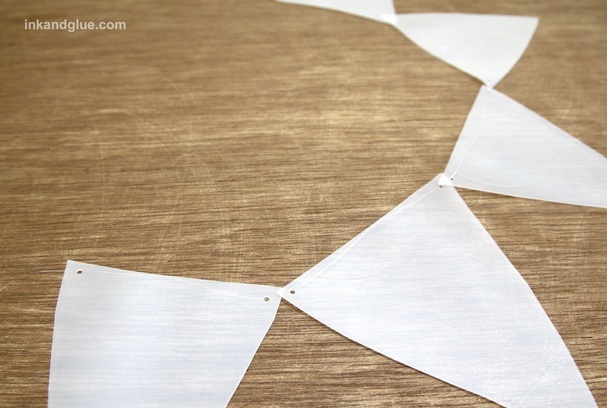 Feed the other cord length through the holes in the eyes, looping the cord through twice — this will keep the eyes from sliding freely, but will still let you slide them along the cord's length if you need to. Tie a loop at each end of this cord, too. Note: It is very difficult to photograph "invisible fishing line." 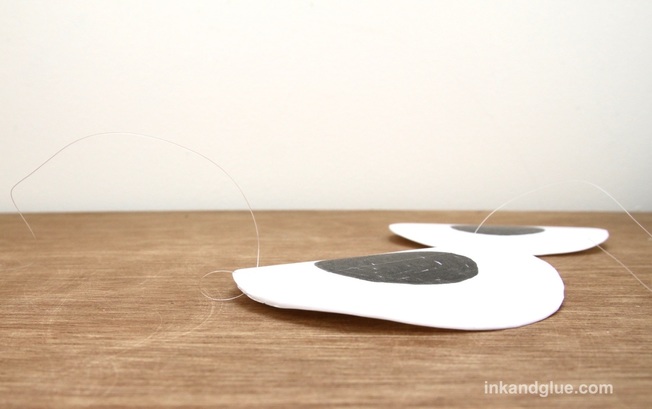 Head outside with your eyes and teeth and find a suitable shrubbery to enliven. Hang your eyes and teeth row by hooking the loops around any semi-sturdy part of the bush. Don't be afraid to do some minor pruning if you need to. I kept mine au naturale, but it took patience to get everything to lay correctly and neatly. 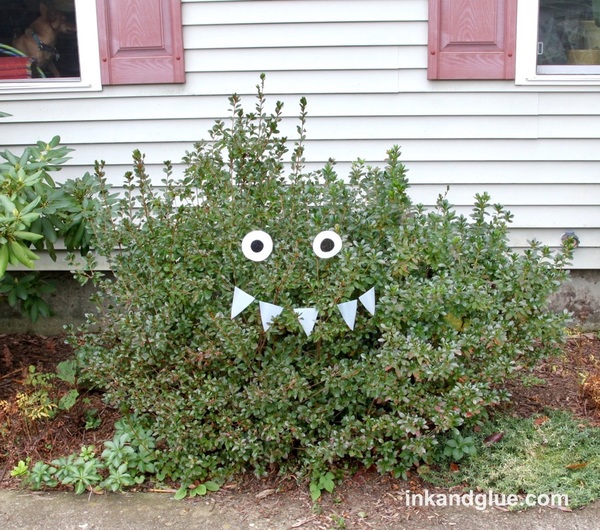
Kim
10/19/2016 11:35:26 am
This is a SUPER CUTE idea! I have two large bushes in front of my house and I can't wait to put faces on them. Comments are closed.
|
Categories
All
Archives
March 2017
AuthorI'm Debbie Way, an artist and writer who enjoys making things. |
 RSS Feed