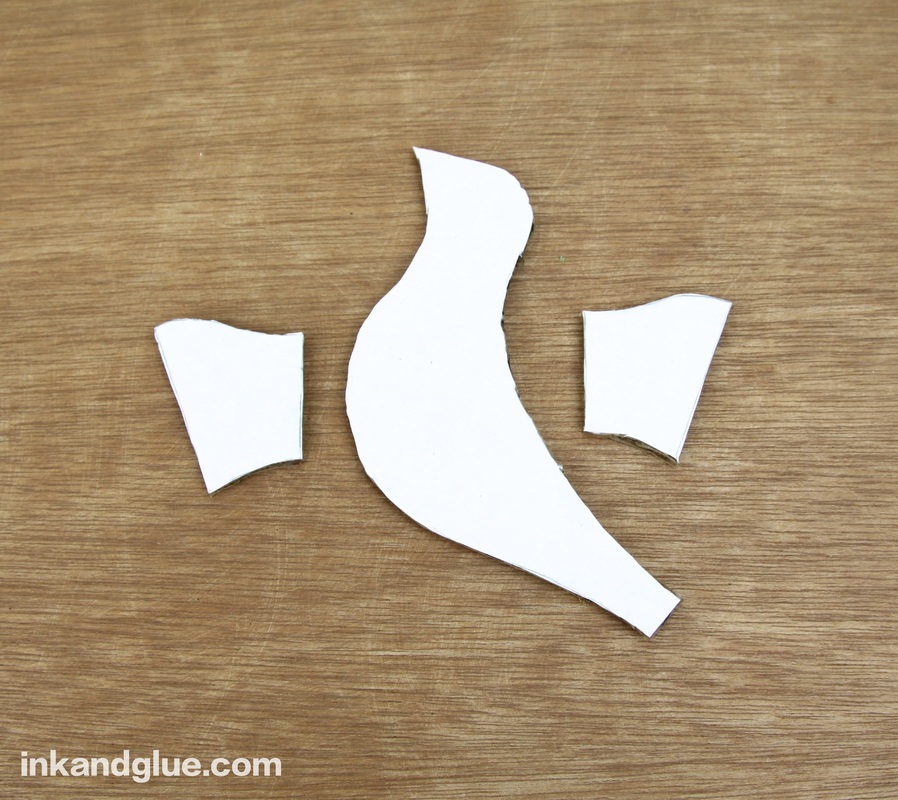
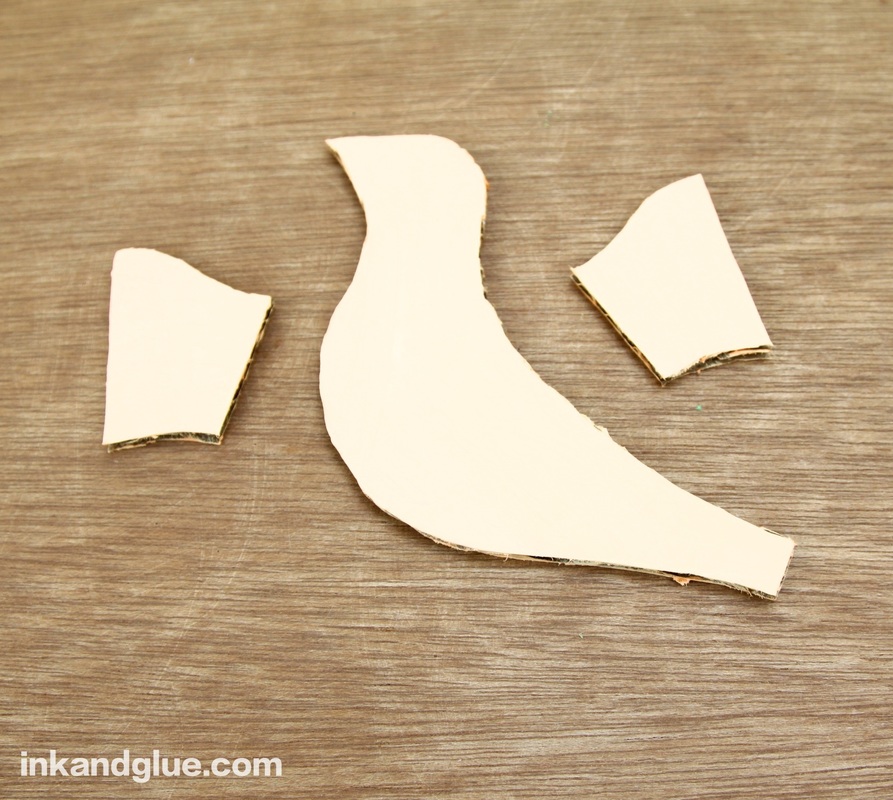
 I'm in the middle of doing some spring cleaning in the garden. A few things are growing already — some lettuce and arugula I planted back in March, plenty of daffodils are in bloom — but mostly the work involves clearing out the dead matter that dried out over the winter. I like to incorporate natural materials in my projects, and since the bird action around here has been heating up lately (so many conversations, so much drama!), I put two and two together. A grown-up or skilled child should do the cardboard cutting and the gluing, but everything else is super kid-friendly. To make this simple project even easier, I've provided a template of the three pieces you need to cut from corrugated cardboard, along with directions for aligning the grooves/corrugations of the cardboard with each shape. Download that template here:
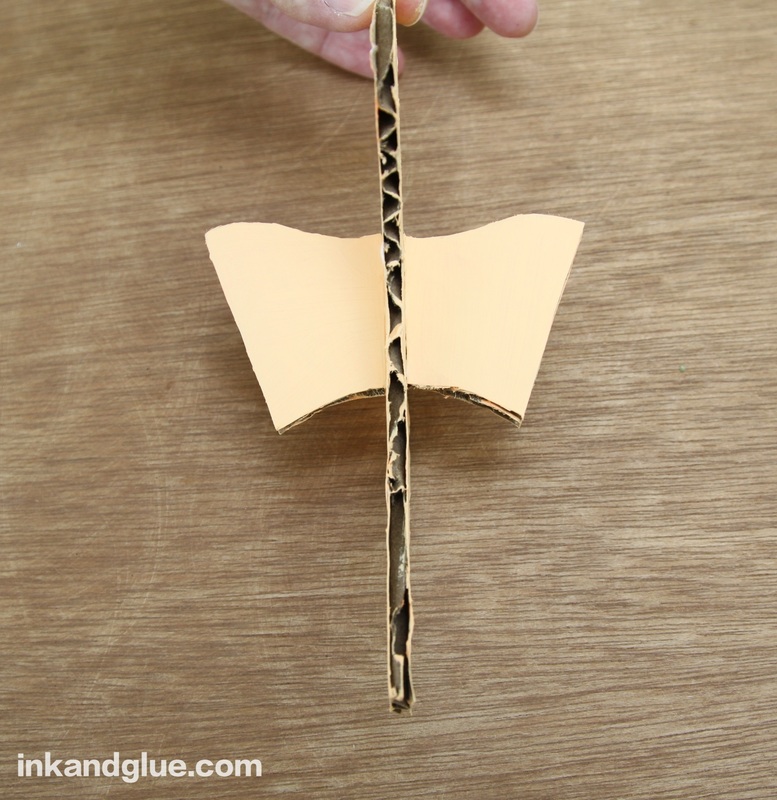
This is what the three pieces will look like. I painted mine, though you can barely tell in this photo (at right).
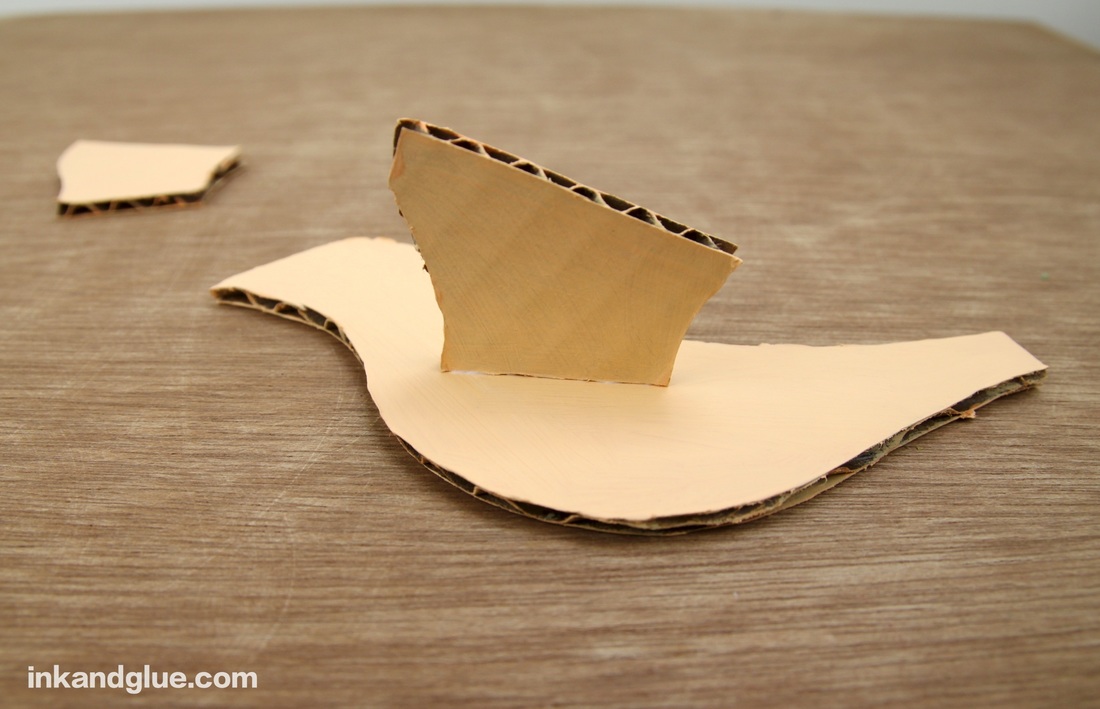
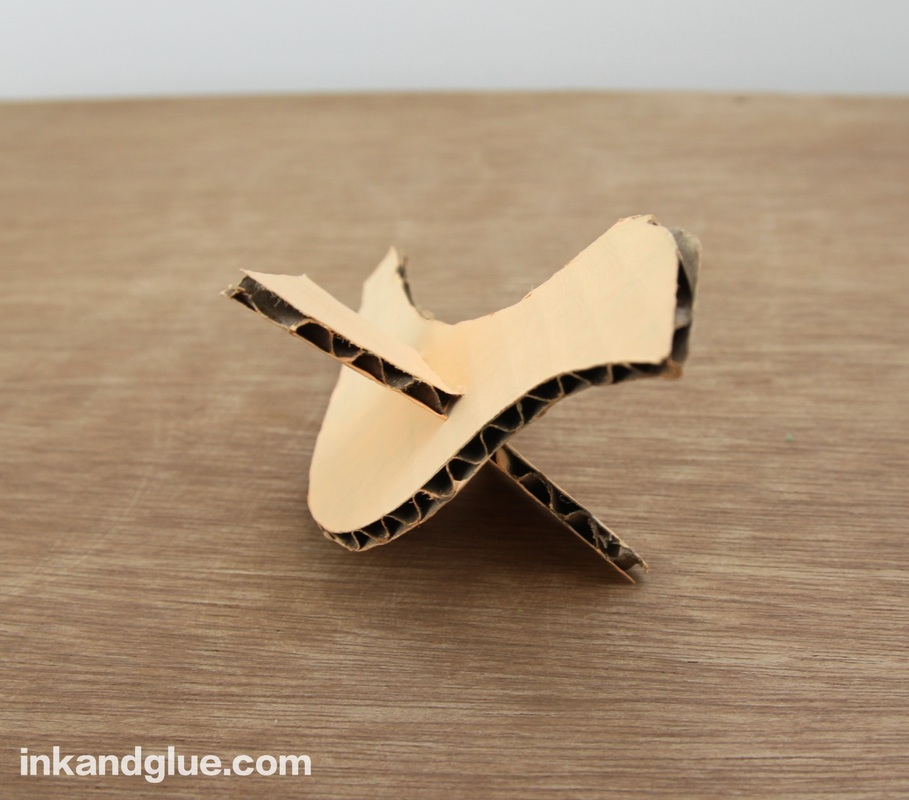
Glue the short edges of the two small shapes — the winglets — to the body of the bird. Try to get them both in the same spot on either side, or your bird might be unbalanced later.
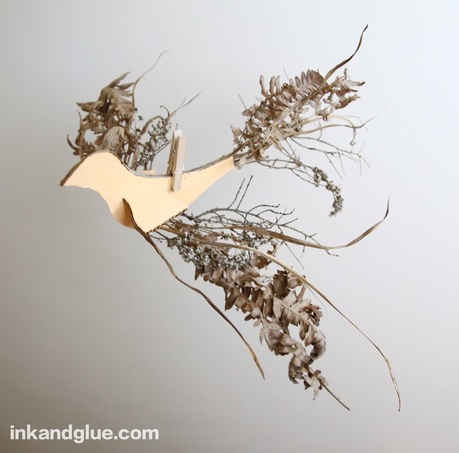
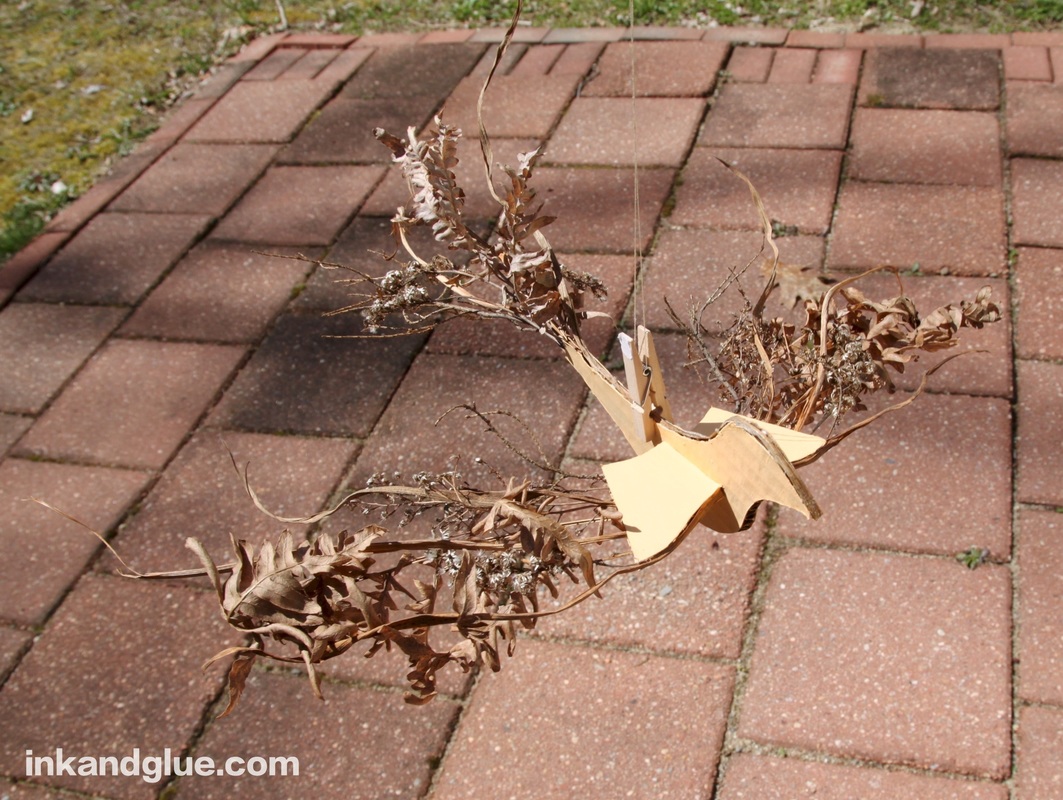
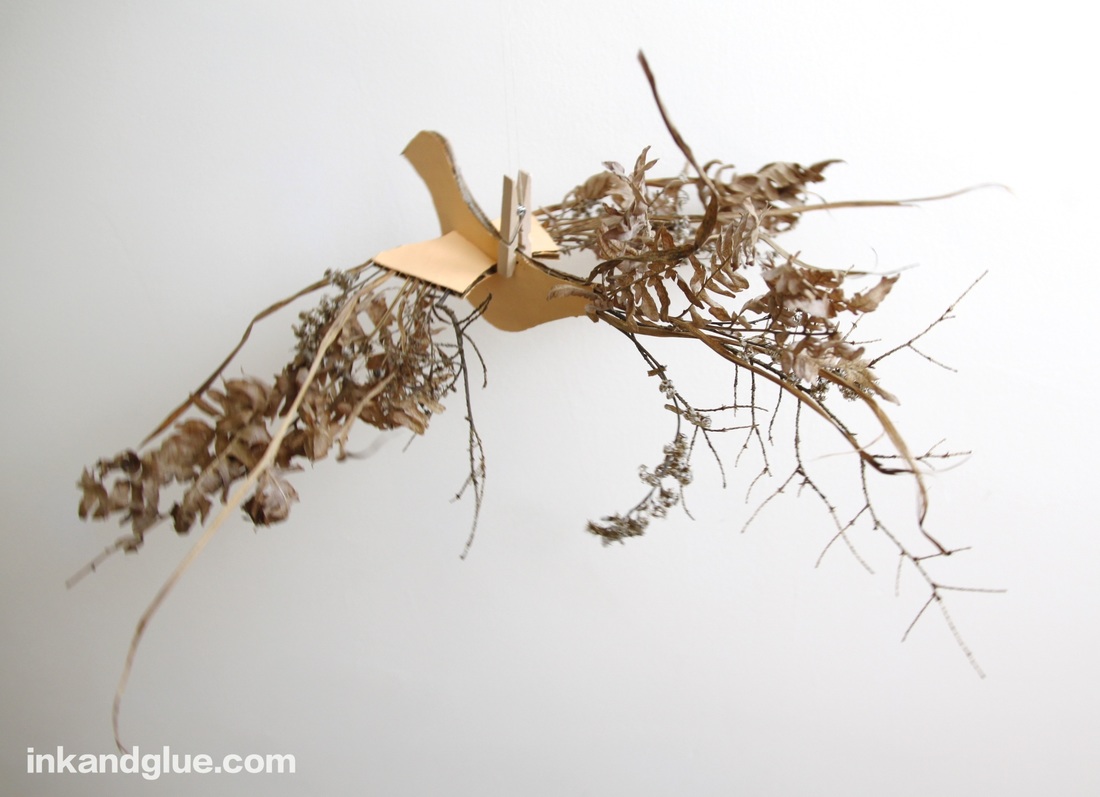
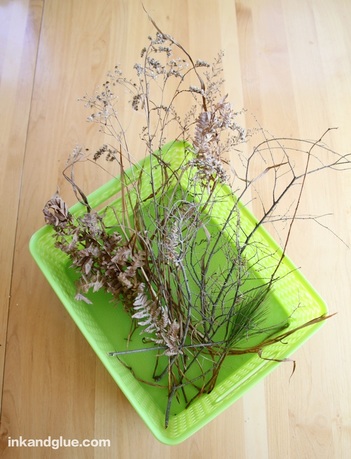 While that glue dries, go outside and take a walk. Collect dry pieces of ornamental grass, twigs, wildflowers, fern stalks, weeds — as long as the stem-ish part of whatever it is can fit inside of a corrugation tube in your cardboard, you're good. Use utility scissors (i.e. not the nice ones you save for paper or fabric) to trim the pieces and slip them into the corrugations of the winglets and the little tail. If they look right, slip them out, dip the ends in tacky glue, and replace. This part was really fun. The natural items I found were pretty curvy, and it was engrossing work to arrange the pieces in fanciful wing and tail shapes . 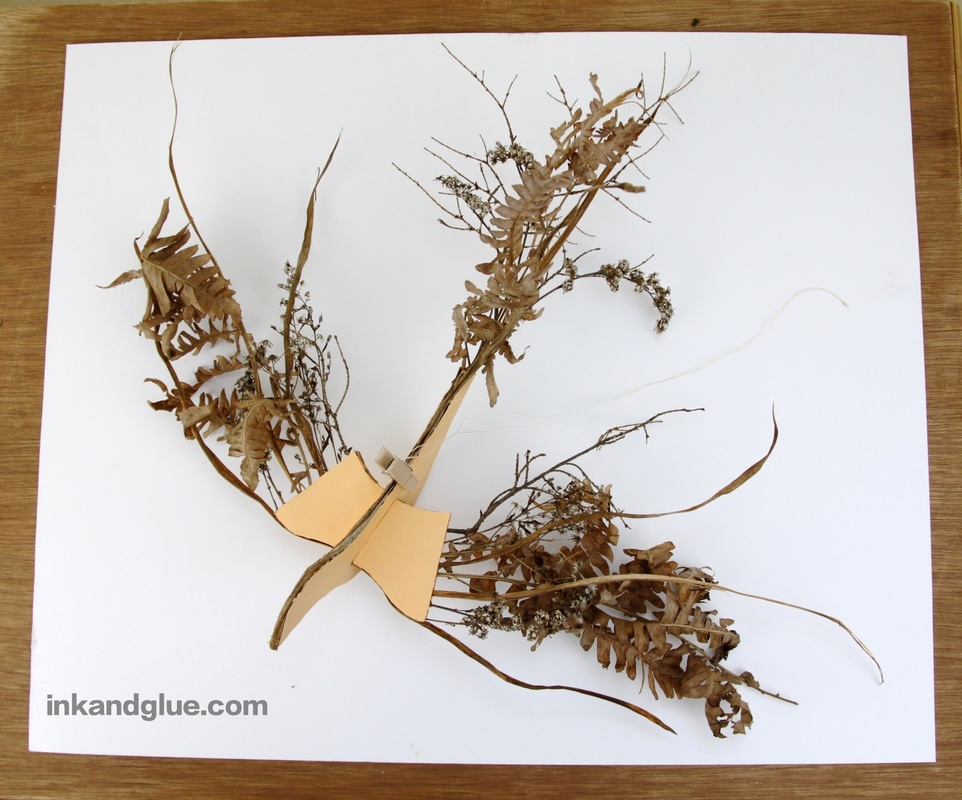 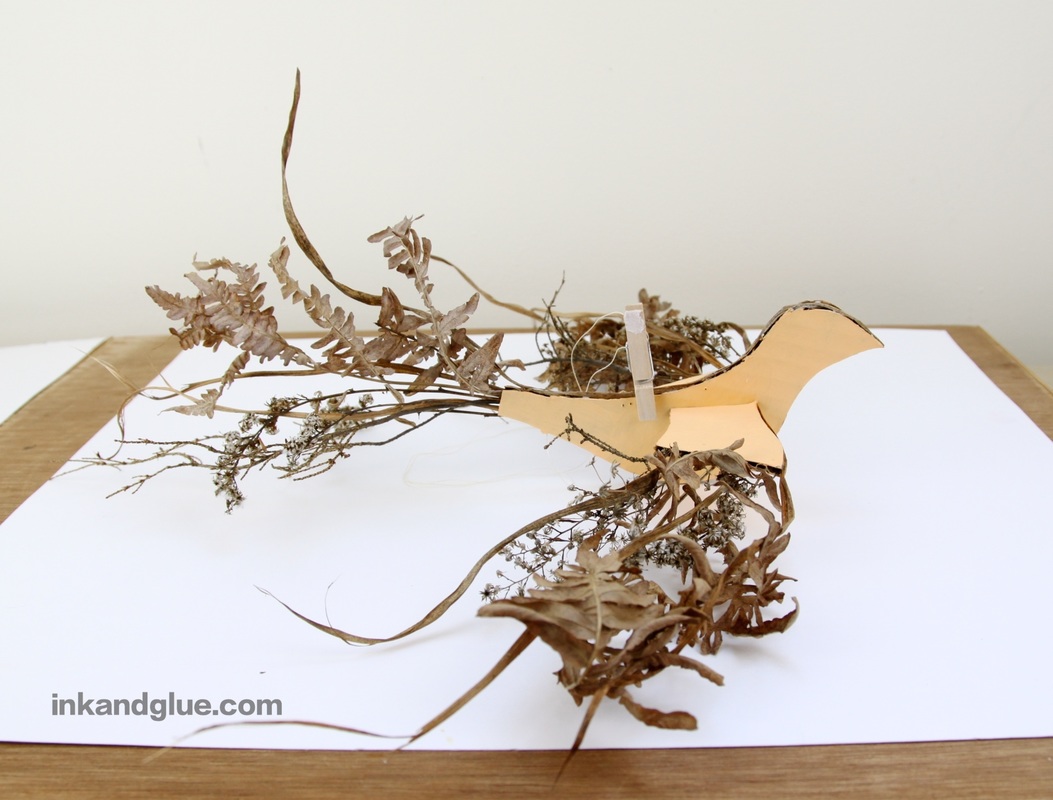 To hang the bird, clip the back with a small clothespin. At first, I tried threading string through a hole in the back, but I couldn't get the balance just right (see the little holes?) and the bird kept dive-bombing the ground or zooming upwards when I wanted a gentle floating. With a clip, you can readjust as needed.
 If this earth-mama project isn't quite your kids' bag, I have some ideas in mind for making a colorful version of this au naturale bird... Stay tuned!
xo and happy spring. Comments are closed.
|
Categories
All
Archives
March 2017
AuthorI'm Debbie Way, an artist and writer who enjoys making things. |
||||||||||

 RSS Feed