|
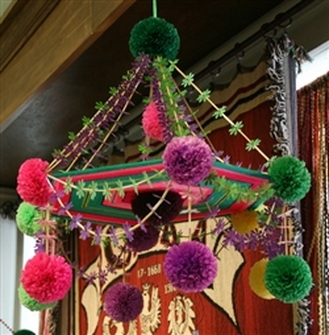
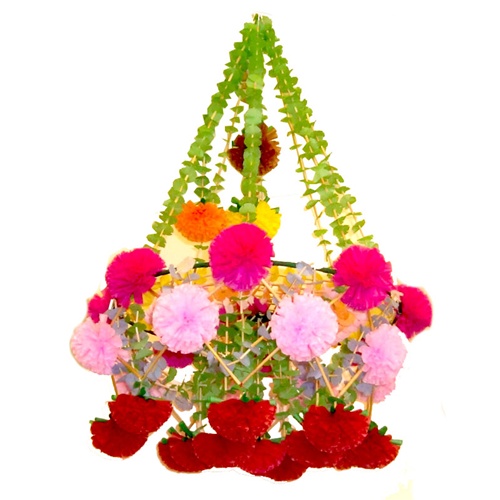
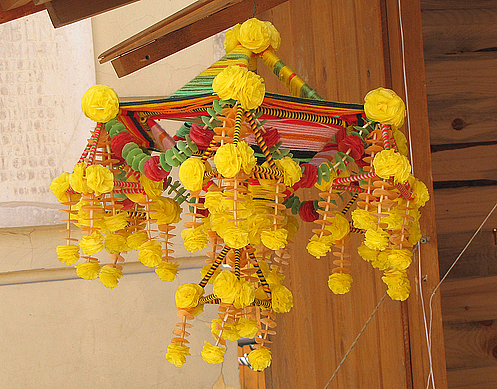
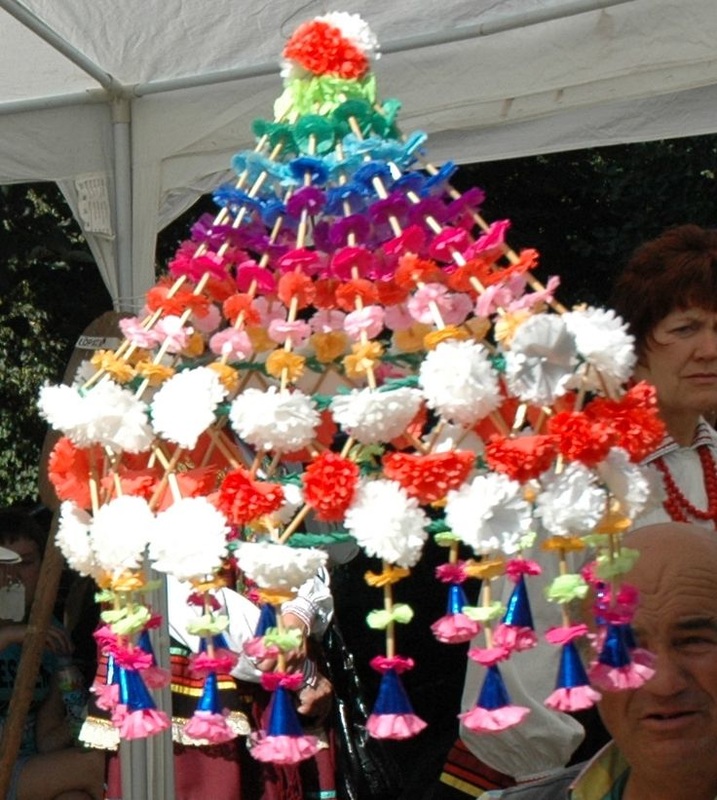
...but not yet finished. Getting there, though! I ended up using the traditional pom-pom flower method, and made six small-ish ones. I tied the centers with cord, and I left the ends long so I could tie the poms to the pipe-cleaner corners of the hexagon I made in yesterday's post.  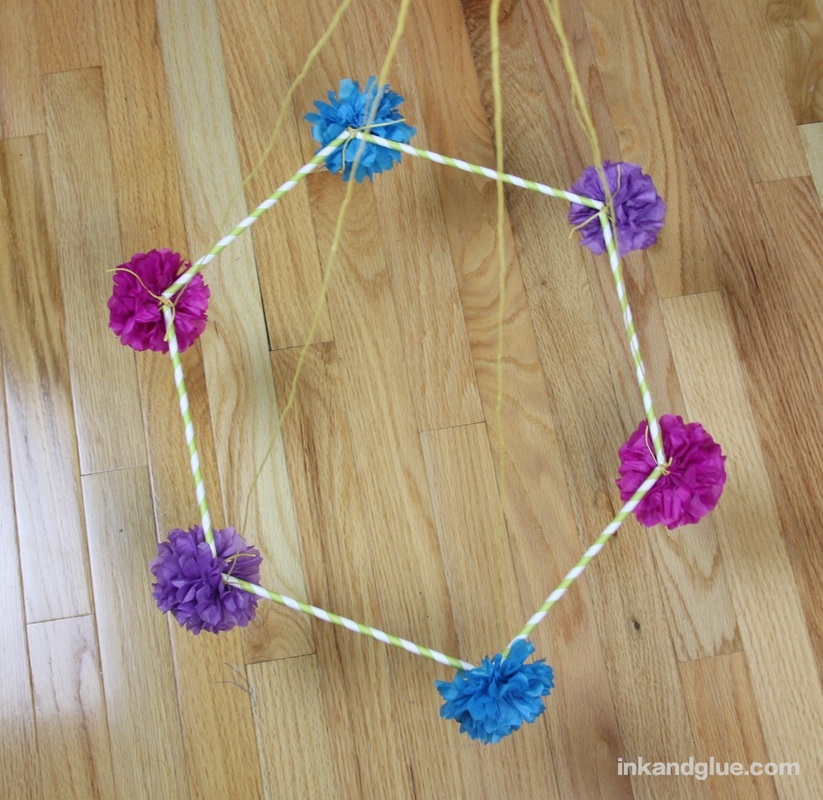 And now I will reveal what I am attempting to make: A pajaki, which is a colorful Polish decoration made of paper, straw, and yarn/string, and that seems to have no significance or religious sentiment behind it; its purpose is simply to add color to your home. Which is why I wanted to make one in January, when it is getting quite monochromatic outside. Here are a few images of traditional pajaki; click on the image to be sent to the source for each one.
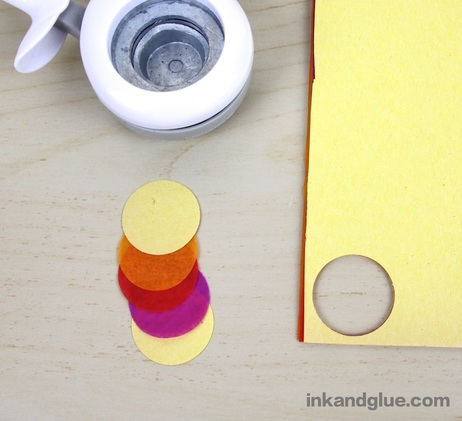
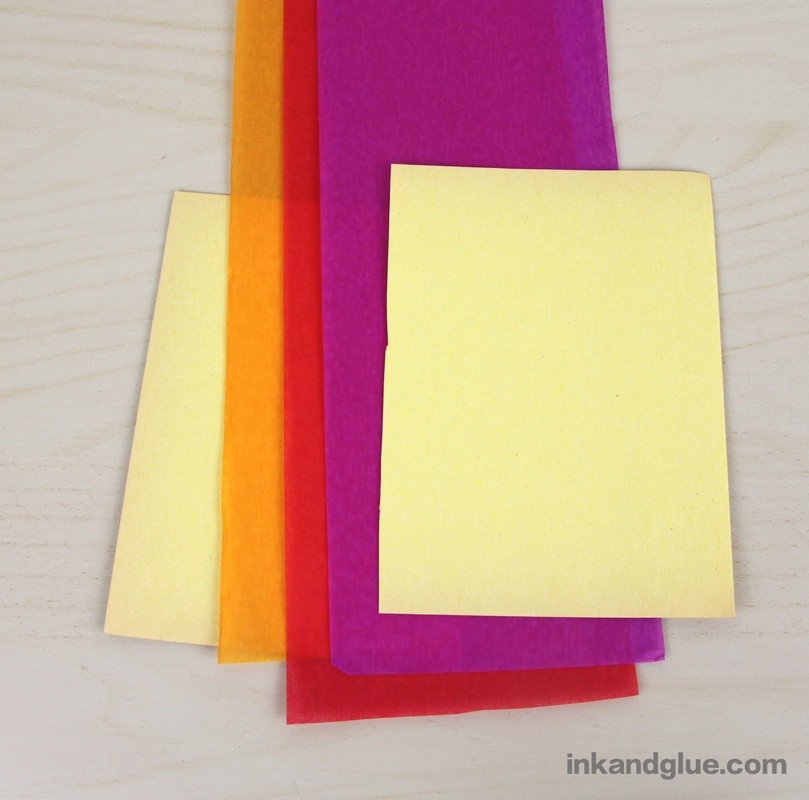
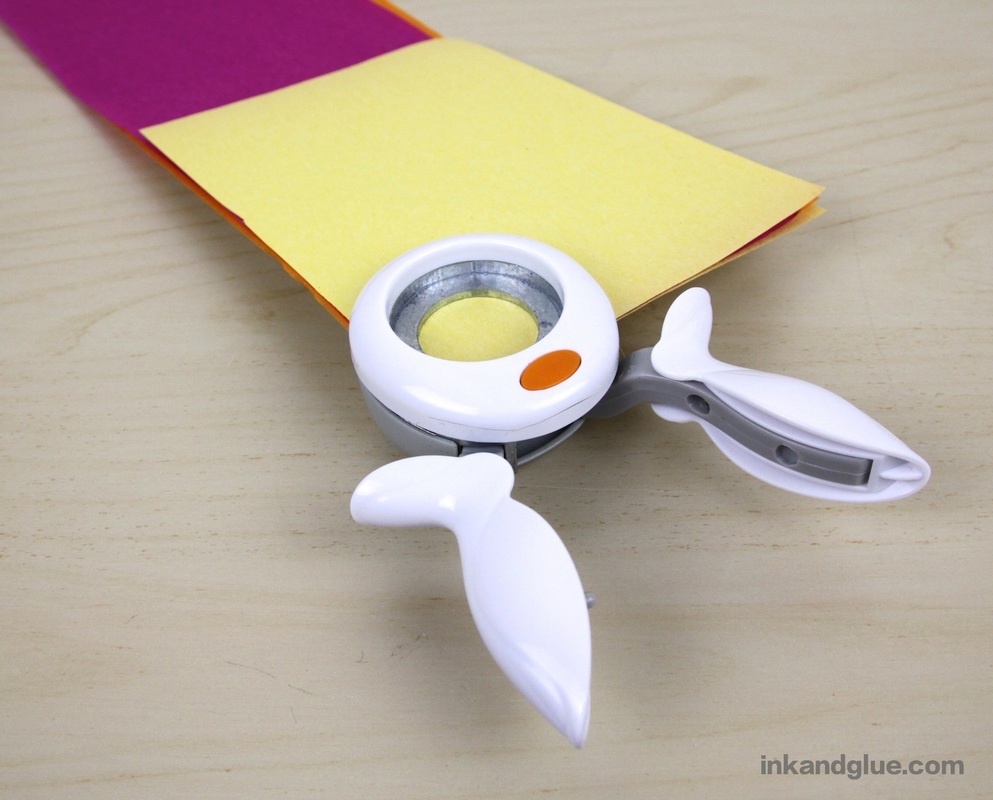
Totally gorgeous, yes? It turns out that the reason they cost $125 is that they take for-freakin'-ever to make. Not that I'm complaining, as I enjoy this kind of work, but I want you to know what you're getting yourself into, should you choose to attempt to make your own. I am also a fairly stubborn person who didn't want to follow another crafter's directions on a DIY version, so i mostly just glanced at a few examples (such as Martha's, Vintage Movement's, and A Beautiful Mess's), studiously avoided any how-to information, and then just started putting things together. Here's a look at where mine is at, again: 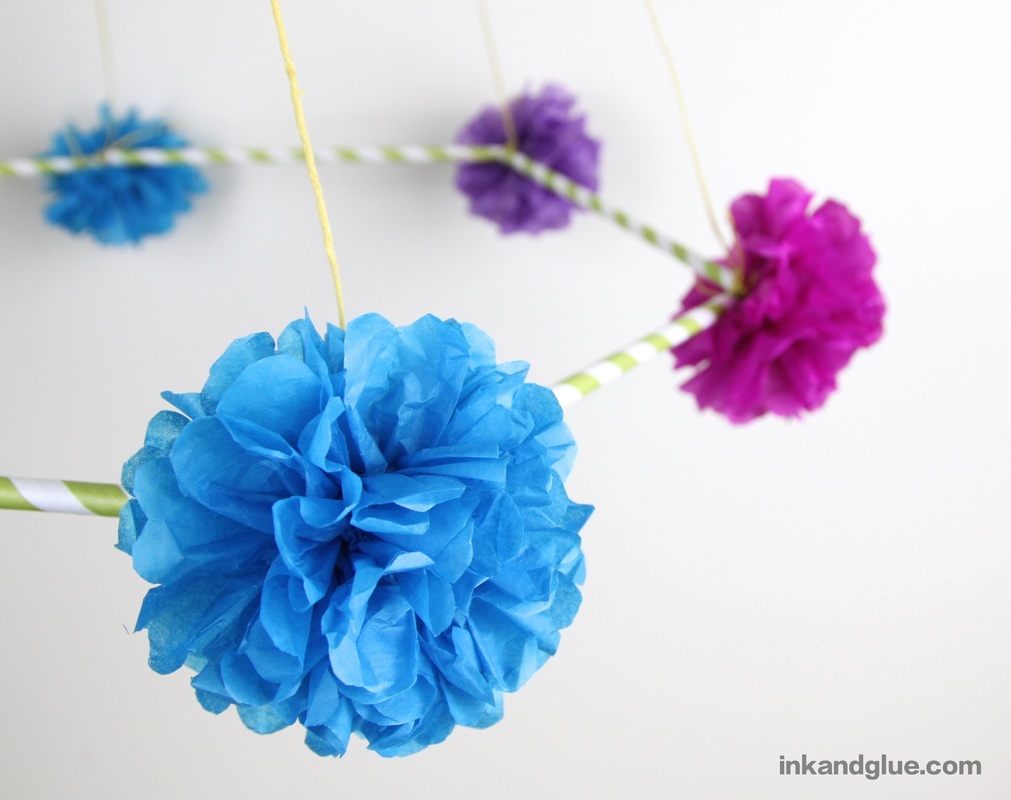 It was time to string some fun fripperies onto the six cords that hold up the shape. You'll definitely want a paper punch for this, as it made everything a whole lot faster. I got mine using one of those nearly ubiquitous 40%-off coupons at either JoAnn's or Michaels. Using a paper punch such as mine on tissue paper is a recipe for frustration, as the paper just tears or gets mangled. Here's the trick to getting perfect tissue paper shapes. Sandwich two or three pieces of tissue paper between two sheets of construction (or other) paper. Stack them up all tidy, and punch out lots of circles (or flowers, or stars, or whatever you like).
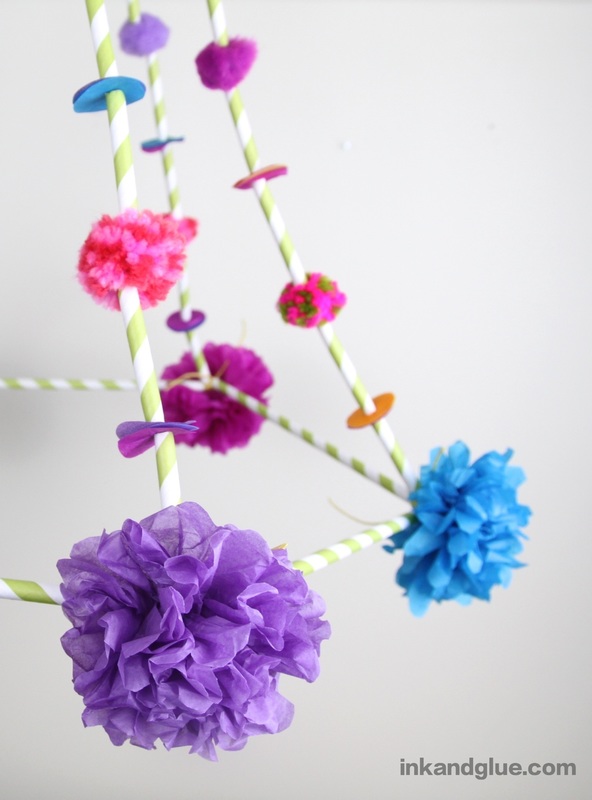
 Now, make a bunch of mini-sandwiches with tissue paper tops/bottoms and a construction paper center. Poke a hole in the middle of each sandwich using a yarn needle. I used a piece of a styrofoam tray as a work surface for the poking; if you don't have styrofoam, try a short stack of corrugated cardboard. Anything that you can stick a large, blunt needle into will do. 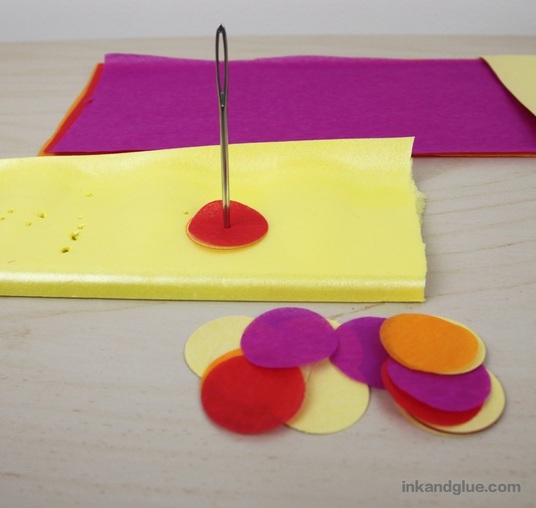 Cut straws into quarters (I just eyeballed it; having each segment identical in length is unnecessary). Thread your yarn needle with one of the six hanging cords, and string on straw sections, tissue paper sandwiches, and pom-poms. I had some fancy ones from eeBoo mixed in with the regular major-retailer poms. Repeat the stringing-on with the rest of the cords, using the same pattern of straw-paper-straw-pompom-straw-paper (or whatever) that you used for the first cord.
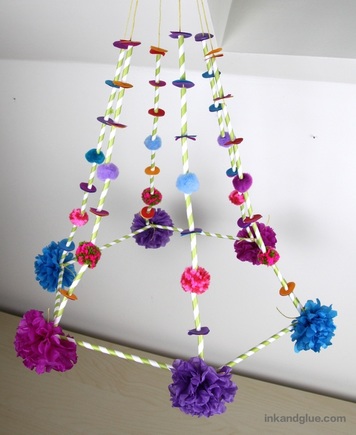
Now it's starting to look like a pajaki! When I was messing with the stringing, I realized my pipe cleaner joinery needed reinforcement, so I took each joint apart, one at a time, and smeared some tacky glue on the pipe cleaner ends before reinserting them. Much better. 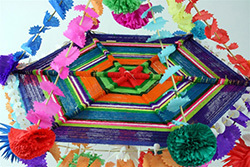 Many of the traditional pajaki I saw had a woven center, like this one at right. I happened to have a couple of yard-long, skinny (maybe 1/8-inch) dowels on hand, so I measured the distance from the opposite corners of my hexagon and used that measurement to cut three lengths from the dowels. (Actually, I cut them a bit bigger than needed, so I could trim it to fit tightly when I was adding it to the hexagon.) I used a white pipe cleaner to sort of lash the centers together into as asterisk shape. 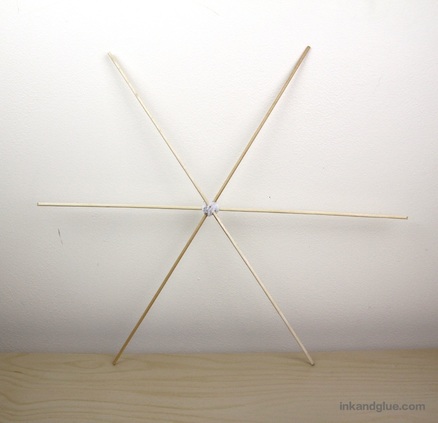 I used washi tape to attach each end to one of the untrimmed ends of the paper pom tied to each corner. I tried to keep the end of the dowel tight against the corner. Although the process doesn't feel like an elegant solution, it seems to have worked well, and the resulting structure feels sturdy. 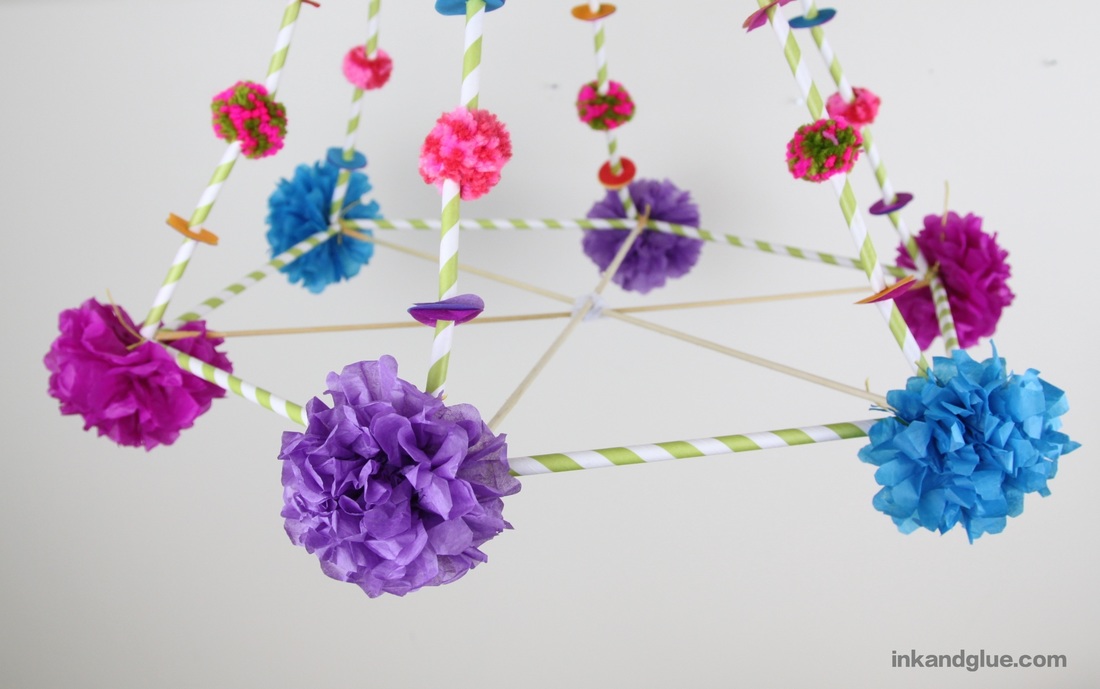 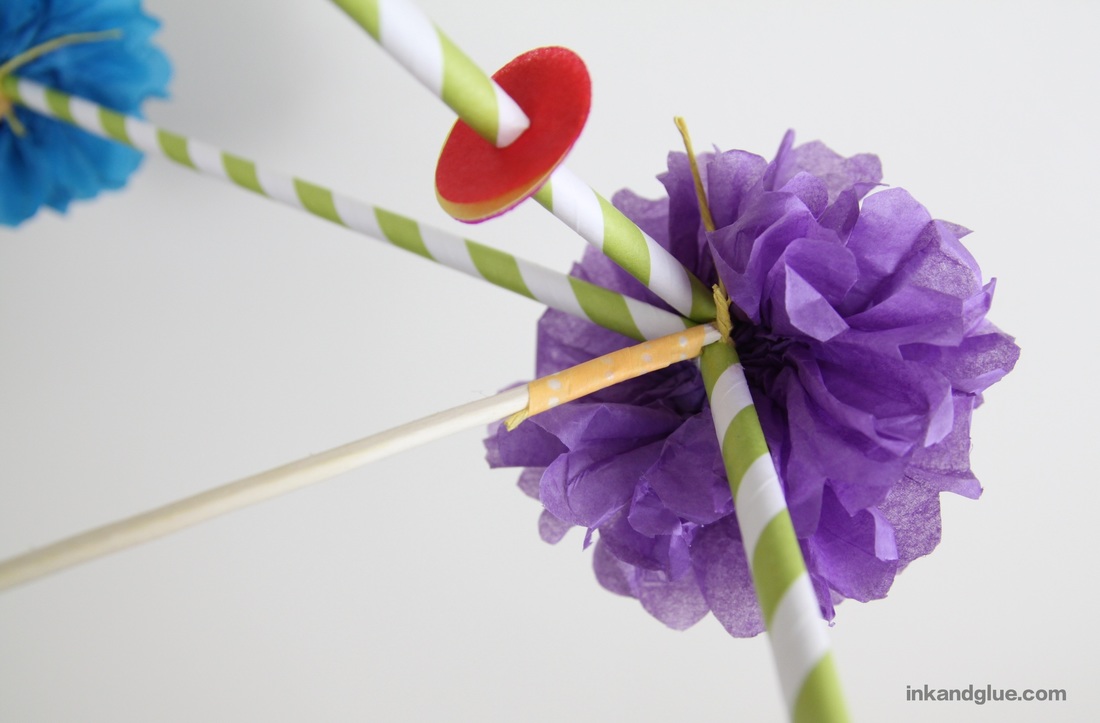 After that, I covered the naked dowels with strips of washi tape. Note the ugly lump of white pipe cleaner in the center; we'll get to that. 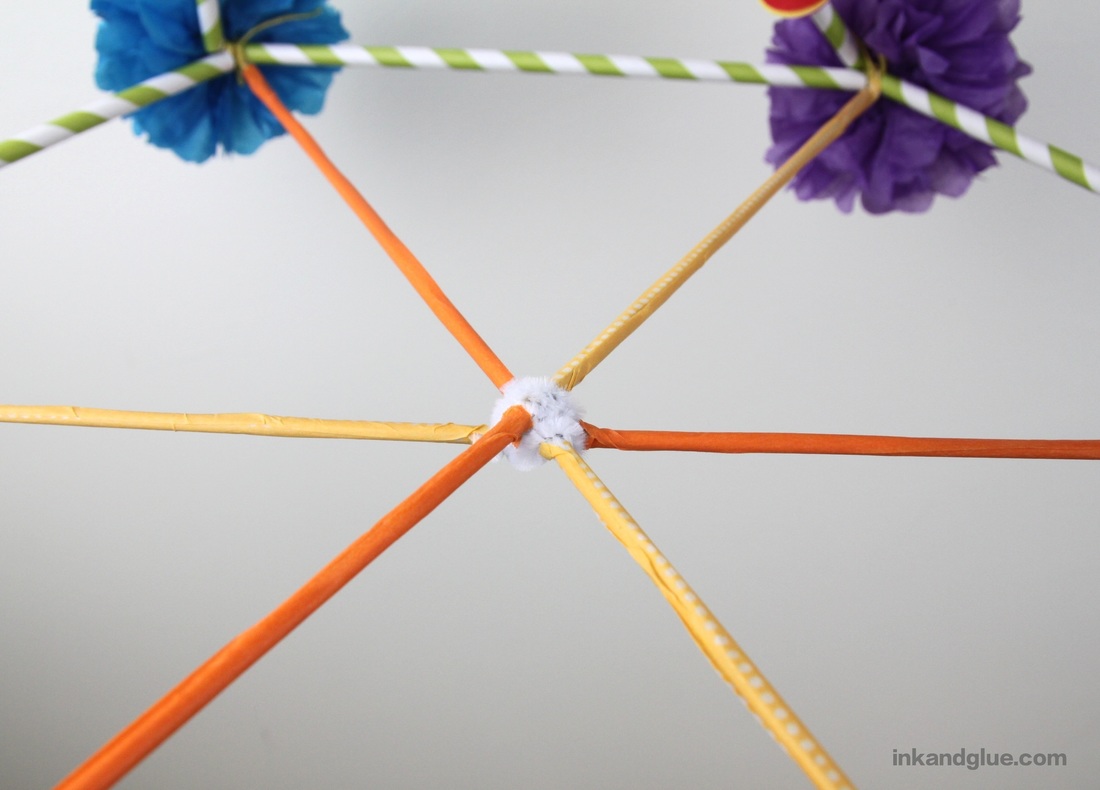 Now it's just a matter of weaving cord and yarn around the spokes, starting in the center. Tie an end of a ball of cord to the middle junction, and begin looping it around each spoke as you move around the "wheel." When you want to change colors, knot the ends together, and hide the knot ends in the subsequent wraps around the spoke. 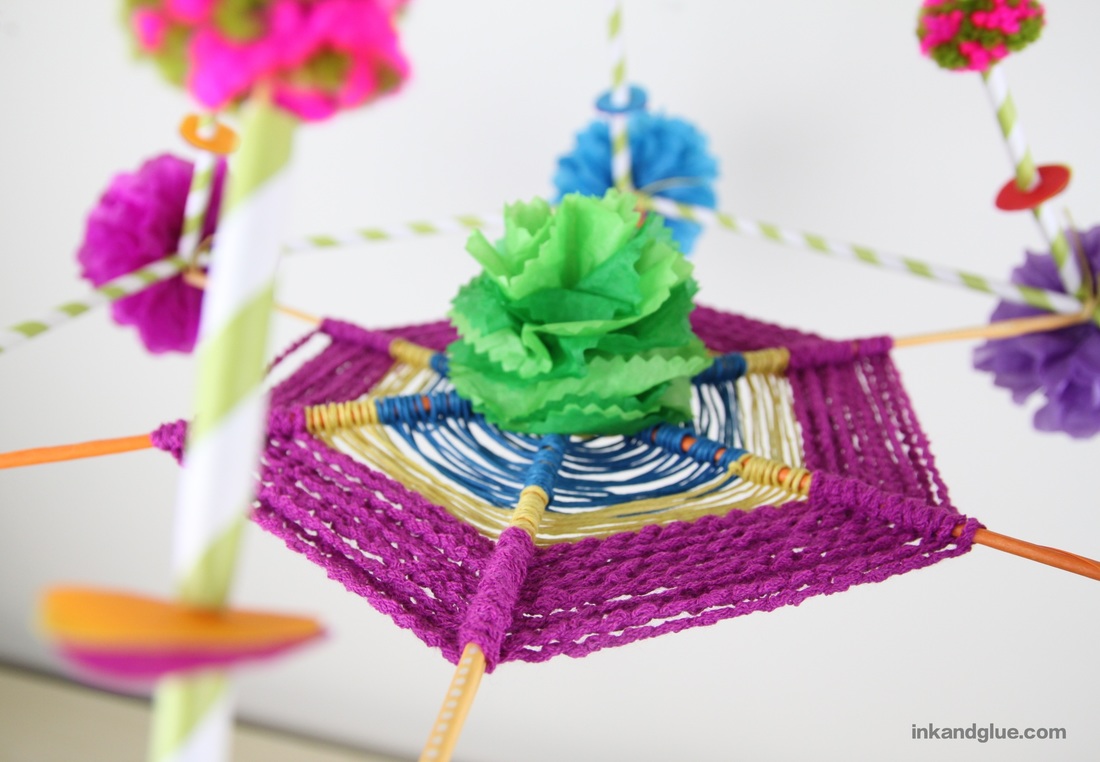 I might end up wrapping yarn and cord all the way to the edge of the spokes, but I was still weaving as midnight approached last night, so I simply had to stop from finishing. As you can see, I took one of the practice tissue paper flowers and tied it to the middle, effectively hiding the pipe cleaner blob. Here's how it looks, now. 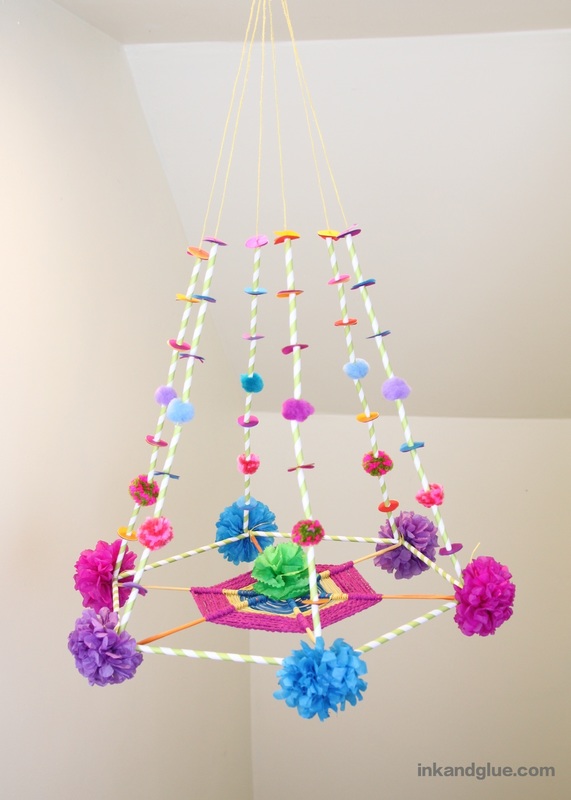 My next step will be to add hanging garland things to drape down from the hexagon frame. I could make more straw-section garland strands, but I have finally come to the end of my pack of paper straws, so I must find more. Or, I could make my own cylindrical beads out of rolled paper. It would be nice to incorporate my embarrassingly-large collection of toilet paper tubes. However, I think this project, like most, benefit from sticking to a limited number of materials. This is my task for the weekend, to figure out which way to go. (I love this kind of task. Love. It.)
xo! |
Categories
All
Archives
March 2017
AuthorI'm Debbie Way, an artist and writer who enjoys making things. |
 RSS Feed