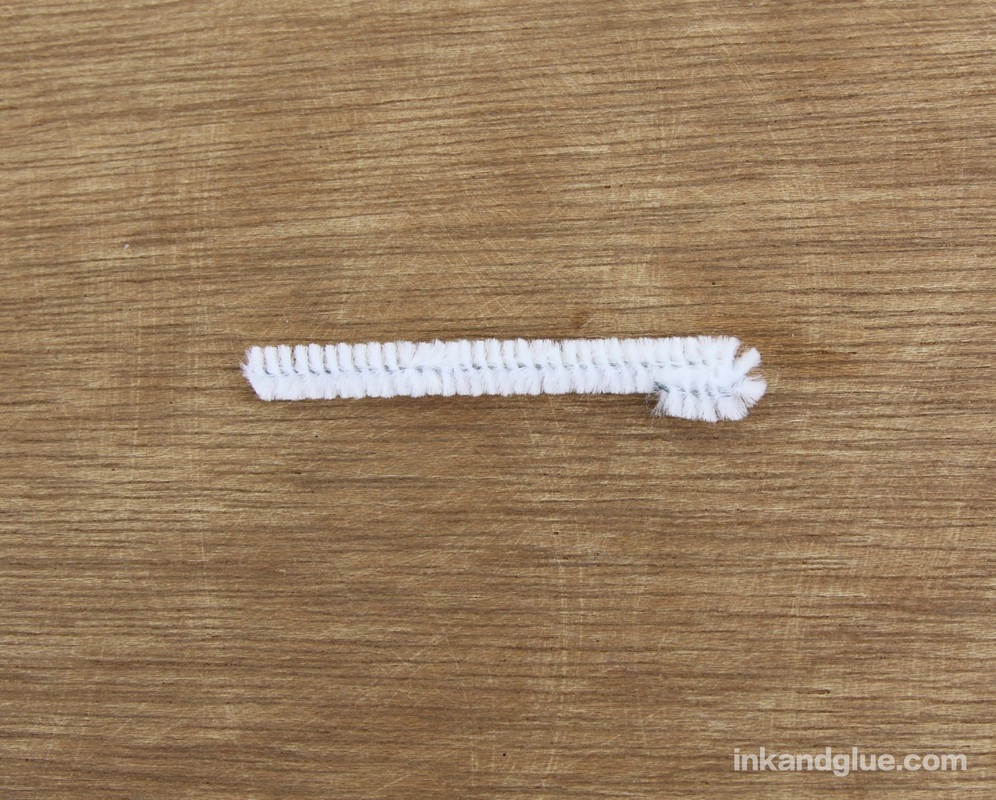
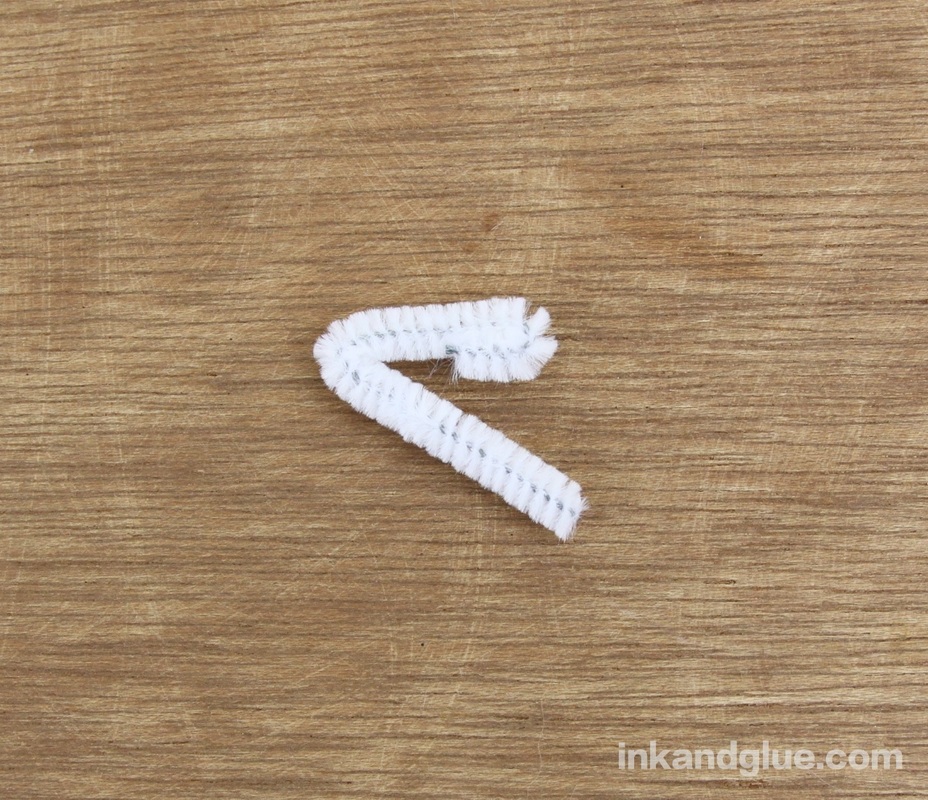
 I can't stop making ornaments. I need an extra tree for them. (Actually, my family might end up with a few tied to their gifts...) The construction of this one is based on a learning activity from FamilyFun Magazine, though mine is much smaller. It's fairly easy to make, and once you prep the pipe-cleaner joints, your kids can experiment with different shapes for as long as they like. In fact, if DIY ornaments aren't your thing, this could be a building toy in and of itself; just leave out the glue. Start by cutting some straws into quarters. I had fancy paper straws I'd bought on clearance; plastic works just as well. 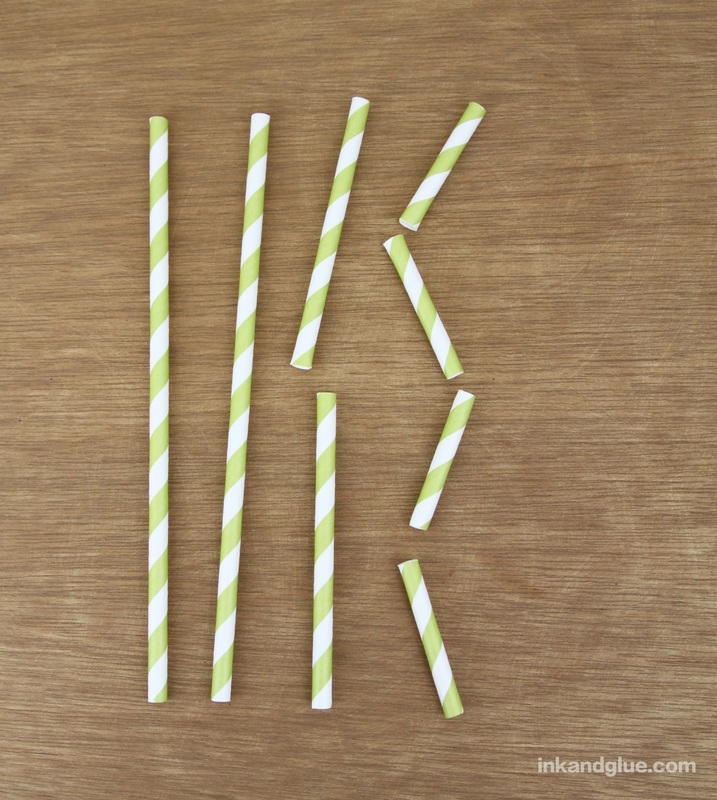 Once you have a bunch of straw segments, make the pipe cleaner joints. First, I'll show how to make a three-pronged joint: Cut a 3 (or so) inch length of pipe cleaner and bend over one end. Bend the remaining length in half, as shown.
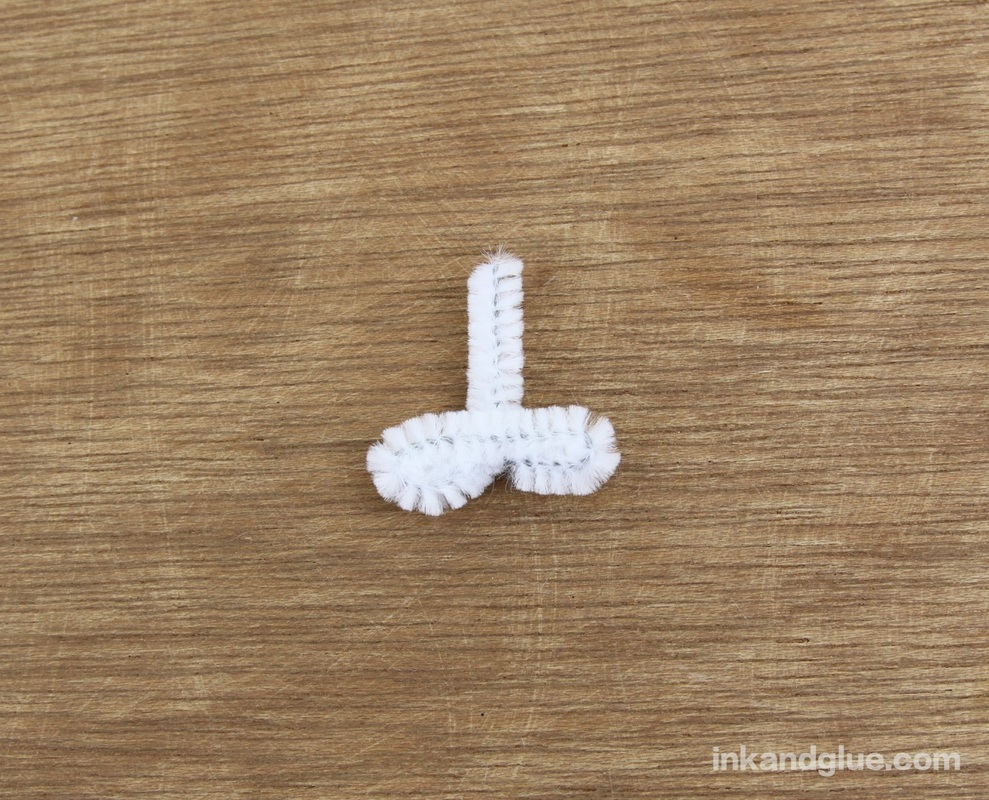
Bend the end up to form an upside-down T shape, then bend the very tip of it back.
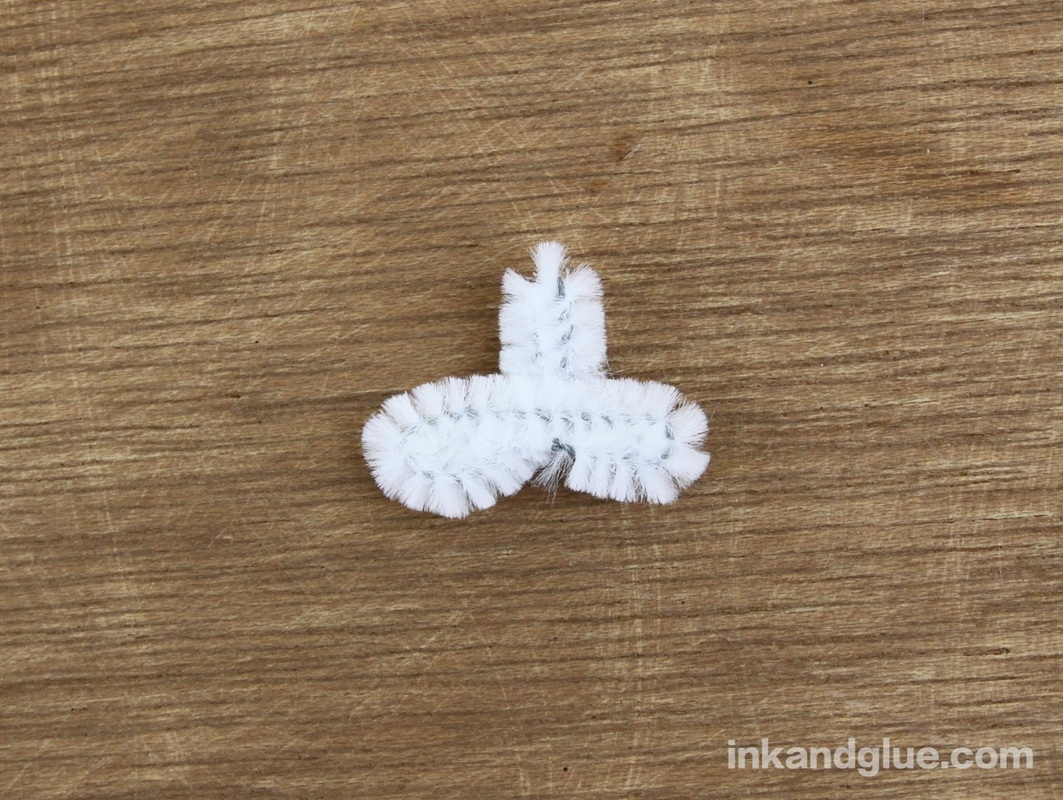
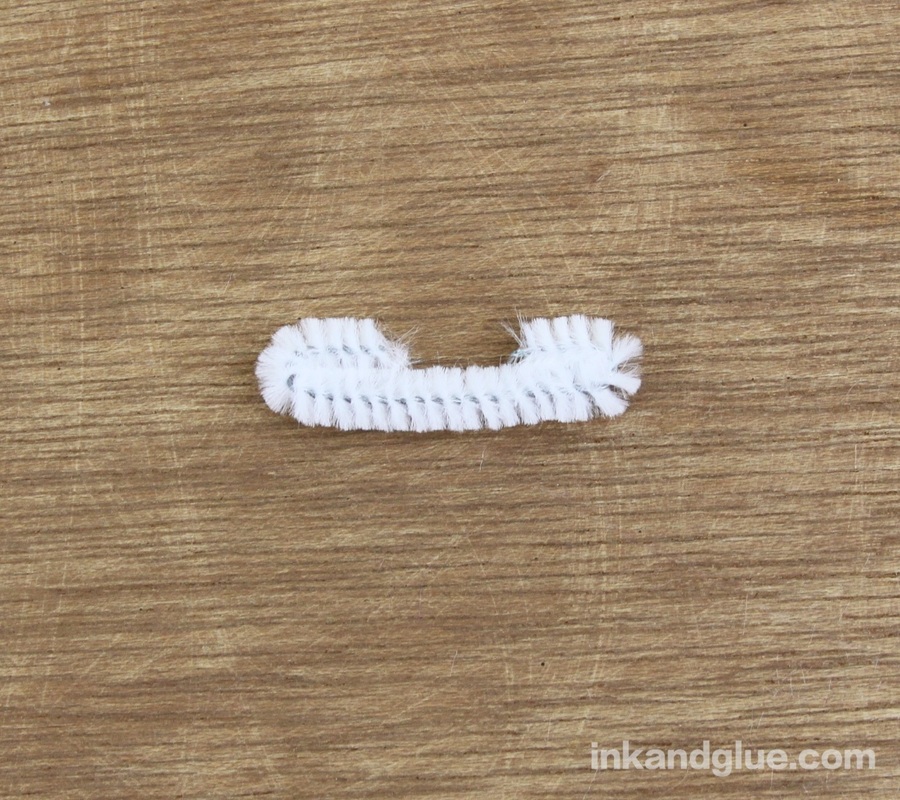
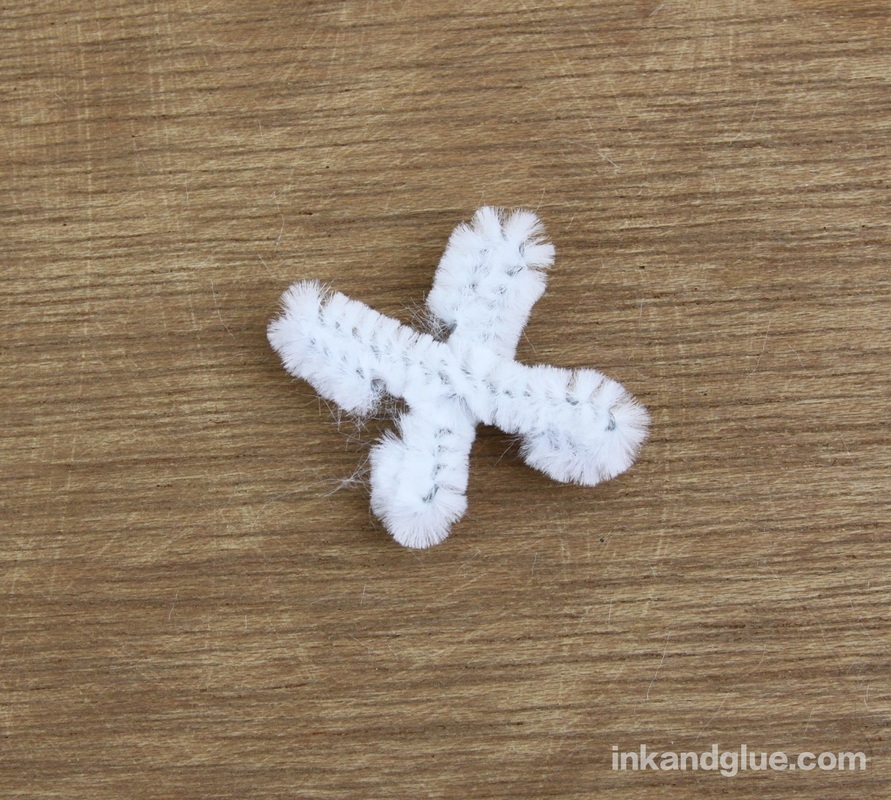
Slide a straw segment onto each of the three ends, and it'll look like this. 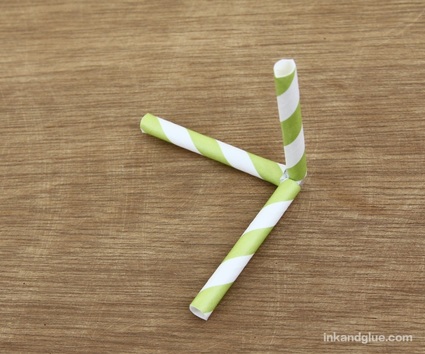 I found that the four-pronged joints were more useful for the shapes I wanted to make. Here's how to make those. Start with a 2-inch length of pipe cleaner, and bend over both ends. Do the same with a second 2-inch piece, then twist the two together at their centers. Easy-peasy!
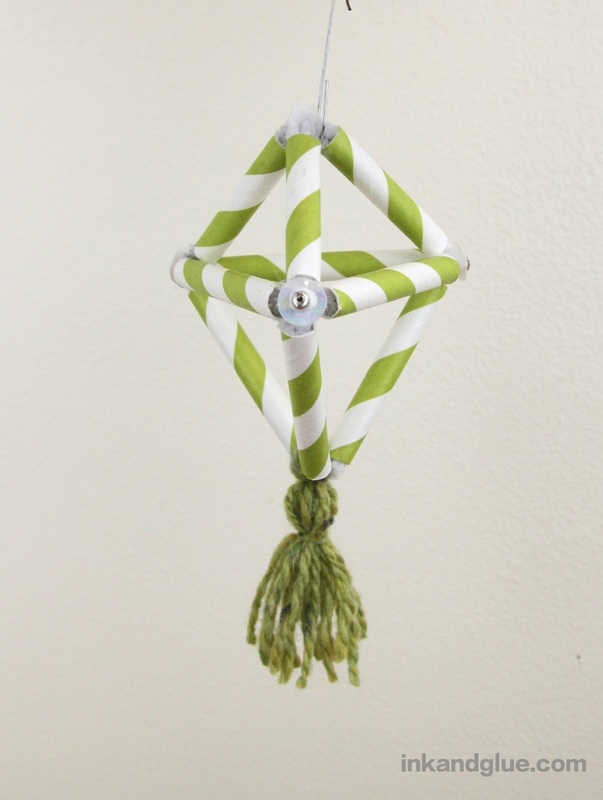
Here's what that four-pronged joint looks like when ensheathed by straw pieces. 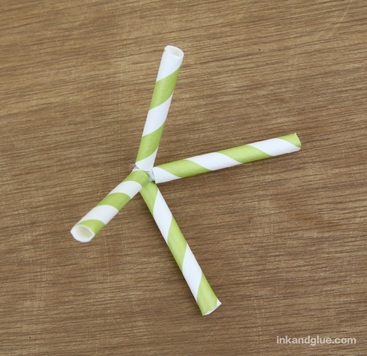 I used two 3-pronged joints and three 4-pronged joints to make my simple diamond shape. 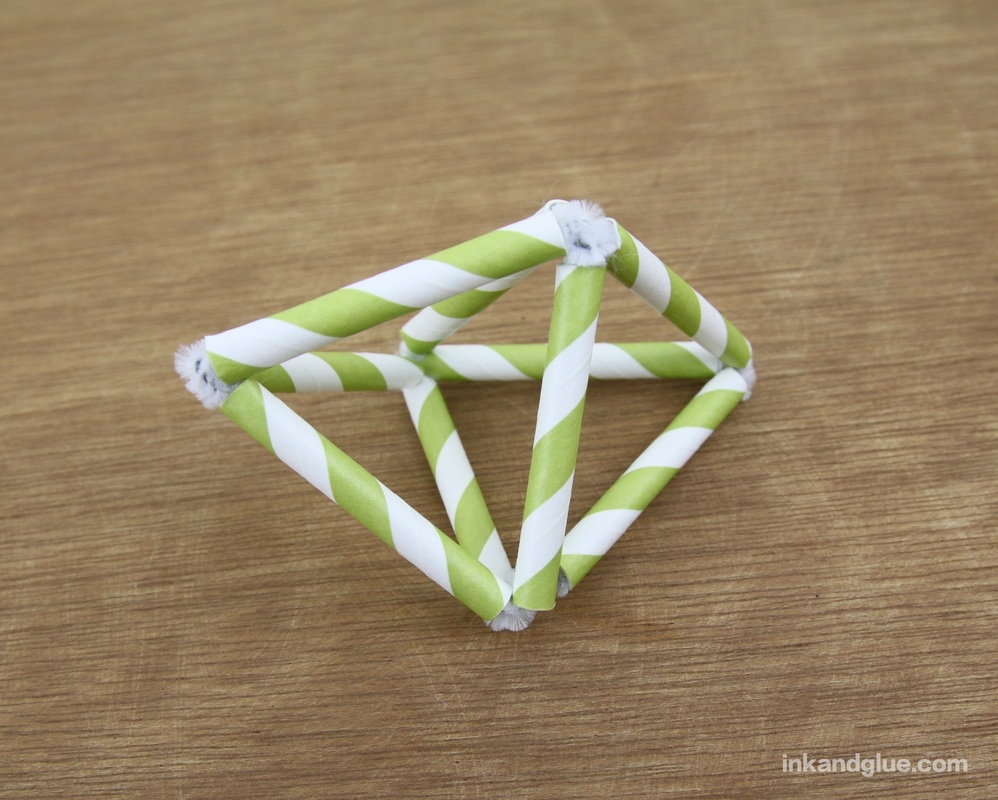 It actually felt too symmetrical, so I removed and trimmed the three straws at (what I decided was) the tip, and did the same, but a little shorter, on the three at the top. Better! Except, hmmm... Missing something. I had a spare tassel (made in the security envelope ornament post) so I tied it to the bottom tip. 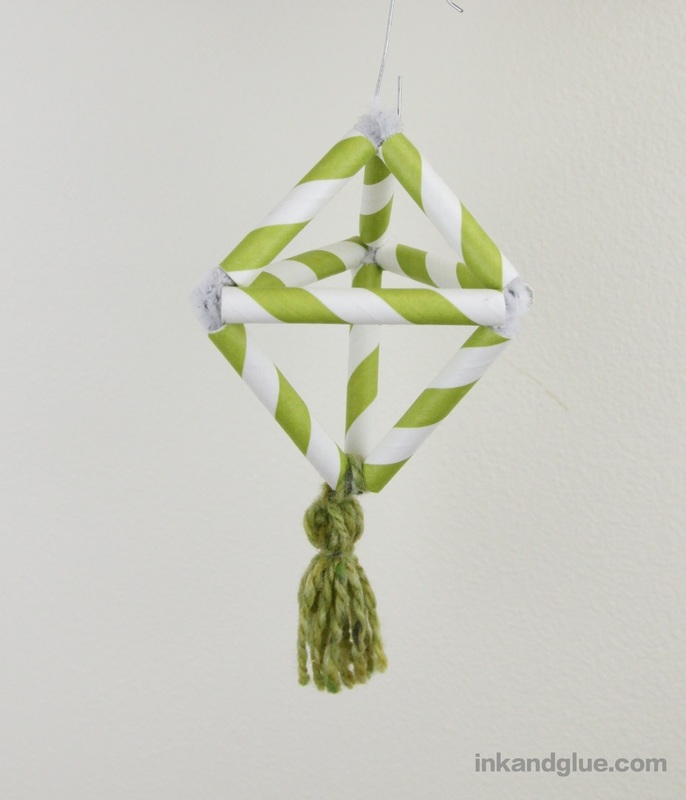 Getting there! I wanted to add some sparkle, so I glued white sequins and silver beads to each of the center joints. Now it's tree-worthy. 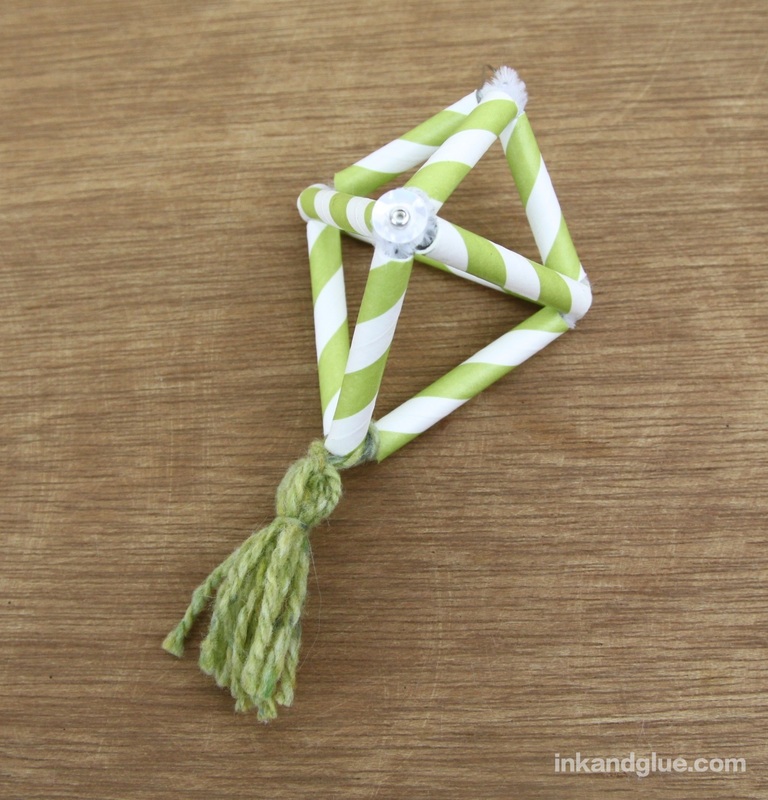 You really can make a lot of different shapes by varying the number of prongs in your joints and changing the length of your straws, though I'd recommend trimming straw lengths as a final step, just so they don't get mixed up with your regular length straw pieces. Nothing sadder than an accidentally dented-looking straw construction.
Have fun! xo |
Categories
All
Archives
March 2017
AuthorI'm Debbie Way, an artist and writer who enjoys making things. |
 RSS Feed