|
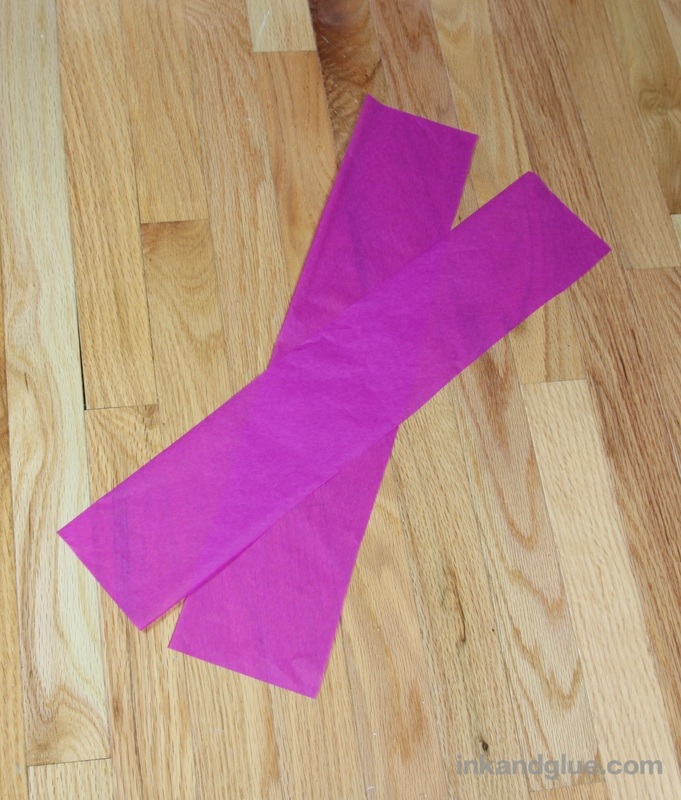
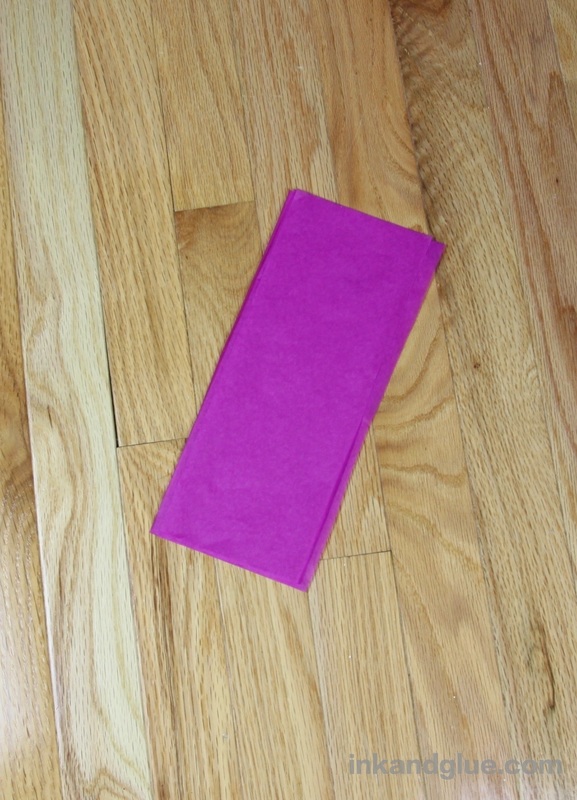
While making the pajaki, I refined the tissue-paper pompom-creating process to make more sense to me. Maybe it'll help you, too! Here's how to make a small, fluffy pom that's about three inches wide. I had a pack of folded, multi-colored tissue paper, which seems to me the most common way to buy it. Pull out one sheet, and cut along the fold lines to get two sections with roughly equal widths. Cut those two long rectangles in half, to make four shorter rectangles. Stack them up, aligning the edges as best you can.
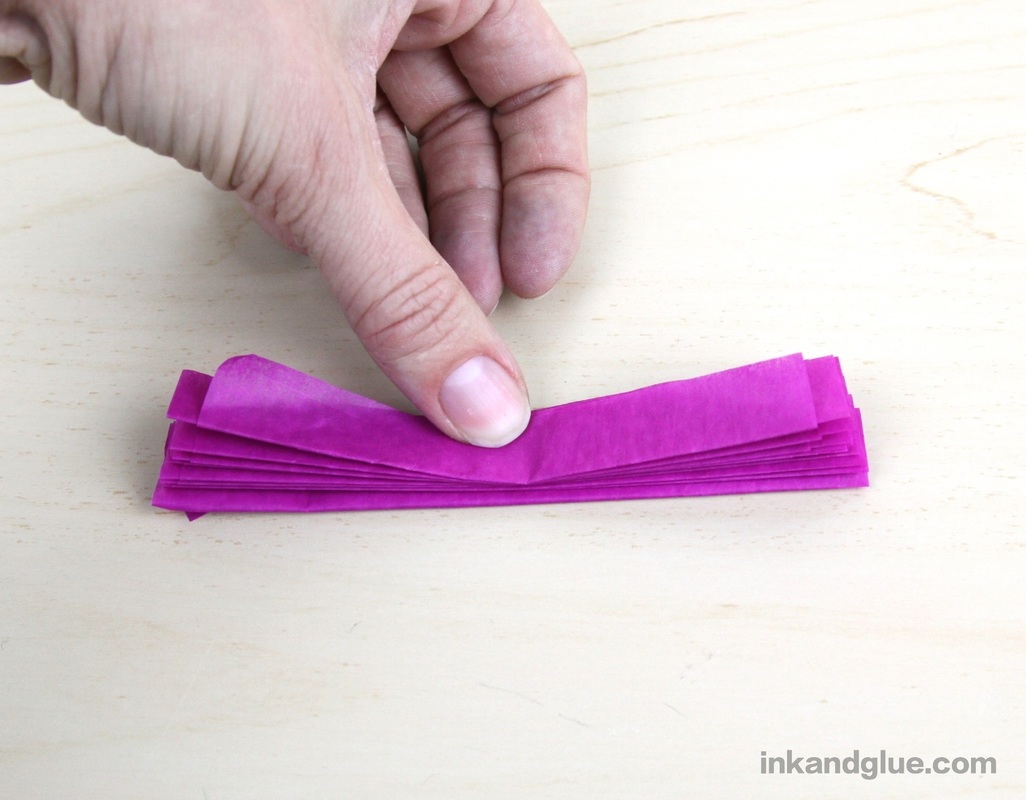
Starting at a short edge, accordian-fold the four sheets. Each fold should be about a half-inch wide, or a bit less.
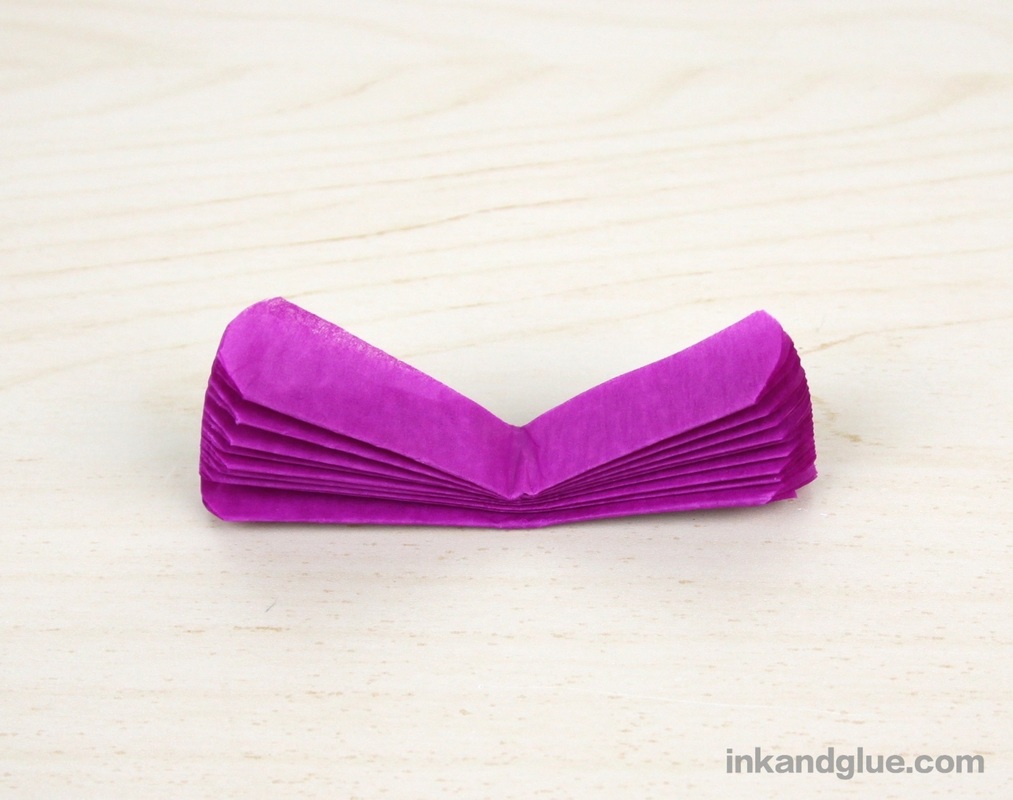
Use strong scissors to trim the ends and round them off. Mark the center of the folded-up packet by folding it in half. Loop a length of cord, string, or yarn around the center, and tie it snugly. (You can cut the ends into points instead, but I found that made the paper more prone to tearing during the fluffing part. YMMV.)
Now, to fluff! Spread open both halves of the paper, like a fan. Or like two fans, to be precise. 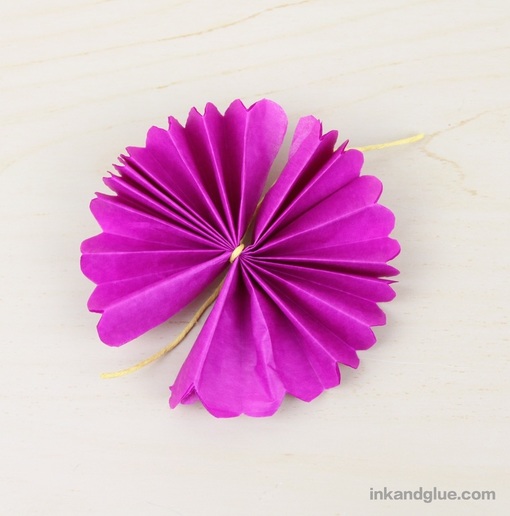 Carefully get a hold of the top layer of paper, and gently, but firmly, pull it up and away from the rest. Do this with each of the two 'fans'. 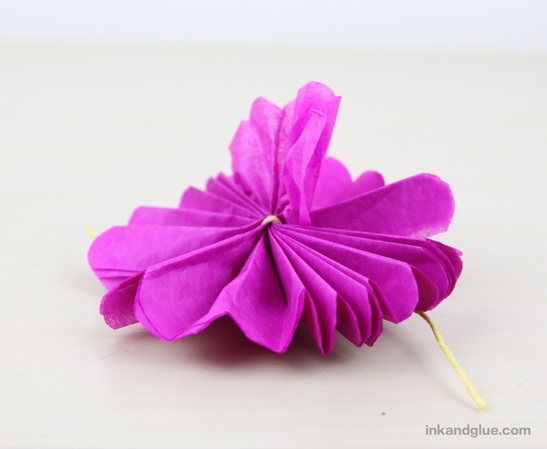 Here's what it looks like after both halves of the top layer have been pulled up: 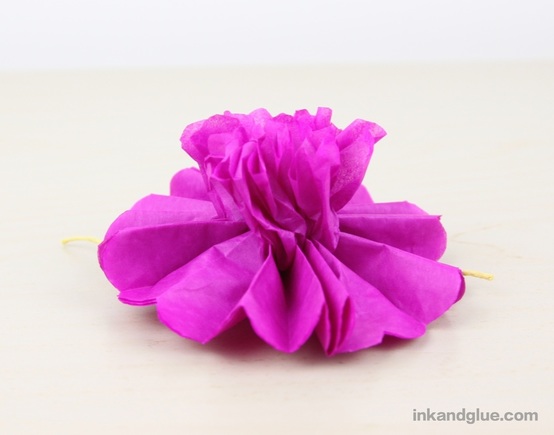 Do the same with the next layer of paper. Here's how it looks after two layers have been pulled up: 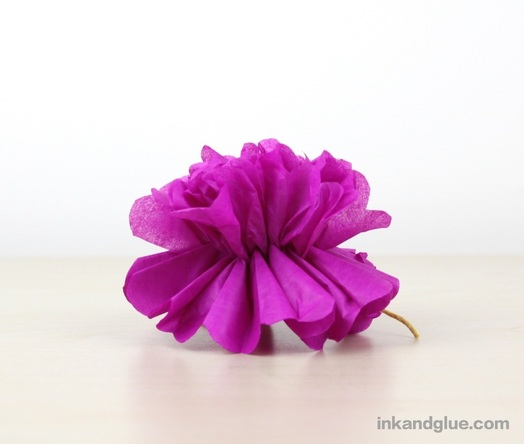 Repeat with the third layer, then fluff the last one by spreading and smoothing it open. I wanted a round-ish puff, so I let this last layer point downward. For a more cup-like shape, pinch the center of the flower and fluff the last layer upward. You're done! 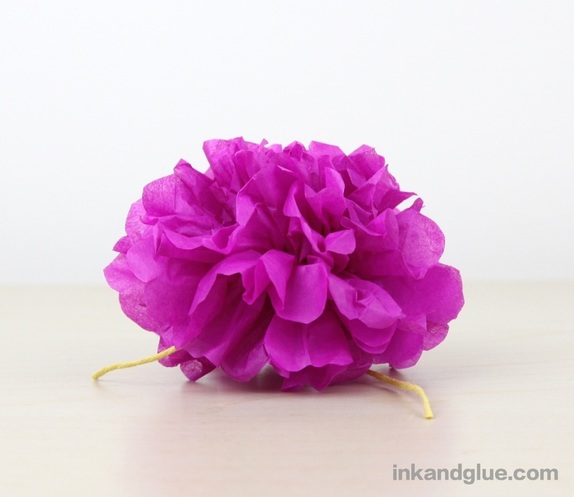 Enjoy festooning with flowers!
xo Comments are closed.
|
Categories
All
Archives
March 2017
AuthorI'm Debbie Way, an artist and writer who enjoys making things. |


 RSS Feed