|
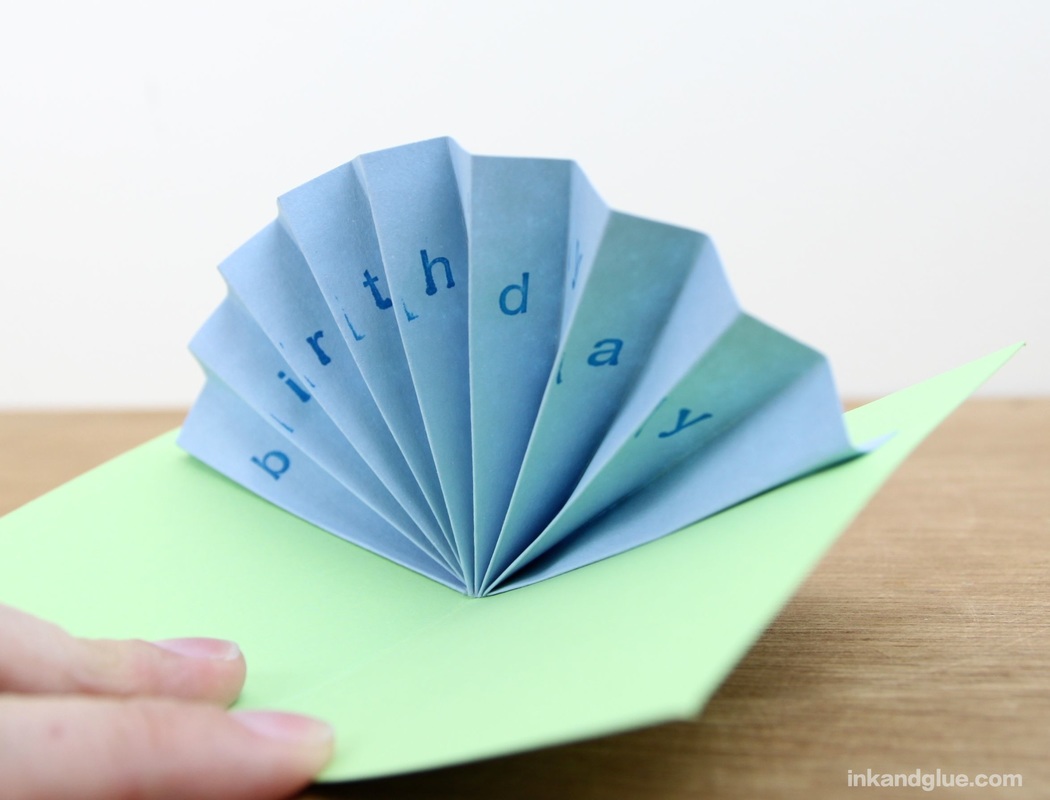
"Lenticular" might not be the right word for it, but just like those ribbed pictures, the message in this card changes as you angle it this way and that.
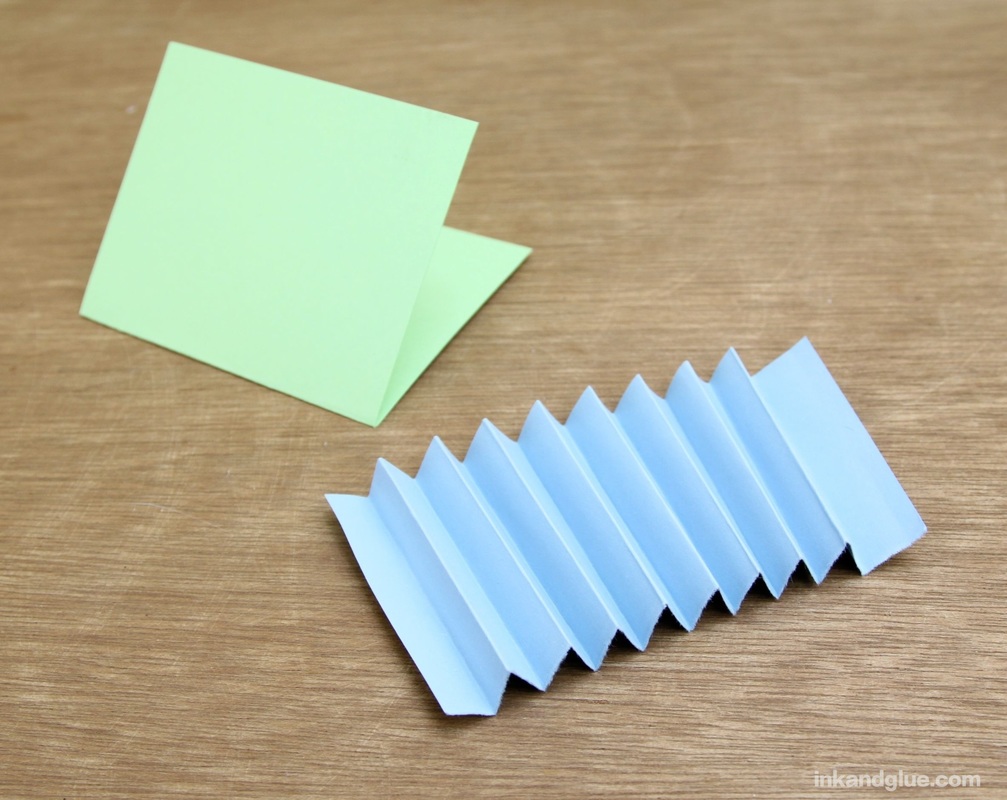
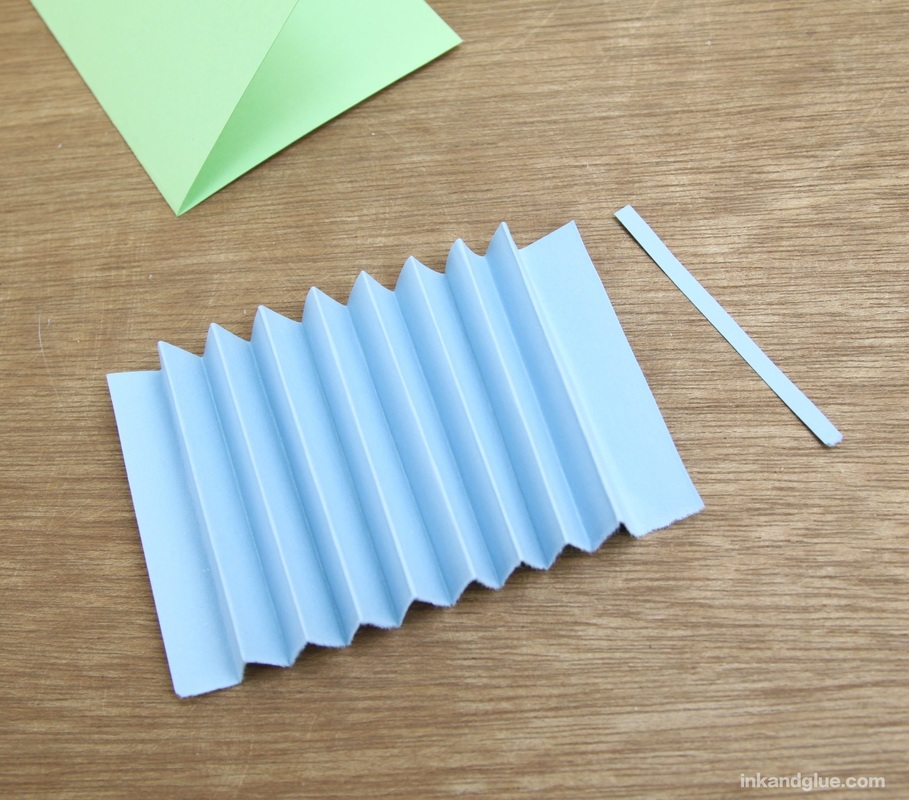
Neat, no? Here's how you do it. Start with a small card (I cut a rectangle from a piece of card stock and folded it in half). Decorate the outside of the card (I didn't do that for this demo, to keep it simple). Cut a skinny rectangle (about 8.5 by 2.5 inches) from a lighter-weight piece of paper; I used construction paper. 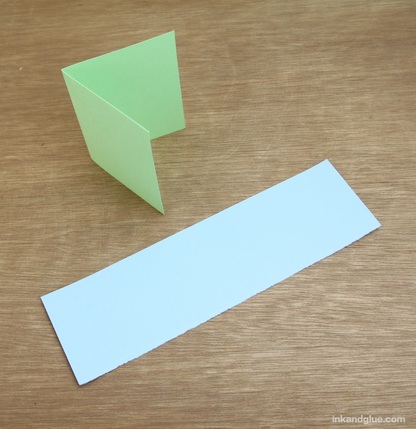 Accordian-fold the skinny rectangle, with each fold about a quarter- or third-inch wide. You'll want your last fold to result in a panel that's on the same "side" as the first one, like an M or a W with way too many peaks and valleys. If you end up with an N instead, trim off the final panel to get an M/W. My final flap was a bit too wide, so I trimmed it. No biggie.
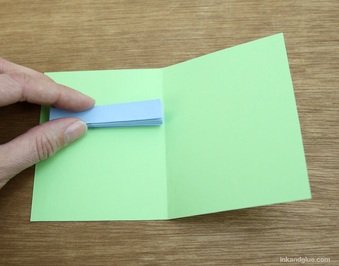
Note that you should make sure you end up with enough panels to spell out your chosen words. (In my case, I could have used another panel or two; as you'll see later, the "b" in birthday is too close to the glued-down edge, making it too visible when the "happy" is in view.) Now, add letters! I used my fun alphabet stamps, but of course you can hand-write 'em. Starting with the third or fourth panel, stamp/write the letters of your first word on every other panel. 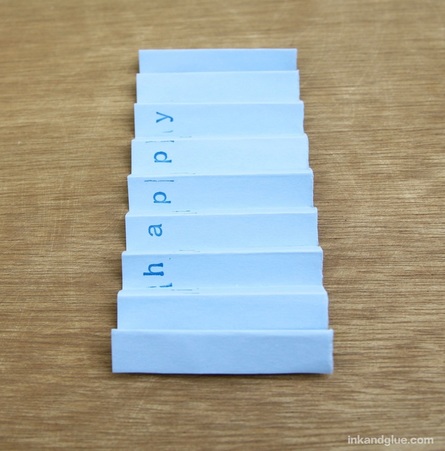 Let the ink dry, then stamp/write the letters of your second word on the alternate panels. 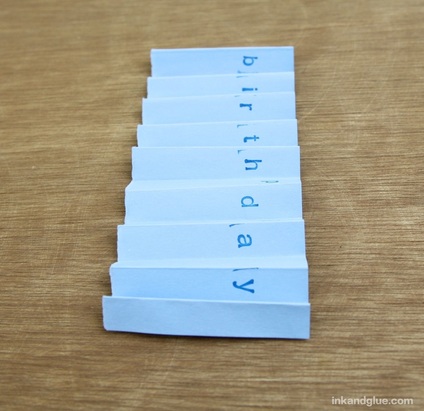 Head-on, your accordion will look something like this: 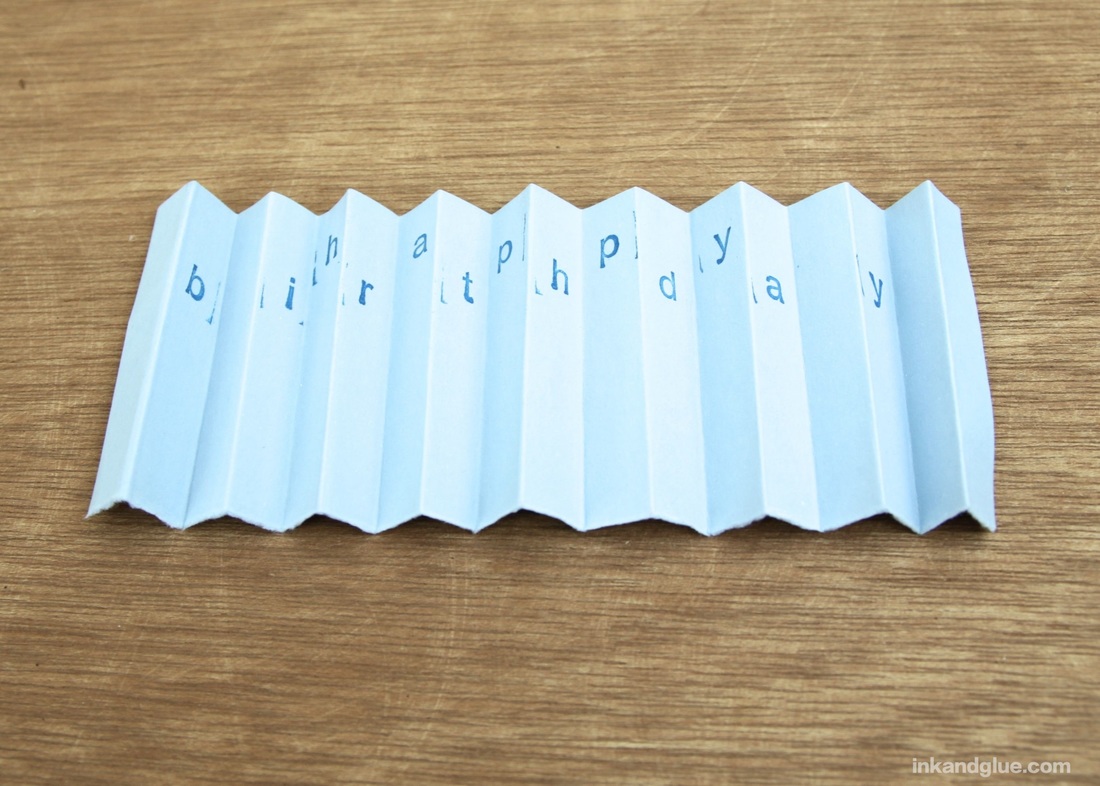 Now fold the accordion back up into a tight rectangle. Spread glue on one flap (the one near the beginning of the words) and press it against the inside left of the card, with the right side of the accordion very close to (but not in) the center fold. Add glue to the flap that's now on top, and carefully close the card. Press for several seconds to adhere.
That's all there is to it!
xo Comments are closed.
|
Categories
All
Archives
March 2017
AuthorI'm Debbie Way, an artist and writer who enjoys making things. |


 RSS Feed