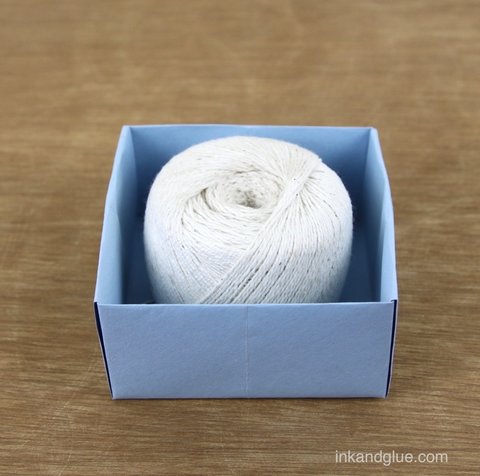
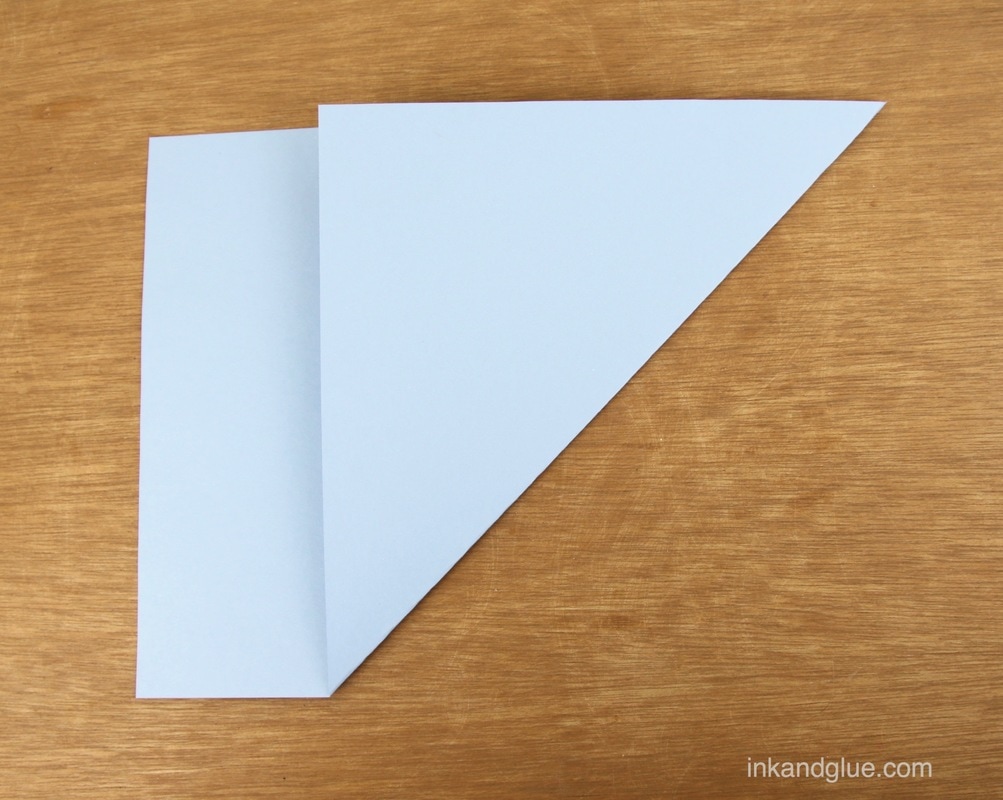
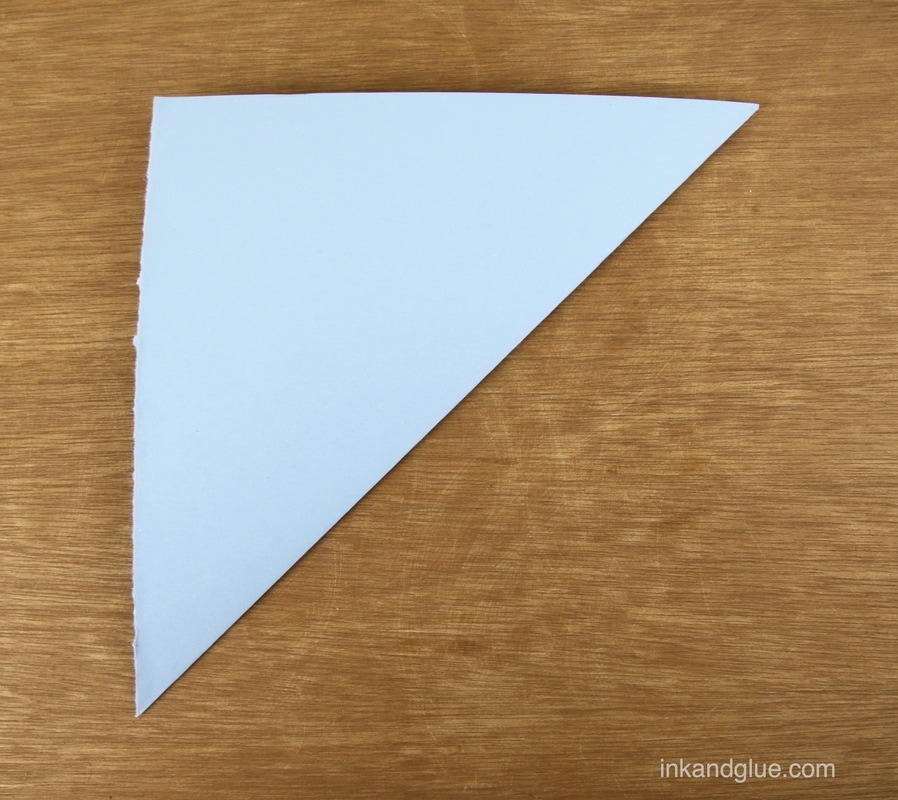
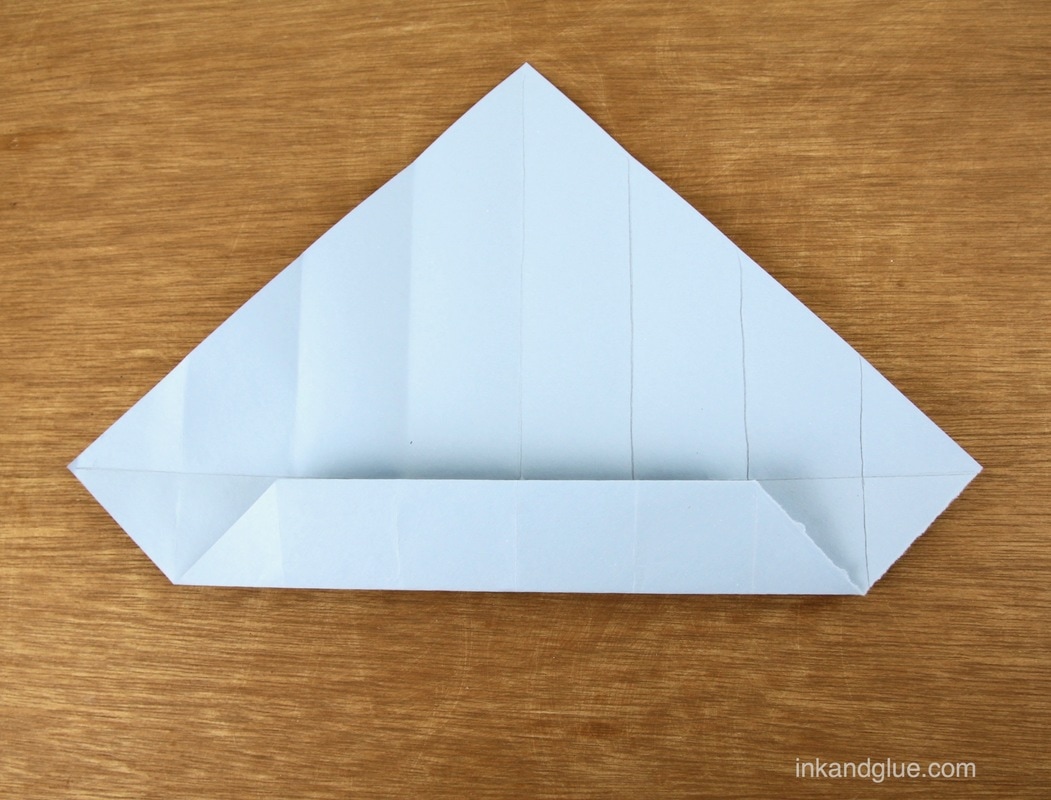
 (Ball of string not included.) This one's a little different from my other projects, as it's more of a handy trick than a creative exercise. When I was a kid, I learned this method for folding a box out of a piece of paper of any size. I have used it to make gift boxes for people, as an instant bowl for peanuts while sitting at a bar, or as a holder for a collection of shells while on vacation. If you're extra handy, you don't need any tools to make one — but scissors and a couple of dabs of glue or tape will make it extra easy. Here's how you do it. First, make your paper square. You can do this by folding the paper in half at a diagonal, aligning a side edge to the top edge of the page. Tear or cut off the excess strip.
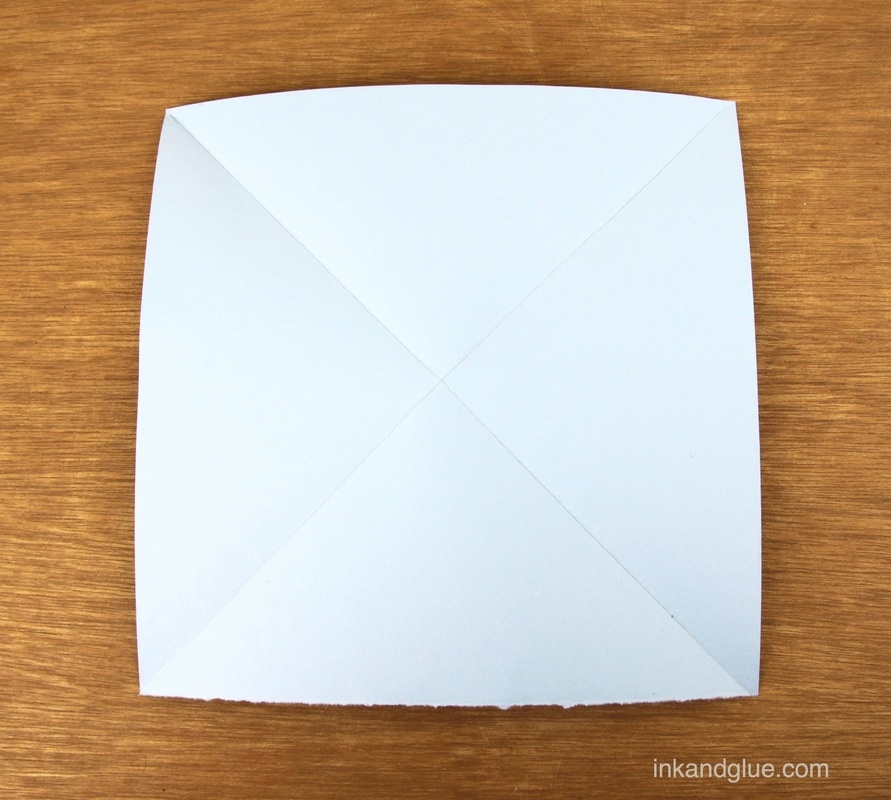
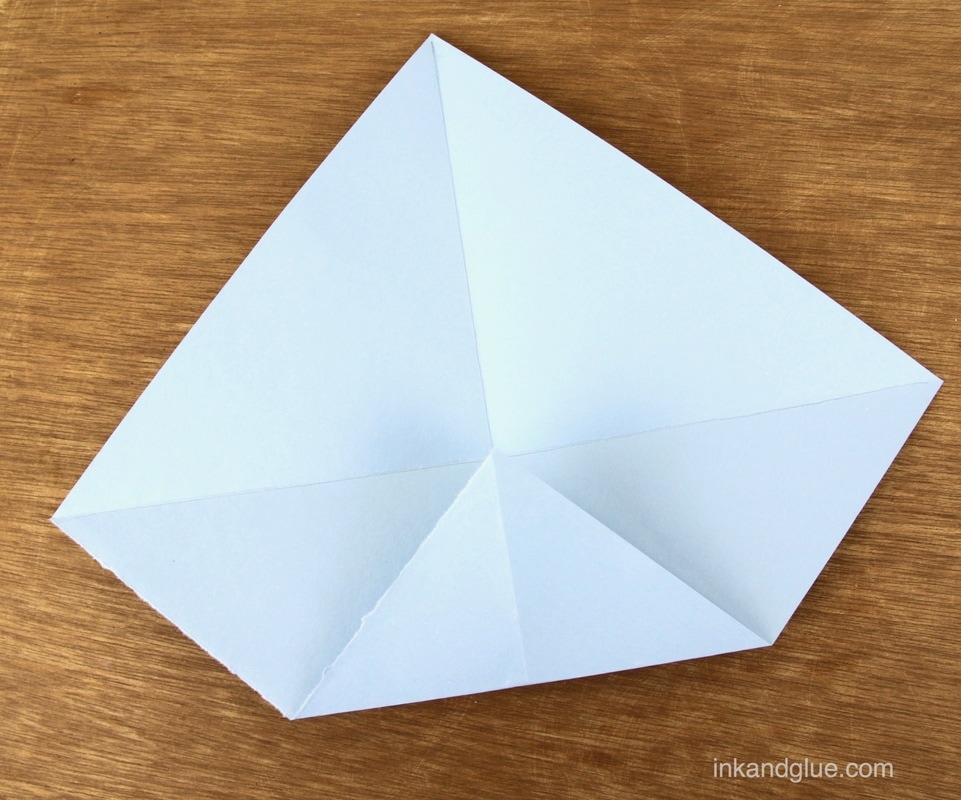
Unfold the square and refold it on the diagonal in the opposite direction. Open up the paper. Bring a corner of the square to meet the center point of the page (i.e. the middle of the X you just made by doing the criss-cross folds) and crease the fold.
Fold that section in half again to meet the center line, as shown. 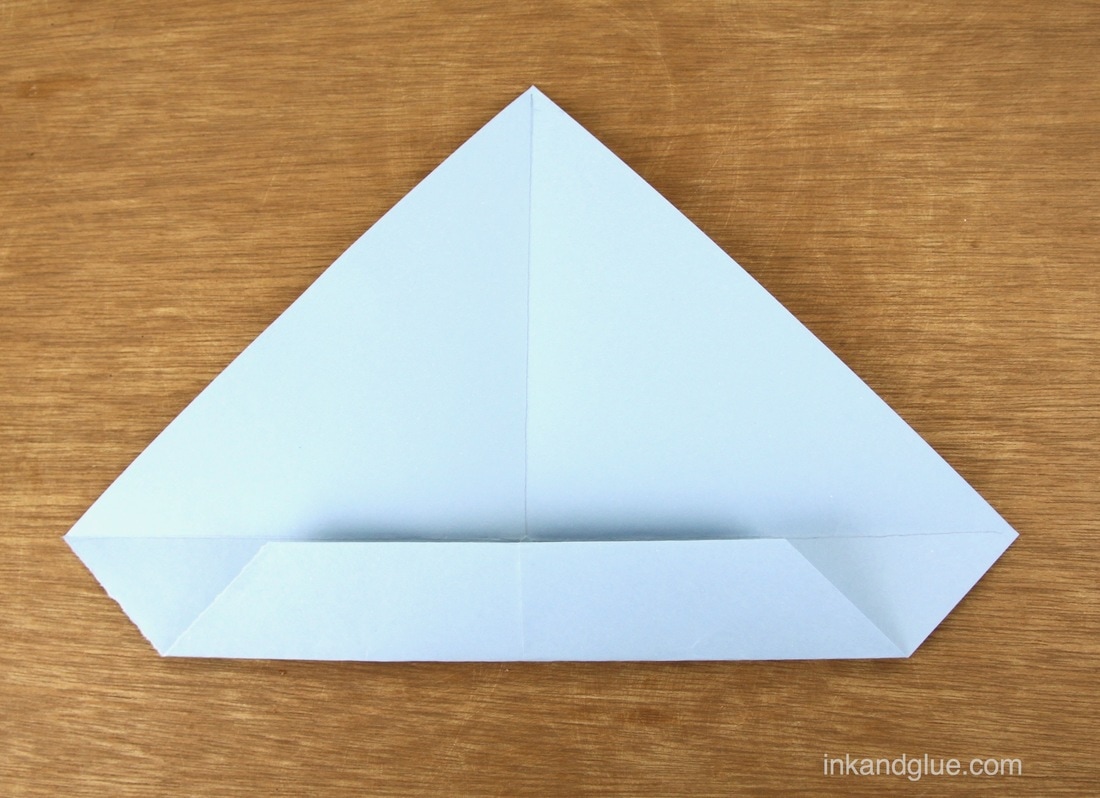 Unfold the paper again. I traced the fold lines in pencil here to show the folds more clearly. 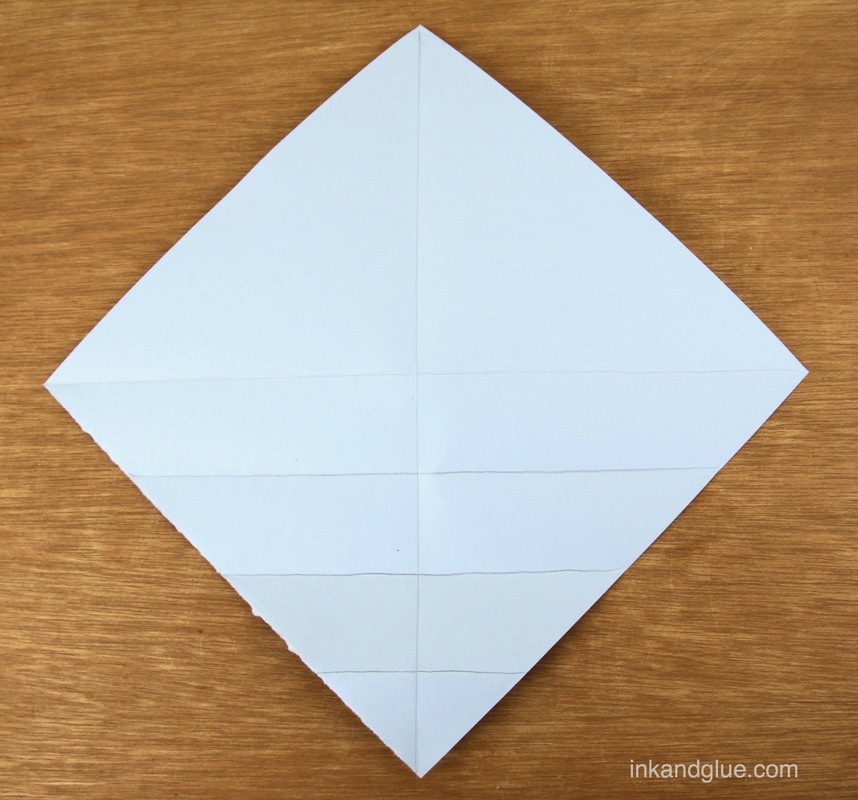 On the opposite corner of the square, do the same double-fold roll towards the center as you just did. Open the paper back up again, and rotate it 90 degrees.
Do the same double-fold rolls to the center on the other two corners.
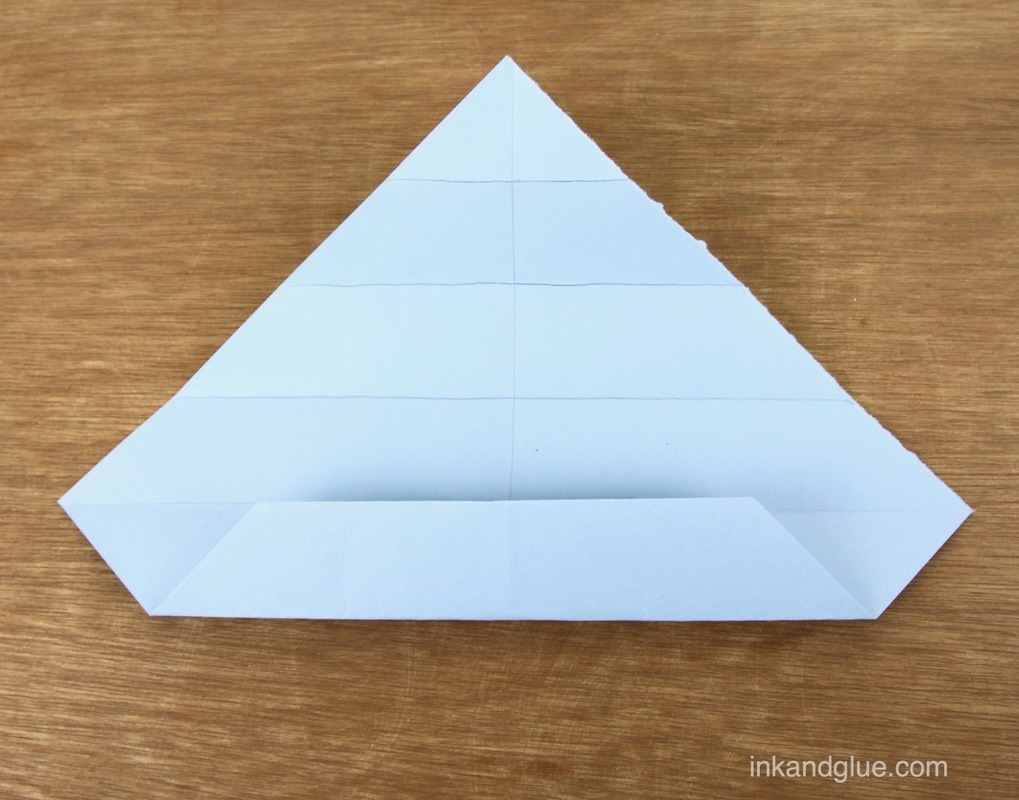
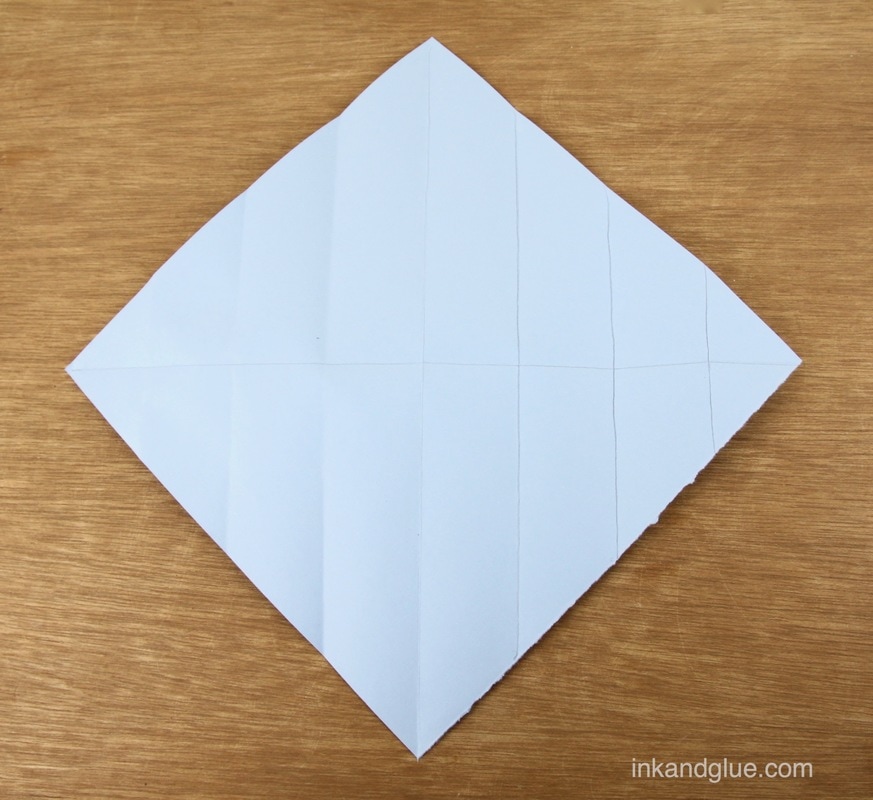
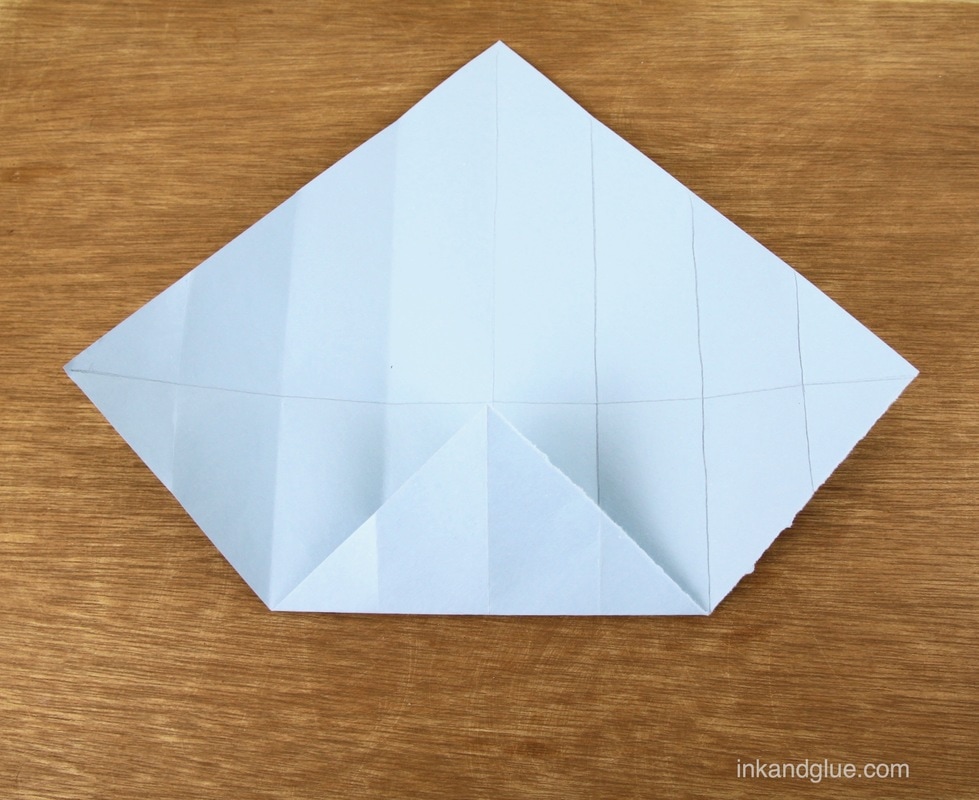
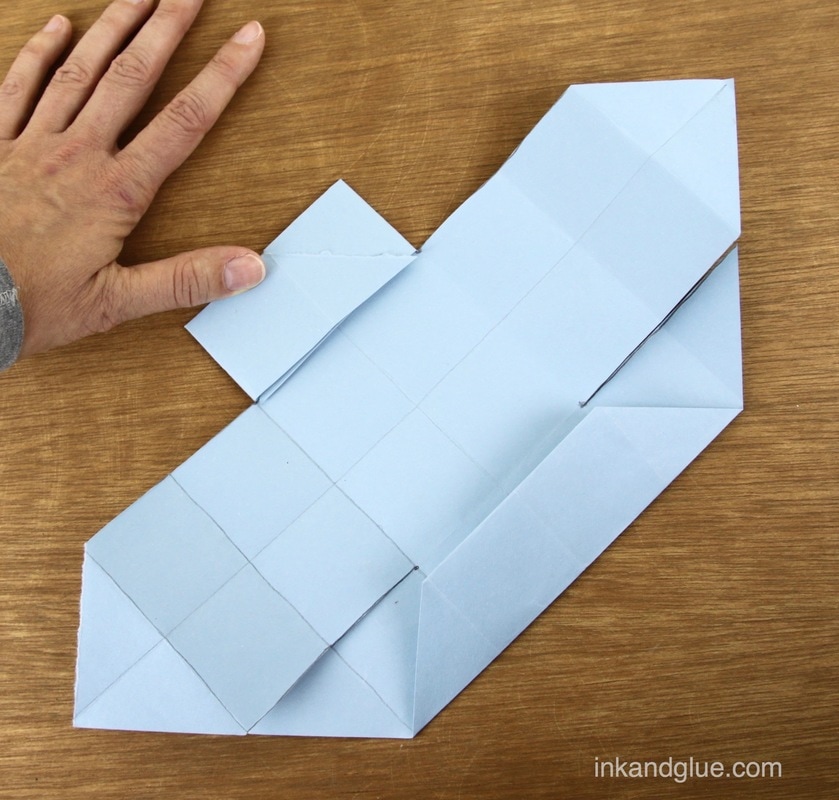
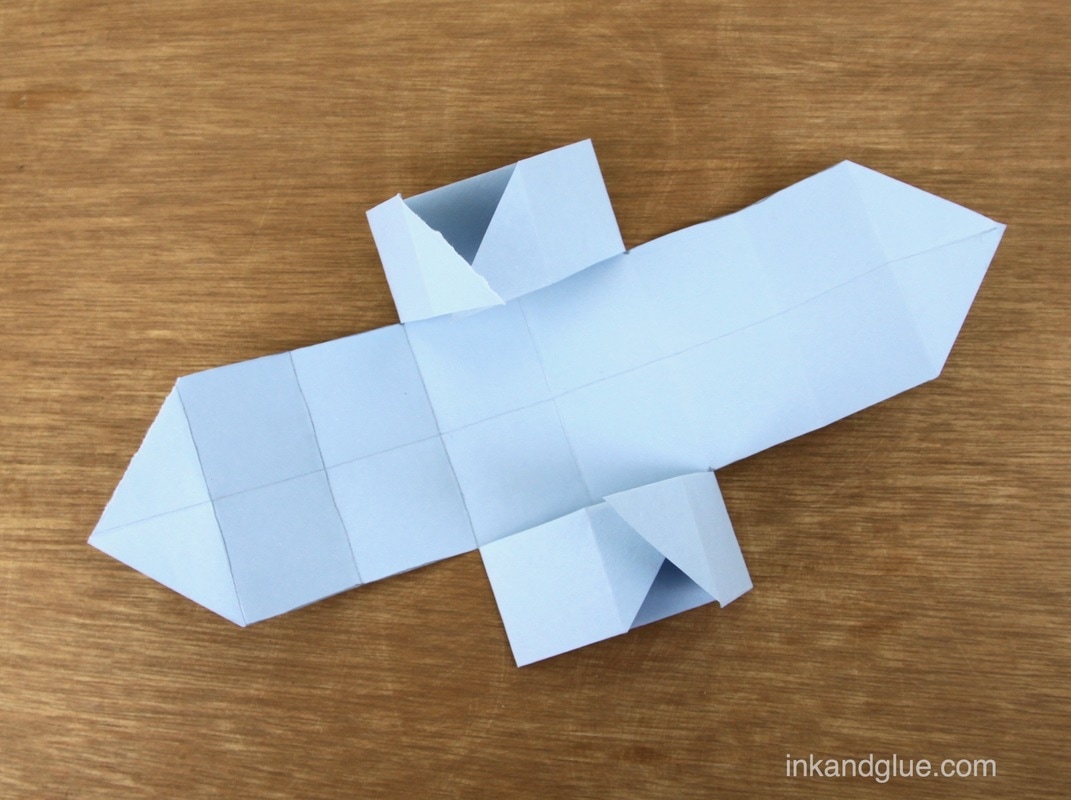
Open up your square. You should see that your paper is now divided, by folds, into smaller squares. 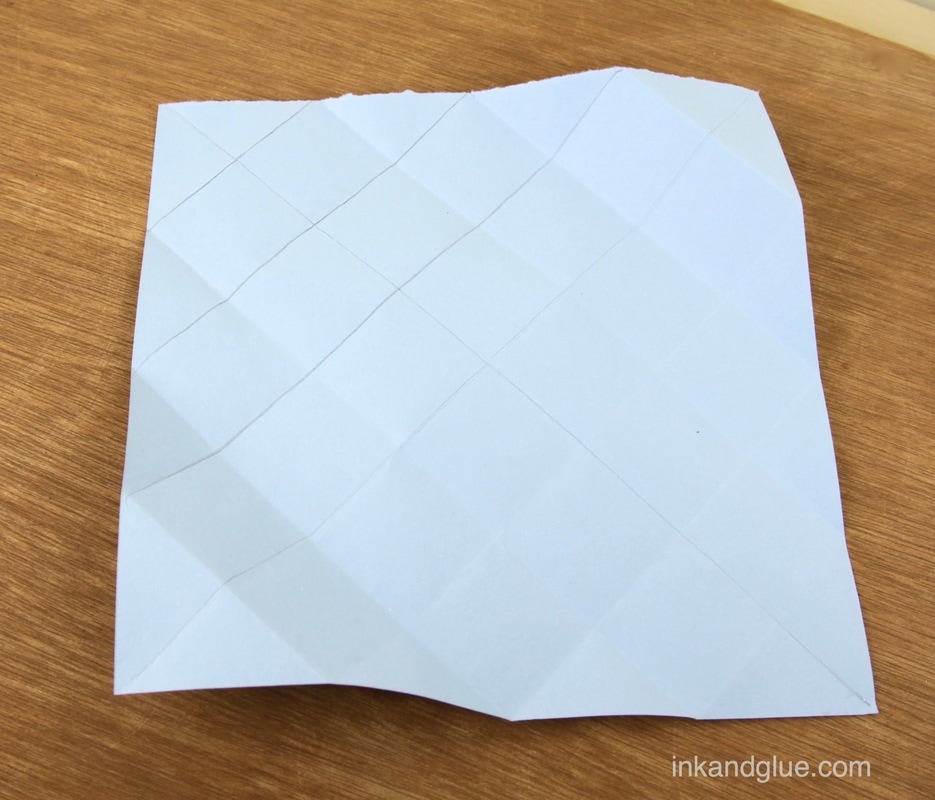 Locate the four squares in the very center of your paper: This will be the base of your box. Pick two opposite corners and mark lines from the edges to the four corners of the base square, as shown. 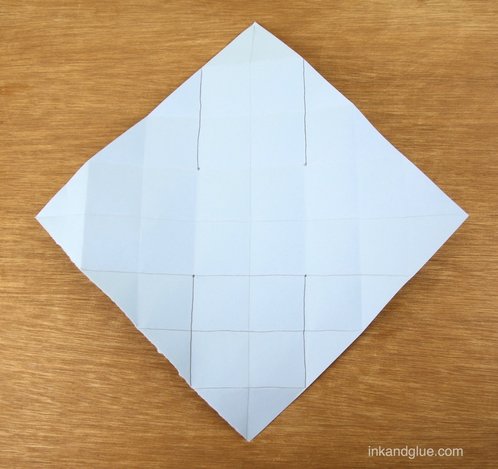 Cut (or tear, if you're confident) those four lines, but be sure to stop each cut before you reach the center box. 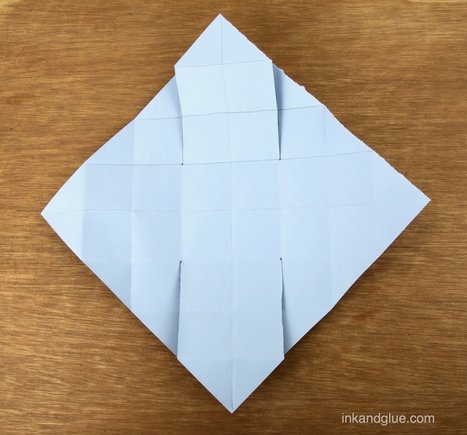 Rotate the square 90 degrees again; you'll be working with the big, wide flaps. Fold one corner over to meet the next fold up, and then fold it over again to meet the next fold — essentially, you're rolling up the wide flap. 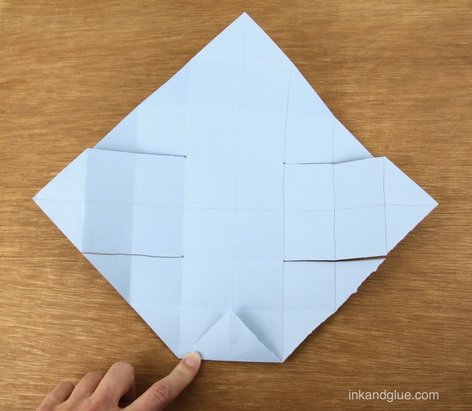 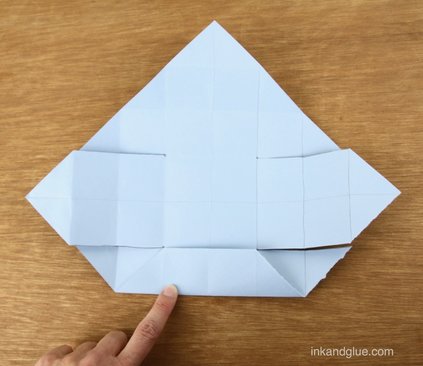 Do the same with the opposite flap. It should look like this, more or less: 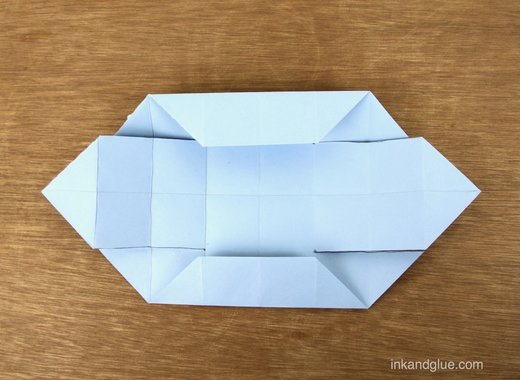 Fold in the sides of these rolled-up flaps, two squares in from the sides, as shown. 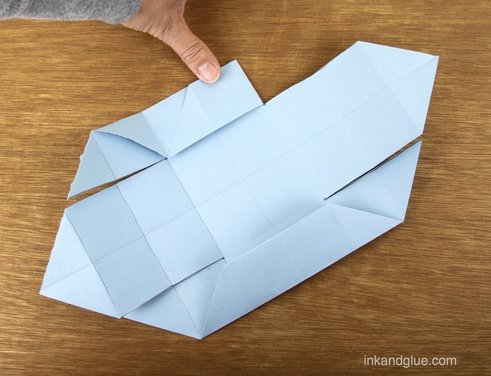
Unfold these flaps a little so you can see a box shape start to materialize.  Fold the other two flaps over the ends of the rolled-up sides you just put in place, magically joining them together. 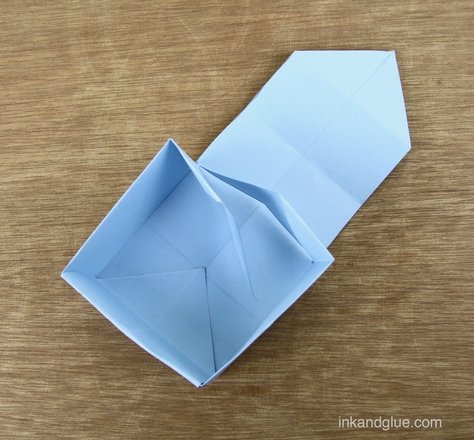 Ta-dah! A box! 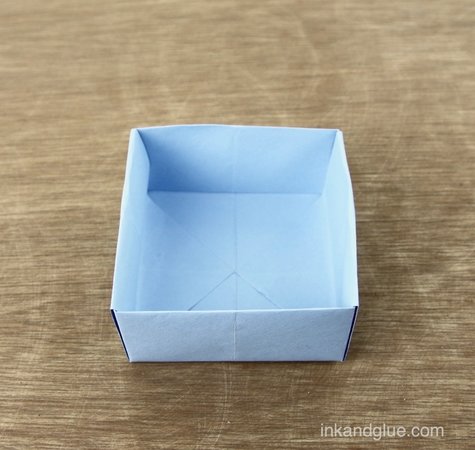 The box will usually stay together just fine without any glue or tape, but if you want it to stay straight and sturdy, add a little glue underneath the two flaps in the center of the base. If you want a top for your box, make one from a slightly smaller piece of paper. You'll be able to slide it into the first box upside-down. It's also neat to make a whole set of nesting boxes in multiple colors and patterns. Or just make one, and put a little stuffed dog in it! 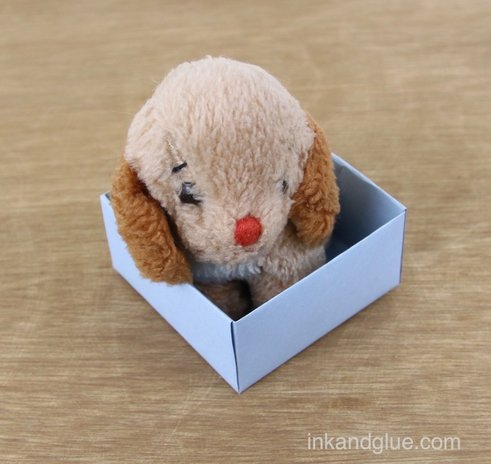 A perfect fit! xo
Comments are closed.
|
Categories
All
Archives
March 2017
AuthorI'm Debbie Way, an artist and writer who enjoys making things. |
 RSS Feed