|
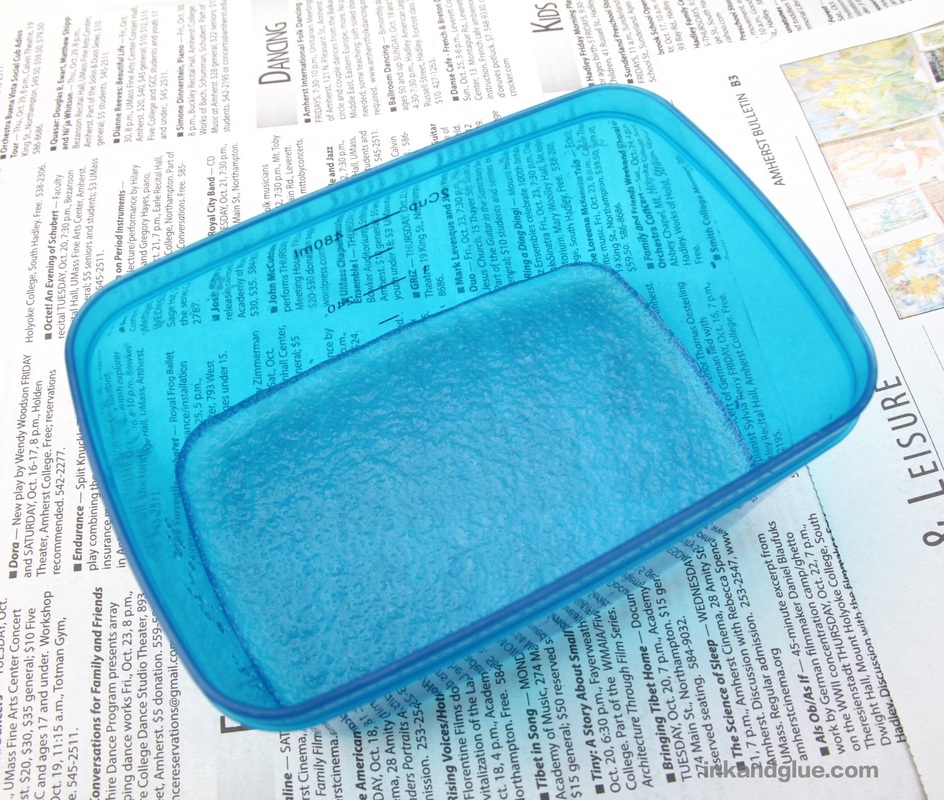
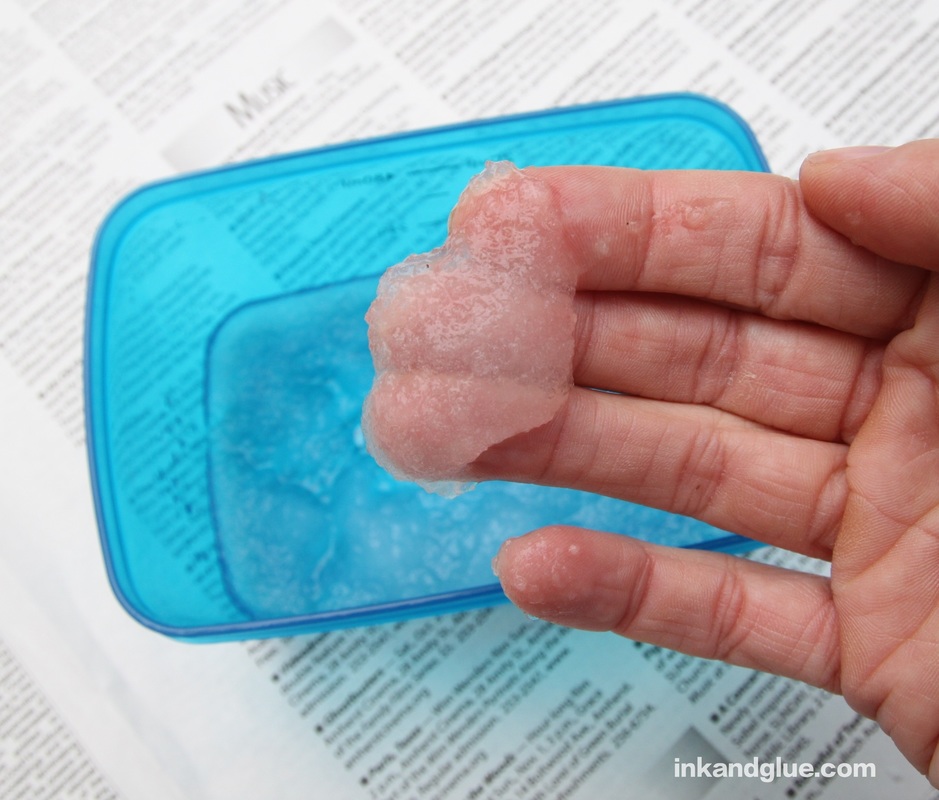
Ahh, the Halloween season. When families carve pumpkins, dress up in costumes, eat candy together, and of course, set up the traditional Halloween eyeball tree. 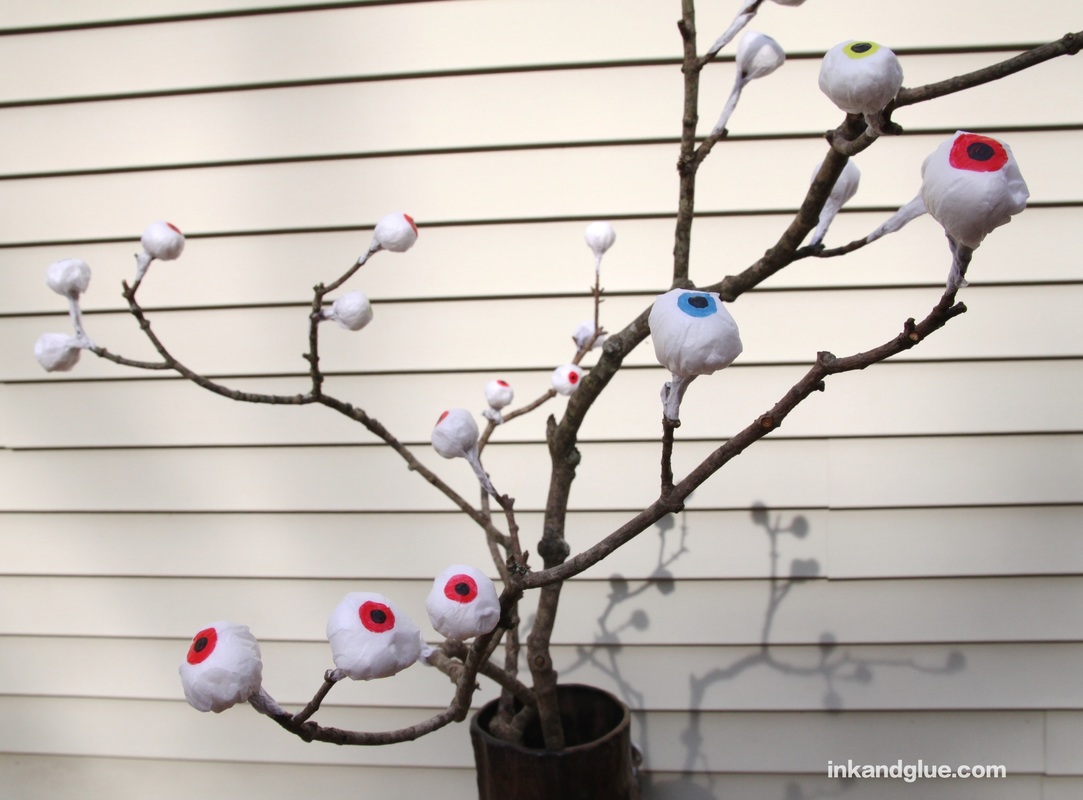 This is a fun craft, and it's got some messy parts, which kind of goes with the theme. It's also, like pretty much everything I make, very inexpensive. You'll want to start by finding the right branch or two. I happened upon one in my yard that was pretty much perfect, but I know from experience how rare that is. You'll want one that has a bunch of smaller branches that, um, branch out, so you'll have stems for your eyes. Get out a large vase that's heavy enough to hold your branch without tipping over. The next important ingredient is powdered wallpaper sizing or adhesive. You can use papier mache for this craft instead, but I like the gel-like consistency of the adhesive; since it's less watery, it won't instantly dissolve the tissue paper you'll be using. It also dries super strong, is non-toxic, and is easy to clean up. One container will last you for years, and once you try it for papier mache, you'll never go back to flour and water. Trust. For enough adhesive to make a whole tree, pour about a third of a cup of water into a container. 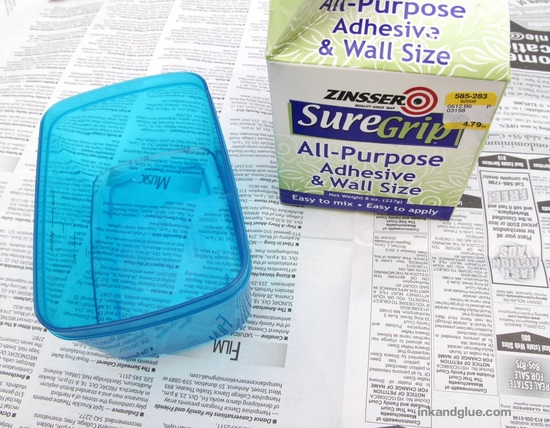 Sprinkle the water with just a little of the adhesive powder — maybe half a teaspoon, at most. Swirl it around with your finger, then let it sit for five minutes. It will magically turn into a clear gel (at right).
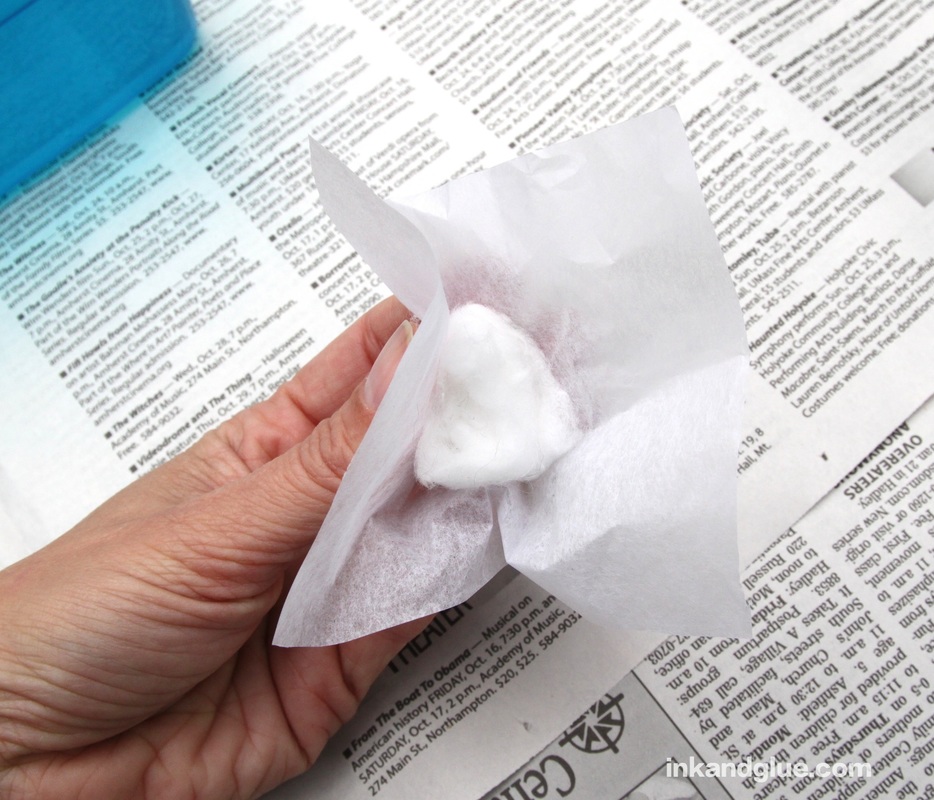
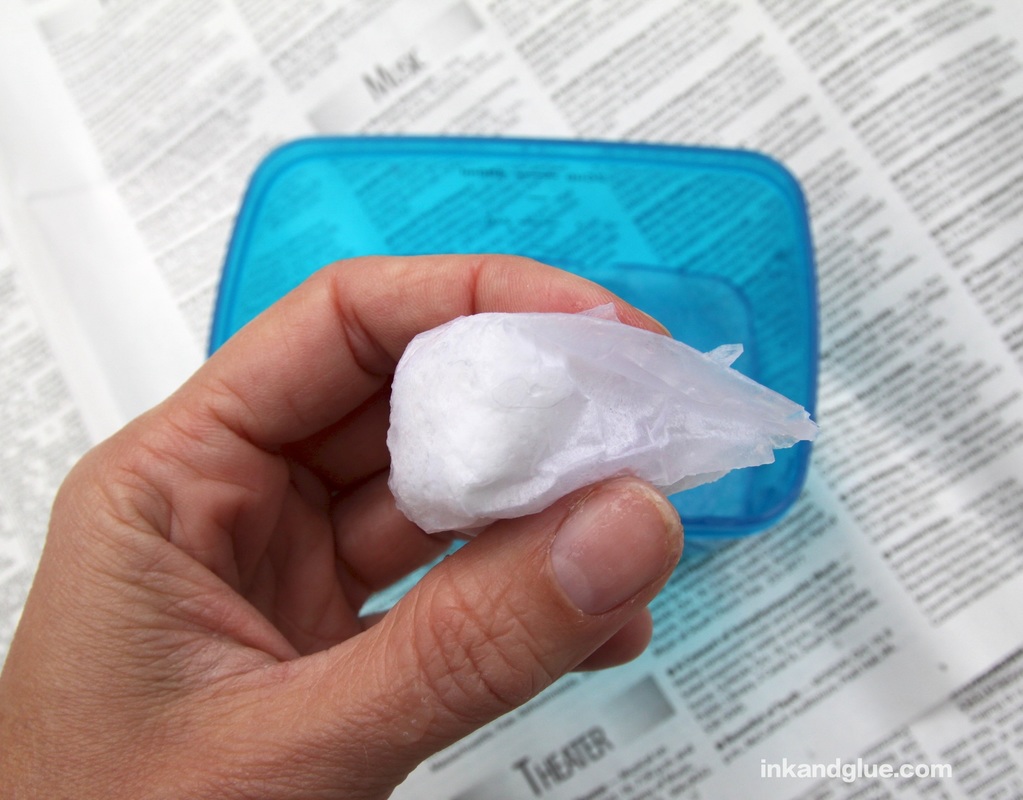
Cut white tissue paper into squares about 4 inches wide. For each eyeball, place a cotton ball in the middle of a square, and gently crumple the paper around it so the cotton is enclosed.
With your other hand, scoop up a bloop of the adhesive. Dab and smooth it onto the paper. Try to keep the rounded end smooth and unwrinkled.
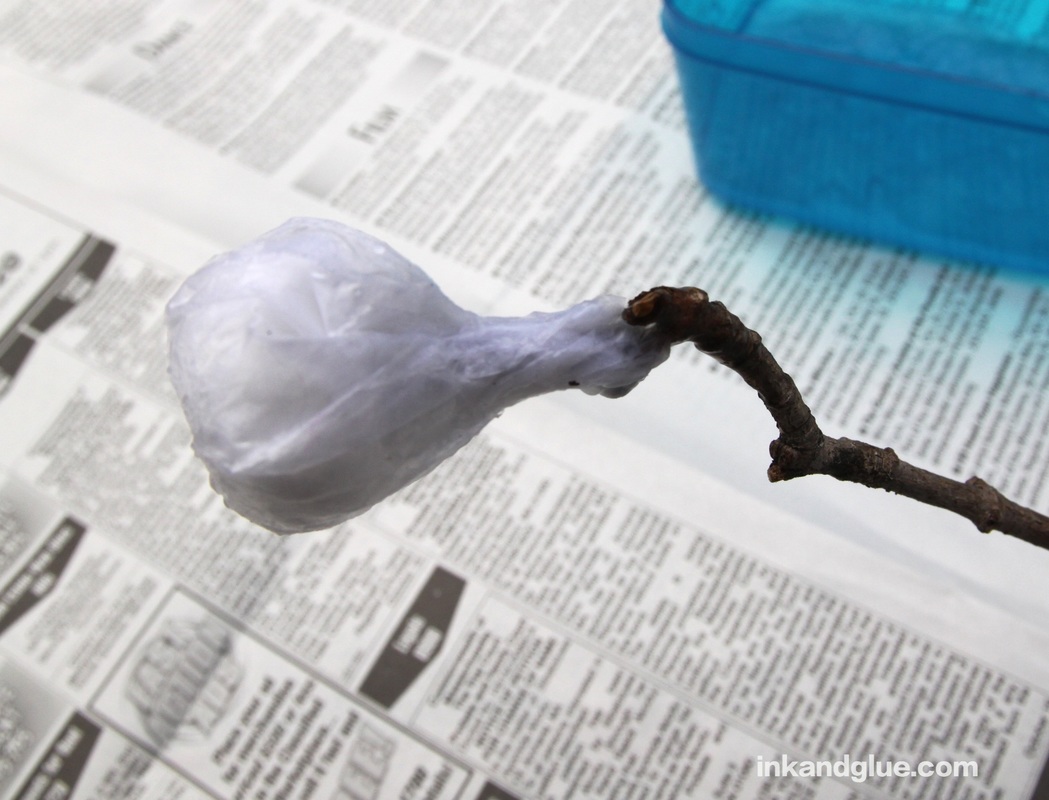
Open the end of the eyeball a little, and place it onto a branch end. Smooth the ends of the gelled paper onto the branch. Twist the paper around the branch a bit as you smooth everything down. This is a two-handed process, despite what you see below. 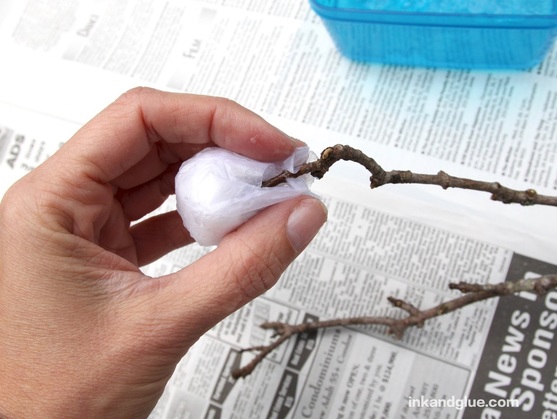 This is what your finished eyeball will look like (at left). And here's what the entire branch will look like, once you've added multiple eyes and let them dry overnight (right).
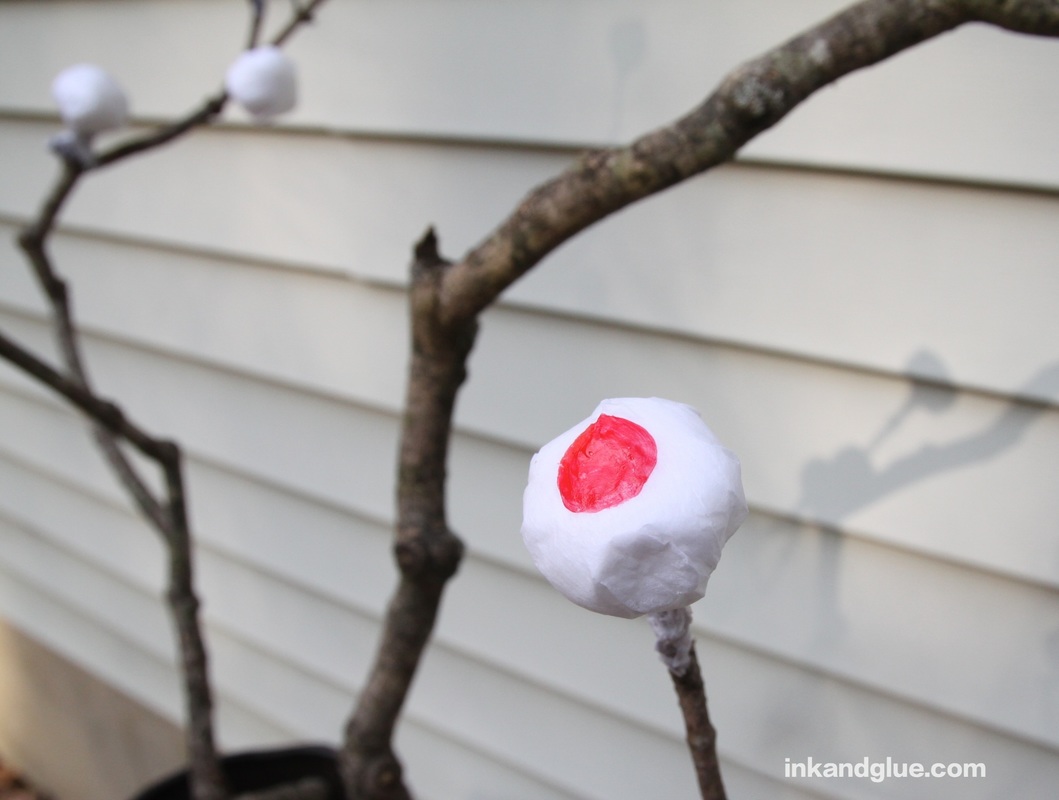
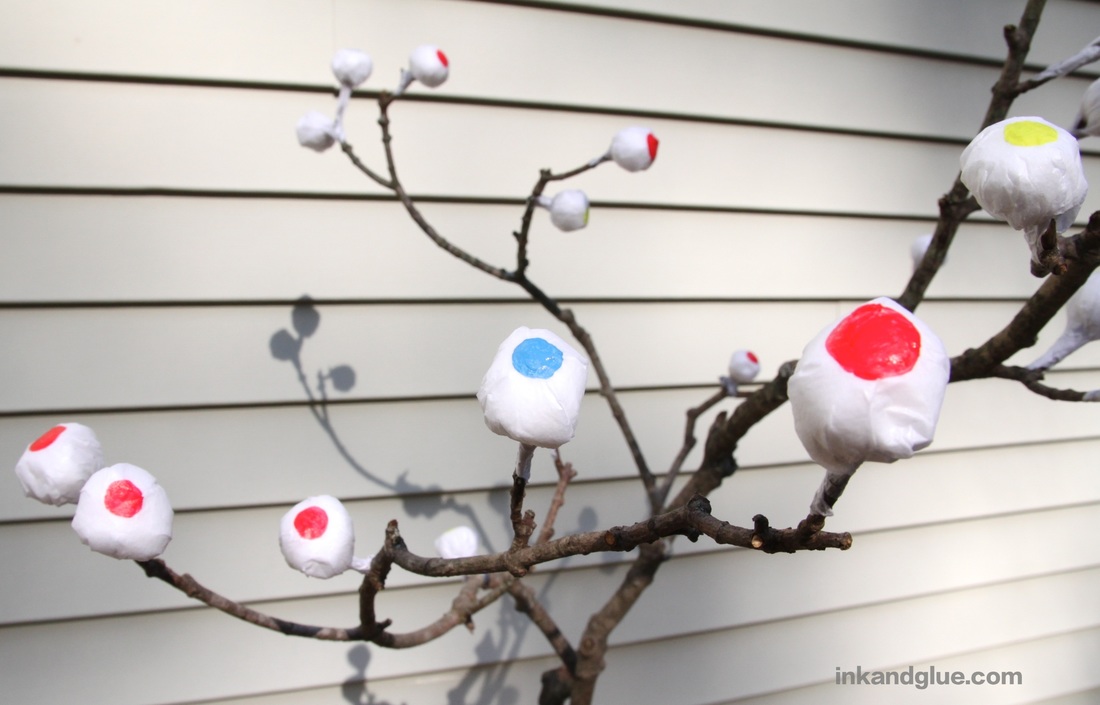
If you wanted to be minimalistic and mysterious, you could stop right here, and have a creepy branch with unsettling white blobs growing on its ends. For eyeballs, use a bit of craft paint to add dots to each paper blob. I painted most of them red, with a few blue and chartreuse green ones for diversity.
After the paint is dry, add pupils with black acrylic paint. If you are worried about making perfectly round dots, use a hole punch and black paper to make pupils, and add them with glue. But I think that with disembodied eyeballs you should expect a bit of imperfection. 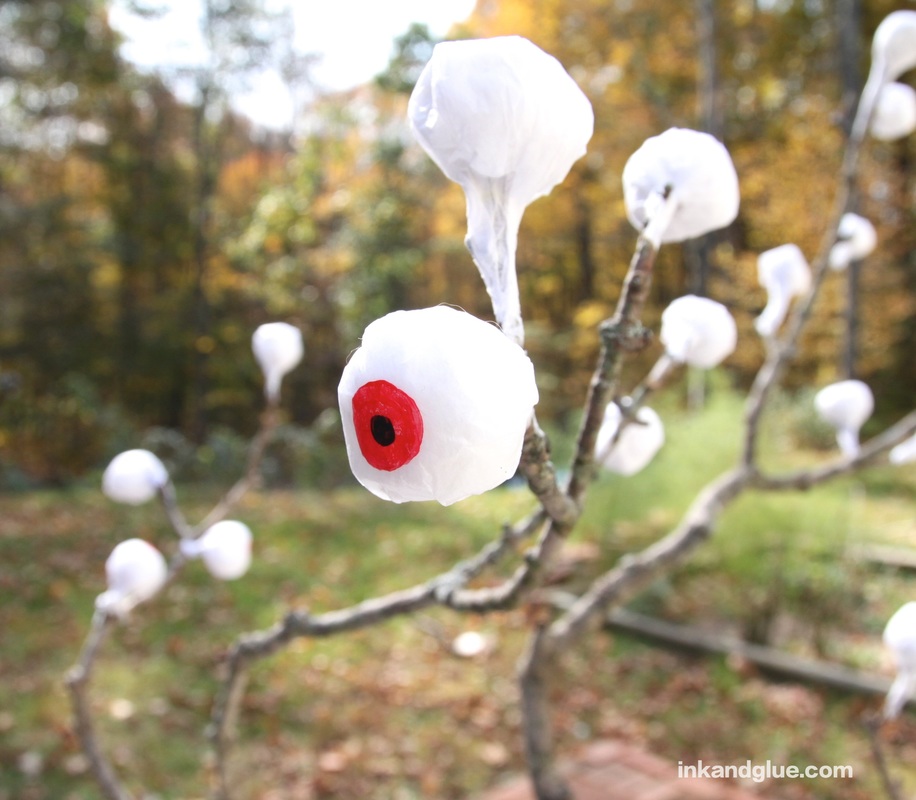 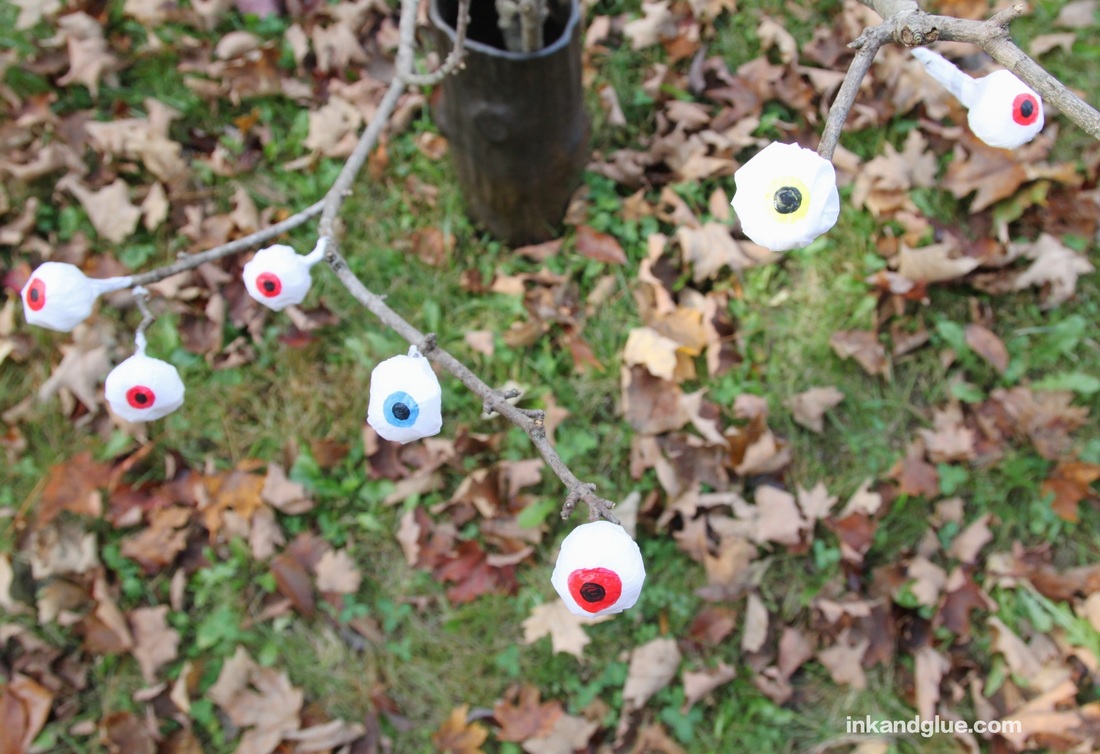 And you're done! Bask in the glow of your all-seeing eyeball tree all Halloween. Happy haunting! xo 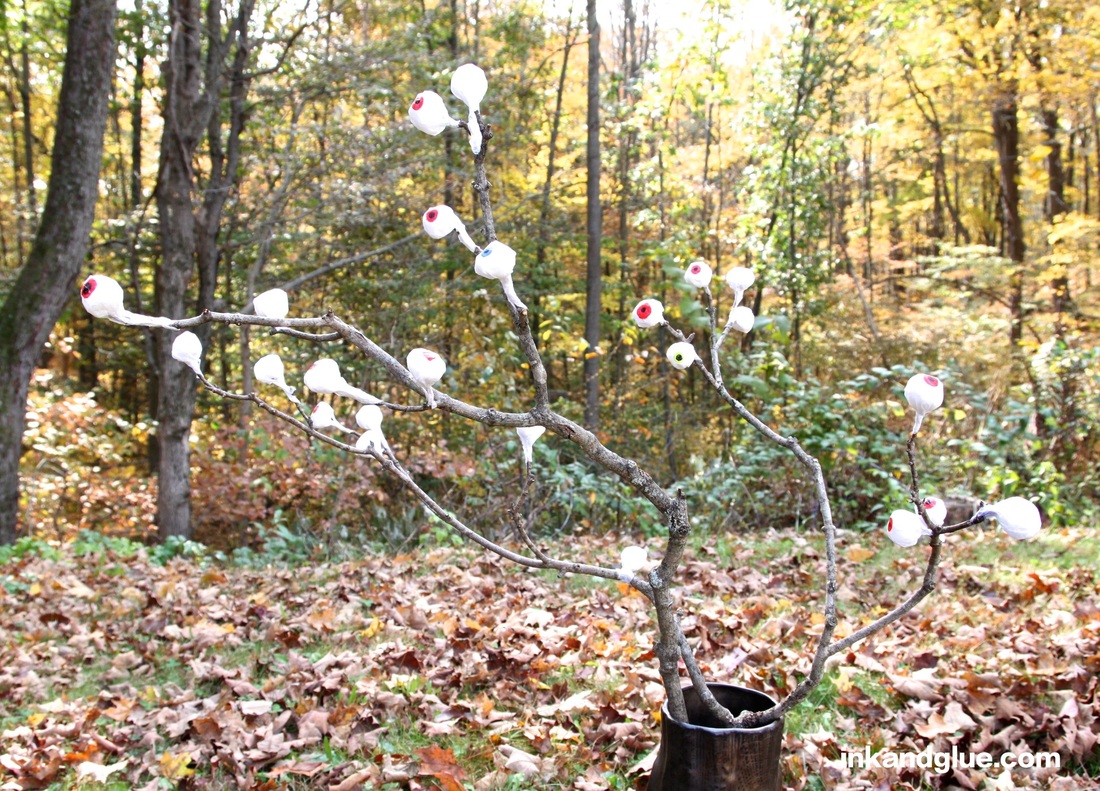 Comments are closed.
|
Categories
All
Archives
March 2017
AuthorI'm Debbie Way, an artist and writer who enjoys making things. |


 RSS Feed