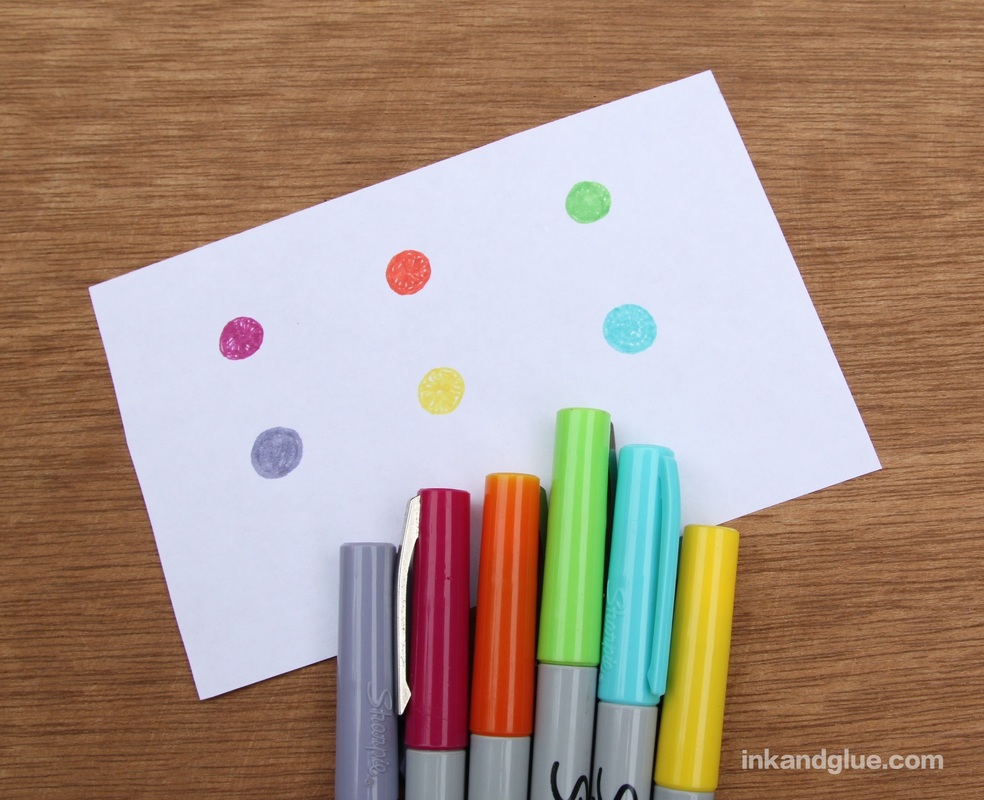
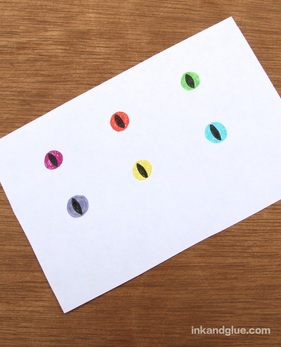
 Recently, as I was sorting through a drum-sized tin of marbles (long story), I found a bunch of clear glass blobs that had been mixed in. I wanted to do something Halloweeny with them, so after a few false starts, I came up with this twist on the classic glass marble magnet craft. Journey with me now into the lair of the all-seeing beasts! First things first: Get some glass marble blobs. (Product links go to an affiliate site; I get a few cents if you purchase things after clicking through. I only link to products I trust.) Then, with the blobs as a size reference, draw several irises with markers on a sheet of regular-weight copy paper. Add irises with a black pen (I used a plain ol' roller-ball writing pen).
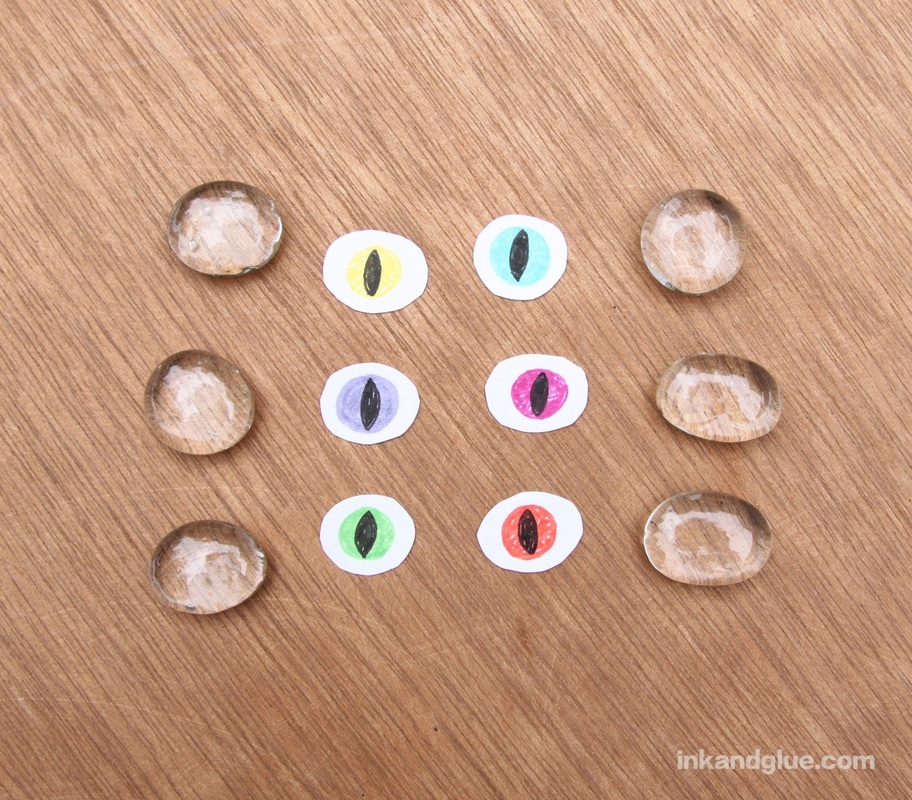
Cut out the irises, leaving white space all around the edge. Just trim them to be roughly the same size as the flat part of the marble; it doesn't need to be exact. See how the paper appears to fill the space when the marbles are on top? Optics are fun!
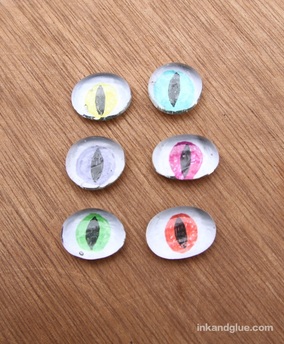
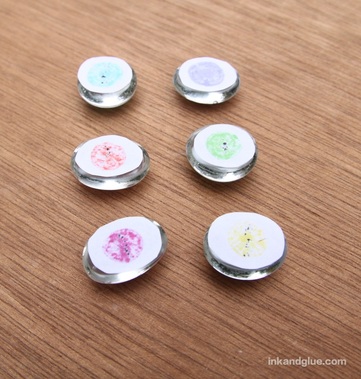
Now you need to attach the paper to the marble blobs. Brush a coat of Mod Podge onto the flat part of a blob, then place the paper eye on top, drawn-side down. If you peek and look at the round side of the marble, it will look white and gluey. Do not be concerned; magically, it will dry clear. Leave the 'podged blobs paper-side up to dry.
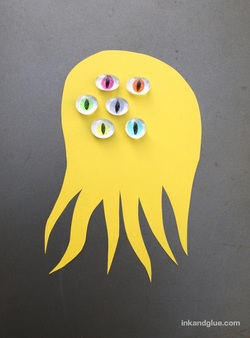
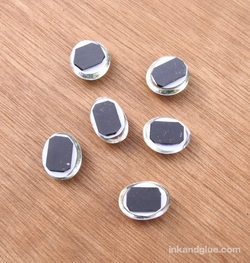 Once the Mod Podge is dry, and the image looks clear on the rounded side, you can add a magnet to the back of each one with tacky glue. I would not recommend you do what I did, which is to cut up a free business-card-magnet, because the pieces only barely hold up a single sheet of paper. Try self-adhesive flexible magnet tape or a sheet you can cut to fit; it won't be very strong, but it's easy and kid-friendly. For super strength, get round ceramic magnets (but only if there are no toddlers in the house; they're a swallowing hazard. Kids, please don't eat magnets). Now, the fun part! Cut out monster silhouettes from colored paper. (I did mine freehand, as you can probably tell.) Use your new eyes to hold the shape to your fridge or a spooky, possibly haunted old cookie sheet. I liked keeping my monsters simple with eyes only, but it's a cinch to add other monster features, especially if you have leftover magnets. Attach them to cut-out paper shapes that resemble noses, mouths, eyebrows, and ears. You'll end up with a free-form magnetic Mr. Monster Head! 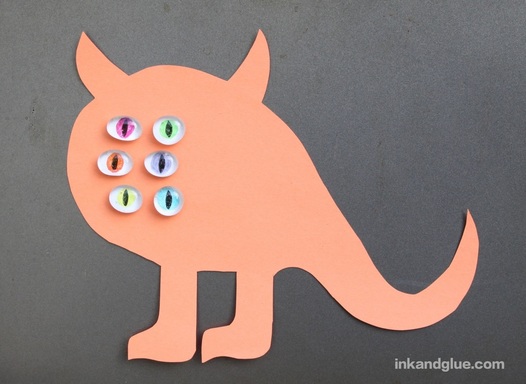 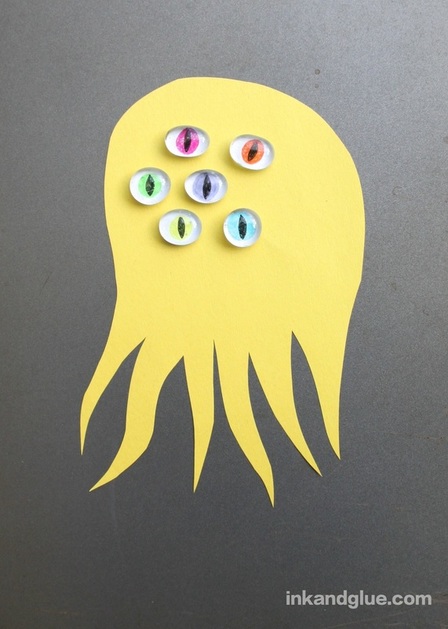 Happy monster-making! xo
Comments are closed.
|
Categories
All
Archives
March 2017
AuthorI'm Debbie Way, an artist and writer who enjoys making things. |

 RSS Feed