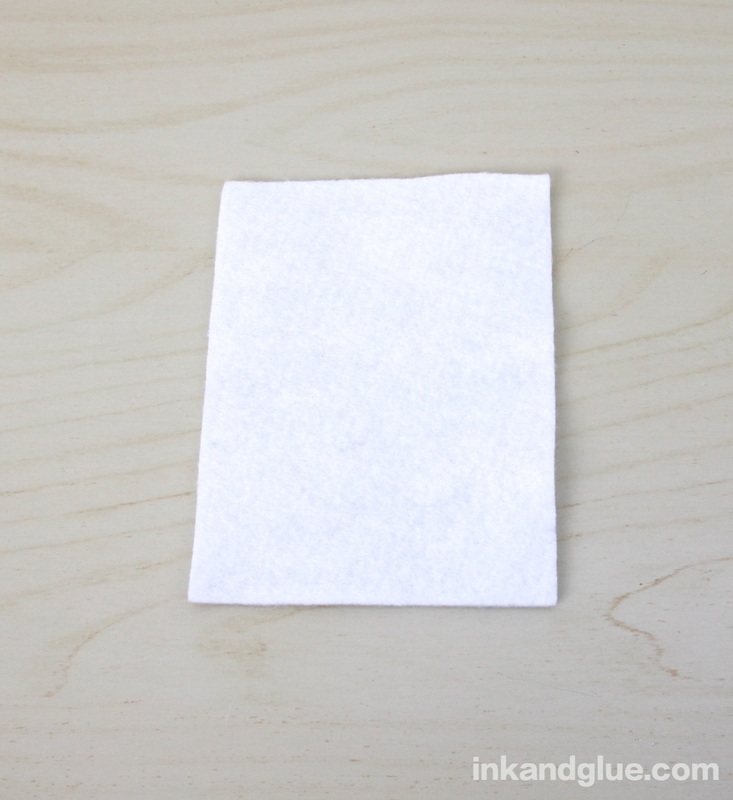
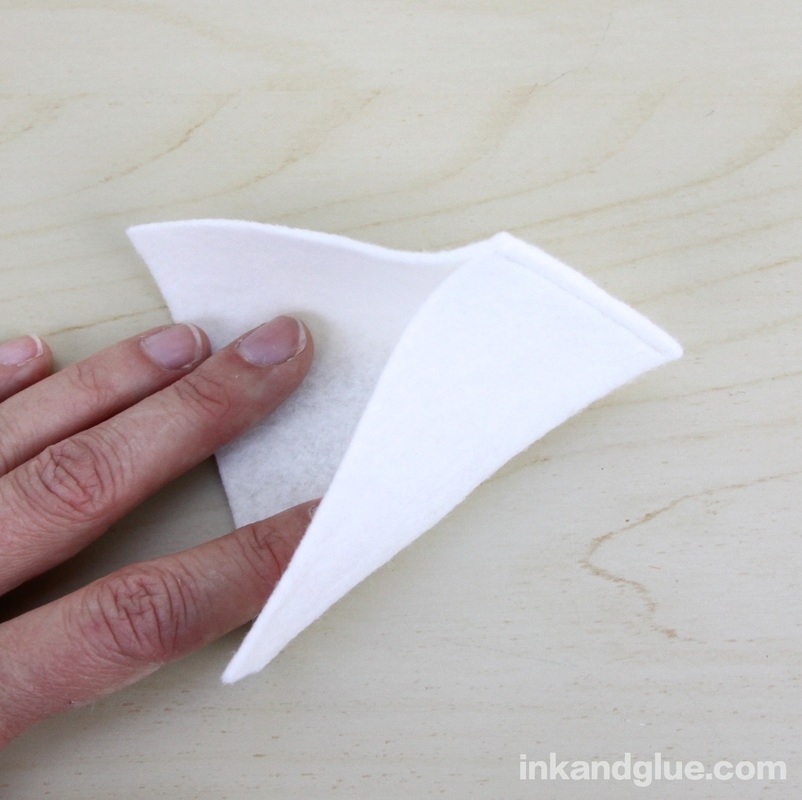
 I truly love giving gifts. Advent calendars are extra fun for me because I can fill them with whatever silly, cute things I think the recipient would like; no wish-lists need to be checked, no relatives will be conferred with to make sure we didn't both get a kid the same thing. Everything given is tiny and cheap and purely for fun. This advent calendar idea is the result of combining a few of my favorite things: wool-blend felt, mini clothespins, garlands, and my new circle punch. Though it takes a couple of hours to create, you can use it year after year. If you be sure to use colors other than just red and green, and switch out the clothespinned numbers for letters, you can even use it for a birthday or other celebration. Here's how it's made. Start by cutting 24 rectangles (mine are 3.5 by 4.5 inches) out of felt. I used a rotary cutter and a quilting ruler, but it's not difficult to use scissors, especially if you make a paper template to follow (so you don't need to mark the felt).  Next, take a rectangle and fold it in half, long-ways. Pin it, then sew one side closed, with the seam as close to the edge as you can comfortably go.
Once all 24 of the pieces are sewn on one end, you'll be attaching them to a length of grosgrain ribbon. Open up a pocket like so:
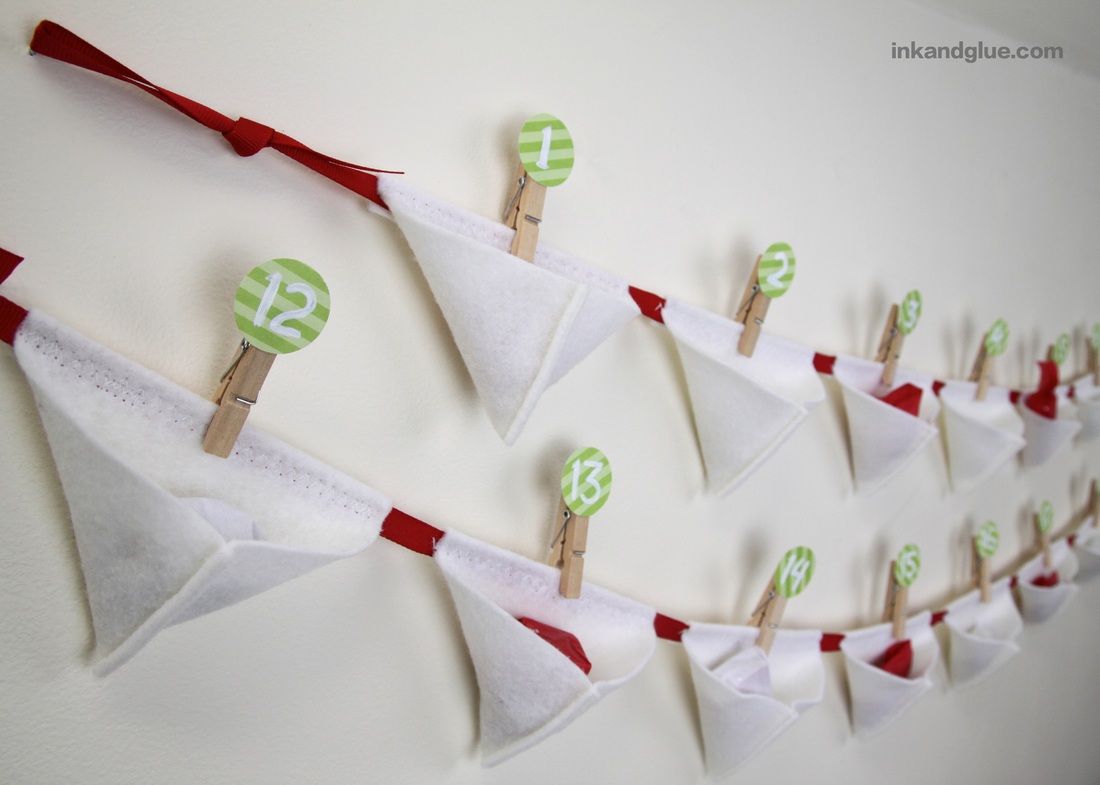
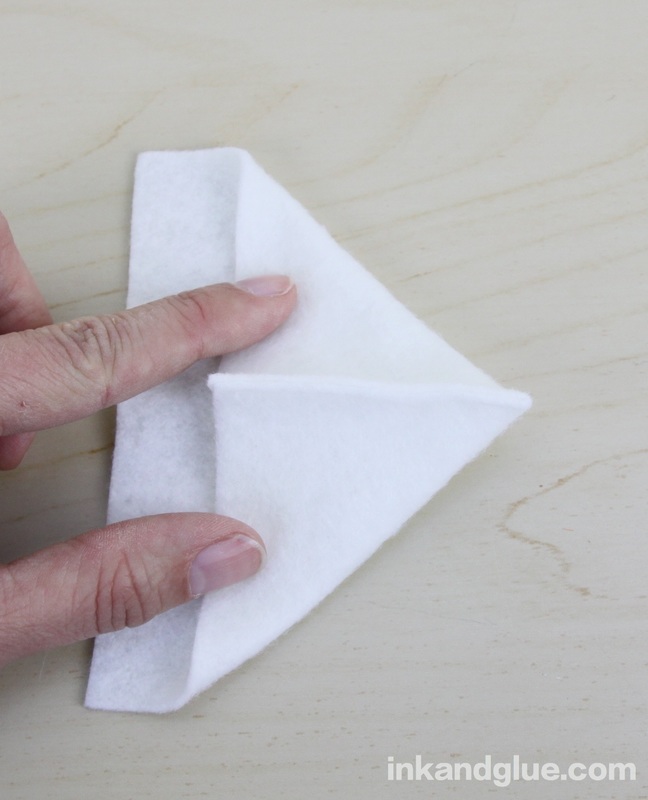
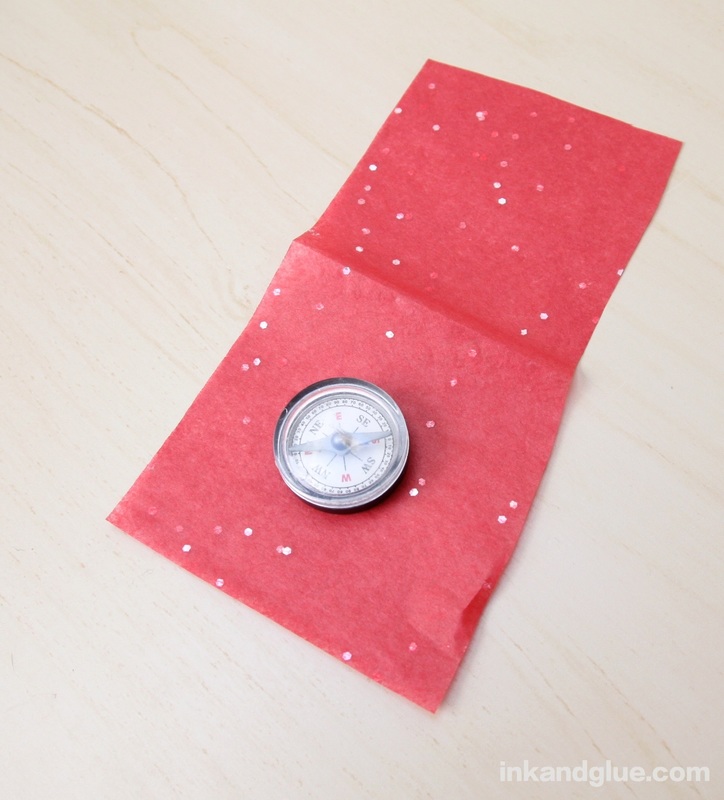
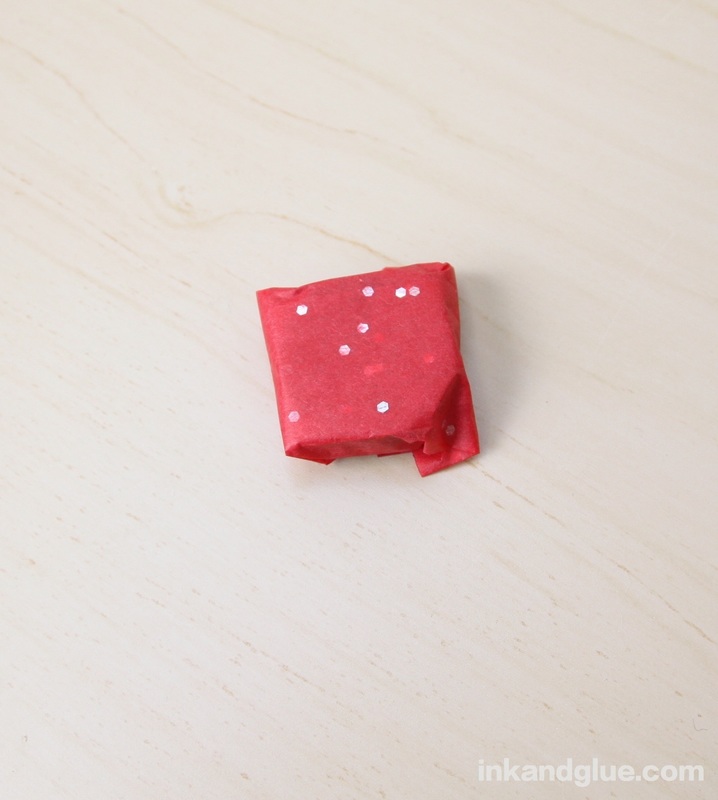
At this point, plot out where on your walls you'll be hanging your advent. How wide of a space do you have to work with? Divvy up the pockets among two, three, or four separate lengths of ribbon, accordingly. About a foot from the end of a ribbon piece, fold the long, straight edge of the pocket over the ribbon, encasing it. Pin it in place. Use a zig-zag stitch to secure the felt to the ribbon.  Add another pocket about an inch from the first, and repeat with the pinning and the sewing. I ended up pinning and then sewing three or four pockets at a time. 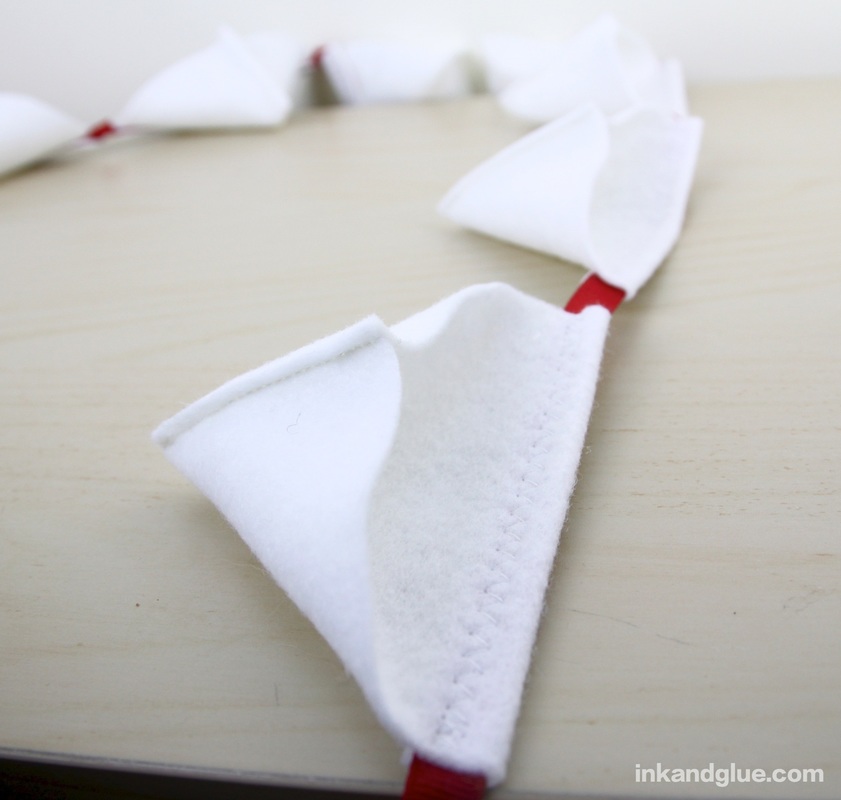 Make the numbers 1 through 24 any way you like. I used a one-inch hole punch to make disks from some green scrapbooking paper, and I painted on the numbers with white acrylic paint. Glue your numbers, however you depict them, to mini wood clothespins. [Note: link goes to Amazon; I get a few cents if you make a purchase after clicking. The items I've linked to are the exact things I used.]  Tie simple loops on each end of the ribbons, and hang them from nails on the wall. Attach the clothespins to the tops of the pockets. 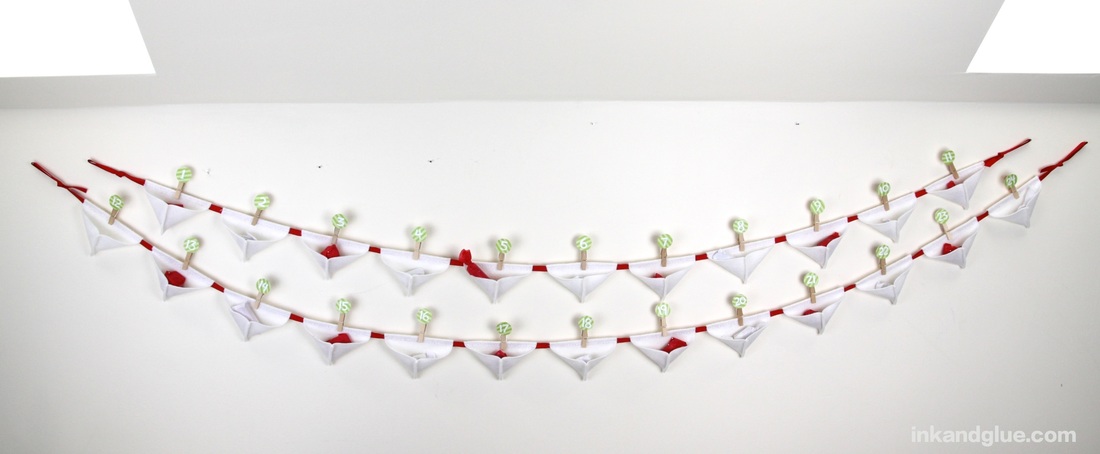 I wrapped a bunch of tiny and inexpensive toys and candies with glitter-infused white and red tissue paper. If you don't want to give more stuff, you can always just write on slips of paper notes of admiration, or jokes, or coupons for favors ("with this coupon, you are entitled to choose the toppings for the next pizza ordered"). I recommend a combo of notes, stuff, and candy, just to keep your kids on their toes.
Happy holiday planning! 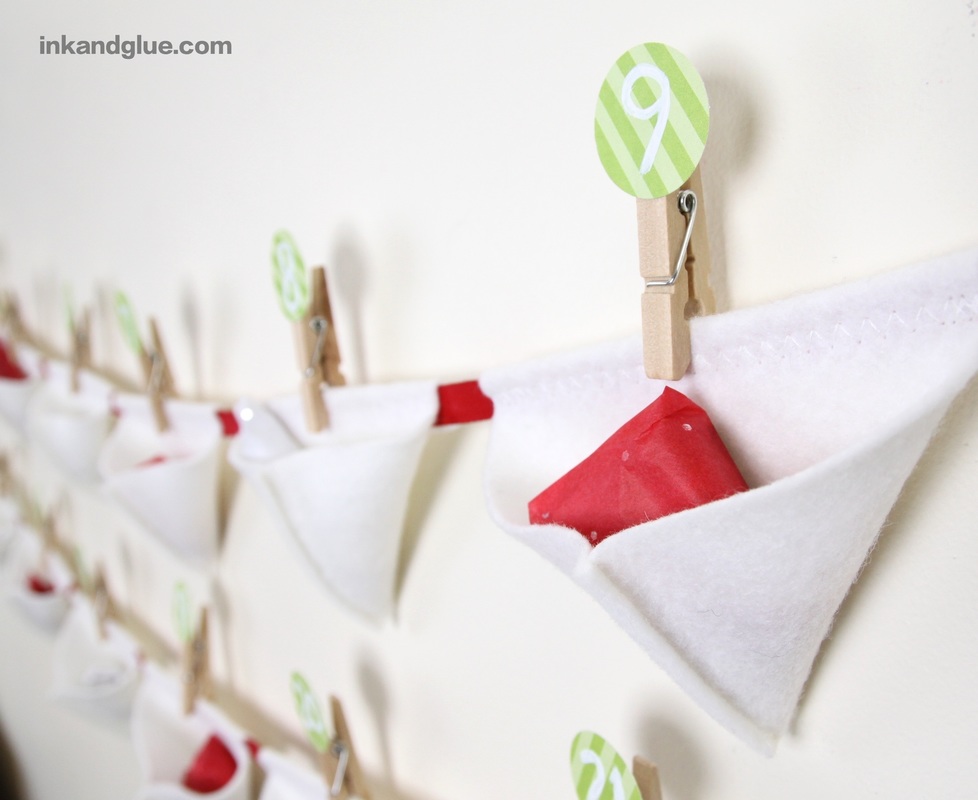 xo.
Comments are closed.
|
Categories
All
Archives
March 2017
AuthorI'm Debbie Way, an artist and writer who enjoys making things. |

 RSS Feed