|
It always seemed weird to me to give my dad something golf-related (he doesn't play), or sports-related (he has no interest) or even tie-related (he wore a tie to work, but shed it happily as soon as he returned home) for Father's Day. Here's an idea for something that's actually useful and appropriate for pretty much everyone: a small, collapsable, travel-ready box he can use to hold keys, pocket change, iPhone chargers, etc. It's fairly easy to make, and there's no sewing — not even a little!
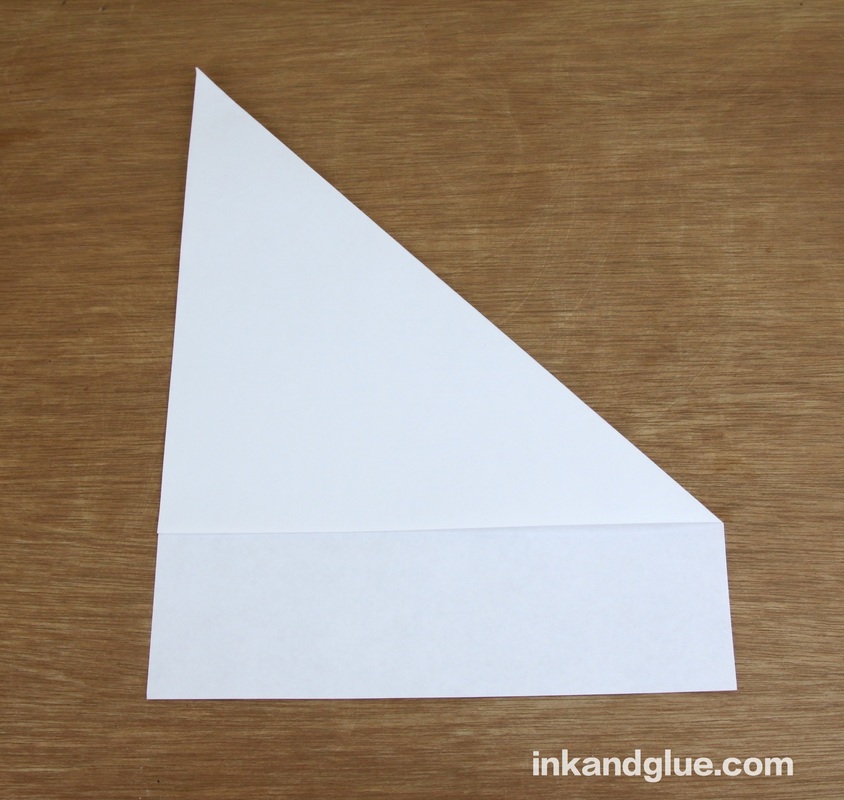
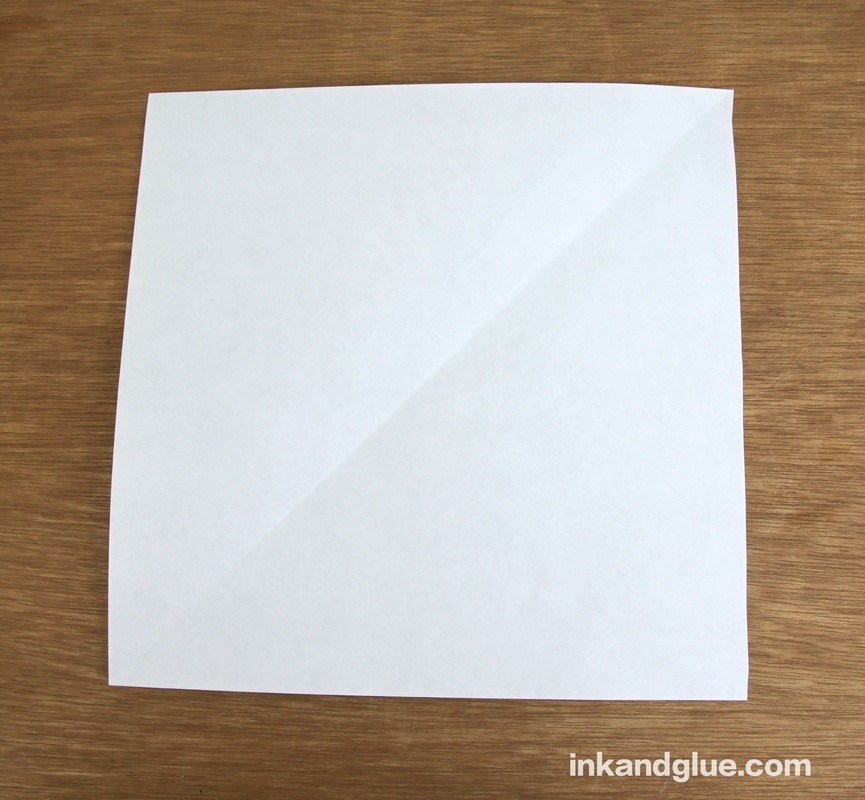
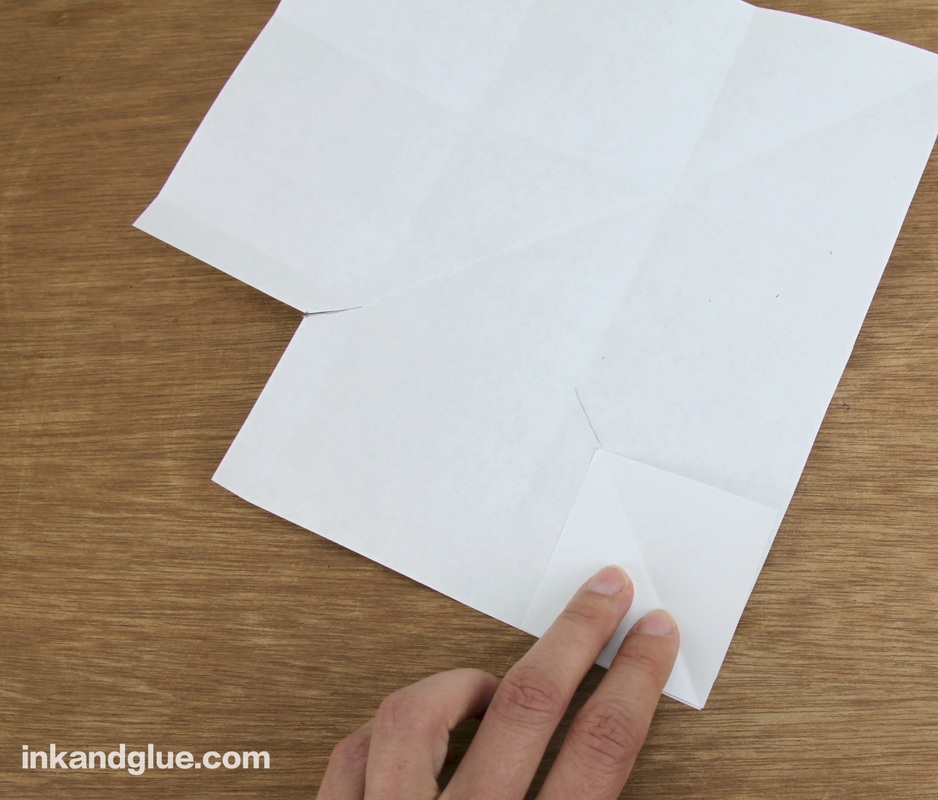
To make one, you'll want to make a template first. Besides being a handy pattern for cutting out the shape, it'll help you see how it all comes together. Do the "cut a square" trick on a regular-sized sheet of copy paper. You know, where you fold one corner to the side, aligning the edges? Then you cut off the skinny rectangle at the end? If I am the first person to teach you this trick, welcome to your new, much easier life.
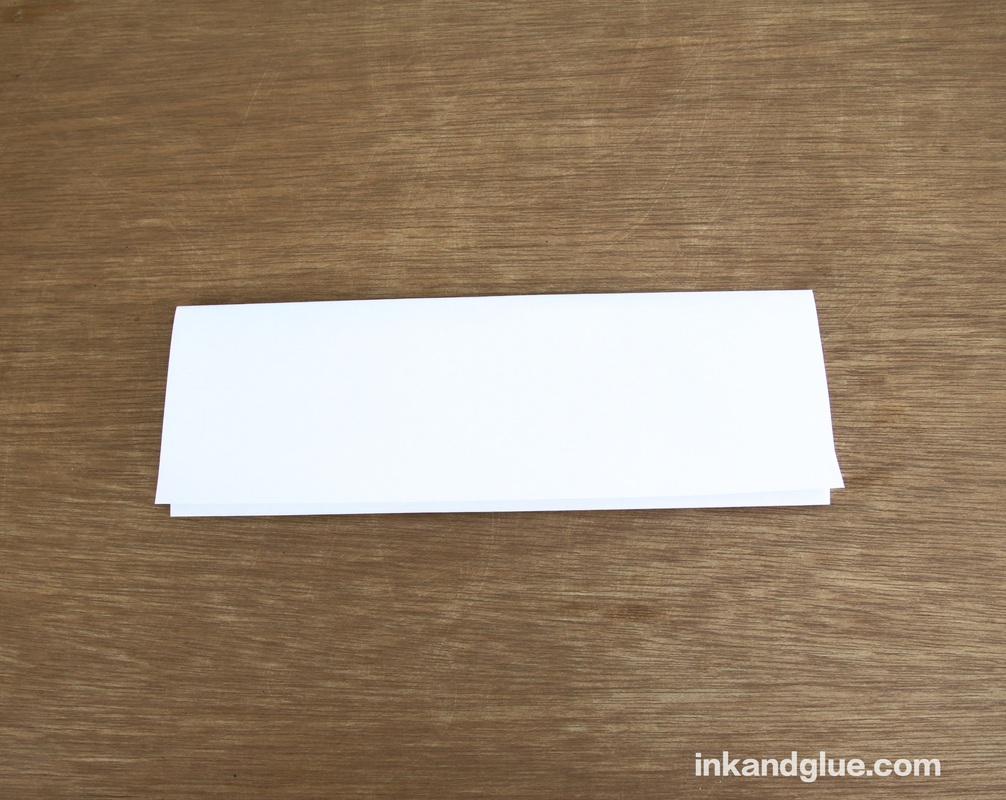
Now fold the square into thirds, like you would a fancy letter. Unfold it.
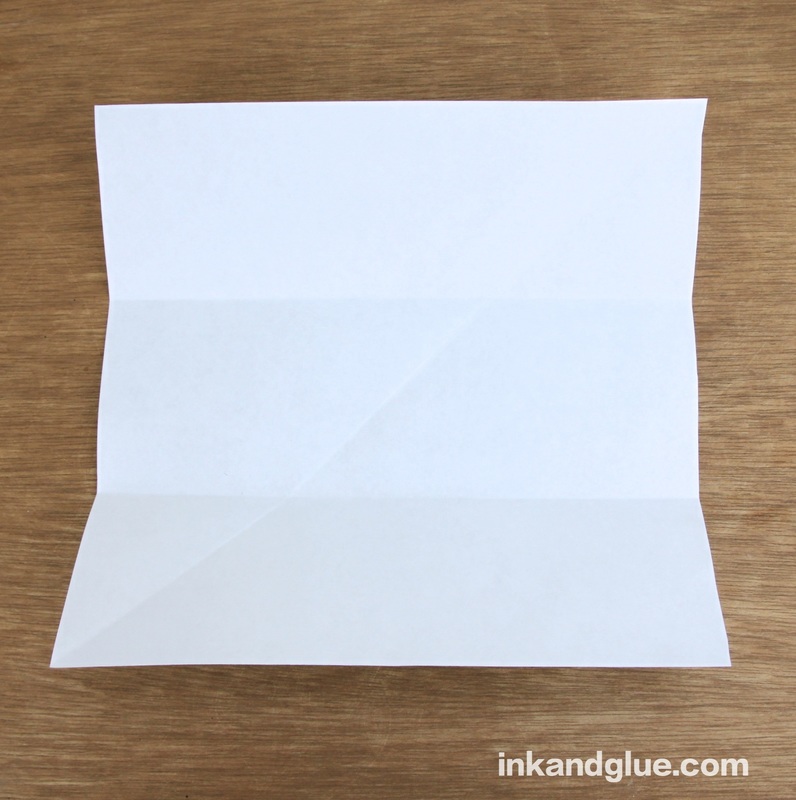
Turn the square 90 degrees, fold it into thirds again, and unfold. Voila, you have marked a grid of nine equally-sized squares on your paper! 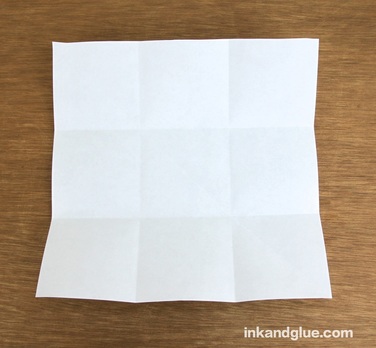
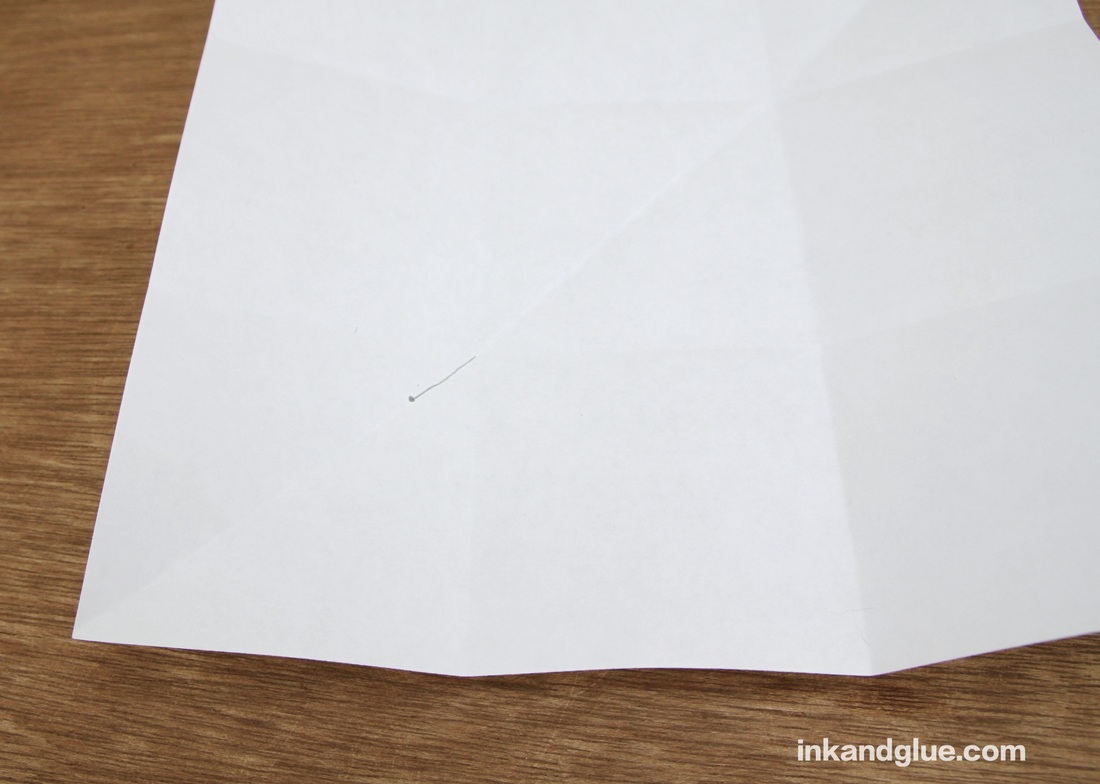
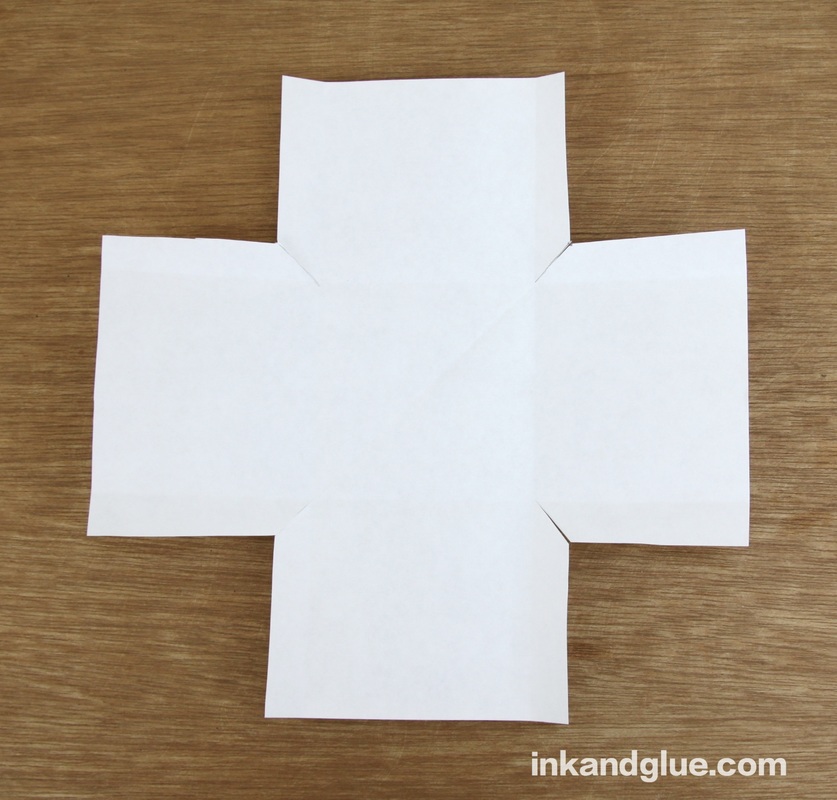
Use that line as the new corner for the square you're gonna cut out. If you want to get precise, use a ruler to draw lines parallel to the square folds (ignore the diagonal fold), from the dot at the end of the line you just drew out to the edge of the paper. Cut along the line you drew, too. 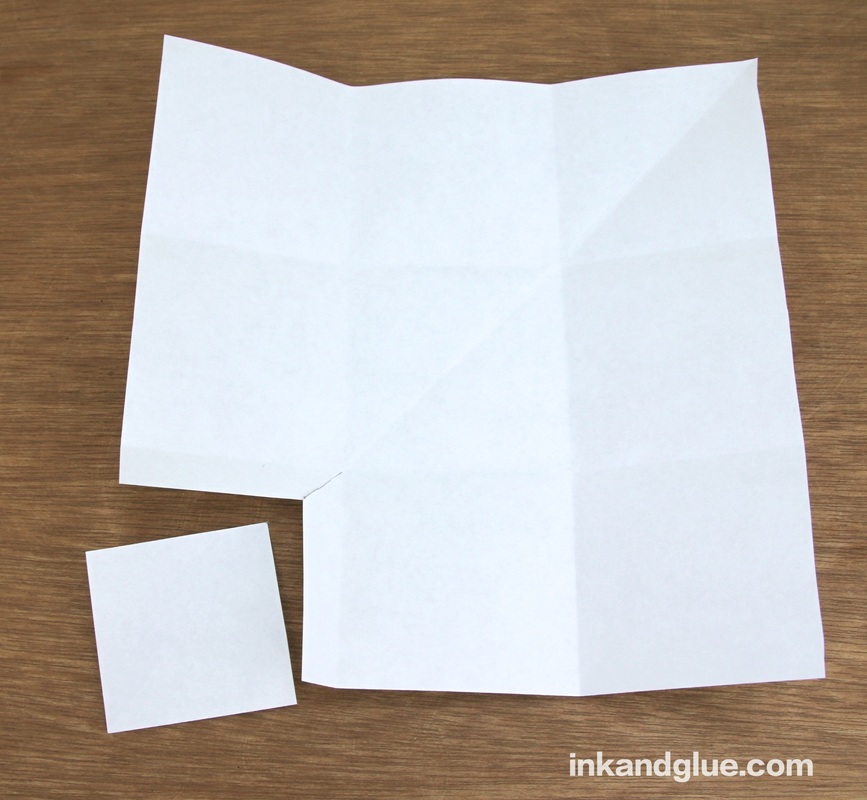 You can now use the square you just cut out as a guide or template to cut out the squares from the other three corners. Don't forget to make the diagonal snip to each inner corner.
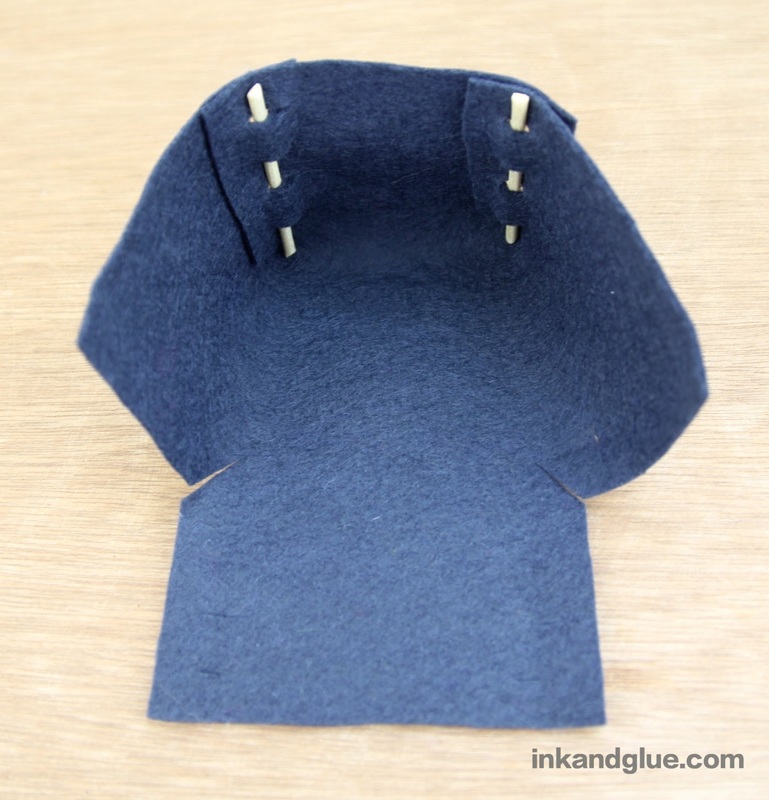
That's your template-slash-pattern! Lay it on top of a nice piece of felt; I strongly recommend a wool-blend felt, which you can get at any major fabric store, nowadays. It's possible even craft stores have nicer felt for sale, but I admit that I haven't looked recently. 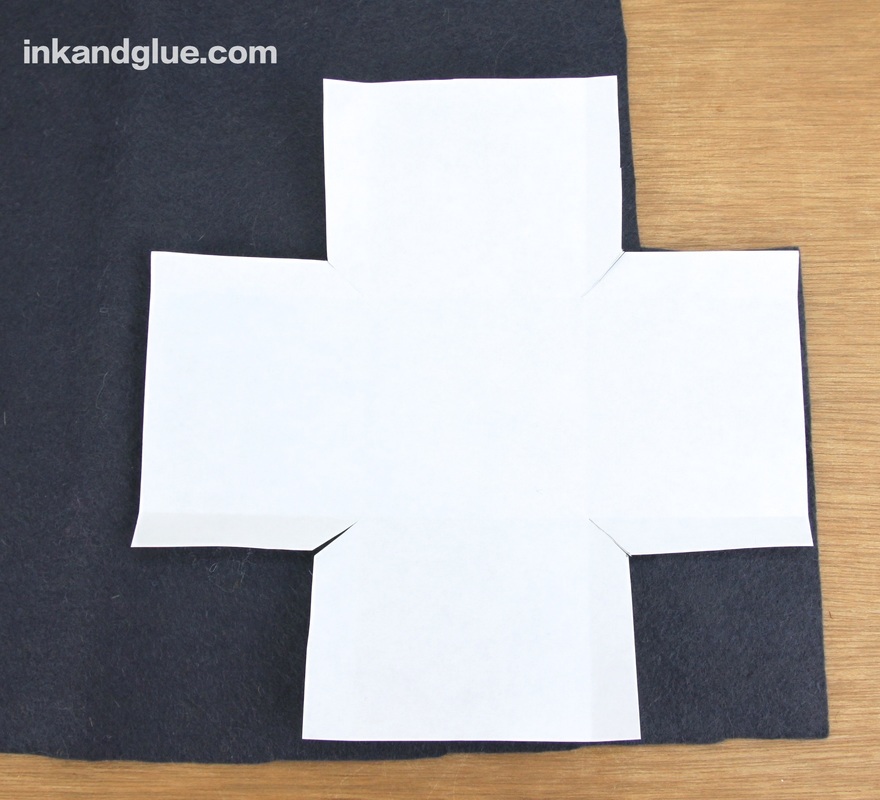 Pin the paper to the felt, and cut out the shape, including the corner slits. 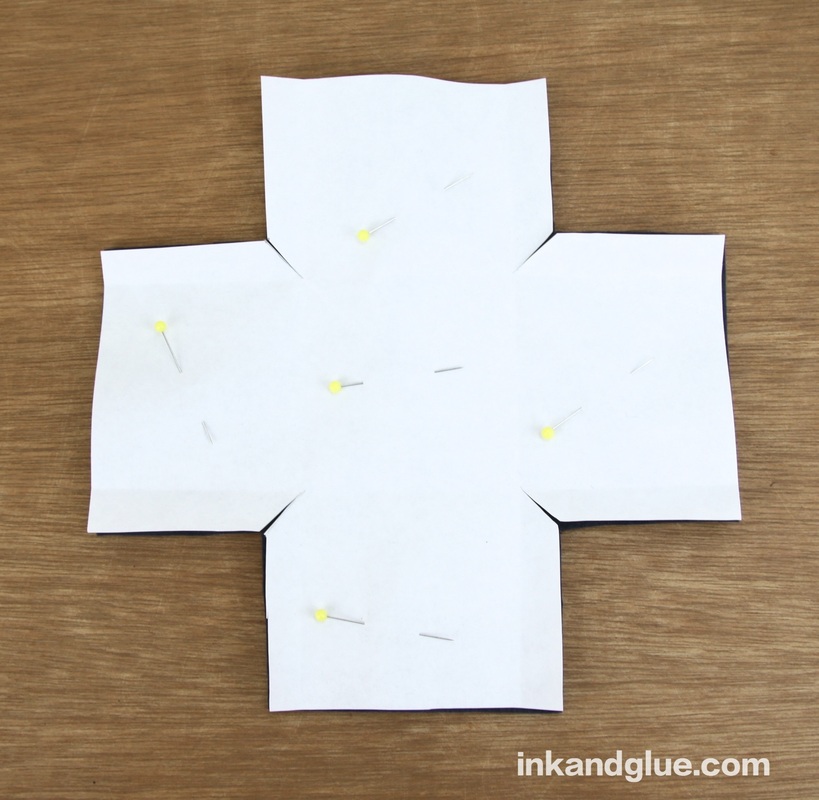 OK, this is the only part that's a bit tricky to explain: You're going to be making a guide for cutting slits along each edge of the four walls of the felt box you're making. On the paper pattern, fold one of the tabs you cut, and draw four (or so) lines along the fold. See here: 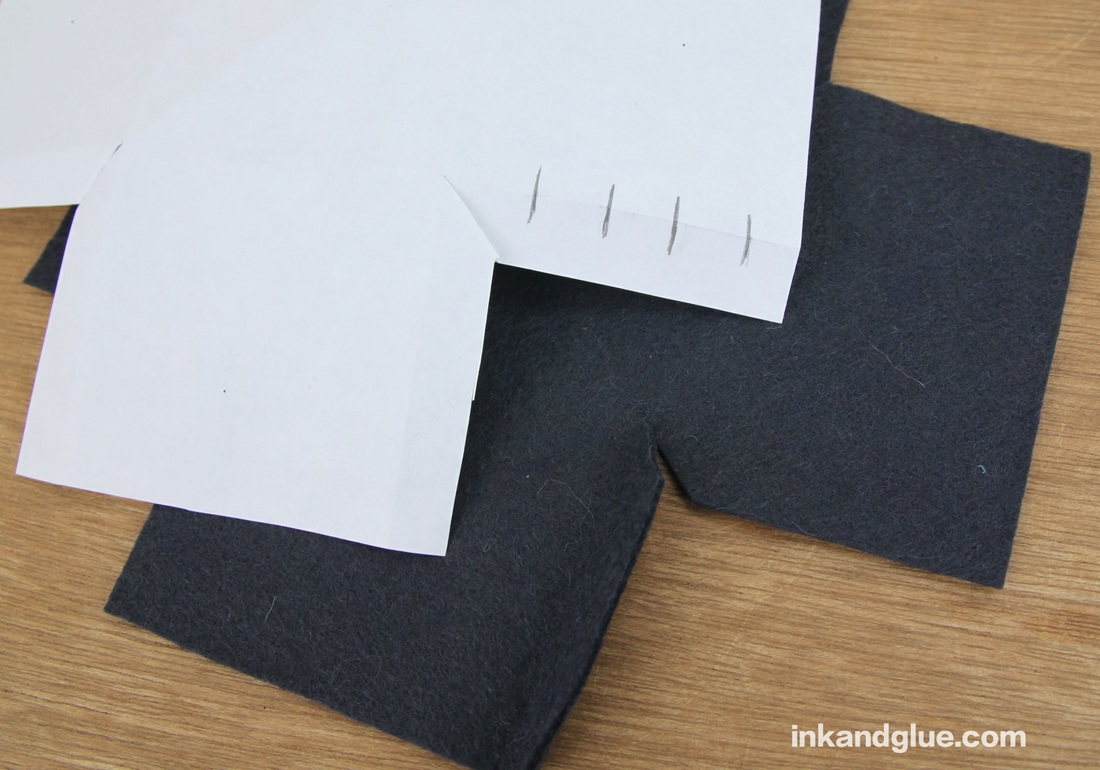 Fold the paper tab back, and fold its felt counterpart. Align the paper on top of the felt, and hold them with one hand while you snip slits in the folded felt. Don't cut all the way through the tab! Just make a half- or third-inch long slit. Use fabric scissors and this'll be a piece of cake. 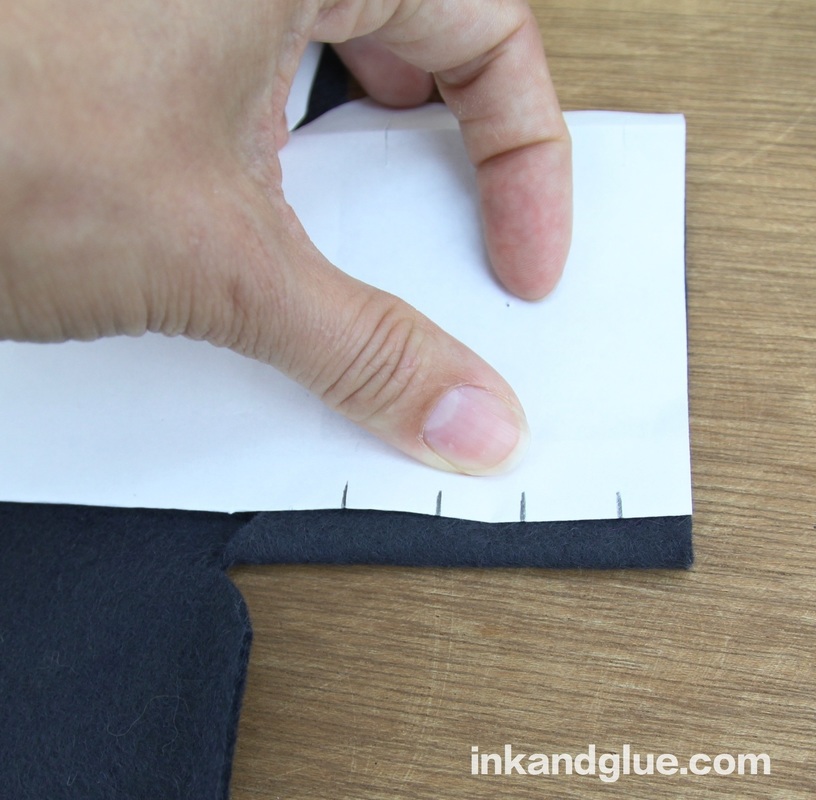 Here's what it will look like with all of the corner edges be-slitted. 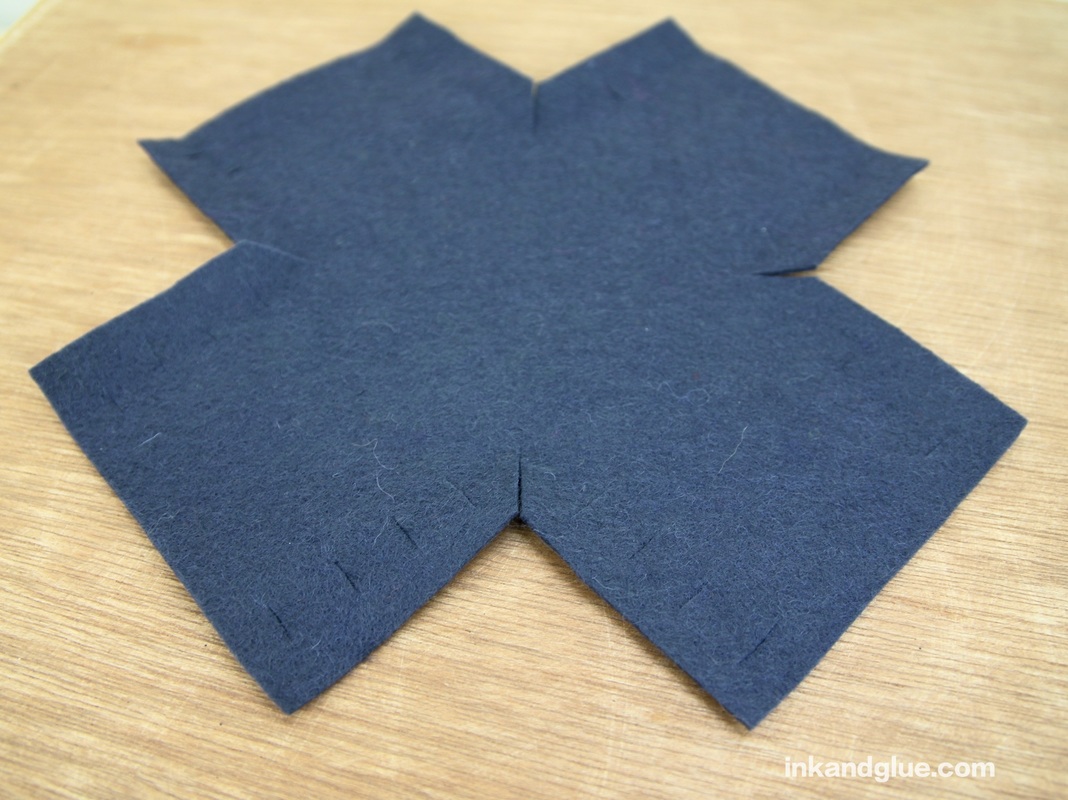 For the posts that make it all come together, I used a skinny dowel — a bamboo skewer will work ok, too, but watch out for splintering. I cut mine into four equal lengths (each a little over two and a half inches) with a wire cutter. 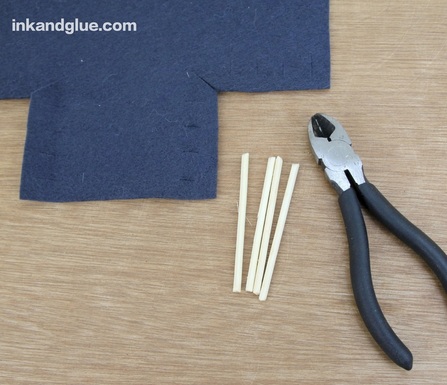 Fold up and overlap the neighboring edges of one corner, aligning the slits. Weave a post through the slits in both felt layers. I wove mine so the bottom of the post is inside, because I think it looks neater. 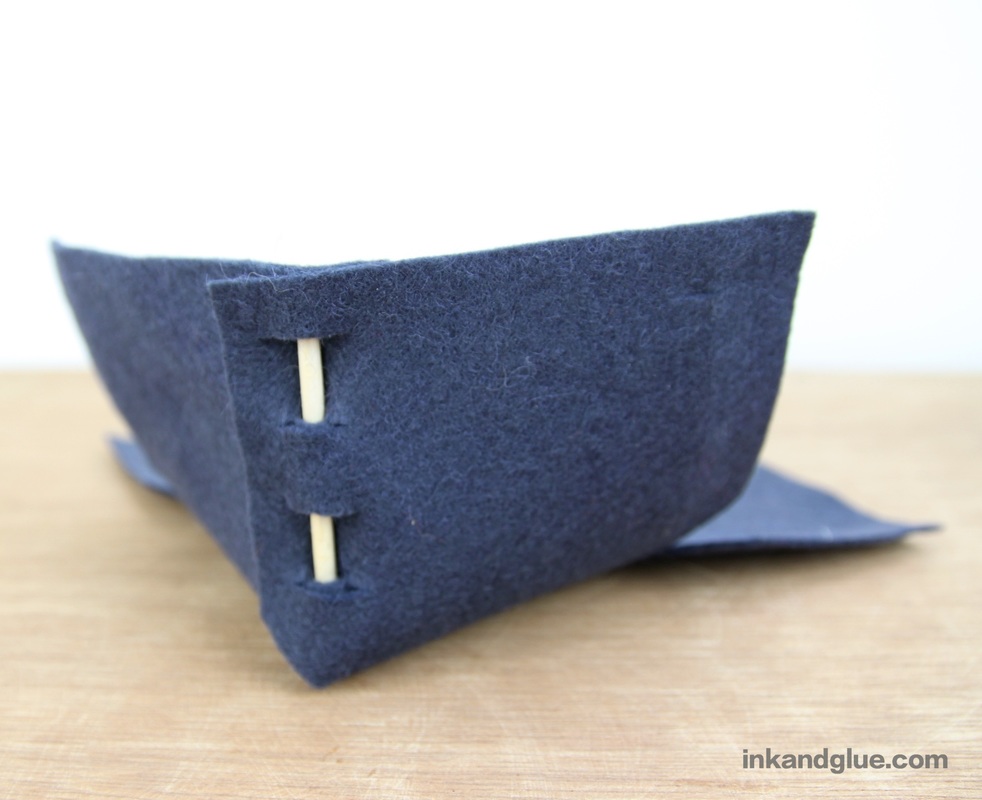 Here's a top view:  Do the same with a second corner and post. Here's an exterior and interior view:
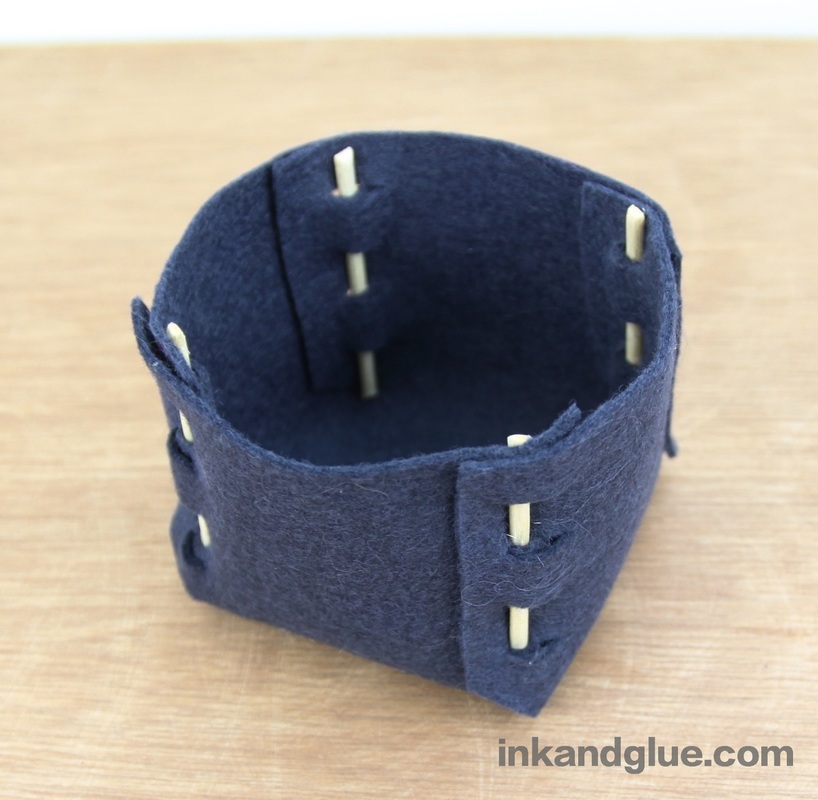
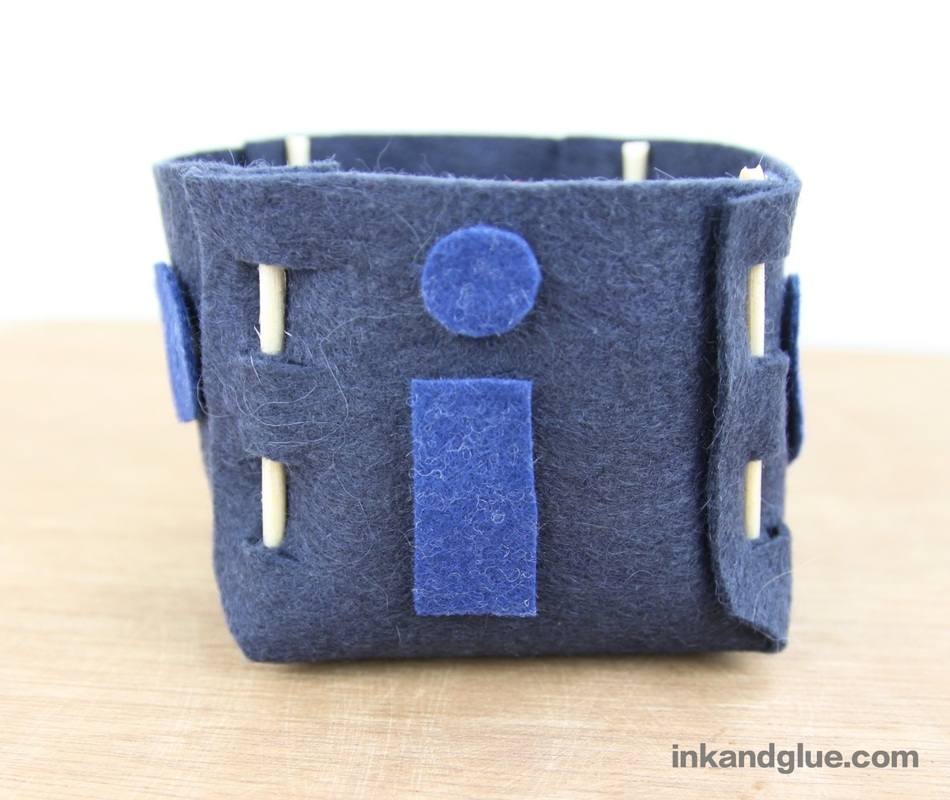
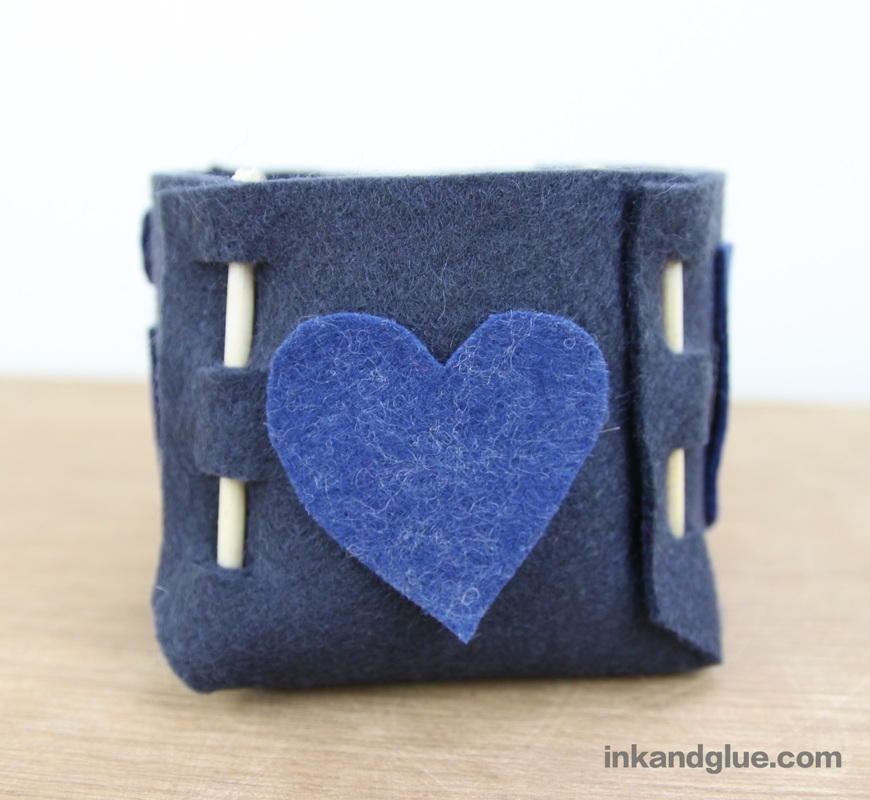
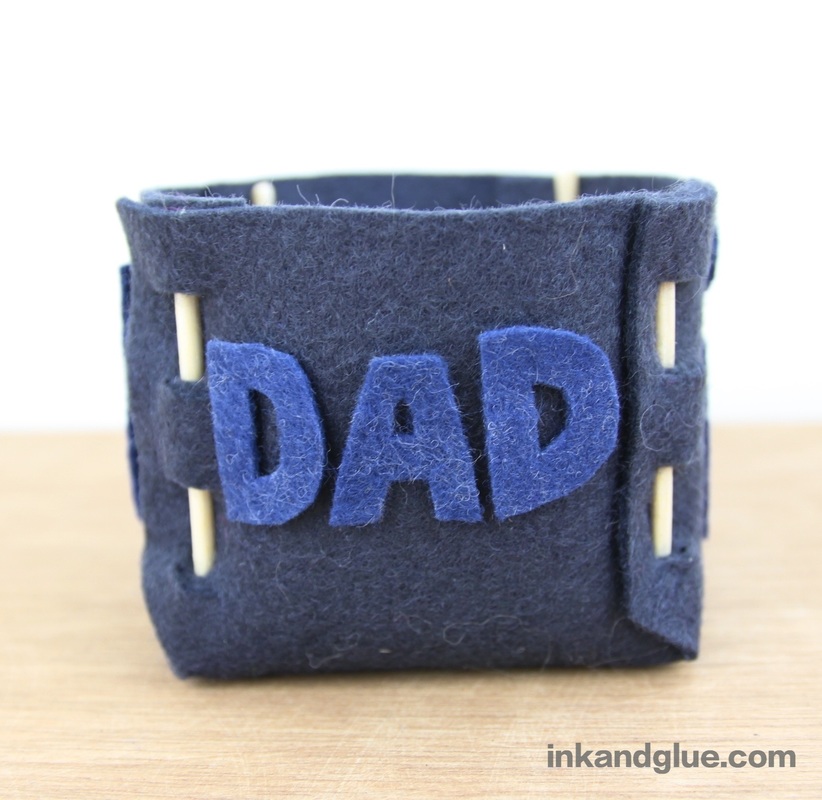
And naturally, do the other two corners as well. And you're done! 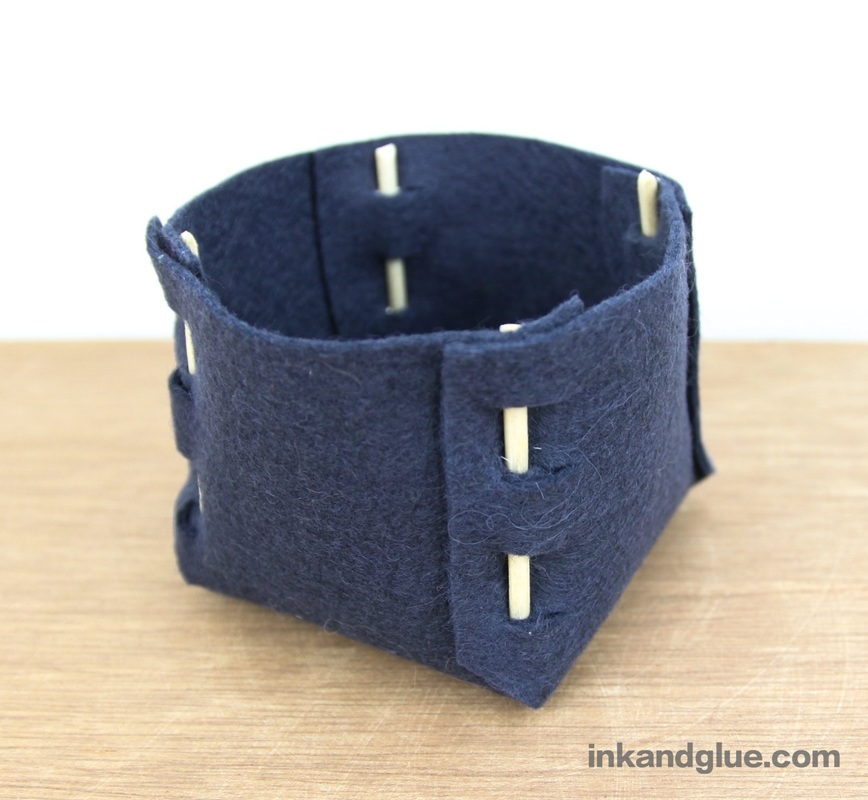 Add extra cuteness by embellishing the sides, either with dimensional fabric paint (the kind in those squeezy tubes), or cut out felt letters and shapes and glue them to the sides. Here's my take:
This is, of course, fully collapsable: Just slide out the posts, and the box goes flat. Sweet!
xo Comments are closed.
|
Categories
All
Archives
March 2017
AuthorI'm Debbie Way, an artist and writer who enjoys making things. |


 RSS Feed