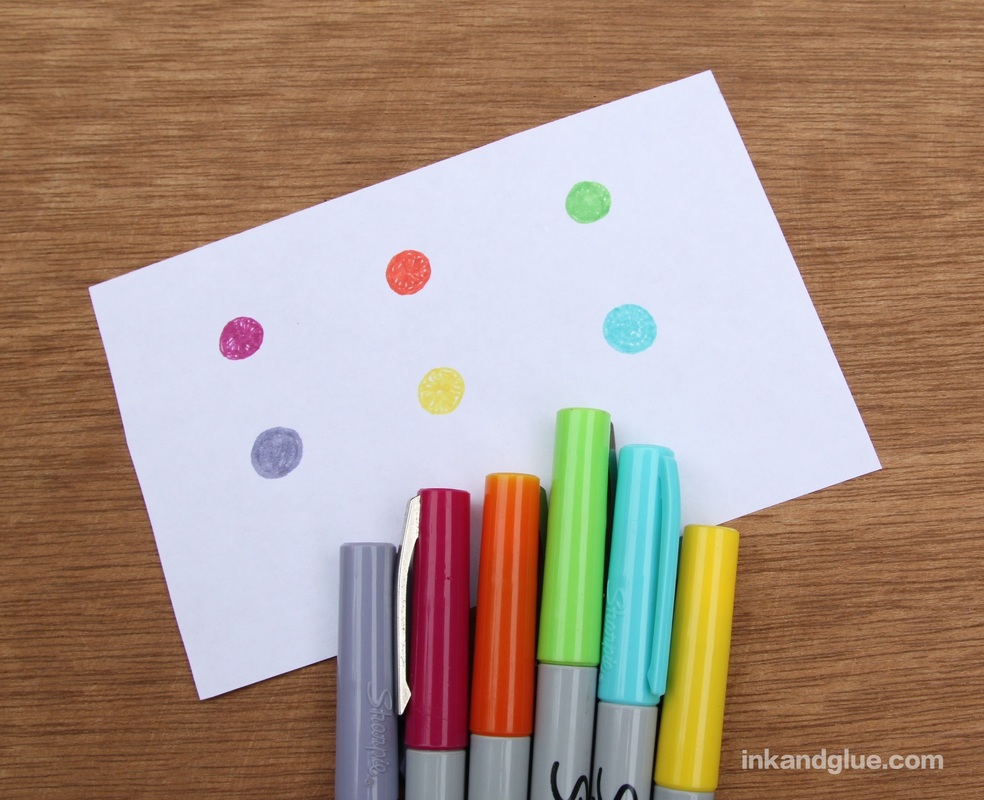
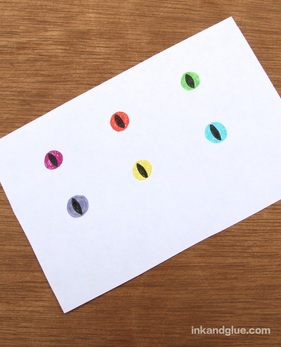
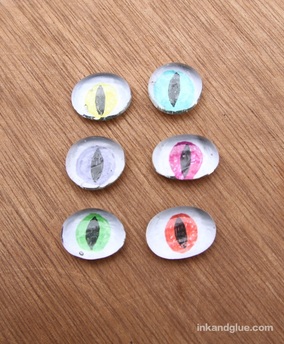
 Recently, as I was sorting through a drum-sized tin of marbles (long story), I found a bunch of clear glass blobs that had been mixed in. I wanted to do something Halloweeny with them, so after a few false starts, I came up with this twist on the classic glass marble magnet craft. Journey with me now into the lair of the all-seeing beasts! First things first: Get some glass marble blobs. (Product links go to an affiliate site; I get a few cents if you purchase things after clicking through. I only link to products I trust.) Then, with the blobs as a size reference, draw several irises with markers on a sheet of regular-weight copy paper. Add irises with a black pen (I used a plain ol' roller-ball writing pen).
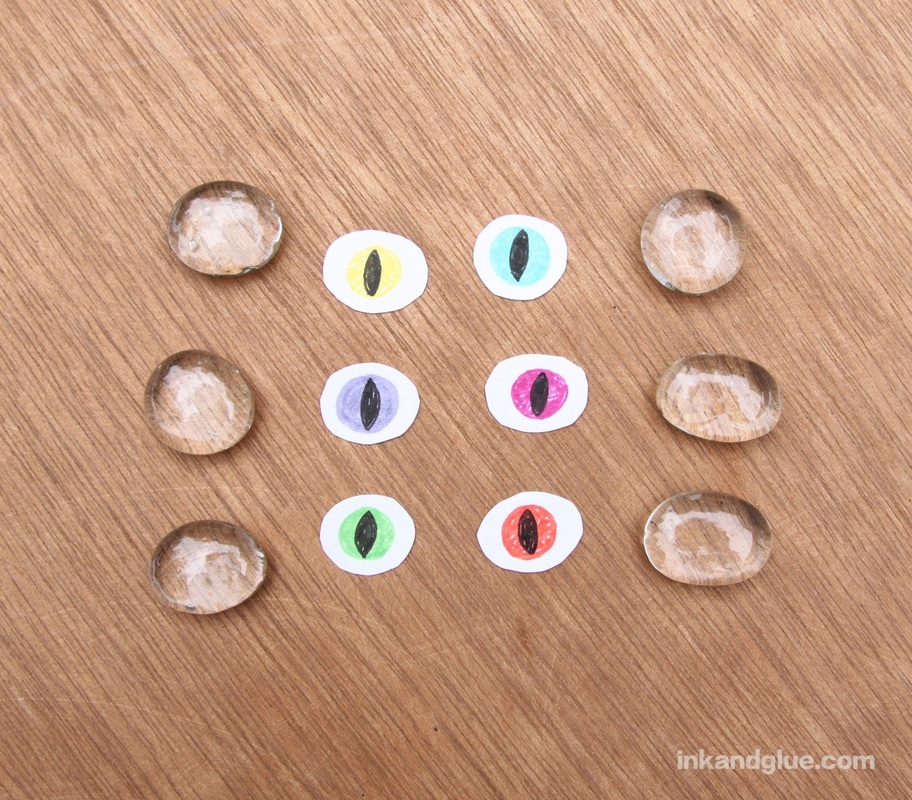
Cut out the irises, leaving white space all around the edge. Just trim them to be roughly the same size as the flat part of the marble; it doesn't need to be exact. See how the paper appears to fill the space when the marbles are on top? Optics are fun!
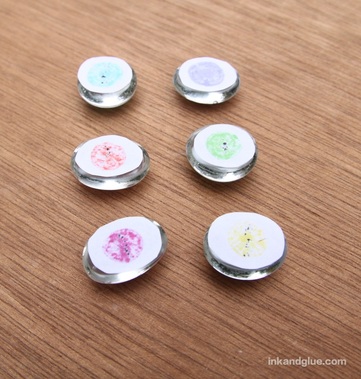
Now you need to attach the paper to the marble blobs. Brush a coat of Mod Podge onto the flat part of a blob, then place the paper eye on top, drawn-side down. If you peek and look at the round side of the marble, it will look white and gluey. Do not be concerned; magically, it will dry clear. Leave the 'podged blobs paper-side up to dry.
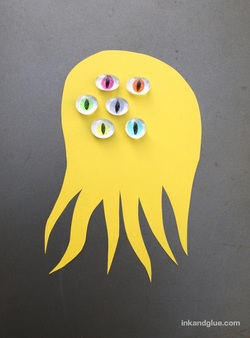
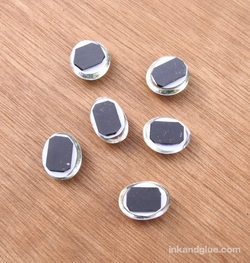 Once the Mod Podge is dry, and the image looks clear on the rounded side, you can add a magnet to the back of each one with tacky glue. I would not recommend you do what I did, which is to cut up a free business-card-magnet, because the pieces only barely hold up a single sheet of paper. Try self-adhesive flexible magnet tape or a sheet you can cut to fit; it won't be very strong, but it's easy and kid-friendly. For super strength, get round ceramic magnets (but only if there are no toddlers in the house; they're a swallowing hazard. Kids, please don't eat magnets). Now, the fun part! Cut out monster silhouettes from colored paper. (I did mine freehand, as you can probably tell.) Use your new eyes to hold the shape to your fridge or a spooky, possibly haunted old cookie sheet. I liked keeping my monsters simple with eyes only, but it's a cinch to add other monster features, especially if you have leftover magnets. Attach them to cut-out paper shapes that resemble noses, mouths, eyebrows, and ears. You'll end up with a free-form magnetic Mr. Monster Head! 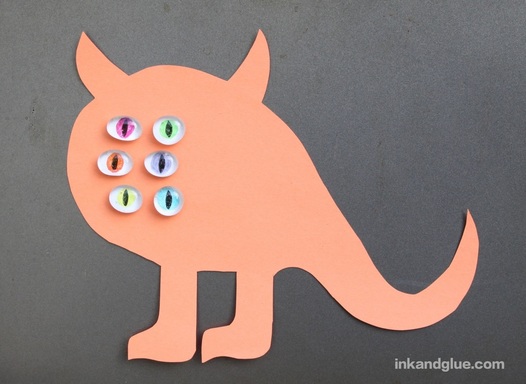 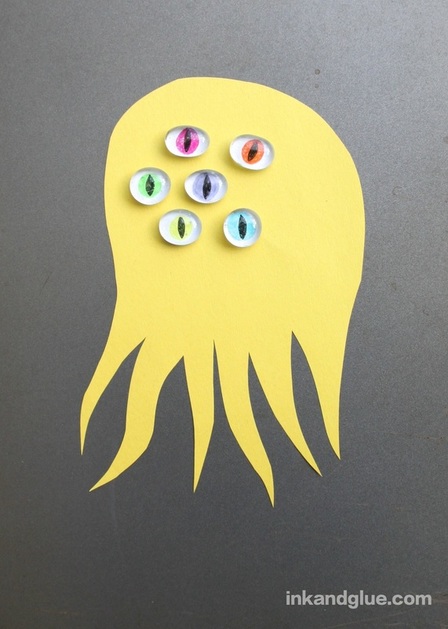 Happy monster-making! xo
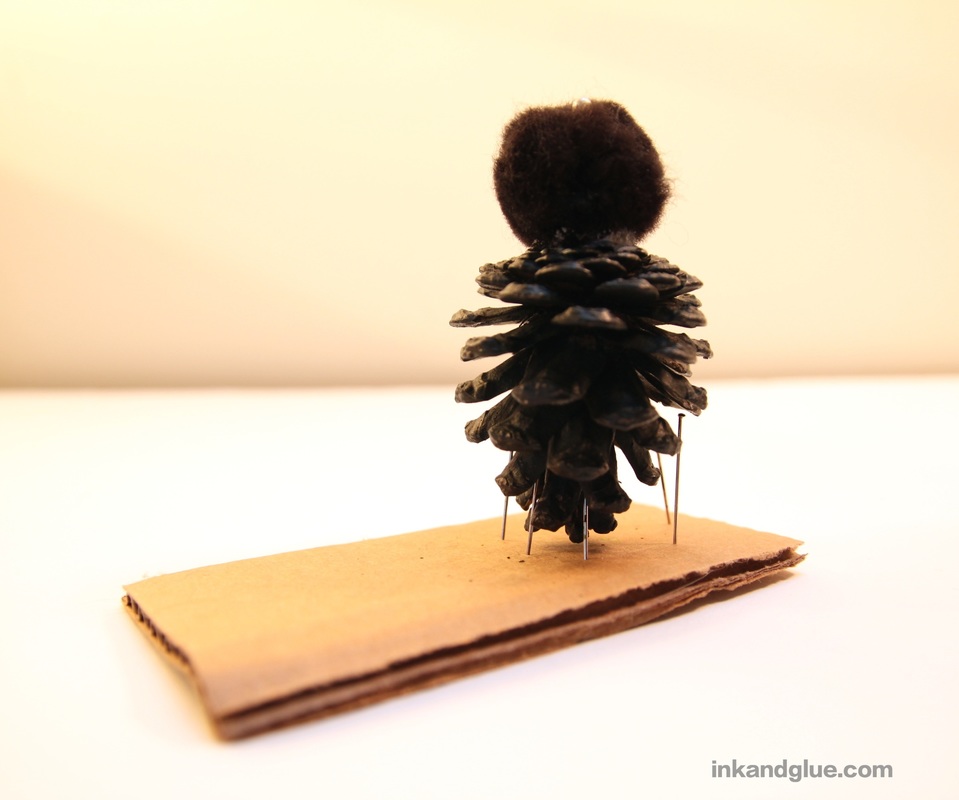
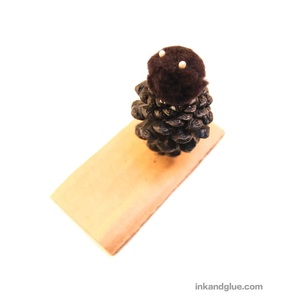
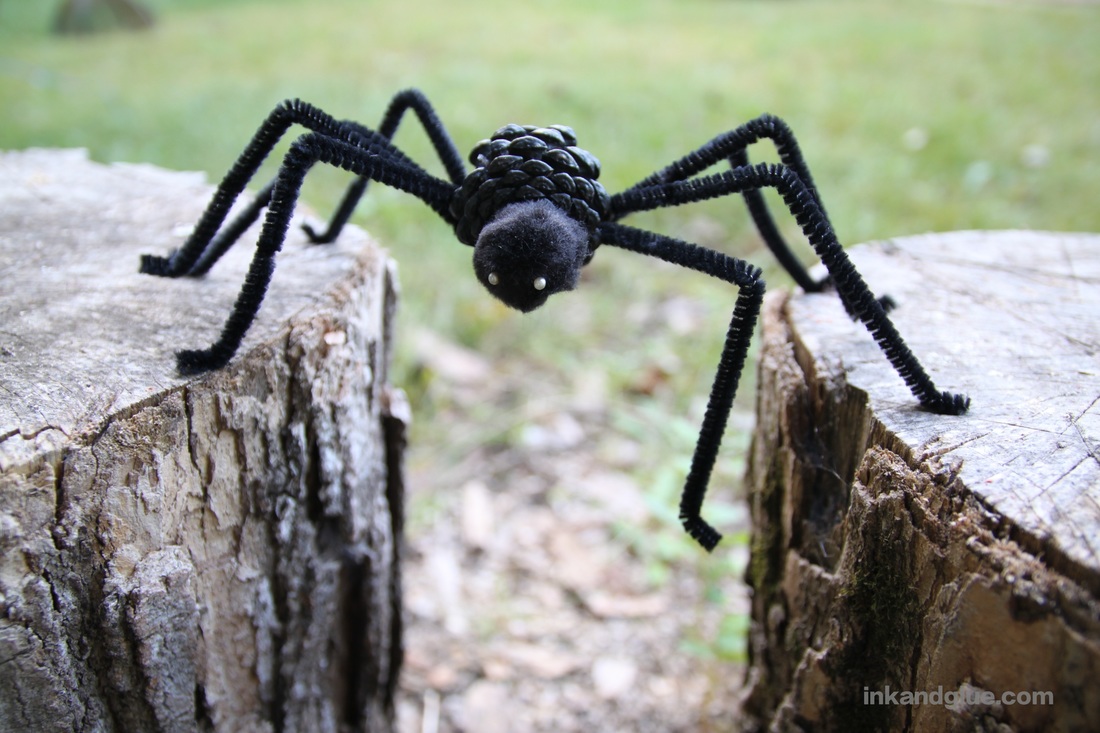 Why, hello, spider! I made this leggy lil' guy with a pine cone for a body. I like using natural (and free) materials in my crafts whenever I can. It satisfies my frugal nature and gives me a great excuse to go wandering through the woods. If you don't have pine cones where you are, the internet, as always, will provide: you can buy pine cones on Amazon. If you don't want to use a pine cone at all, you can substitute an extra-large pom-pom, or a styrofoam ball, painted black. Start by painting an egg-shaped pine cone all over with black acrylic paint. (A one-inch-wide pom pom is shown below for scale and context.) 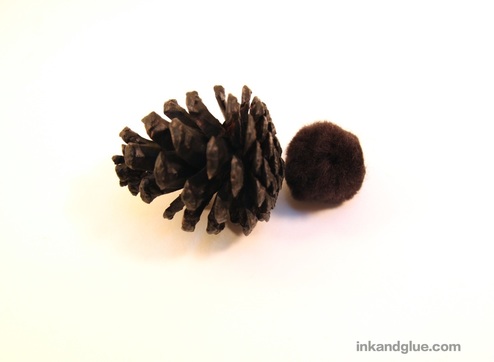 Once the paint is dry, glue a black pom pom to the flat end of the pine cone. For eyes, carefully glue two beads — I used small, fake pearls — to the pom pom. To avoid gumming everything up with too much glue, I used a pin to pick up a bead, dip it into a drop of glue, and press it onto the pom pom. (Too fussy? Self-adhesive googly eyes are a wonderful alternative.) With a scrap of cardboard and a few straight pins, I made a quick-and-dirty version of a pin drying rack to hold the cone upright while everything dried.
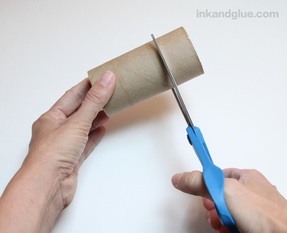
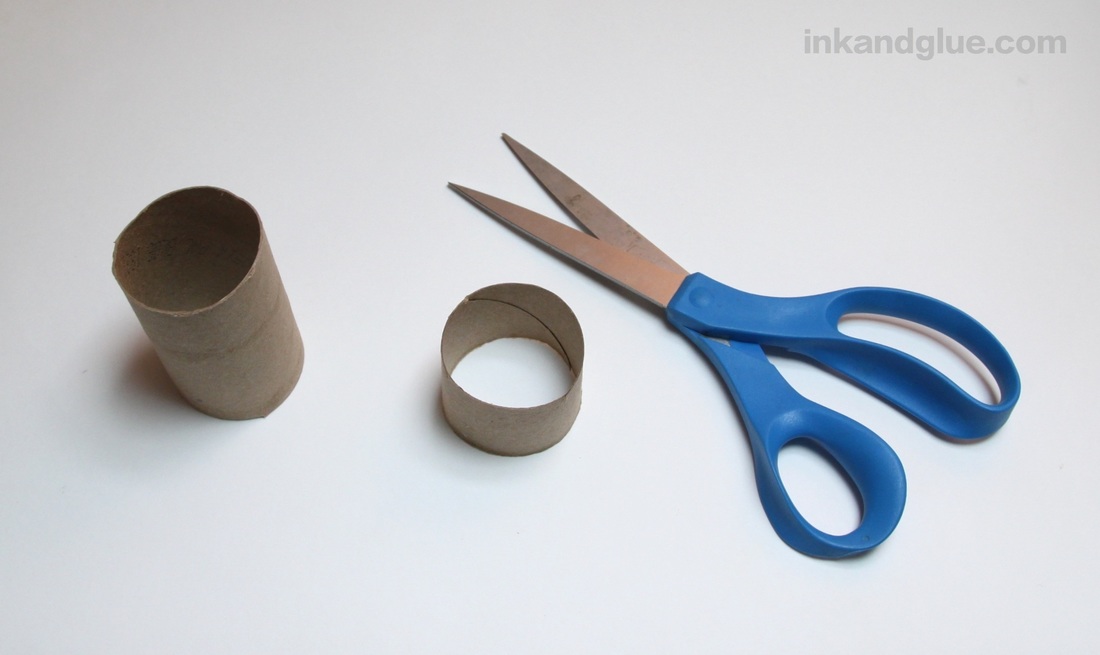
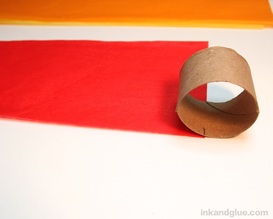
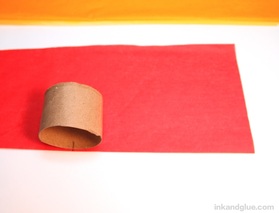
Next, line up four black pipe cleaners (a.k.a. chenille stems). Twist them together in the center, then bend the middle to create a short curve, as shown. 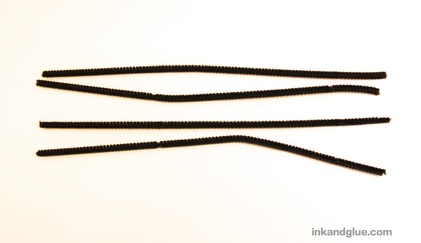 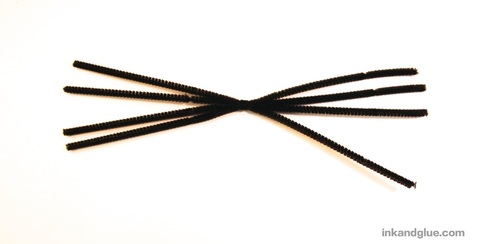 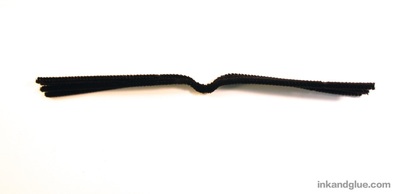 Pick a spot on the pine cone to be the belly of the spider. Apply a line of tacky glue to the inner part of the curve, then wedge it between the scales of the pine cone at the belly. 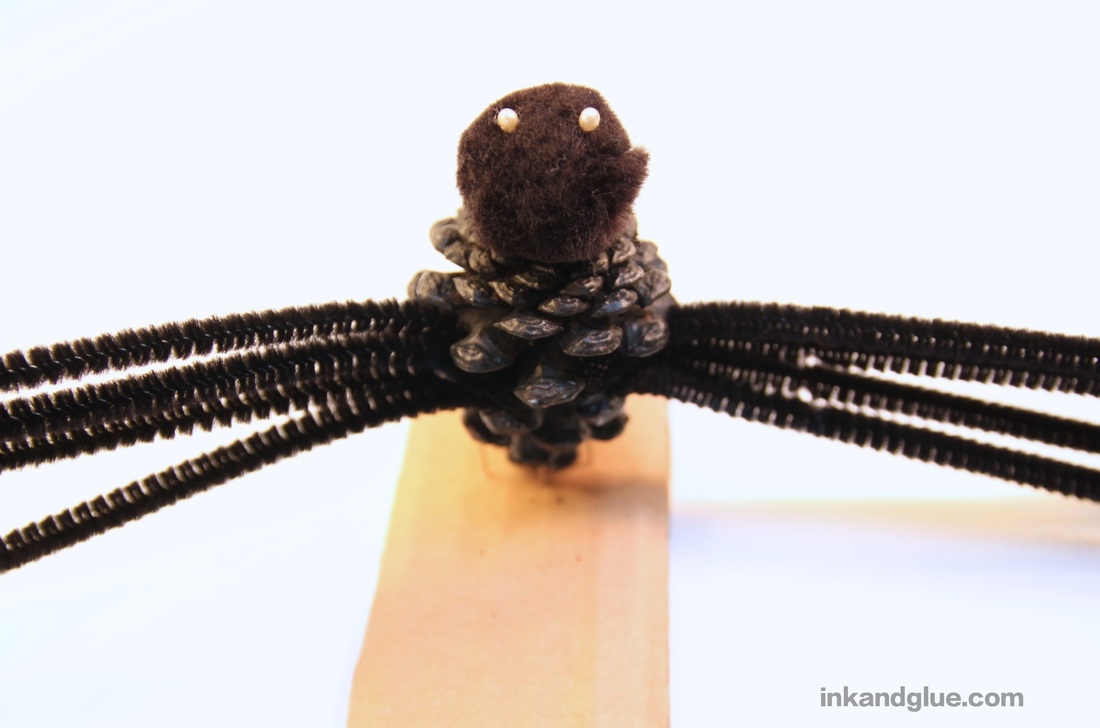 Spread out the eight legs, and bend each one into a leg. I like including feet on my spider, but you can leave the ends of the legs straight for a more menacing look. 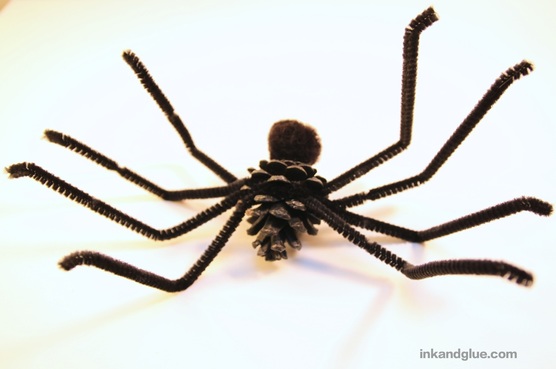 And you're done! Enjoy Halloween with your new arachnid pal! xo  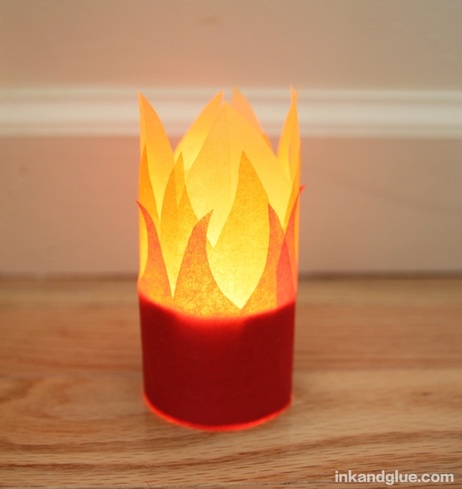 Today's craft is a shade made for a battery-operated tealight, which are currently available wherever Halloween frippery is sold (i.e. the drug store, the supermarket, Home Depot, Target, Walmart, etc.). I like hiding the plastic fakeness of the tealight behind the warm texture of tissue paper. Make a bunch of these (they are surprisingly quick and easy to make) and scatter them around the room for your next gathering. They are, of course, well-suited to Halloween set-ups, but I think they add a cozy touch to any occasion. Start by snipping an inch and a half (or so) from a cardboard toilet-paper tube.
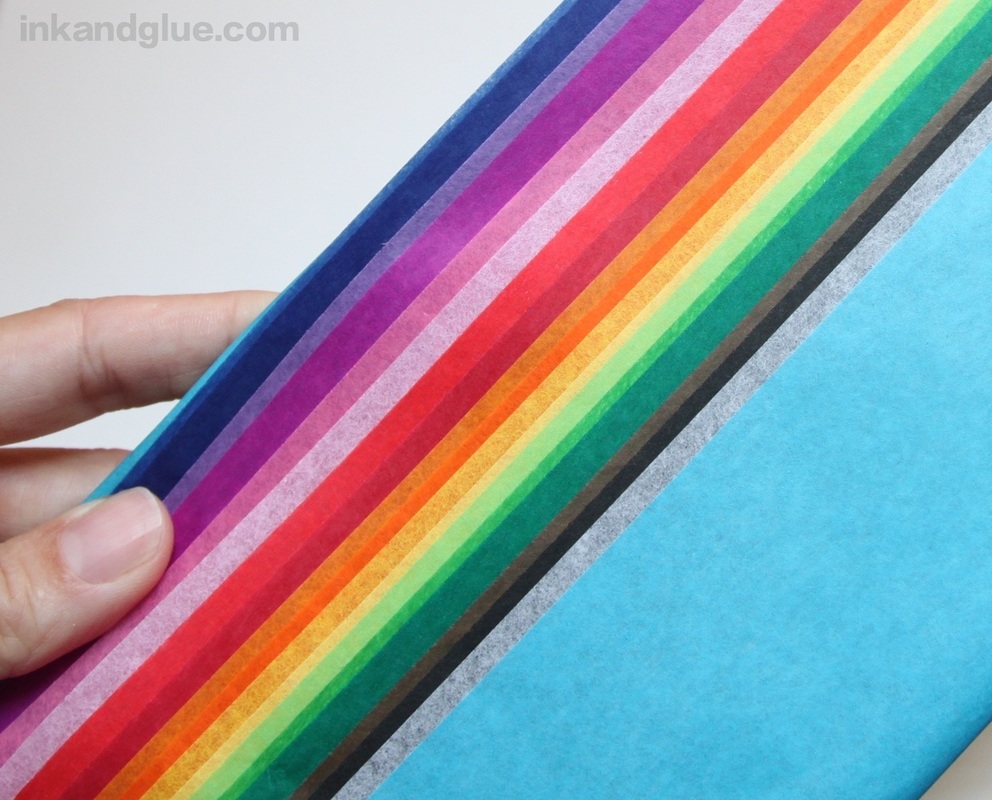
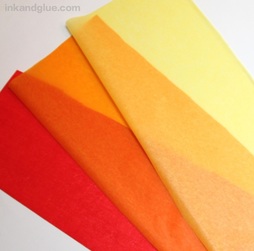
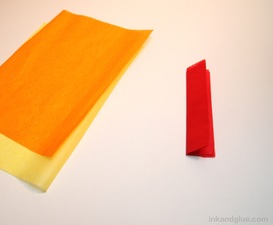
Pull out and unfold your gorgeous multi-color packet of tissue paper (available at craft stores, or online, of course). Trim a folded section from a red, an orange, and a yellow sheet.
Now you're going to cut a length of paper that will match the circumference of your cardboard ring. It's been a while since I took geometry, so instead of using rulers and math, I do this easy trick. Mark the inside of the ring with a pencil, then place it on the paper so the mark lines up with the paper's edge (below, left). Roll the ring along the edge until the pencil mark hits the paper again (below, right) (yes, I went from right to left; that's just how I roll). Make a light pencil mark on the tissue paper, then remove the ring. I cut my strip of paper about a quarter-inch longer than that measurement, so I'd have some overlap.
Trim the other two strips to the same size. Fold a strip in half lengthwise, then in half again, then in half again.
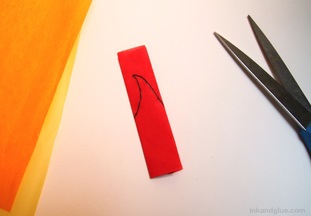
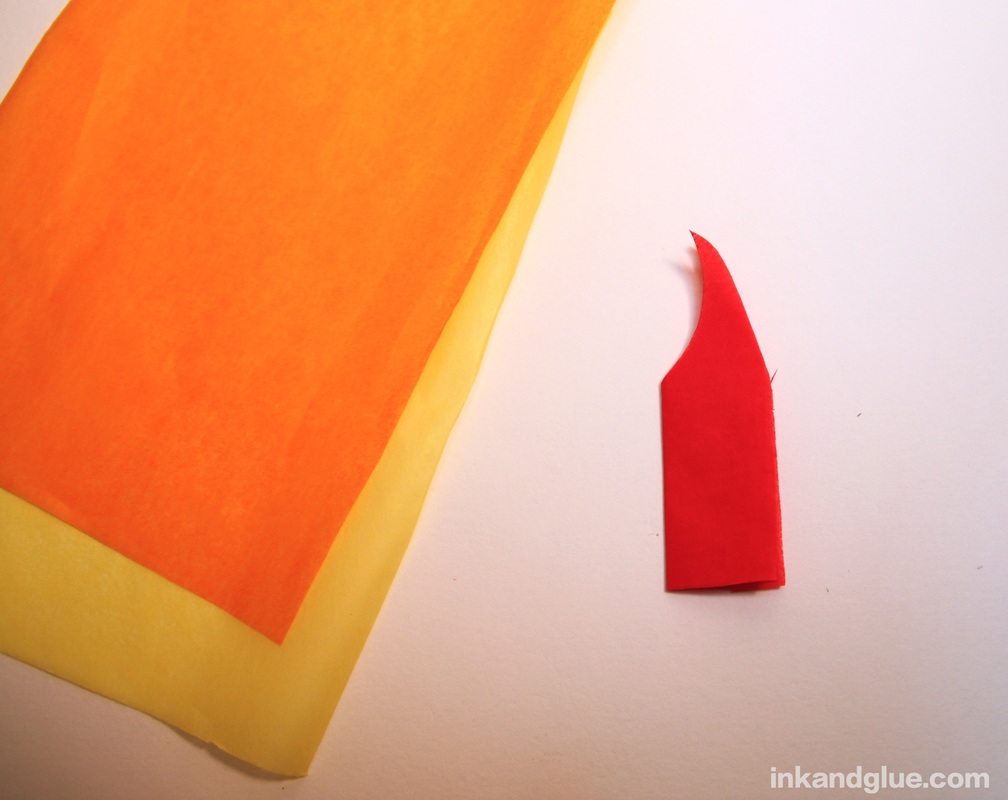
Mark a swooping, sharp angle onto the folded paper, and cut it out.
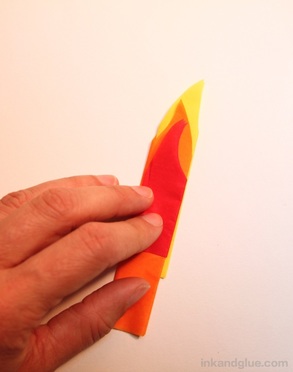
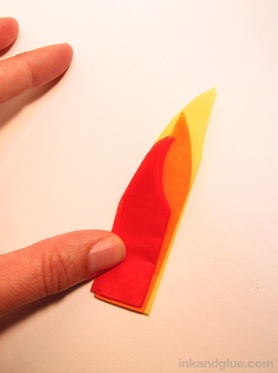
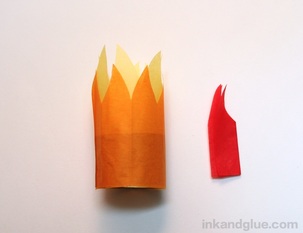
Unfold the cut paper and admire your handiwork. Then, repeat the folding/marking/cutting steps with the other two colors of paper. 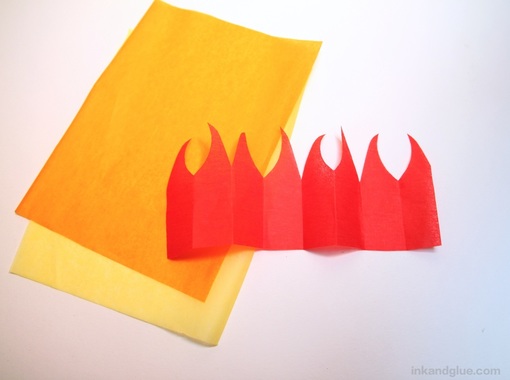 Fold the red paper piece back up, and stack the three cut and folded pieces with the yellow on the bottom, orange in the middle, and red on top. Align the colors so the tips of the flames will be staggered in height, as shown, with the yellow the tallest and the red the shortest. Trim the bottom ends of the three folded papers in a single snip, leaving at least an inch and a half (the height of your cardboard ring) in length below the flame-shaped bits.
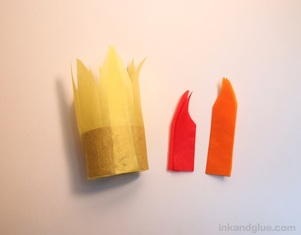
Apply glue stick to the outside of your cardboard ring, then smooth the unfolded yellow piece around it, lining up their bottom edges. Repeat with the orange and the red. Place a battery-operated tealight inside, and you're ready to go.
It looks cool when it's light out, and extra cool when it's nice and dark. Have fun!  xo!
|
Categories
All
Archives
March 2017
AuthorI'm Debbie Way, an artist and writer who enjoys making things. |


 RSS Feed