|
It's a snow day here — literally everyone in the state is home, all schools/offices/stores are closed. It's been snowing hard for hours. I may have gotten a little punchy, a little silly. And I made these Valentines, suitable for the special woke person in your life. 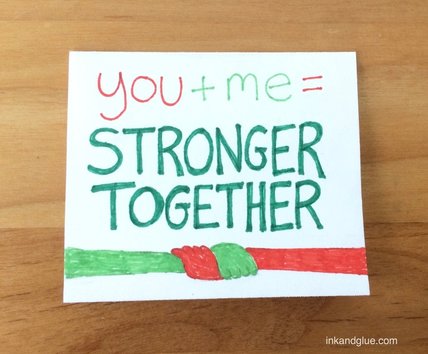 Are these kid friendly? Well... Maybe, if you have the kinds of snarky, leftist kids I know. 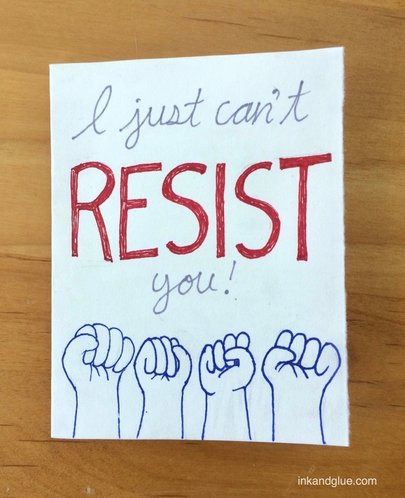 Of course there are lots of protest signs that need no alteration at all. "Love trumps hate" is a good example. 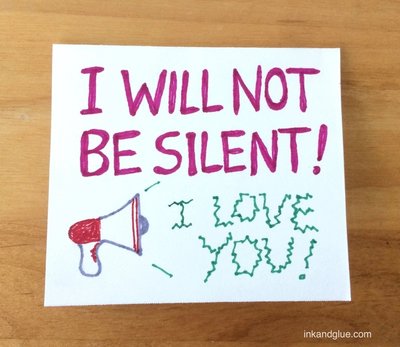 Don't worry—I didn't go anywhere near the, ah, cat-related slogans. But this last one is definitely meant for adults only. I recommend protesting with your partner, and your kids too; demonstrating your compassion and standing up for civil rights brings families together. 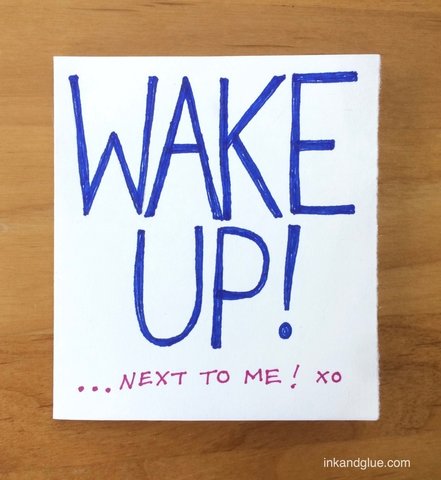 xo!
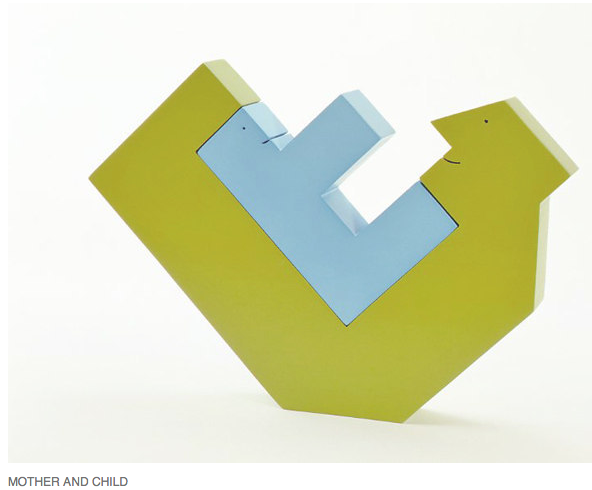
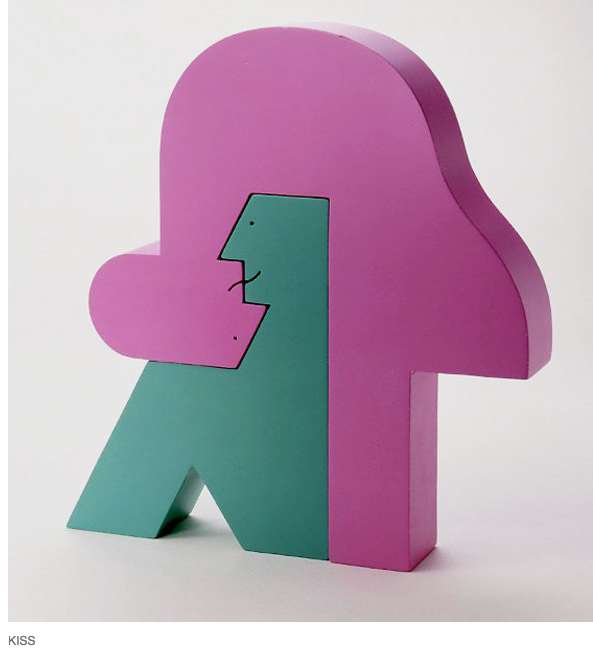
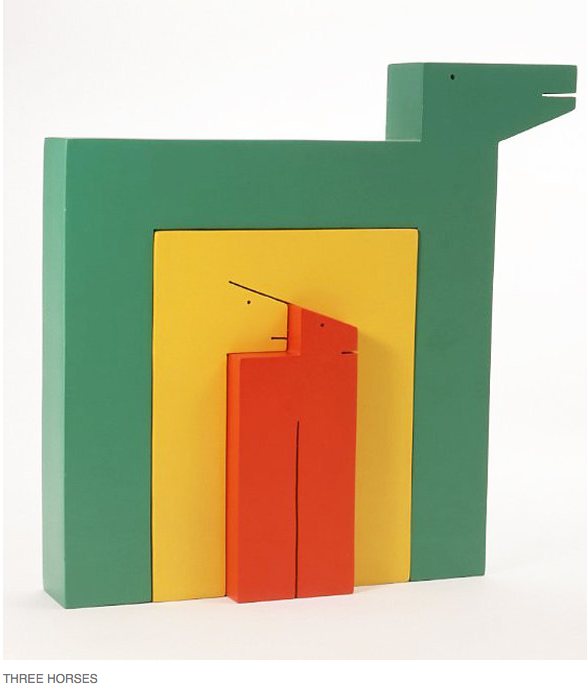
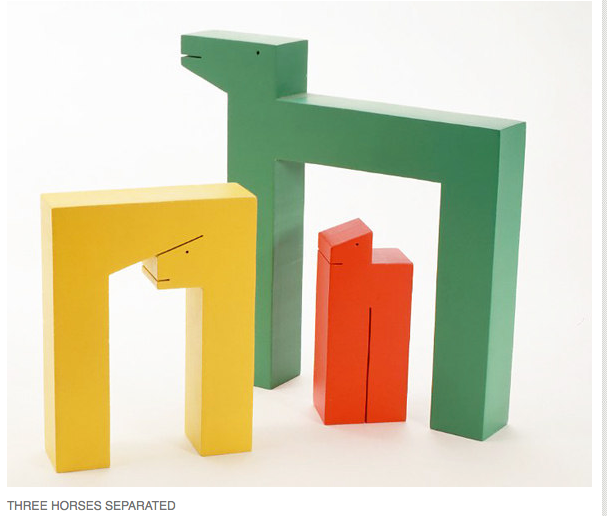
Have you met Zenji Funabashi? He's a Japanese artist, graphic designer, and illustrator. One of his projects is making colorful wooden sculptures made of scroll-sawn pieces that fit snugly together. They remind me of MC Escher patterns, and of similarly half-art-object, half-baby-toy "puzzles" you can find in your crunchier kids' toy stores. Click on an image to go to Zenji's portfolio on Behance. You can find an even more comprehensive portfolio at the Tokyo Illustrators Society. 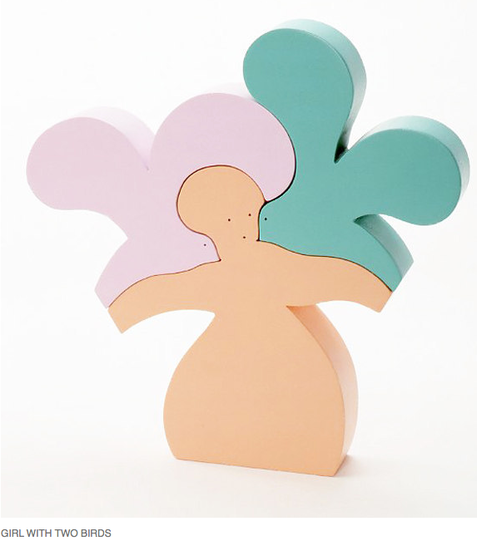
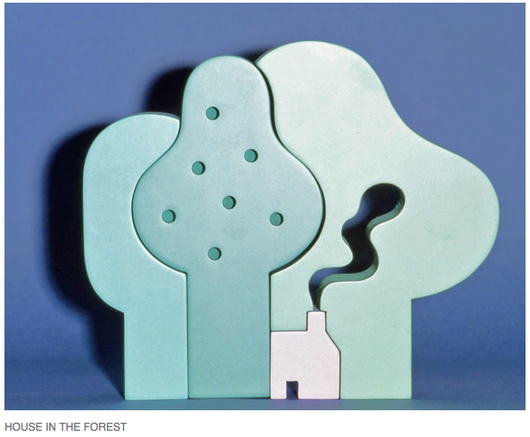
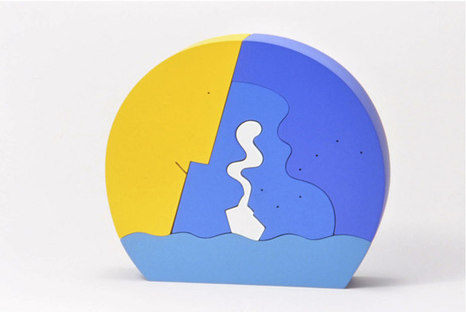 The one above is called "The Big Dipper." 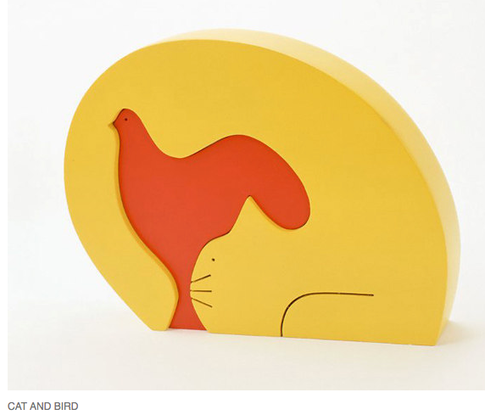 It's a fun creative puzzle to draw a simple outline of an object, and then try to make something fit that negative space—either surrounding the first outline, or budding off of it. Try it!
xo
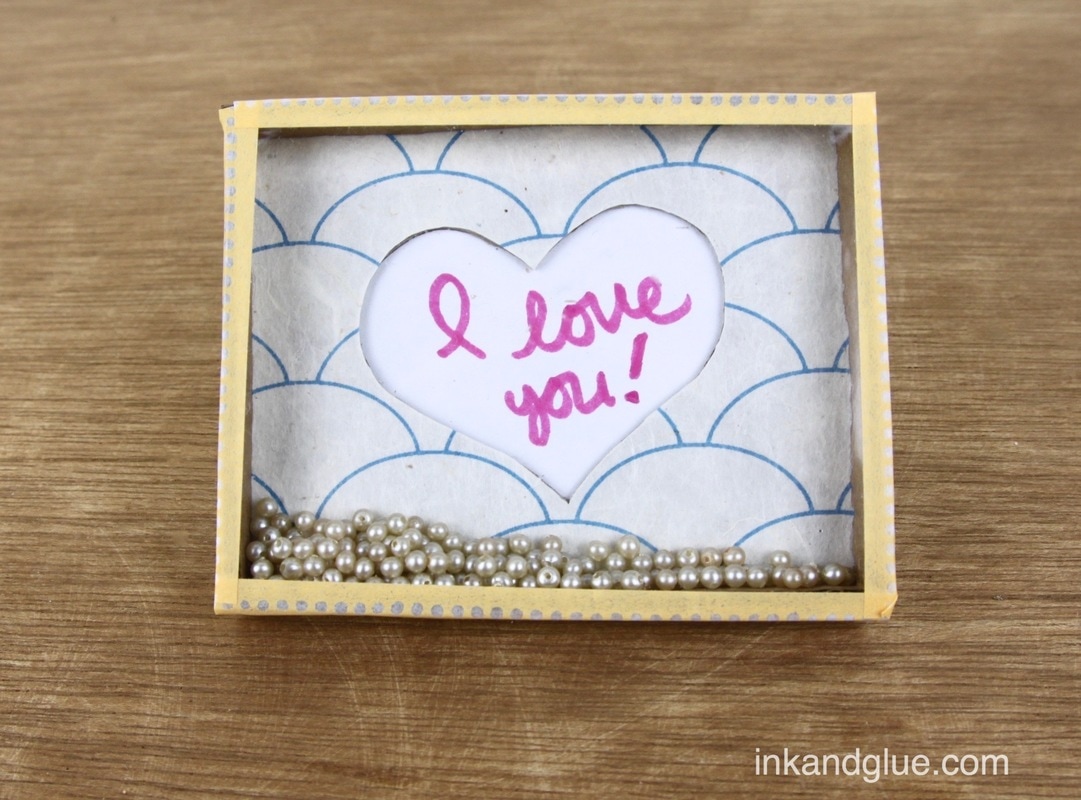
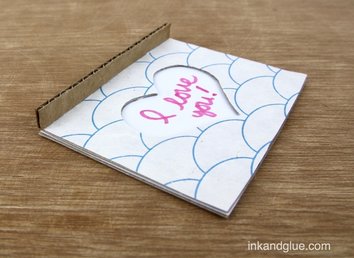
This is a tough project to write about, because who knows what these little bead/ball toys are called? Not me. I did a few google searches and "mini ball game" seemed to be a phrase that some knew, so I'm going with that. This one is a little different because shaking up the balls reveals a lovely message. But you still "play" it by tilting and shaking it until the balls all fall into place — one big area, instead of multiple single-ball spots. Here's how to make one like mine. Before you start, make sure you can source a flattish piece of clear plastic from a blister pack or a take-away container or a report cover. Mine is from a package of hole reinforcement stickers from Staples. Also, cut a couple of straight, even strips from corrugated cardboard, with the corrugations running the short way. Perpendicular to the length of the strip. I think you'll know what I mean. Now: Cut three identical rectangles from a cereal box, and one matching rectangle from a piece of white drawing paper. Cut a heart shape from one of the cereal box pieces. Align that piece on top of a second rectangle, trace it, and then cut out the second piece's heart. 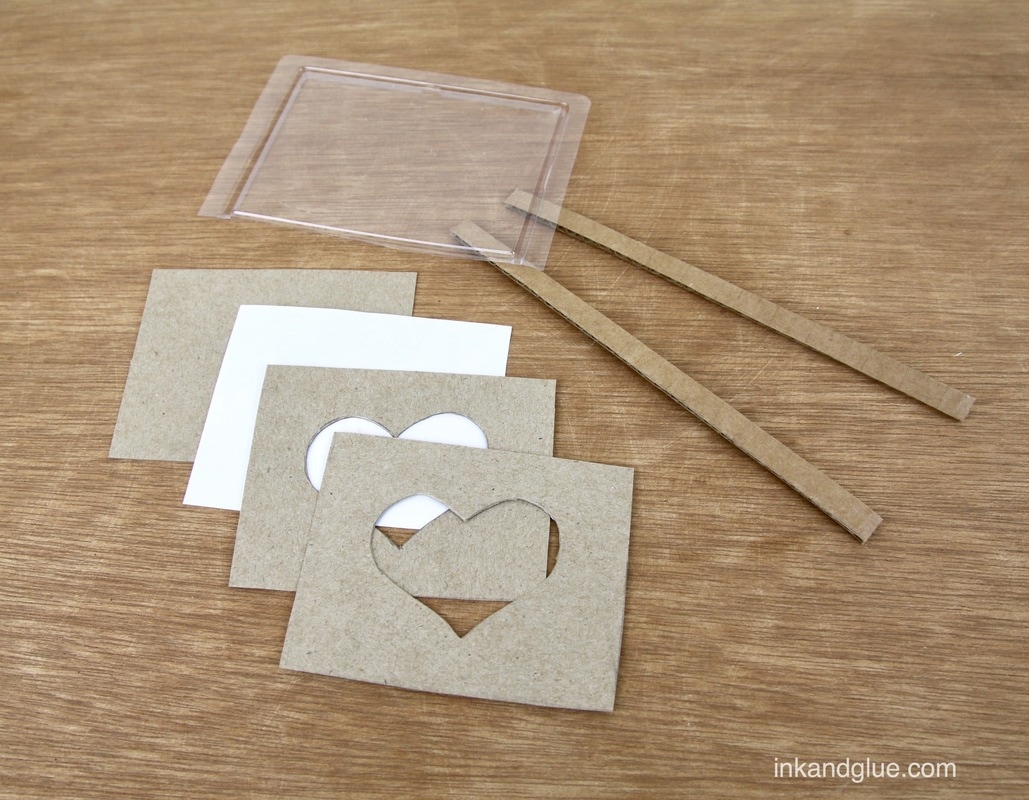 Align the heart-ed cardboard on top of the paper rectangle, and lightly trace the shape in pencil. Write your message inside the shape, then erase the pencil lines. This is what it should look like with the pieces stacked together: 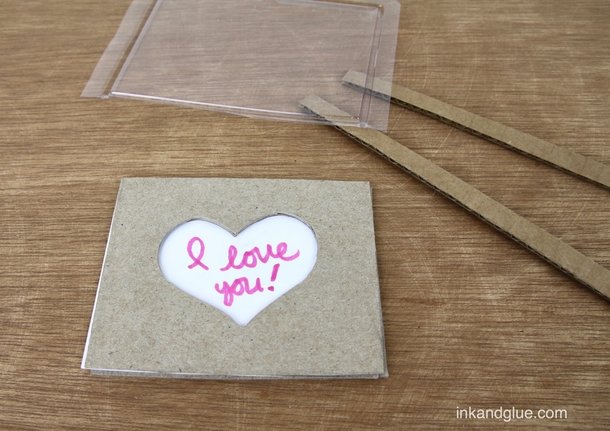 At this point it's safe to start do some gluing. Use glue stick to adhere the white paper onto the intact cereal box rectangle. Use tacky glue or glue stick to adhere the two heart-ed rectangles together, making sure the hearts align nicely. Lay the heart piece, front-side down, on top of the back of a piece of decorative paper, and trace the outside edges and the heart. Cut them out. Glue-stick this on top of the heart piece. 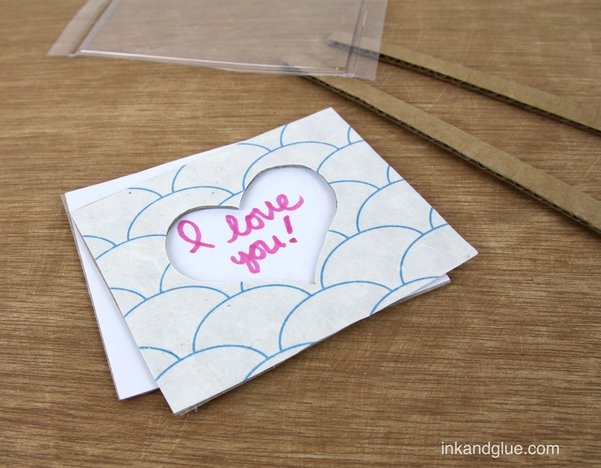
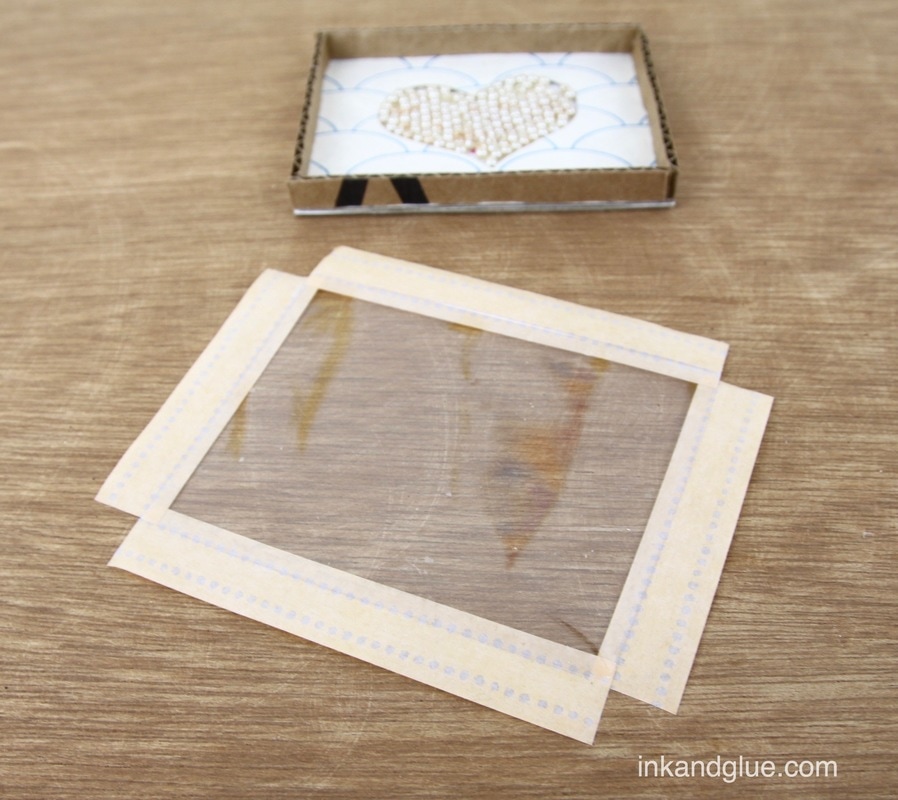
 It's time to add a bunch of tiny balls! I have an ancient strand of round, very-faux pearl beads that were just right for this purpose. Any small glass beads would work fine, even if they aren't perfect spheres. Add enough to cover the heart without being too impossibly-packed full. You want to make this a "winnable" "game." 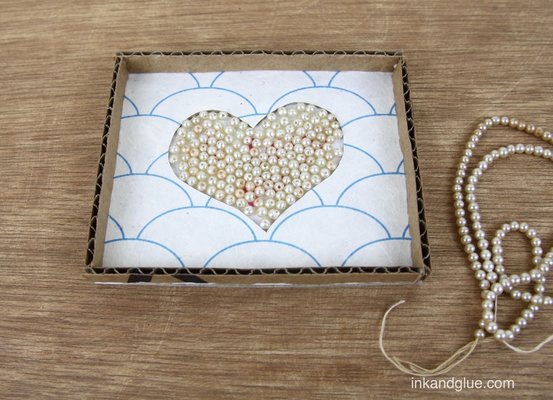 It's cover time! Place the box you've just made on top of the plastic piece and make some tiny dots with a marker to indicate where to trim it.  Tape the plastic piece to the top with washi tape (or any narrow tape you have). I did this in a finicky way: I stuck tape to the four edges of the piece, keeping the sticky-side up so it wouldn't get attached to anything, and I trimmed the four strips to fit as I added them. My sides and edges came out a bit crooked, so I assume I got the plastic piece turned around (and my box isn't perfectly even and square). So: Only do this finicky method if you're finicky all the way through.
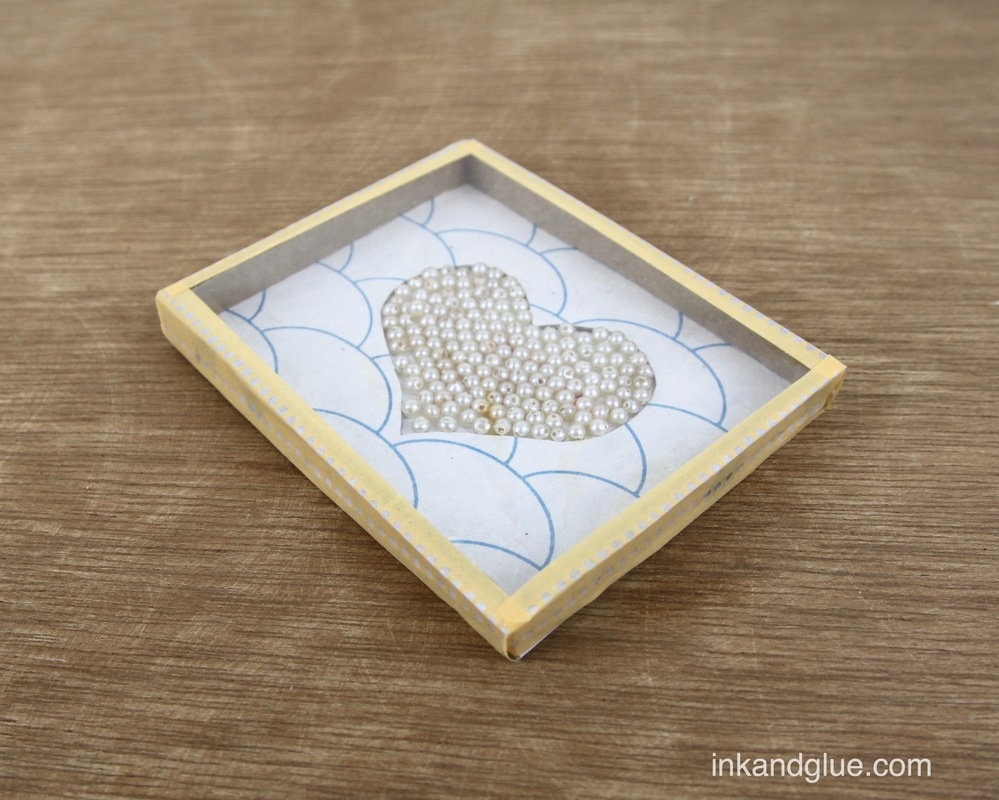
And you're done! Have fun, then give it to a special someone. (You, yourself, count as a special someone.) xo!  I ran out of time last night, so here's just a look at what I was working on. More tomorrow! xo  Editor's note: We are in a time of intense upheaval, with daily outrageous, unprecedented attacks on our country. Lately I spend a lot of my creativity on crafting just the right slogan for the next protest or postcard. However, I do believe in the value of Taking Breaks and Avoiding Overload. I recommend feeding your soul with a bit of frivolity from time to time, as a self-preservation measure. It doesn't make you (or me) any less resolute. So: here's a fun post from a vintage crafting magazine. The crafty ladies of 1968 covered their bases with this headline: 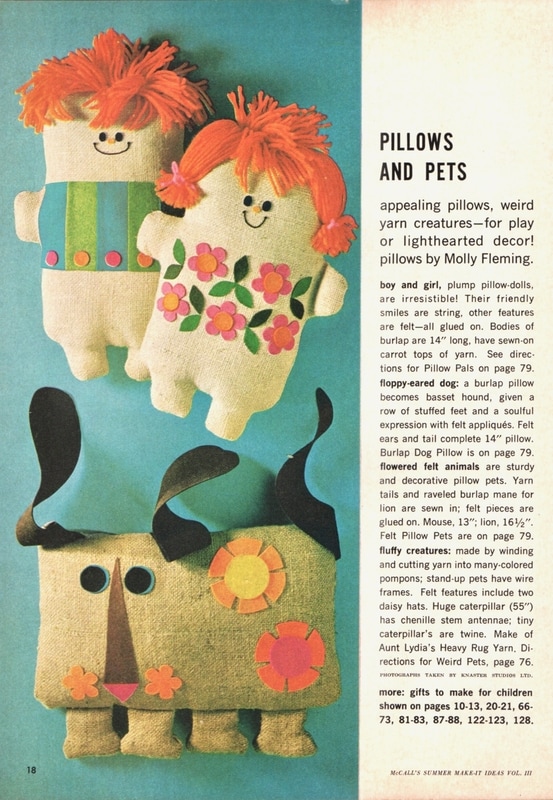 I like that they call the pom-pom critters "weird," and they don't mean it in a bad way. That's fairly hip for a women's magazine in the '60s. They also aren't wrong. 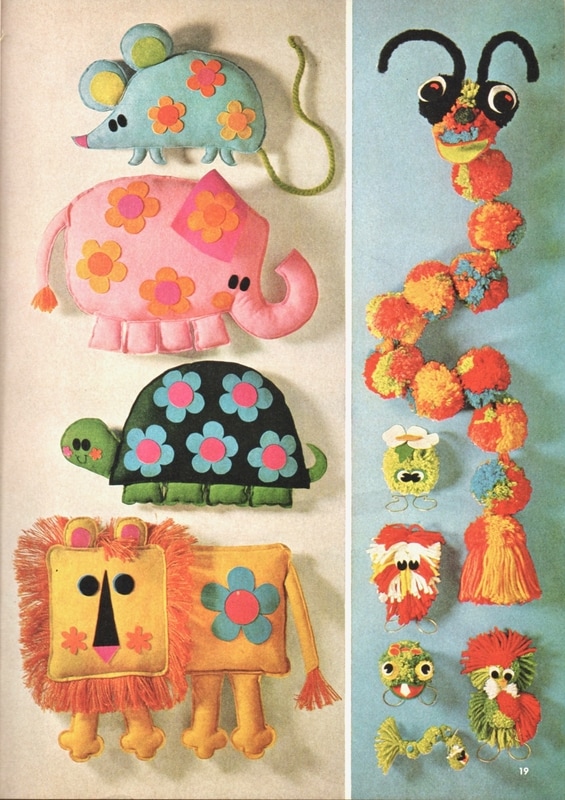 Sorry, no directions included here — there were many very-wrinkled pages of them, and I trust that you can tackle these on your own. If you need a pom-pom making tutorial, I recommend made everyday's — she uses the ultra-simple method I use. For a tutorial showing a multi-colored pom, try A Lovely Lark.
xo! 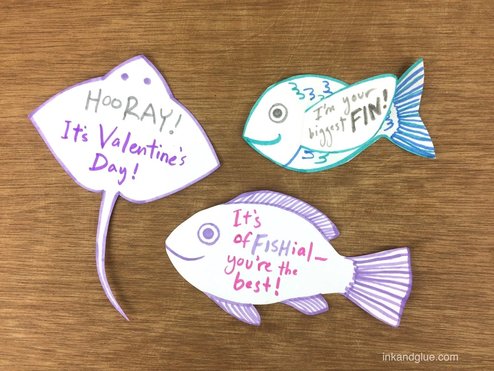 I have a fickle relationship with puns. For the most part, I'd rather do without them. However, I give puns an all-access pass to Valentine's Day. There's something about the holiday that both inspires and excuses a certain level of corniness. Who am I to turn my back on that? 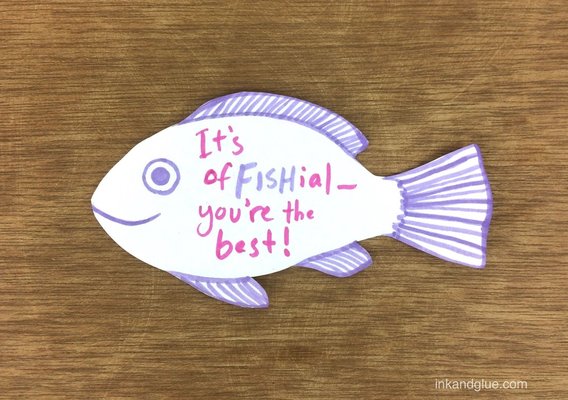 As you've probably noticed, there's not much crafting involved with these — consider them merely an invitation to draw some fish and write some silly puns. 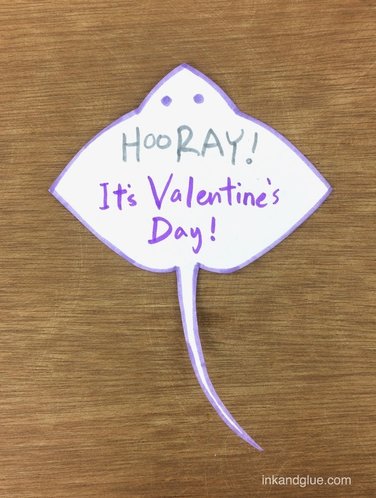 This next one does require glue-sticking a separate fin-shaped piece onto the front. It might be my favorite. 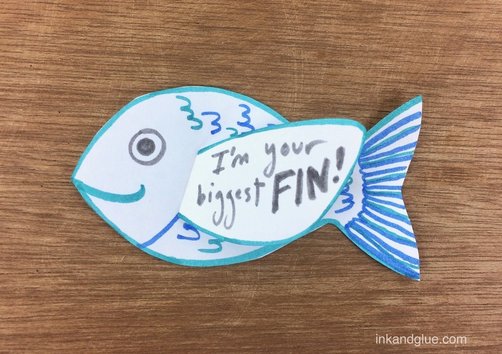 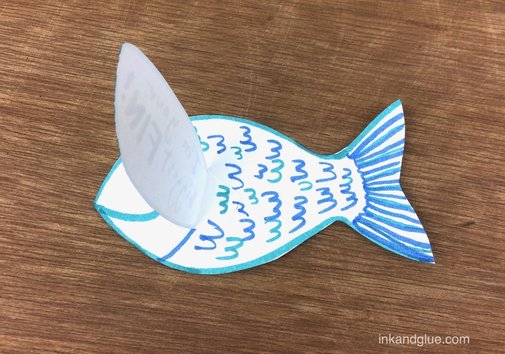 Have you met Daniel Ranalli? He's a photographer, image maker, and art creator, and one of his long-running projects is to photograph sea snails in wet sand. He sets them up in a pattern or shape, and then watches as the snails make the art their own. 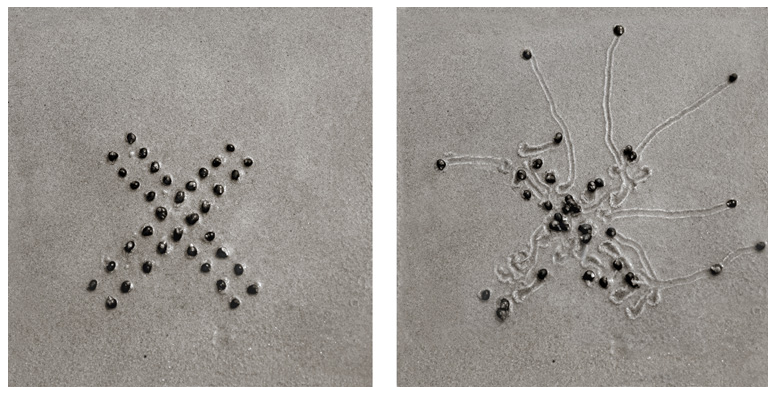 He's taking environmental art (ala Andy Goldsworthy, or for a more common example, the practice of stacking rocks into cairns) to the next level. In his words, "I tend to think of the snail pieces as a metaphor for the order we establish in our lives, and how the element of chance enters in to shape the result — regardless of how much we attempt to structure it."  A lot of his work — not just these oceanic snail collaborations — is Cape Cod-inspired and -based, which is near to my heart. Please go to his portfolio site and explore! 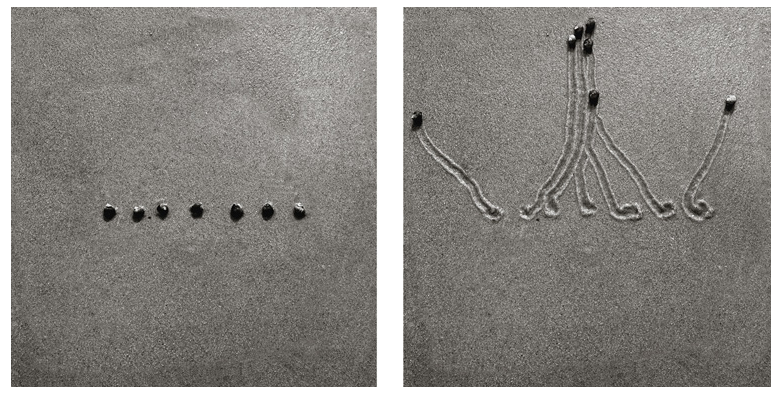 xo!
Because it's the thought that counts, not the price tag.
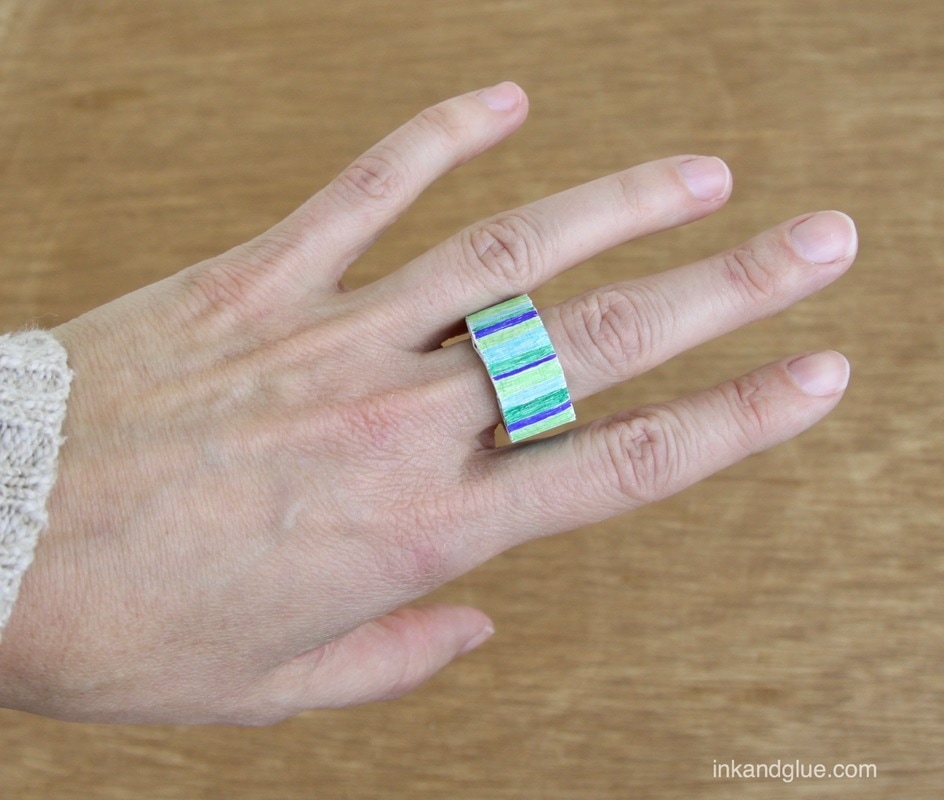
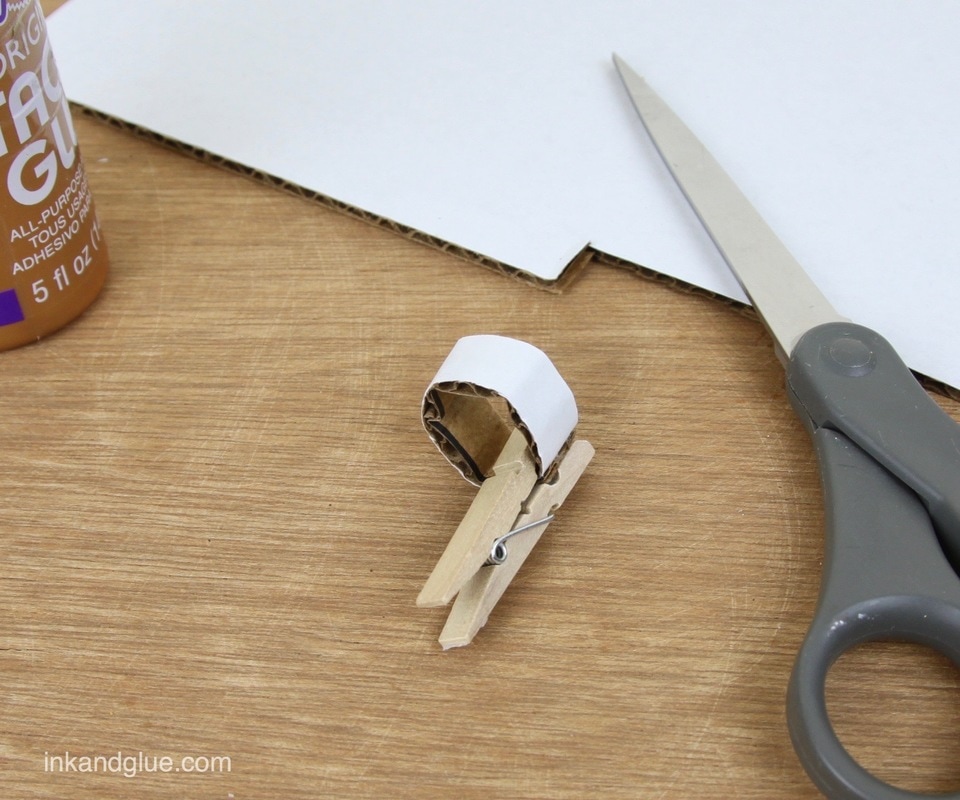
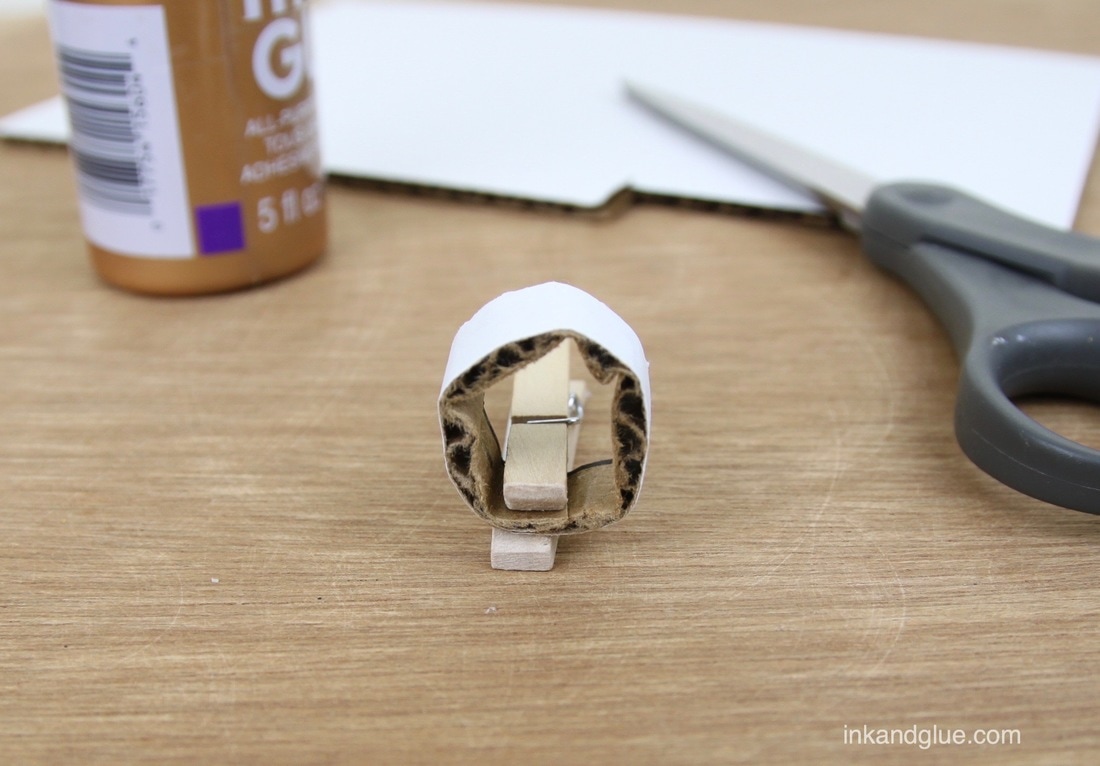
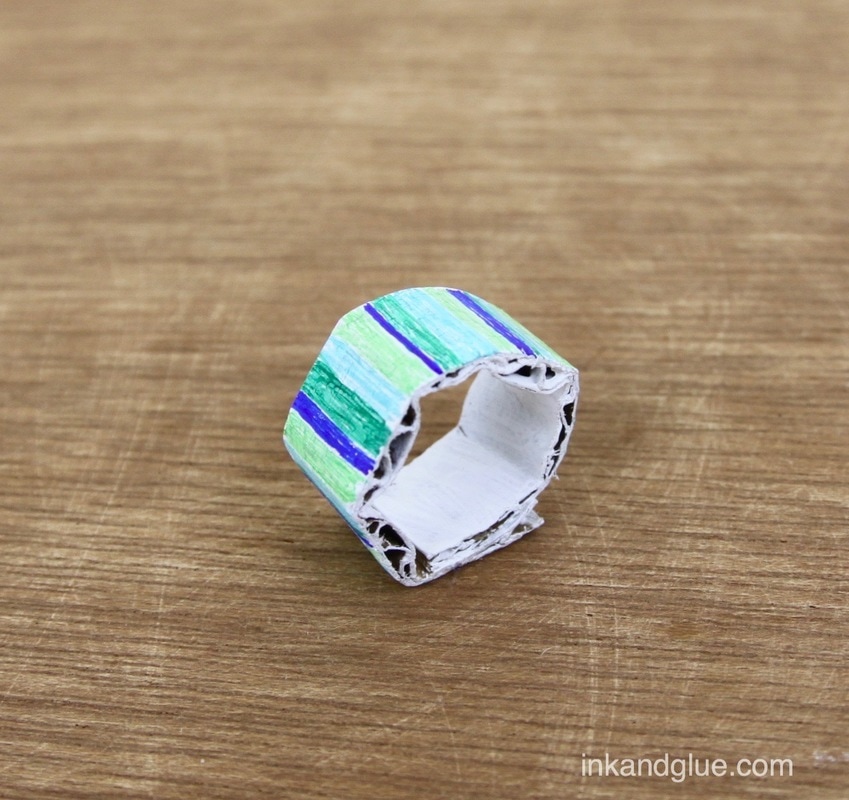
Regular readers will know I love cardboard as a craft material, for both its sturdiness and its free-ness. We still have plenty hanging around the house post-holidays, so made a couple of rings! Partly this project is in anticipation of Valentine's Day, which is a mere short month away. It's incredibly easy to make rings for everyone on your "i care about you" list. Cut a strip of corrugated cardboard against the grain (i.e. the corrugations). Loop it into an overlapping ring around a finger for a good fit, then glue the overlapping parts. Clamp with a clothespin while the glue dries.
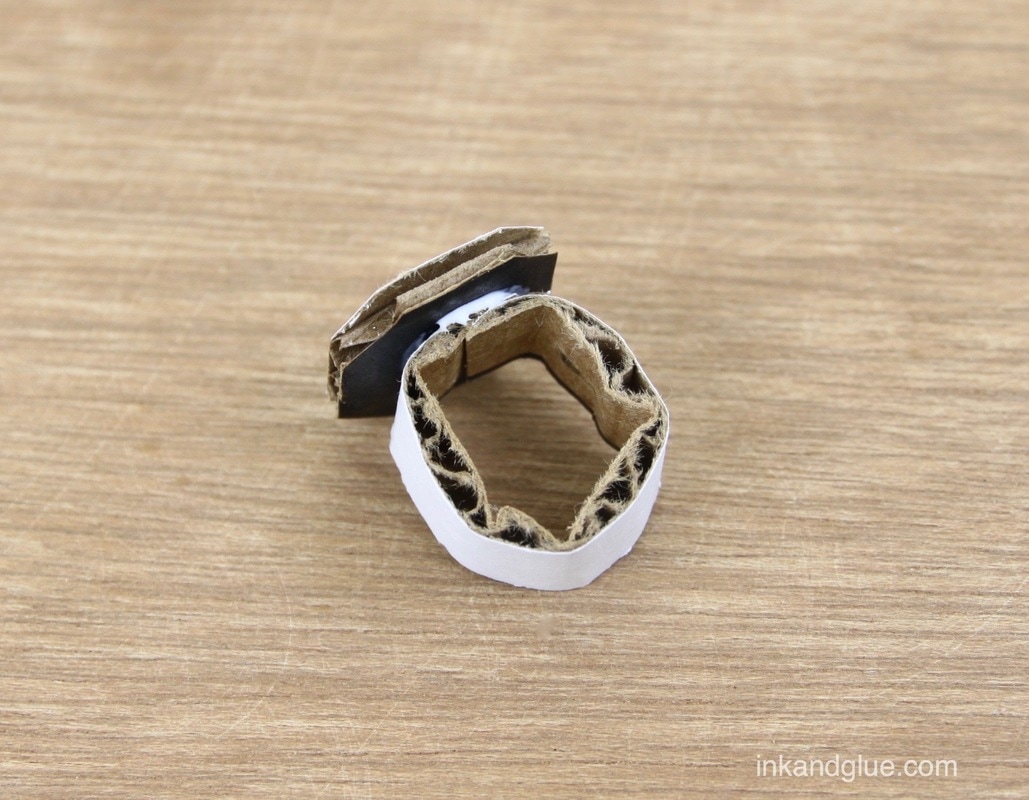
Cut a "gem" or other focal shape, if you like, and glue it to the ring.
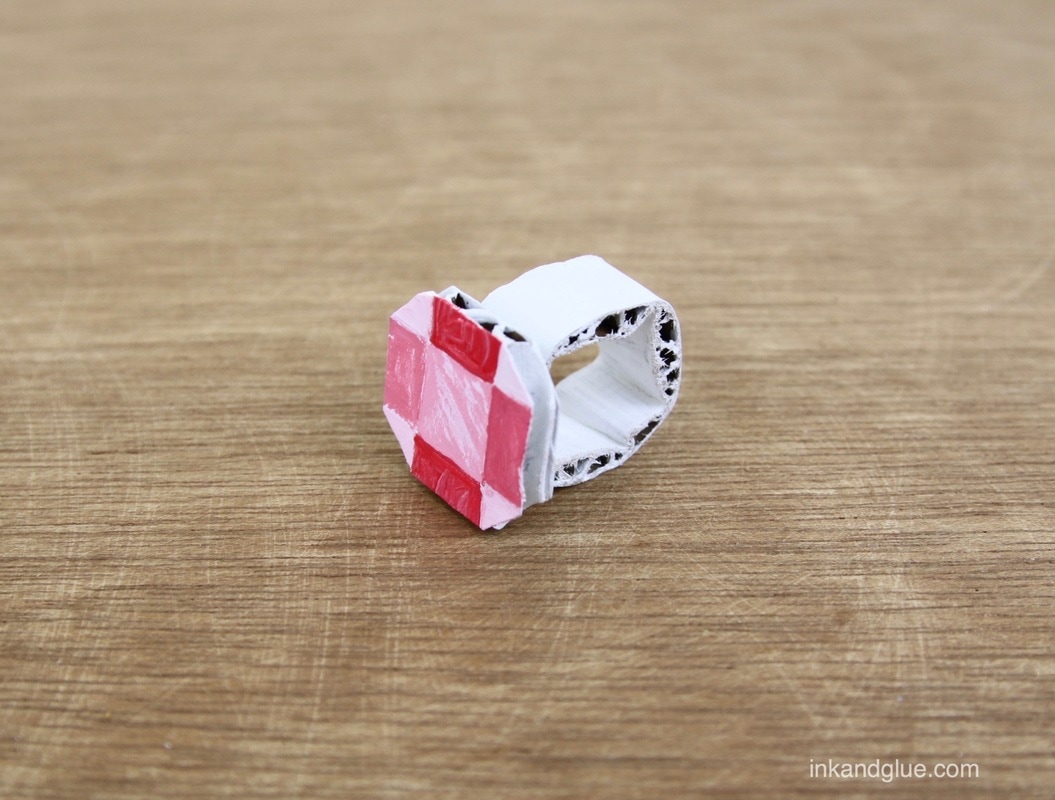
Paint your glued ring with white acrylic or craft paint and let it dry. I tried to make my gem look sort of faceted, so after the paint dried, I marked guide lines in pencil. 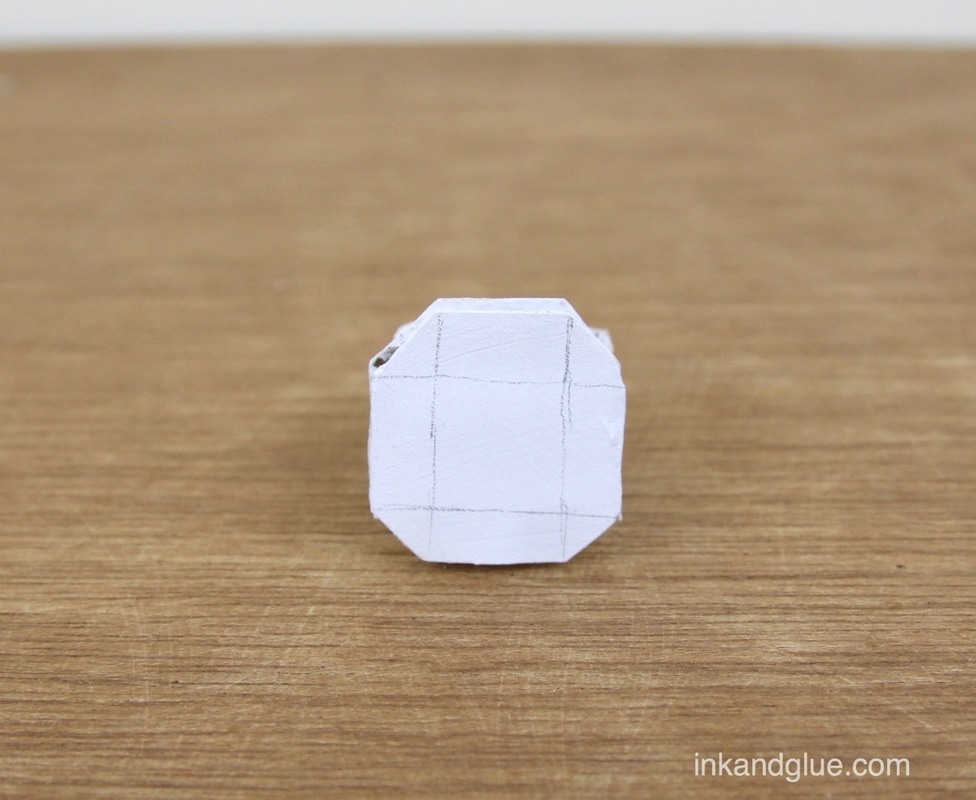
That's it! If you use permanent marker and acrylic craft paint, you shouldn't have much trouble with the color bleeding onto your skin or clothes, but I certainly would try to avoid getting these wet. Of course, you can also decorate these rings with stickers, or washi tape, or glue on fabric or beads or feathers or all of the above! They're ideal for a fun, quick party activity (make a bunch and paint them white beforehand).
xo! Calling these rope dolls "action figures" feels like a stretch — I wouldn't let a kid actually play with these — but maybe in 1970 "action figures" didn't mean what they mean today. 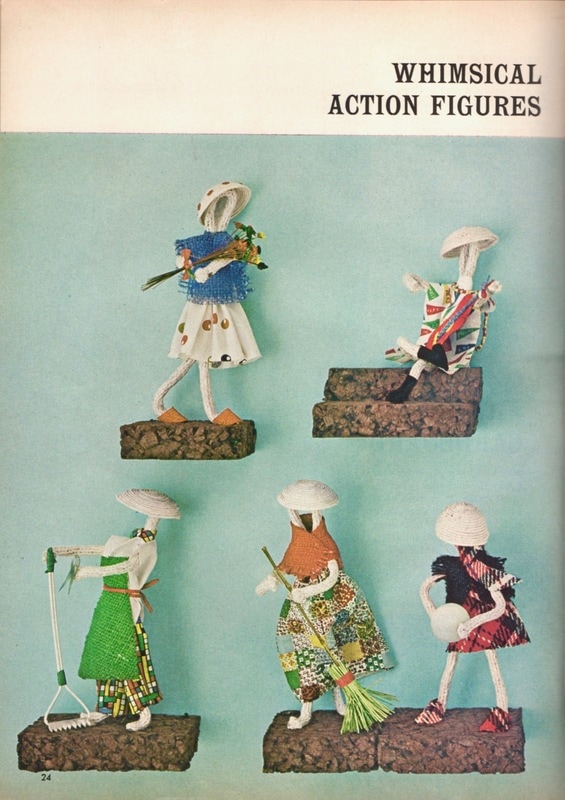 I guess it's the fact that they are posed in the middle of an action? I dunno. I find their empty faces rather odd, moreso when given a pair of glasses (I'm looking at you, knitting grandma). 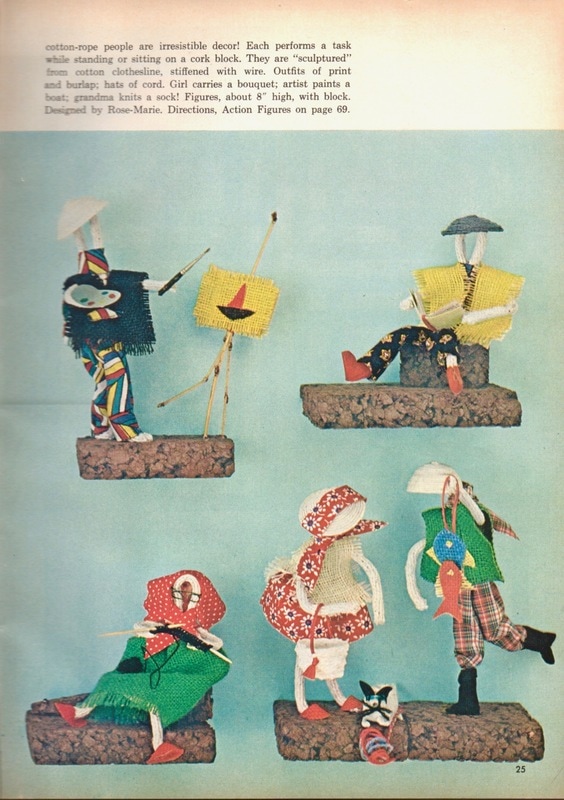 These are made by inserting a stiff wire through the center of a length of clothesline, which sounds like an advanced-level craft maneuver to me. The bowl-like hats are made by coiling glue-soaked string around the top of a lightbulb and letting it dry. That's a good tip, though you'll have to find an old-fashioned lightbulb for it. Want the full (lengthy) directions? Sure: 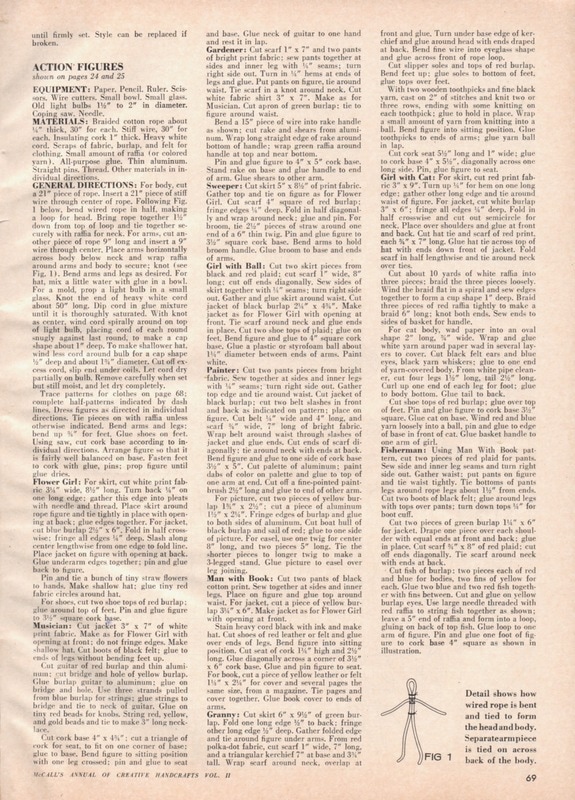 xo!
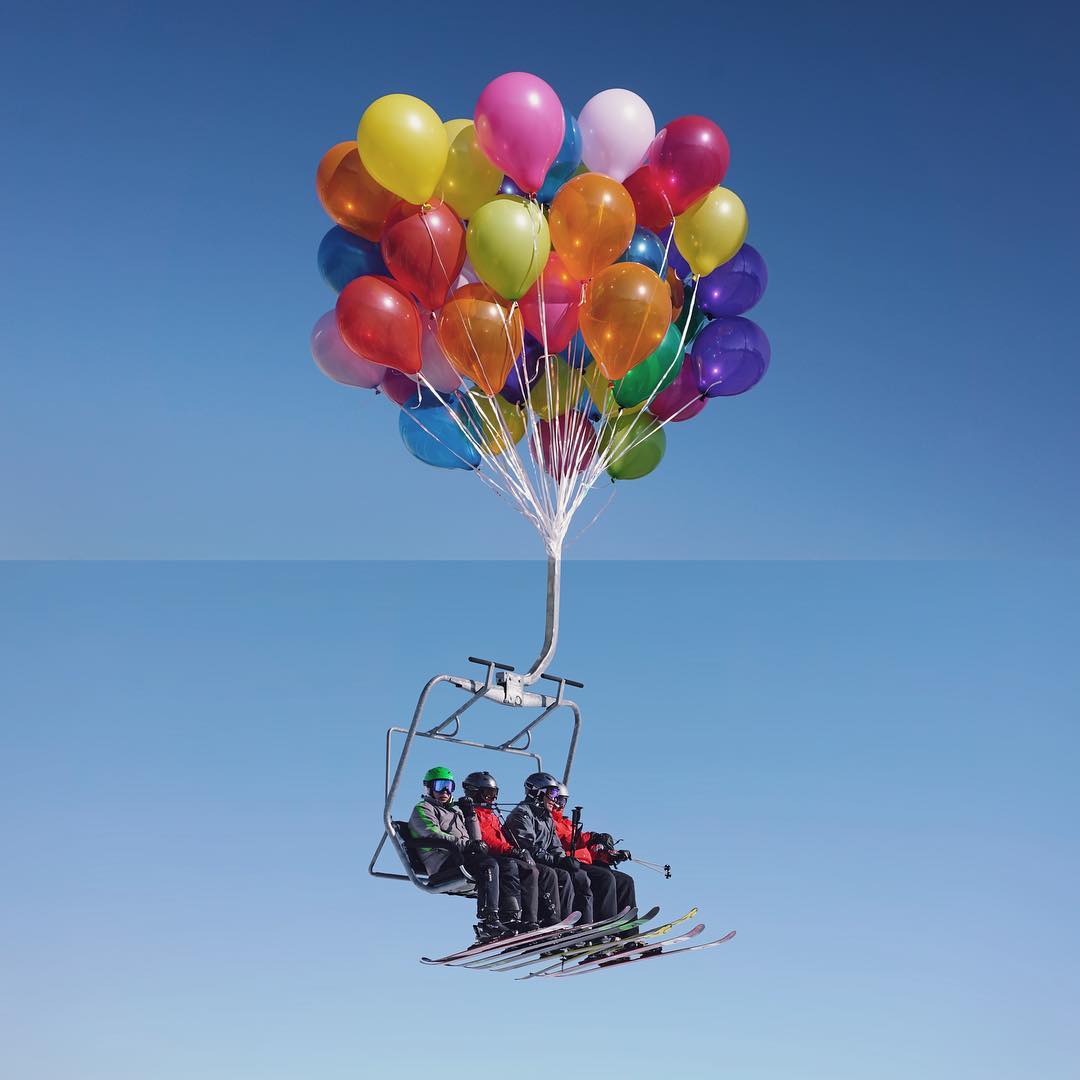
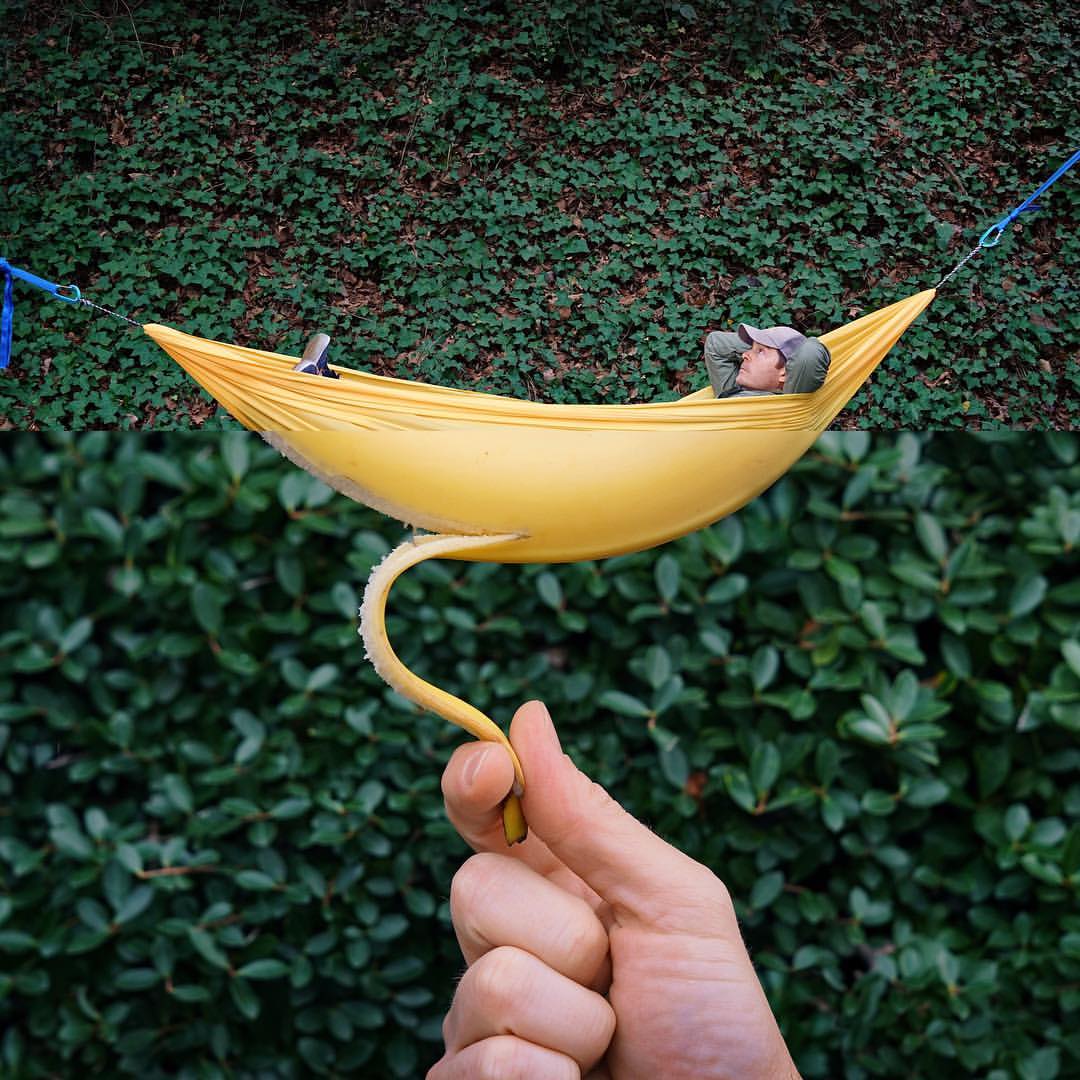
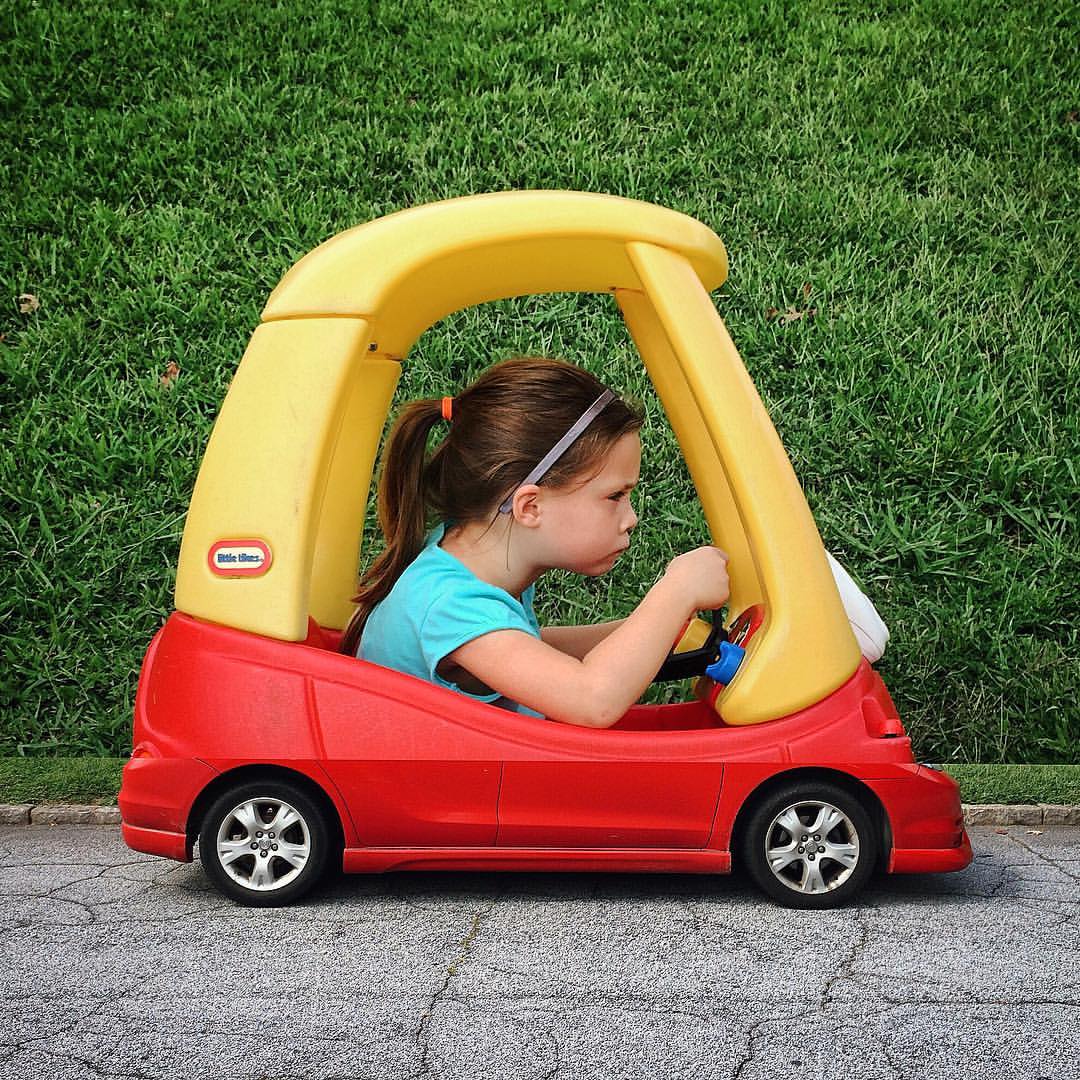
Have you met Stephen McMennamy? He makes two-part photo collages — called "combophotos — using only photographs he's taken himself, matching colors/sizing/lighting to create odd (and often funny) images.
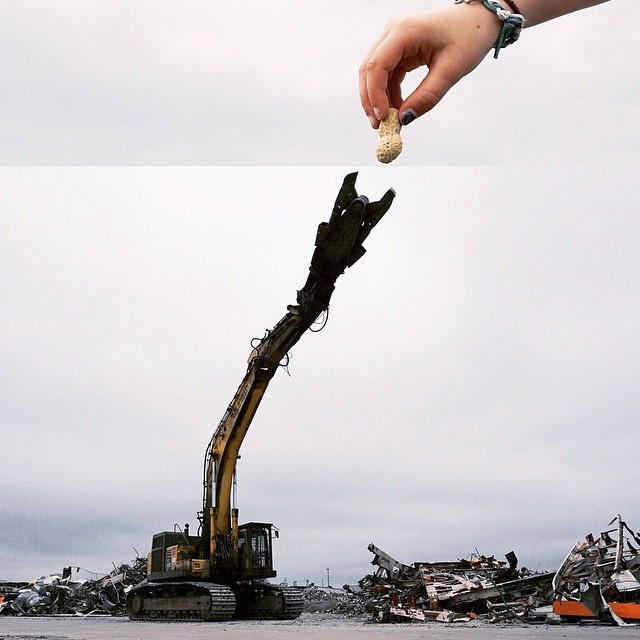
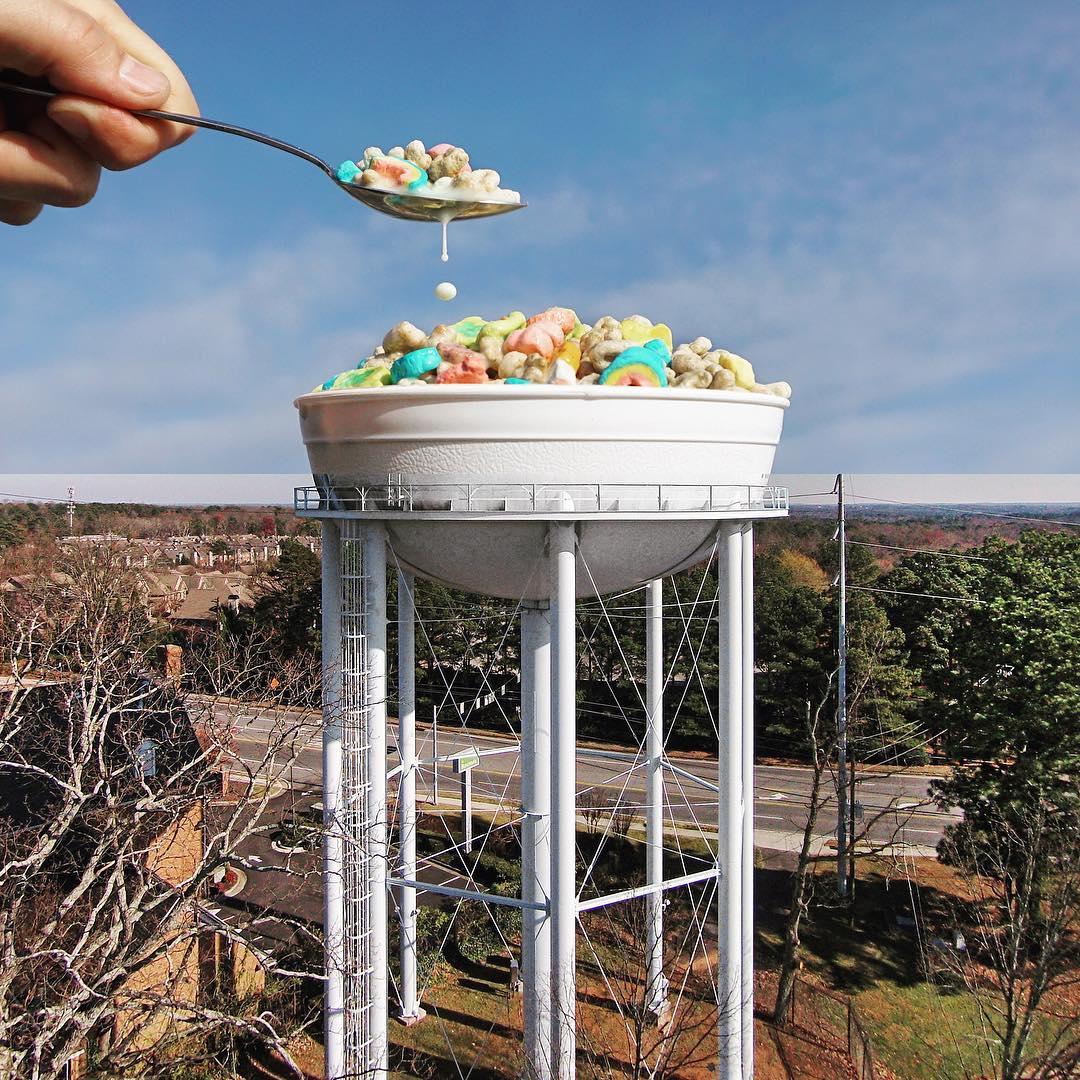 I like that he takes his own photos, and that he gets his family involved (that's his daughter acting as a road-raging driver, above). If you go to his Tumbler, he explains how each combophoto came to be, and there are many more combophotos to explore. Use Stephen's work as a starting-off point for a creative activity: Use a stack of old magazines, or (for the more ambitious/less magazine-hoarding) a smart phone/digital camera, to come up with odd combos of your own.
xo! |
Categories
All
Archives
March 2017
AuthorI'm Debbie Way, an artist and writer who enjoys making things. |


 RSS Feed