|
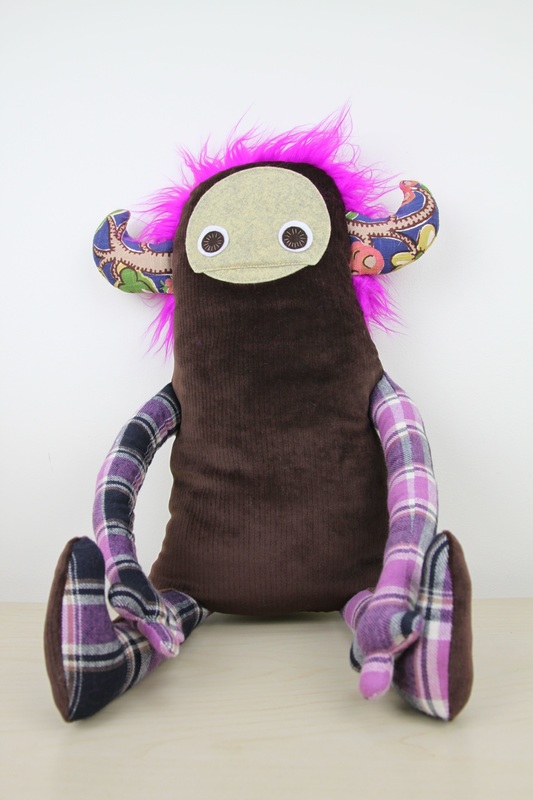
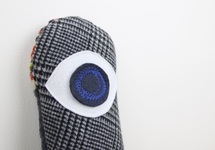
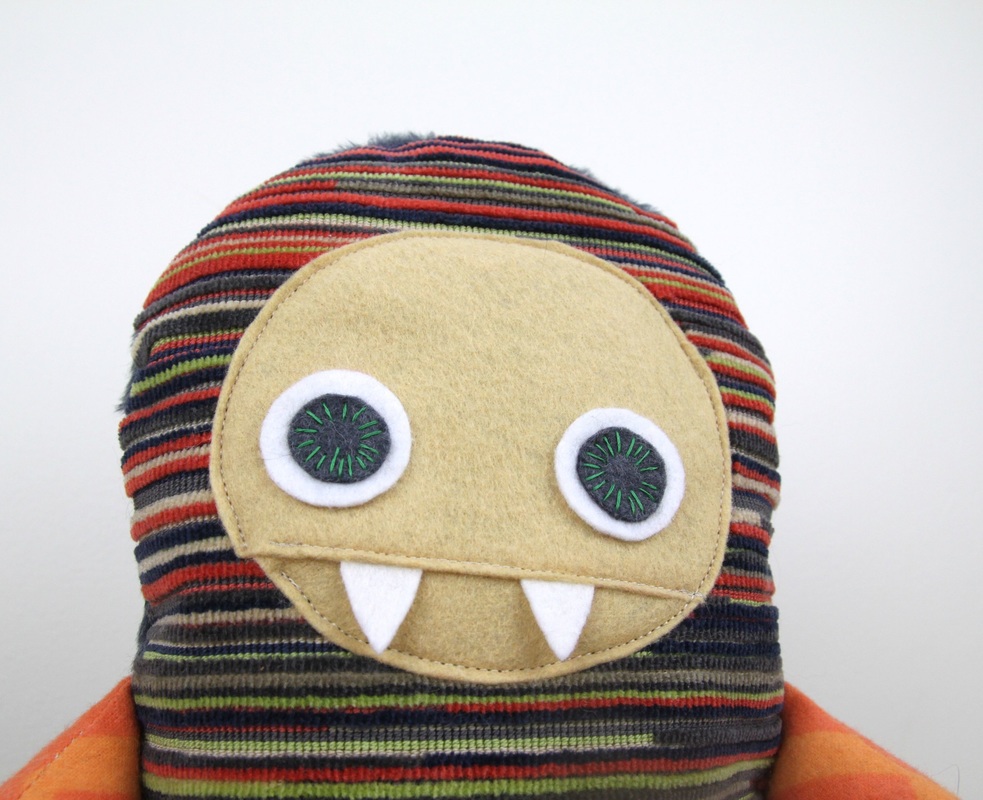
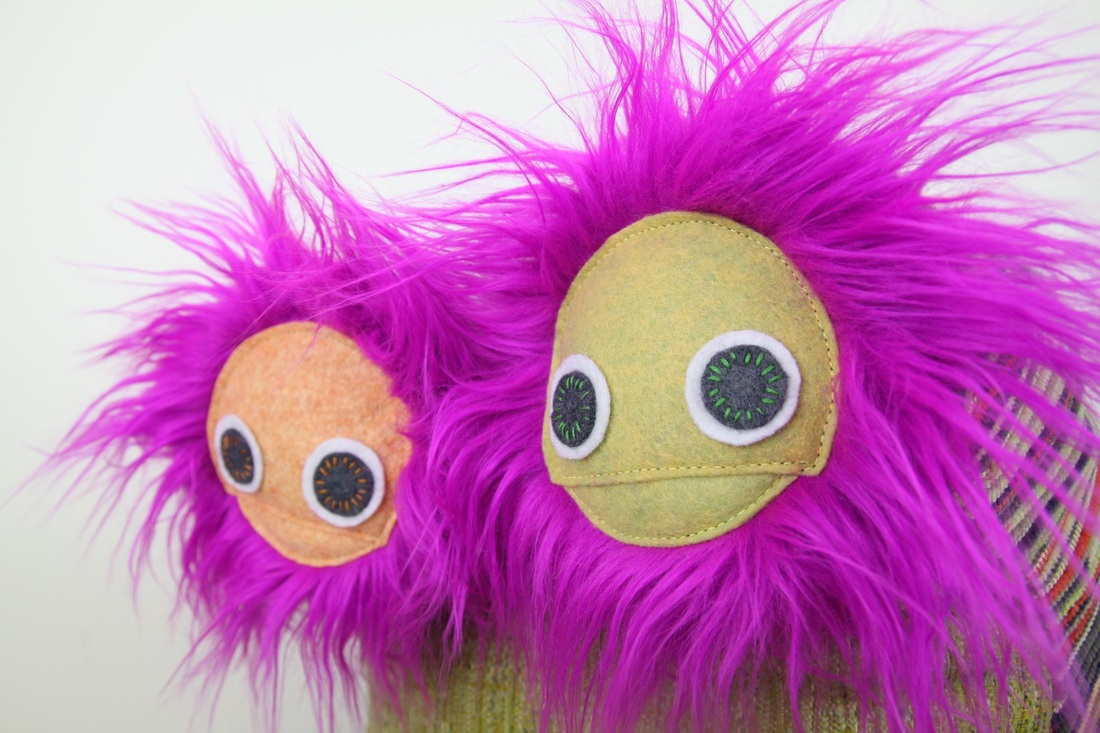
My Etsy shop, deway, is finally live. If you're interested in checking out more of the plush Friendly Monsters I've made, please take a look. Thank you!
 xo!
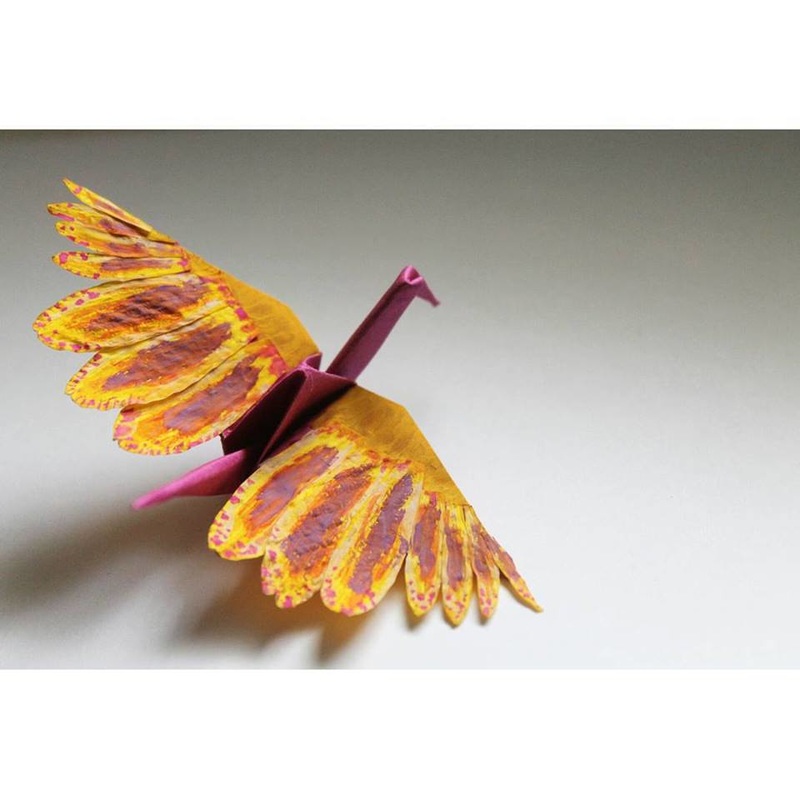
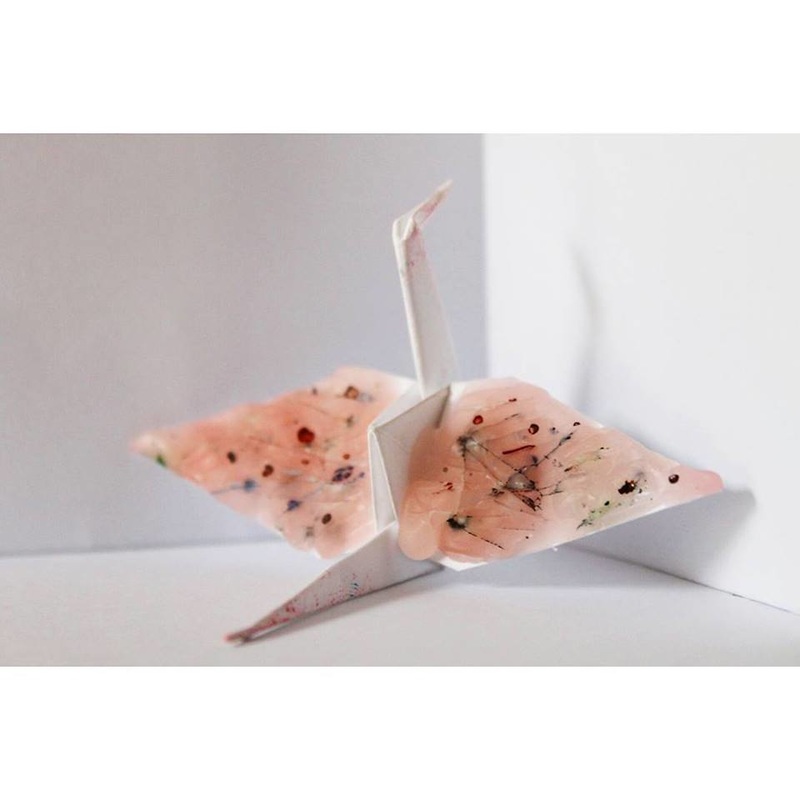
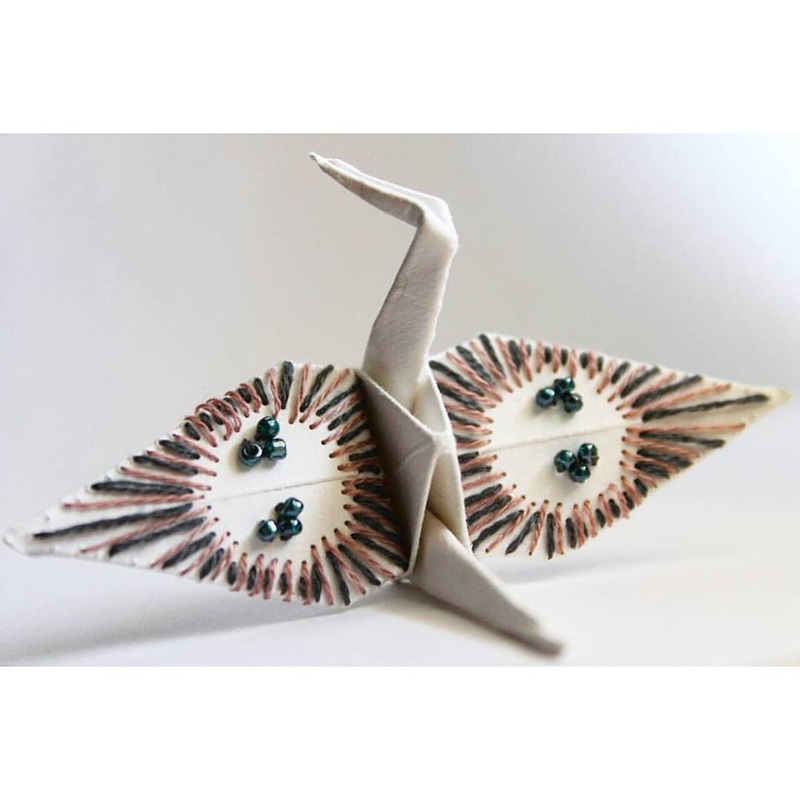
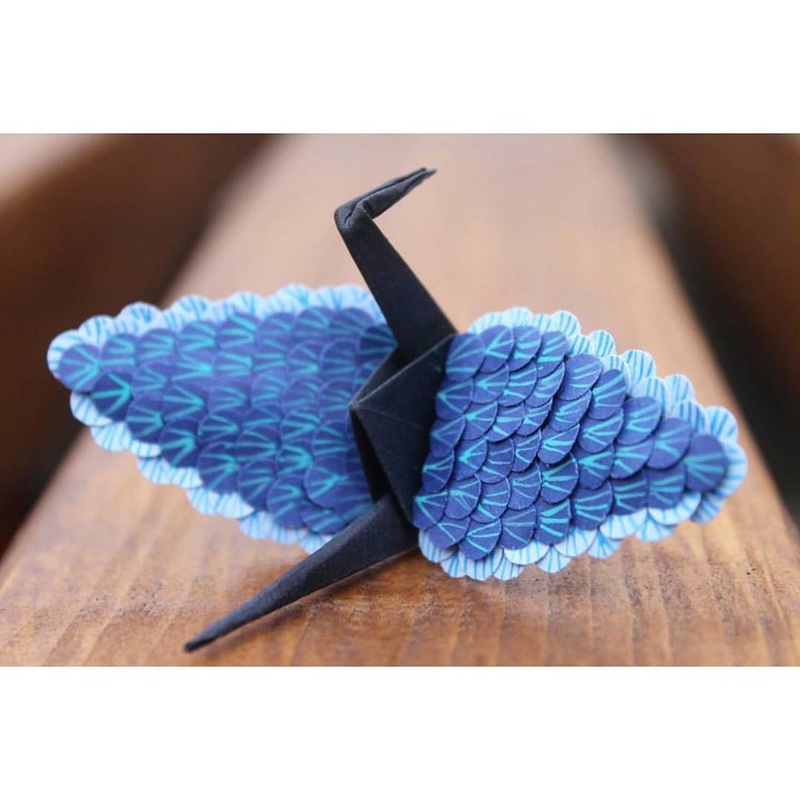
Have you met Cristian Marianciuc? He's making 365 paper cranes, and is nearing the end of his task. Each crane is unique, and serves as a diary or reflection on the day's events. They range from the simple, like this Heritage Crane... 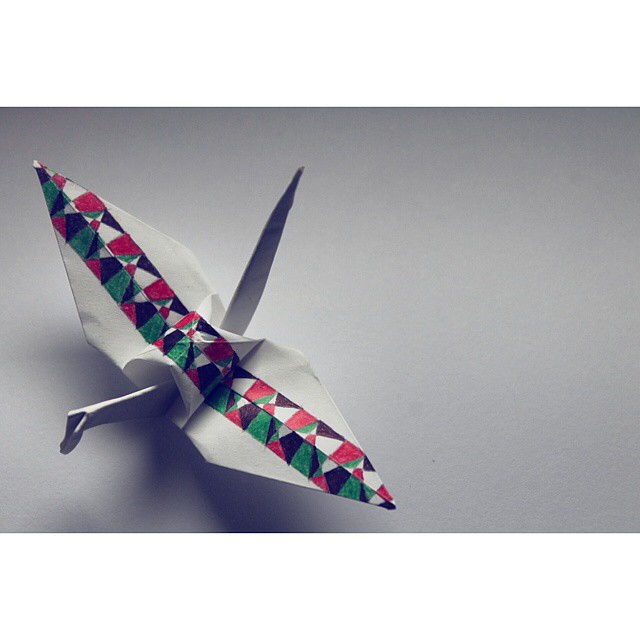 ...to the complex, such as this multi-media Let There Be Peace Crane. 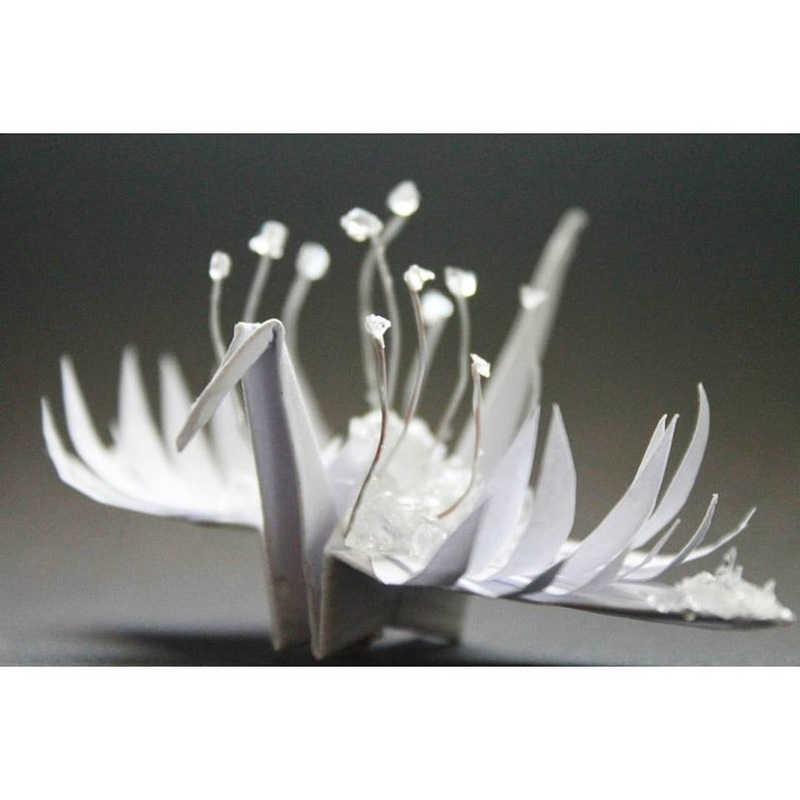 Here are a few more of my favorites.
I love the idea of taking a common object or craft and transforming it into something unexpected. Artwork like this inspires creativity.
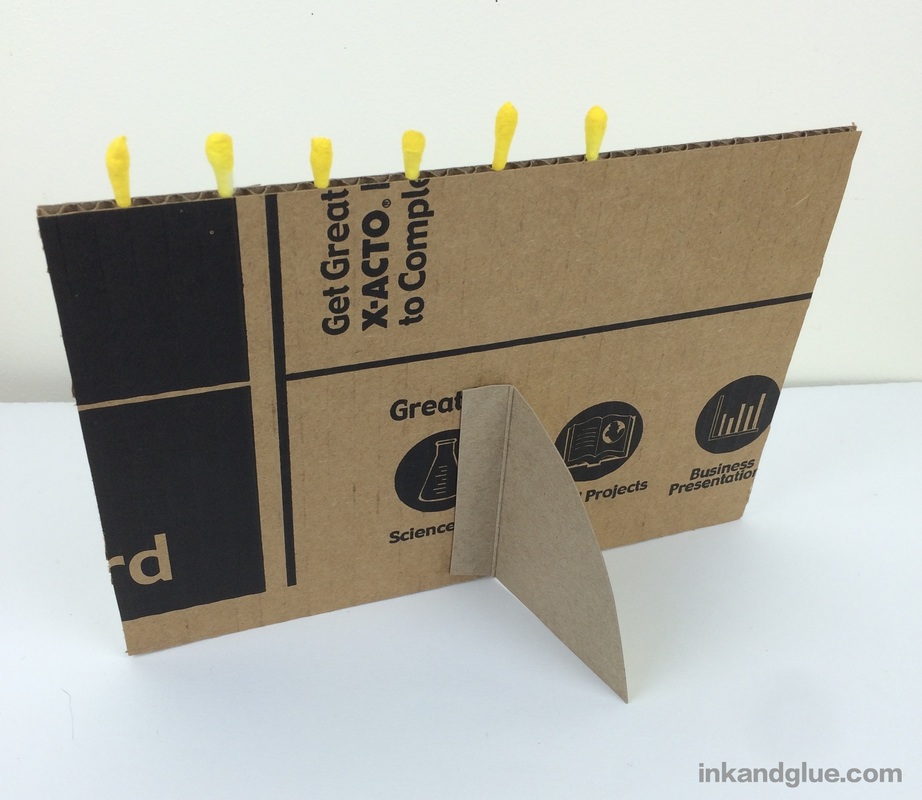
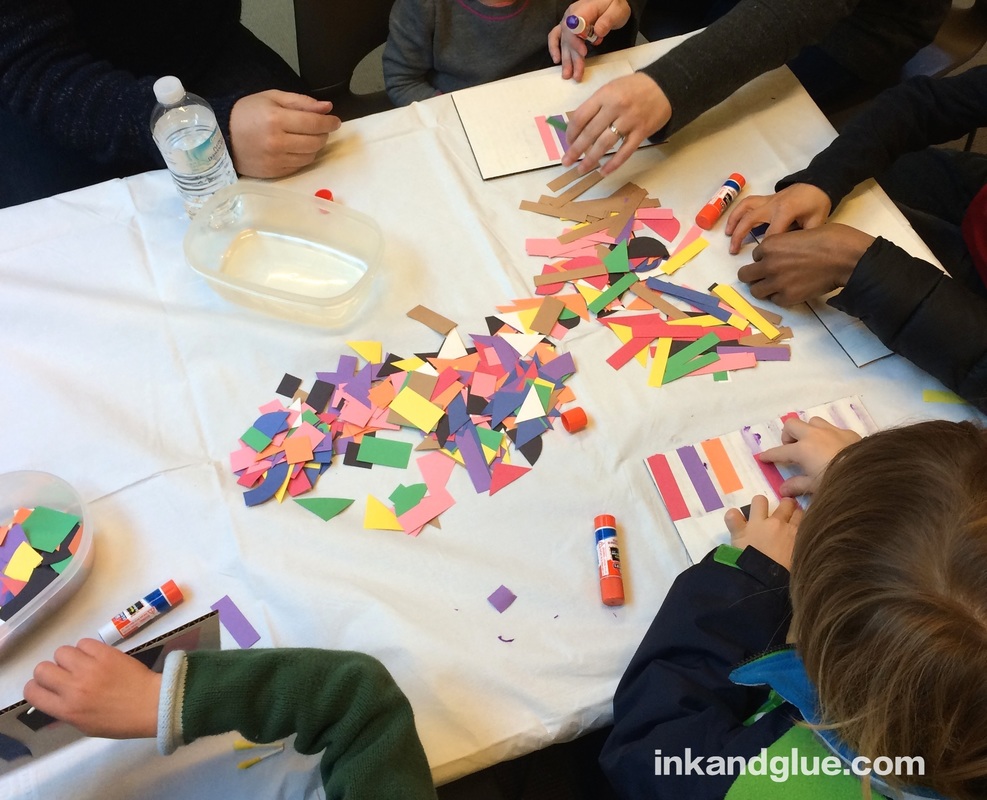
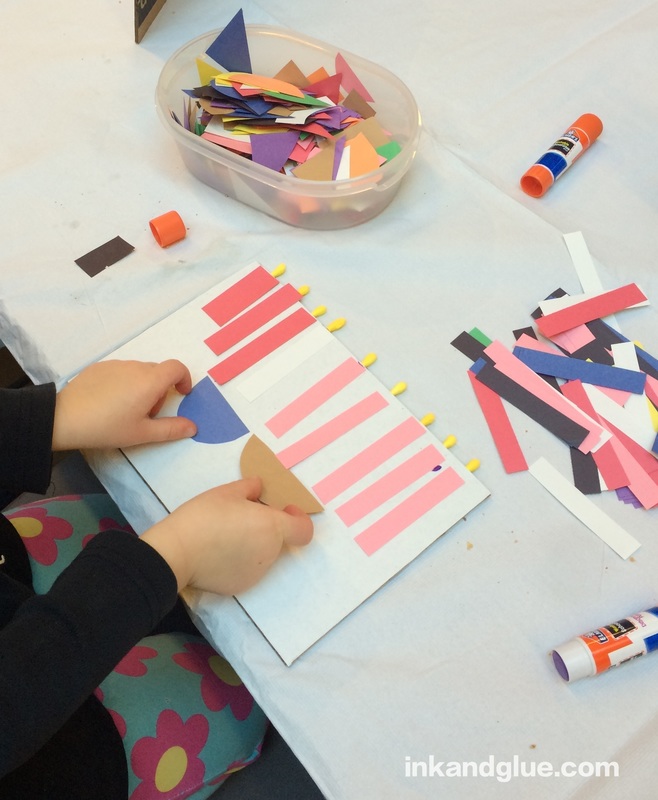
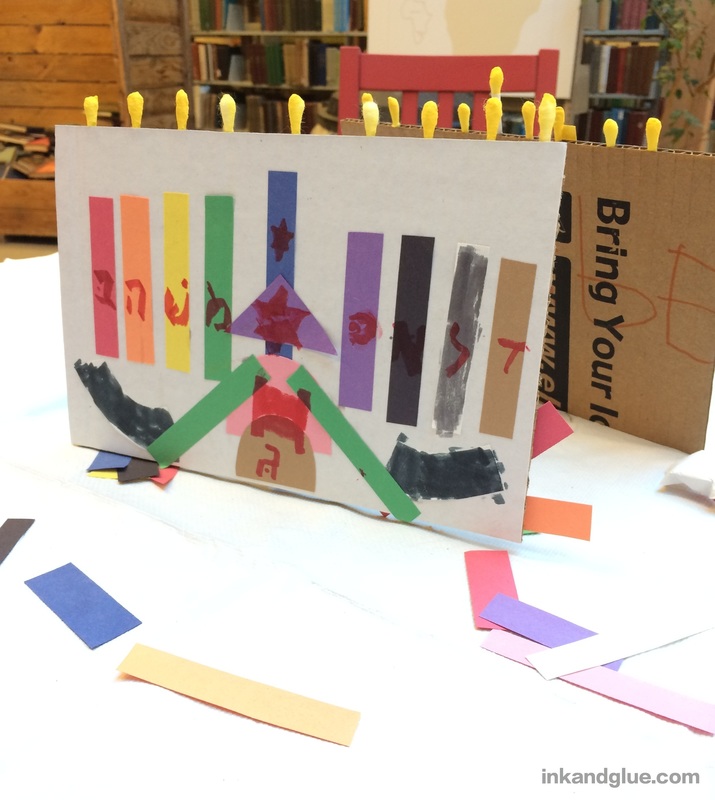
If you, like me, never memorized how to fold a paper crane, you can find directions here, at UTFold. There's a pdf page of instructions below the video. And to see all of Christian's crane creations (there are many dozens more), go to his Instagram page or his Facebook site. xo I was invited to share a craft at a kid-friendly Hanukkah event held at the gorgeous Yiddish Book Center on Sunday. It went over very well, so I wanted to share it with all of you! Here's my sample menorah: 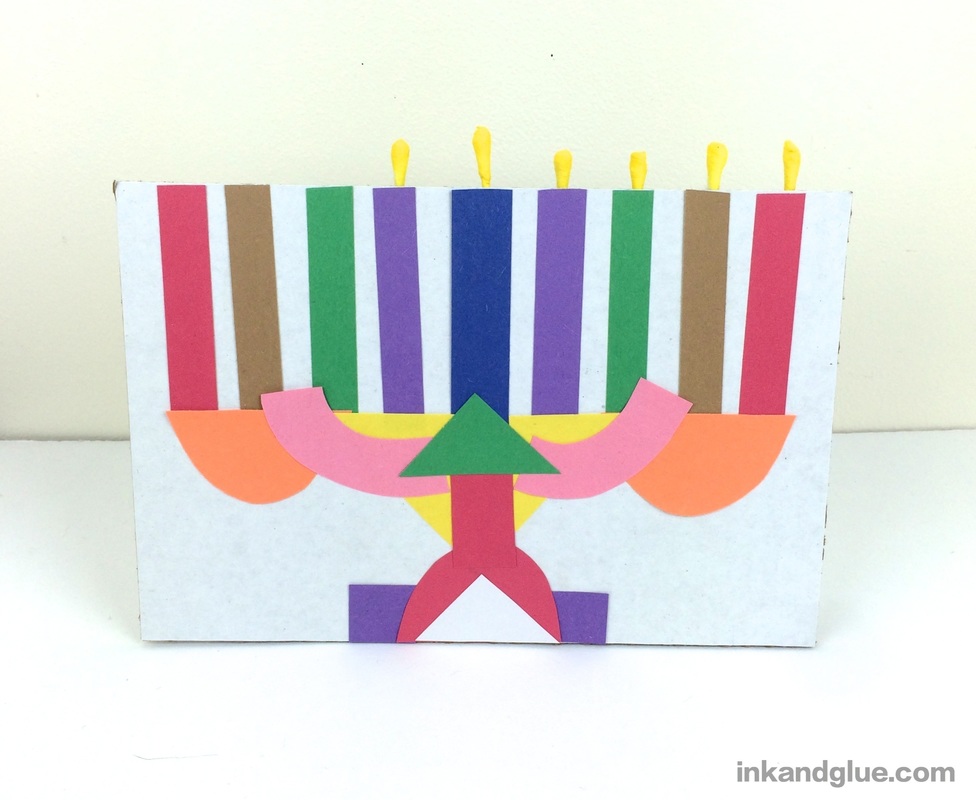 The white cardboard rectangle was cut from a trifold school project board. I had a mega-pack of construction paper and spent several hours cutting out random shapes, including a lot of tall, candle-ish rectangles, while watching TV. (I bought all of the supplies at Walmart, which is not where I prefer to shop, but that enabled me to get more than enough stuff for the event while staying under budget.) The "flames" are cotton swabs I dunked in watered-down yellow acrylic paint and then cut in half. They fit perfectly into the corrugation channels at the top and bottom of the rectangle, so you can "light" a candle merely by placing a swab tip into a channel.
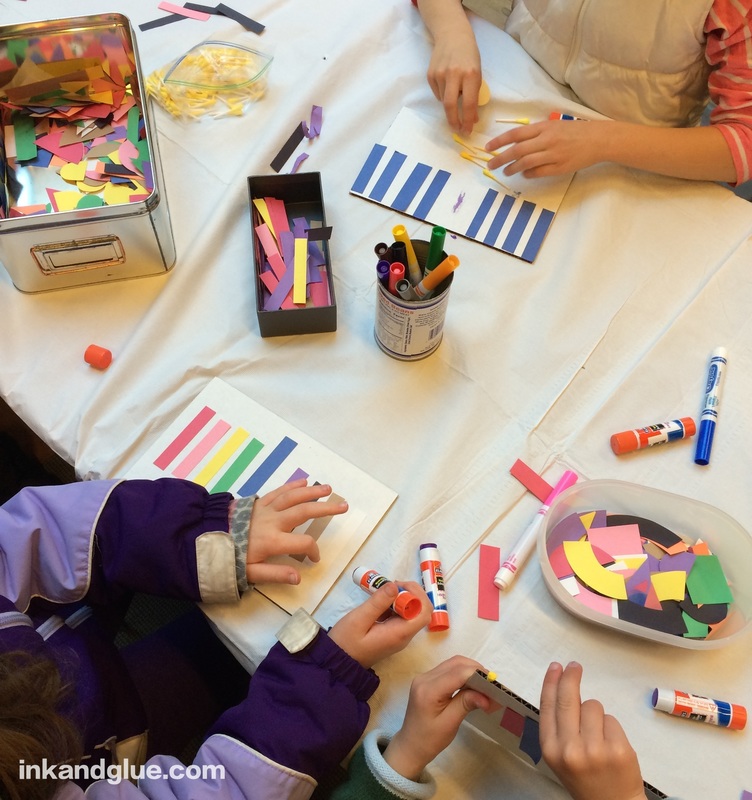
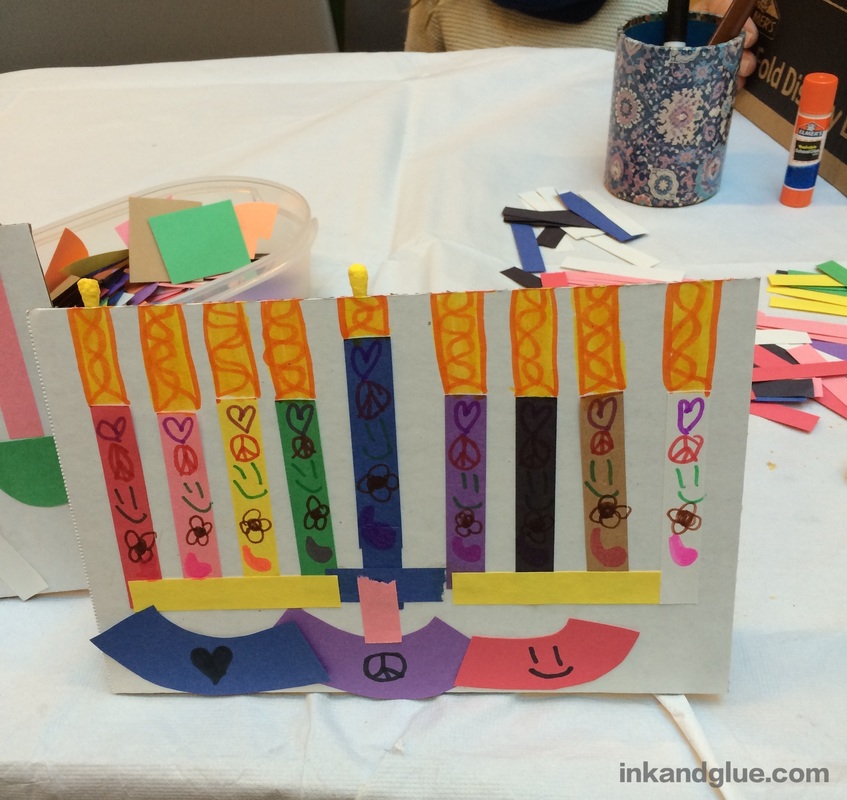
Here are some shots of the event. Note, I did a bit of blurring/cropping to allay any privacy concerns. All of the pieces were pre-cut so the kids wouldn't need scissors, and everything was pieced together with glue stick (there were enough sticks for everyone), so there was hardly any mess. I added a few sets of washable markers in case the kids wanted to draw, and a good number of them did!
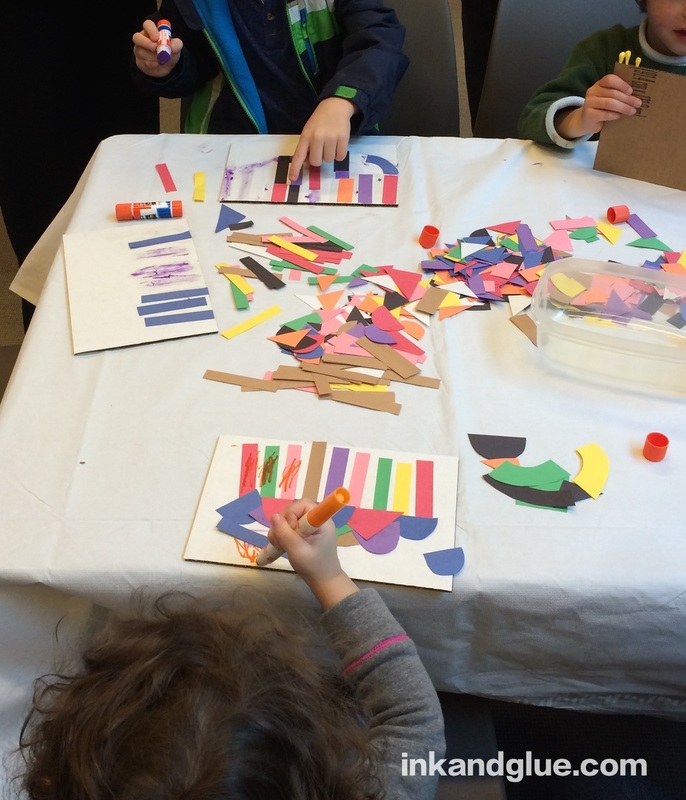
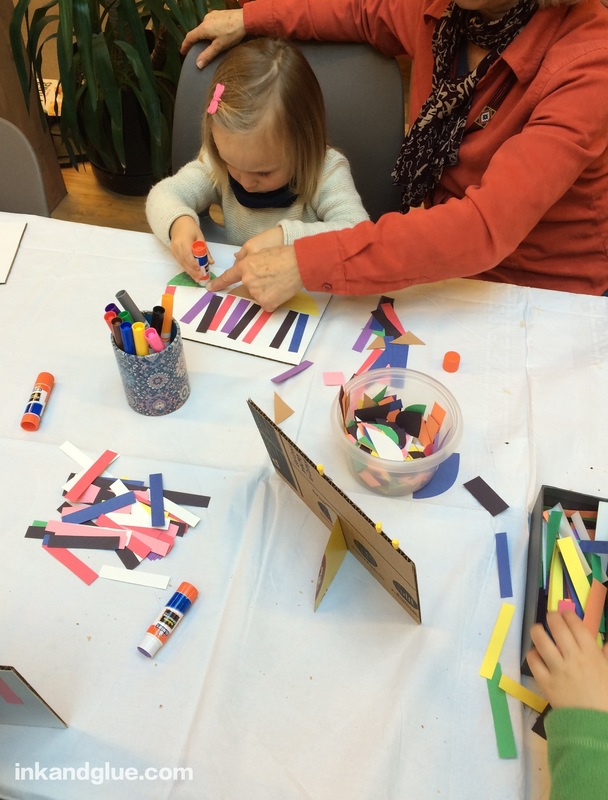
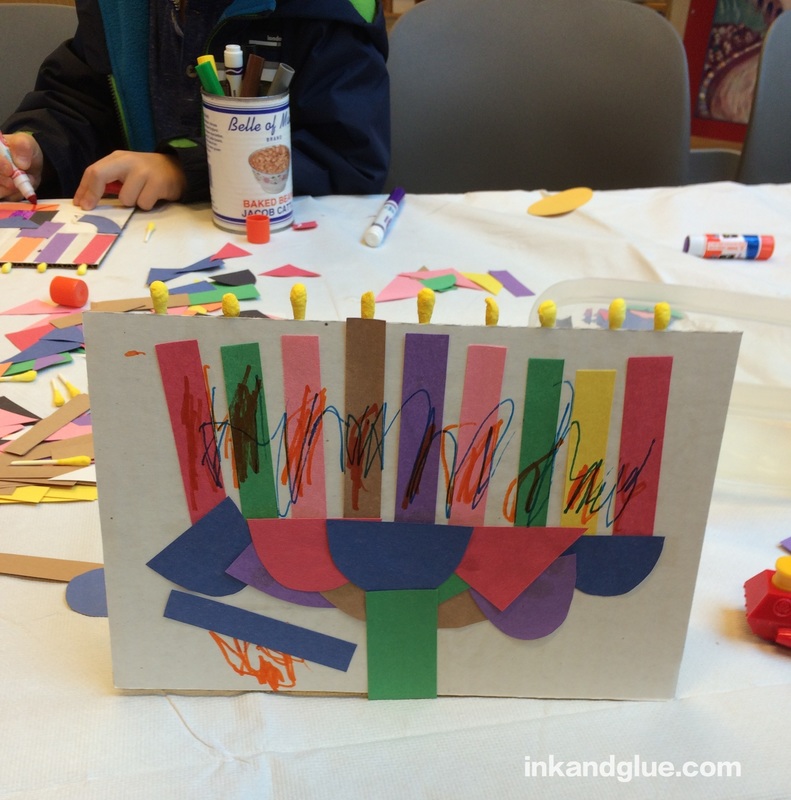
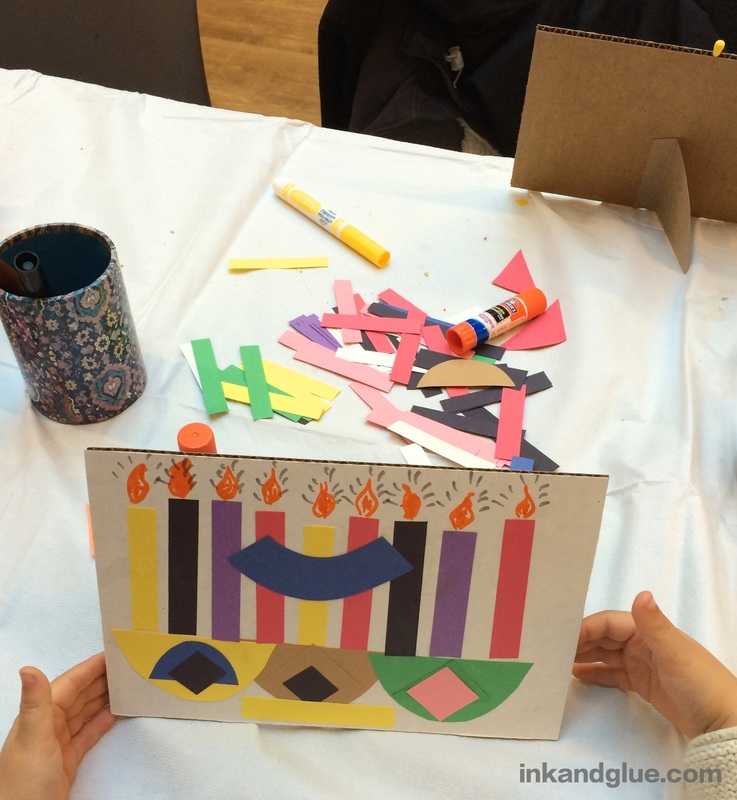
This girl was there while I was setting up and she couldn't wait to get started. She made a perfect, traditional-style menorah. 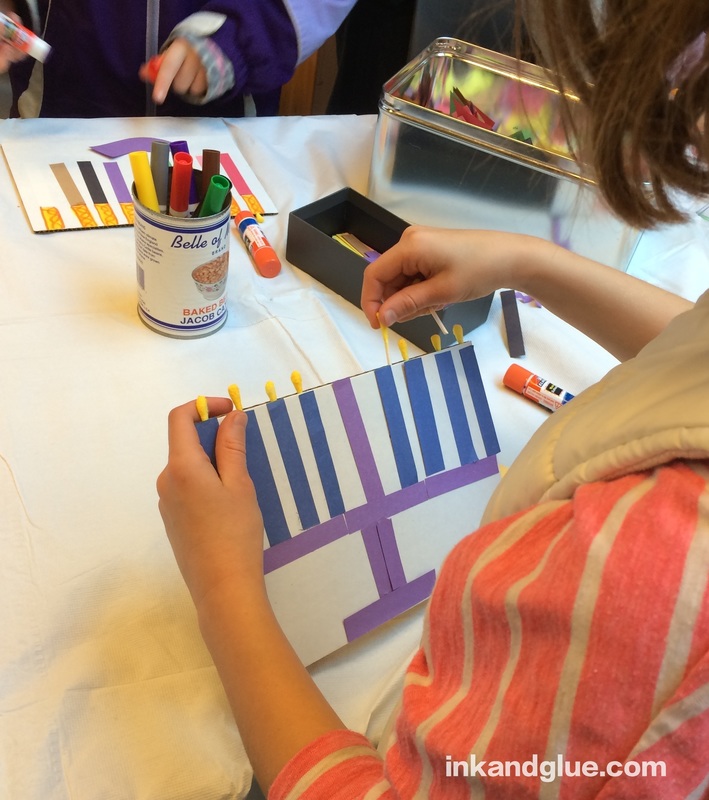 This boy was too busy to keep still for a photo, so all I have is this slightly blurry pic of his menorah rocket (!!). See the flames at the bottom? 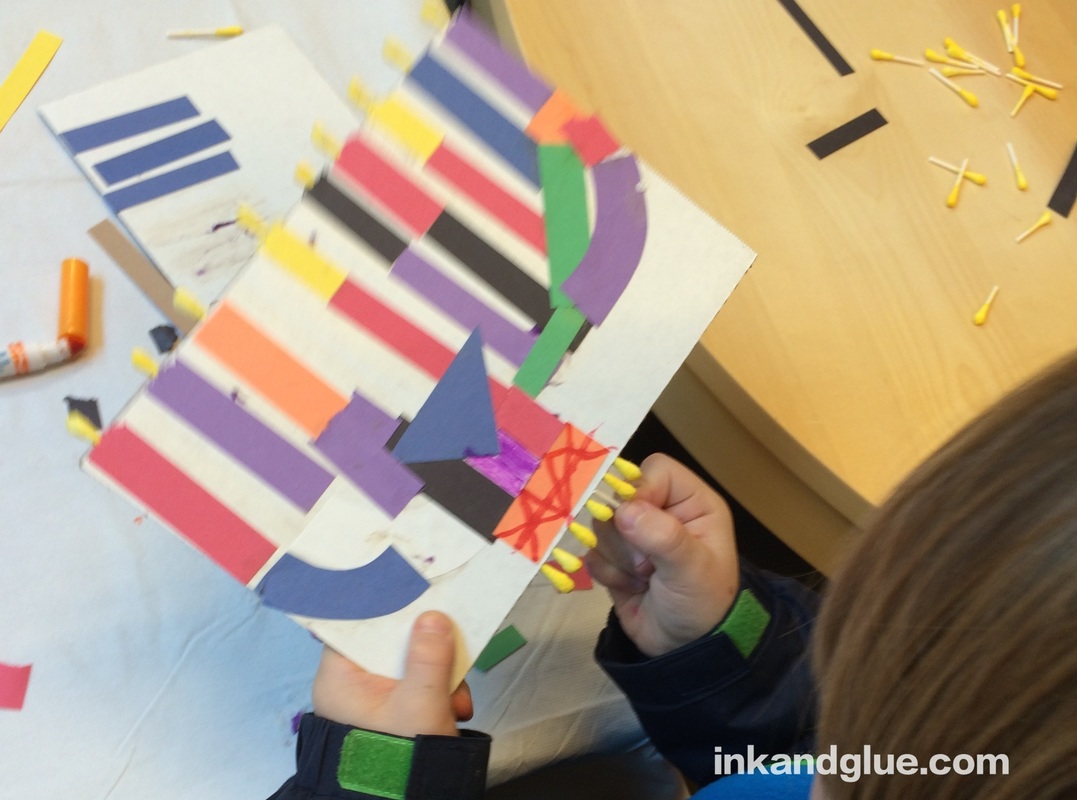 A few kids especially loved putting the flames into the cardboard channels. I had plenty on hand, so they were welcome to use more than the standard nine. 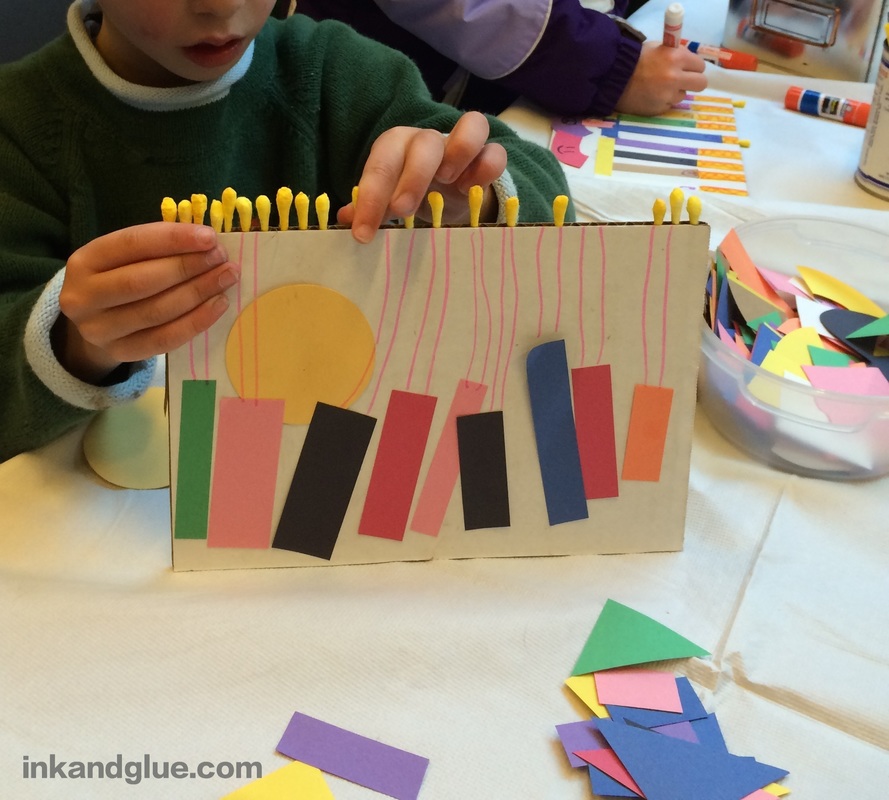 More finished pieces:
A great big THANK YOU to Lisa and Sarah at the Yiddish Book Center, and thanks to all of the kids and families who attended! Everyone was respectful and fun and simply a joy to spend time with. Happy Hanukkah!
xo  Here's my boy in his favorite place, sunk into the deflated beanbag ottoman/chair in front of the wood stove. The angle is a little weird, but so is the dog.
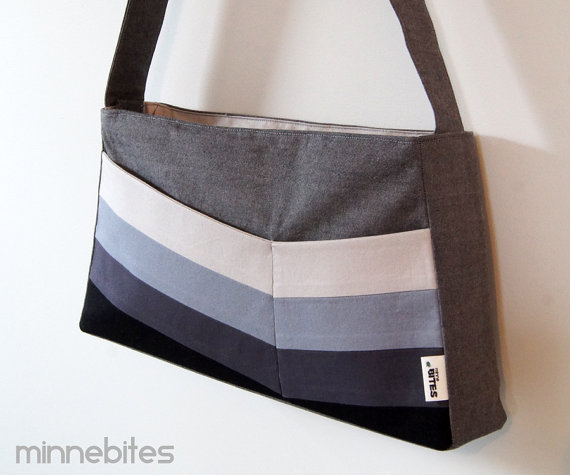
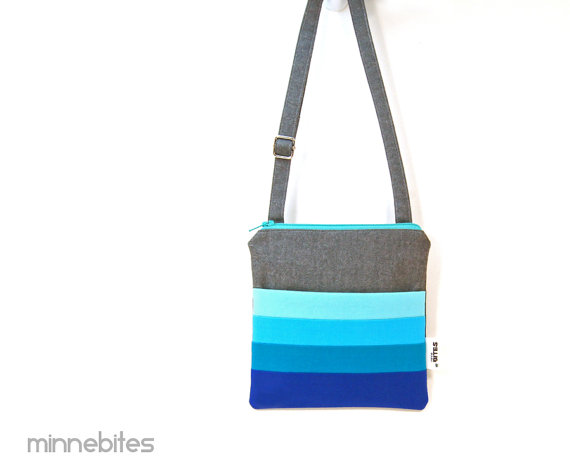
xo 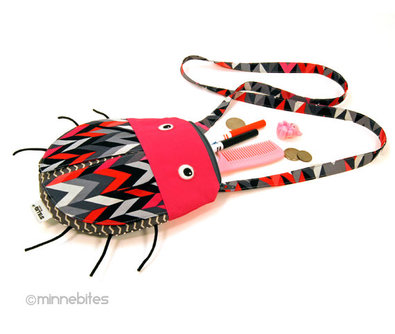 I am loving these bags and pouches from MinneBites! Check out this ladybug purse, perfect for the cute little bug in your life. 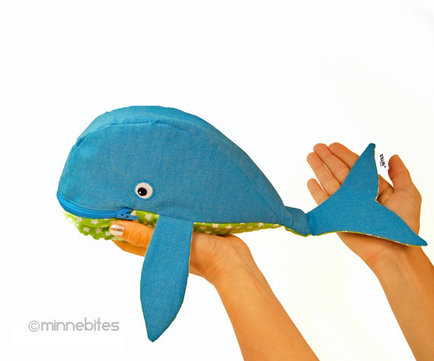 If you need a bit more storage space, try a whale! 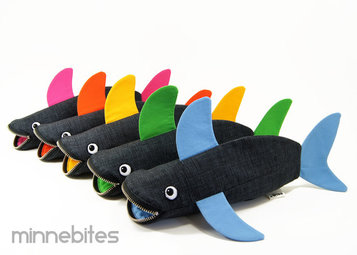 For the perfect pencil case, try a shark pouch, available in multiple colors and patterns. They have regular grown-up lady bags too, like these two that I'm particularly fond of:
xo!
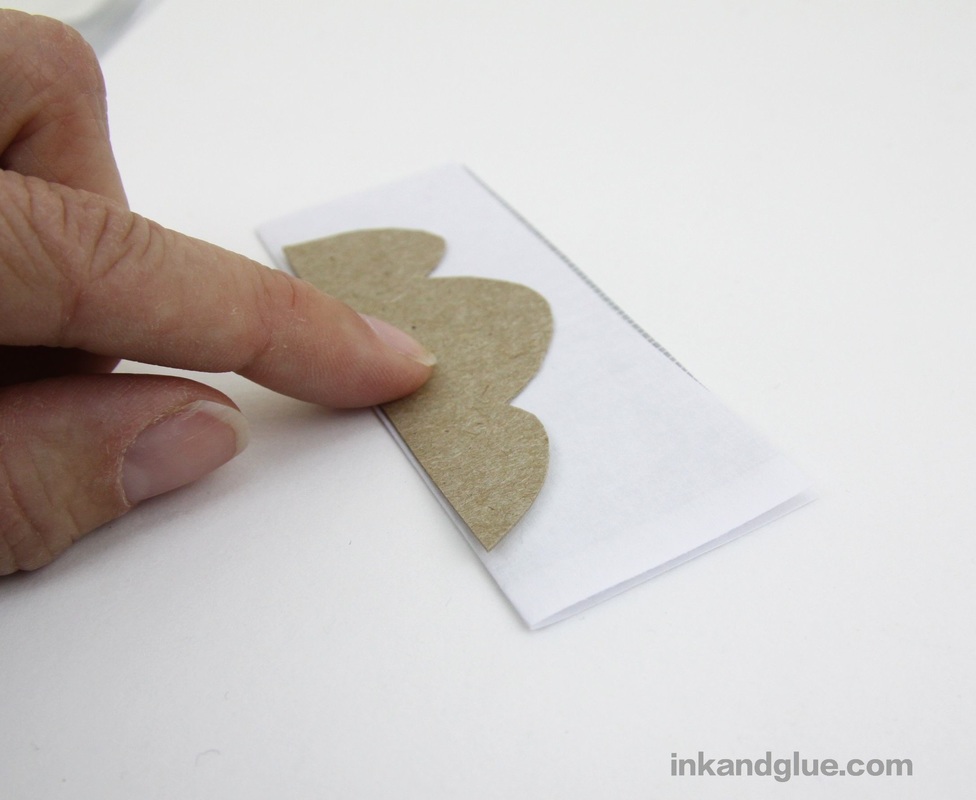
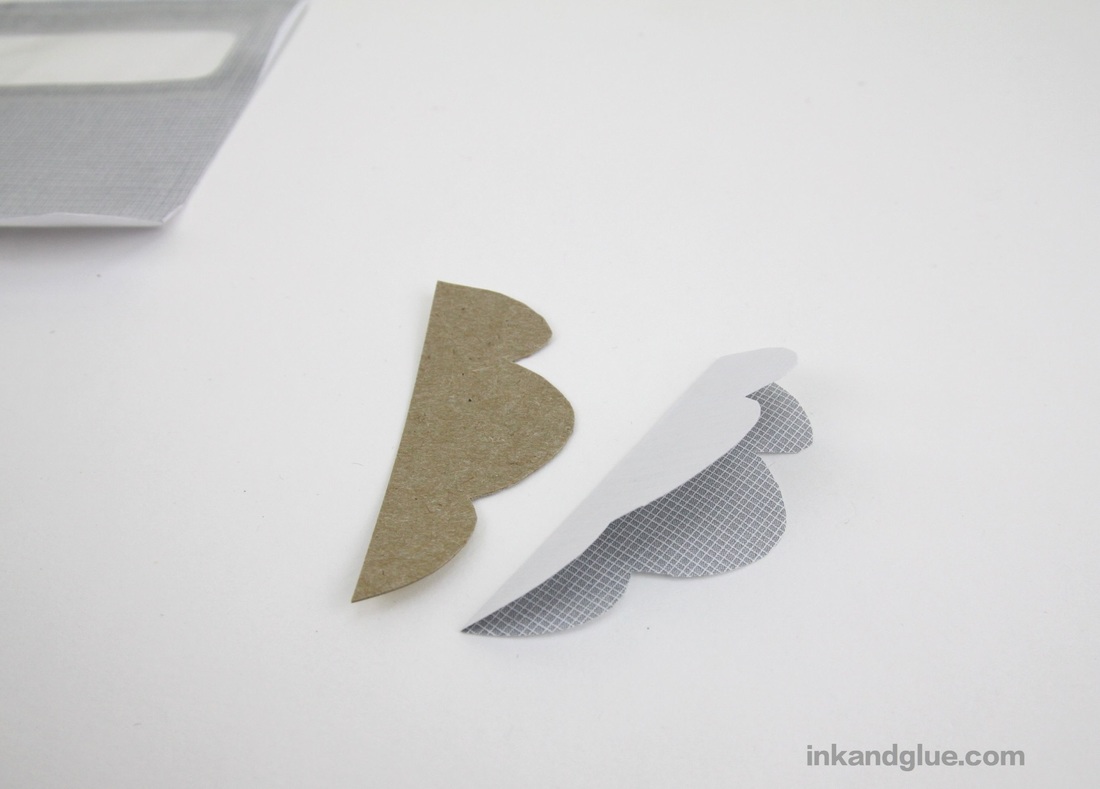
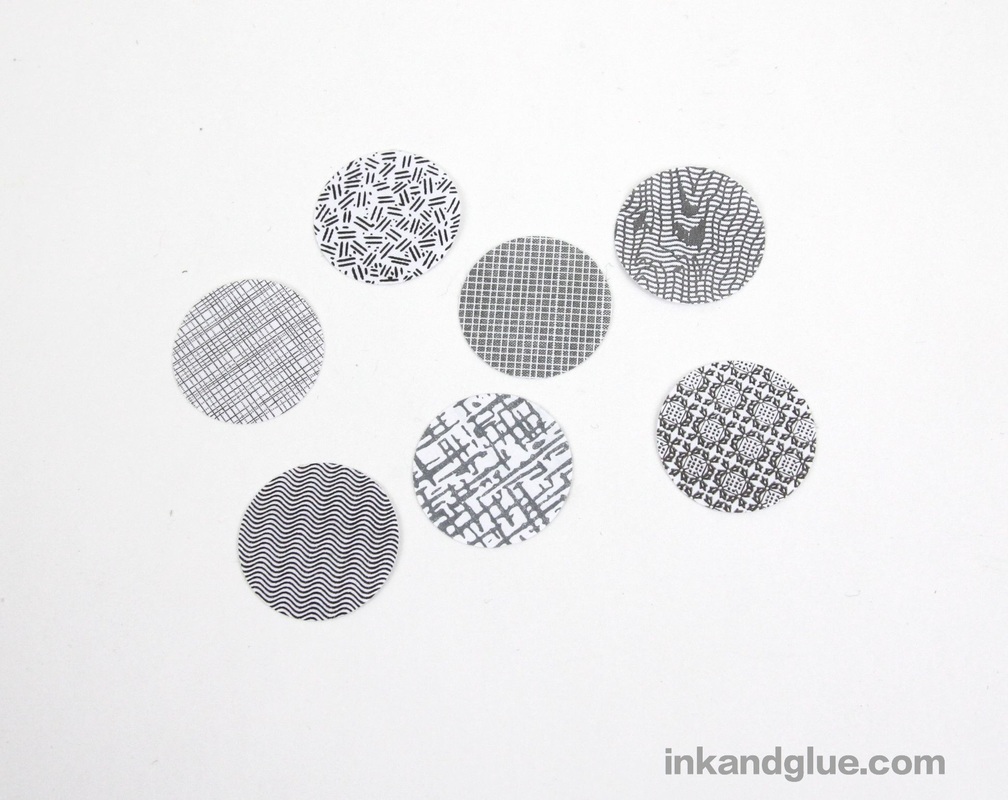
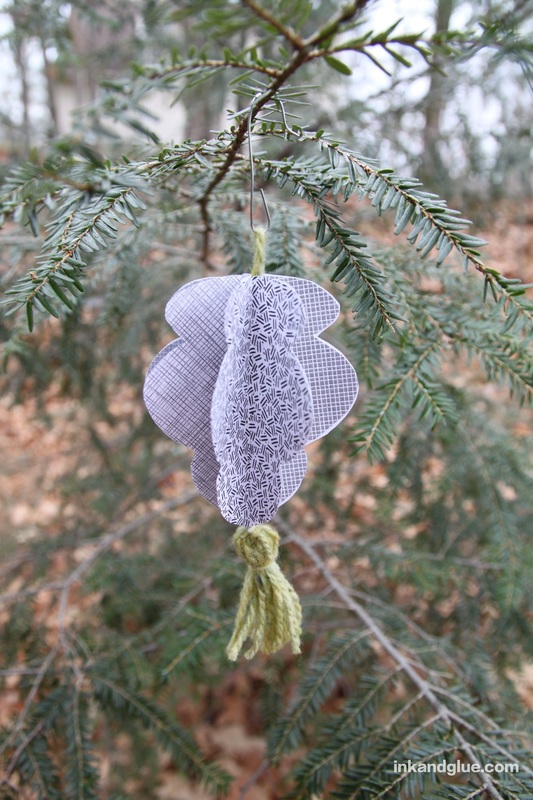 This easy-to-make paper ornament is made solely from cut-up security envelopes (and a bit of leftover yarn I had on hand). I always love a craft made with free materials, but never more than around the holidays, when everything around you is shouting BUY BUY BUY. You can make this ornament with any paper, but I like the treasure-hunt aspect of collecting these hidden patterned envelopes. I'd say at least 50% of the mail I get are bills and financial statements of one kind or another, so it didn't take me long to accumulate this stack.  Make a template by cutting out a shape with one straight edge from a scrap of cereal box cardboard. I went with a three-lobed, free-form shape. Alternate shape ideas: A triangle, a spiky star, an oval, a circle ... (Scroll to the end of this post to see a version made with a circle punch!) 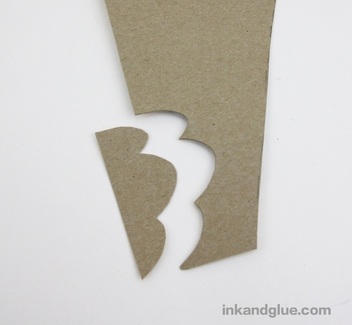 Next, cut open the envelopes, and cut squares from them (I used 7) that are as big as twice the size of your template. Fold a square in half, with the pattern on the inside. Lay the template on top, with its straight edge aligned with the fold. Trace it lightly in pencil, and cut out the shape.
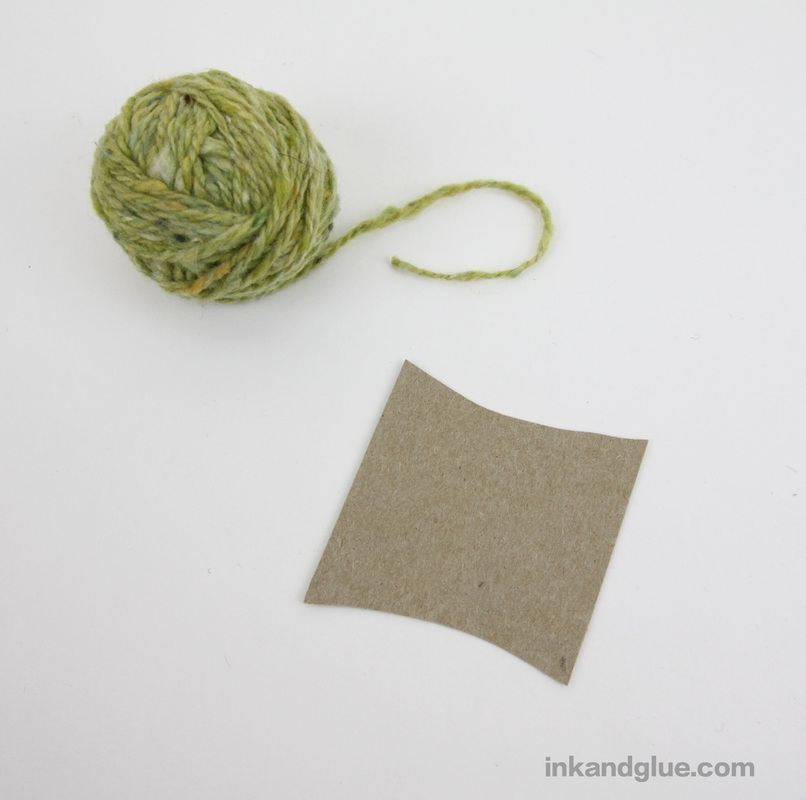
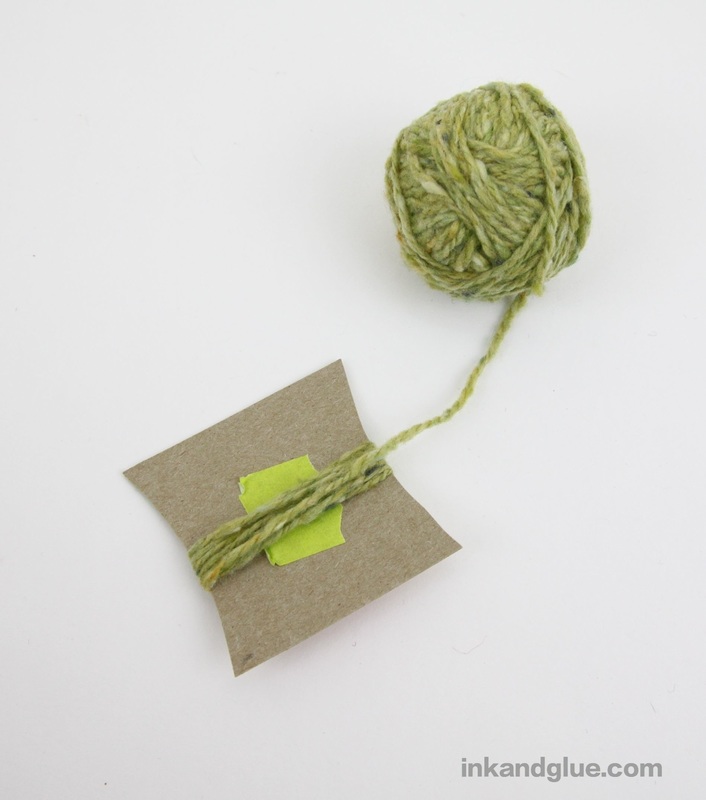
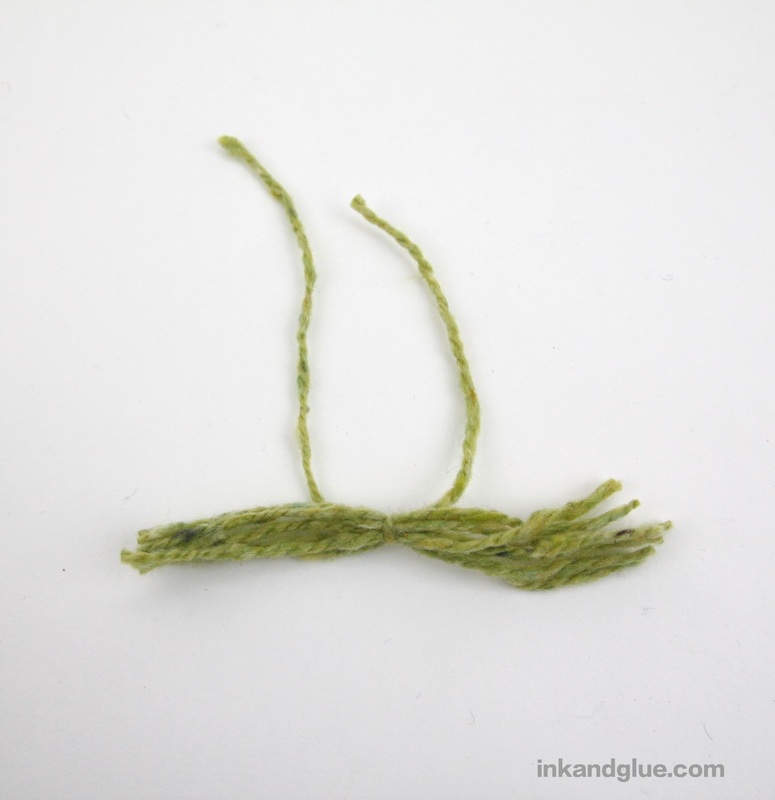
Repeat with the rest of your envelope squares. Piled up, they'll look something like this: 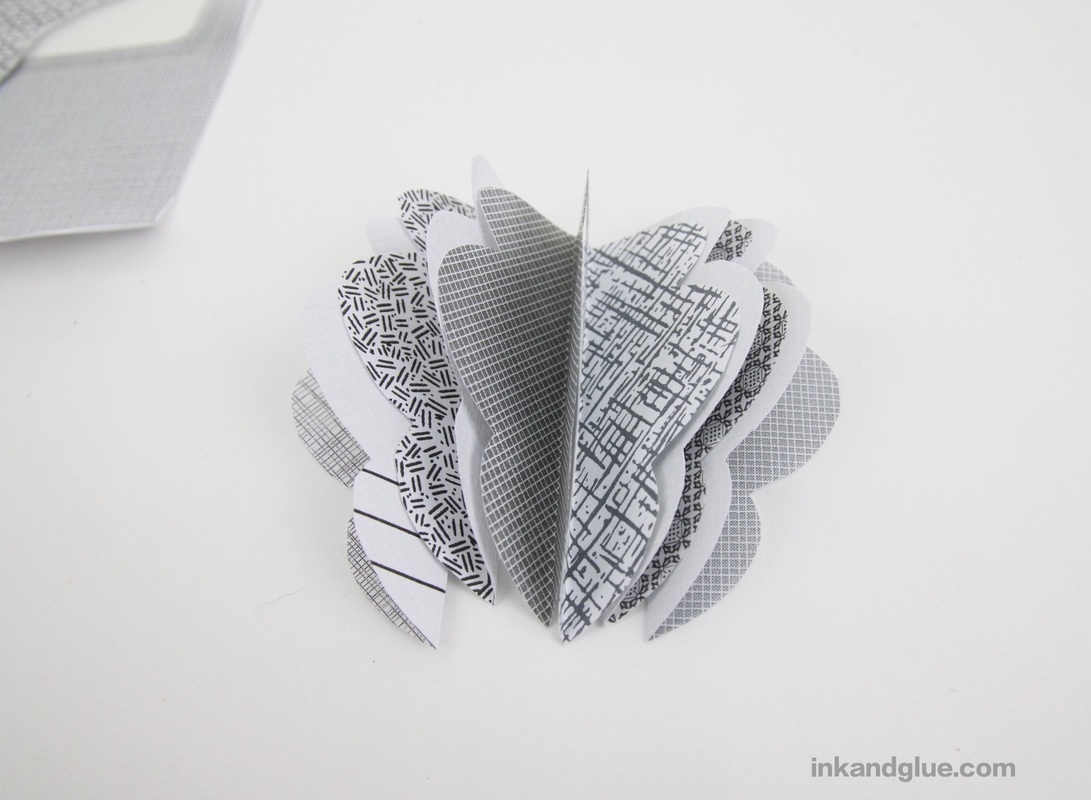 Next, make the tassel. It's likely there are many other ways to make a tassel, but this is what I do. From cereal box cardboard, cut a pinched square shape that's about as tall as you'd like your finished tassel to be. Tape one end of a ball of yarn to the shape, and wind the yarn around several times. Cut the wound-up yarn free from its ball.
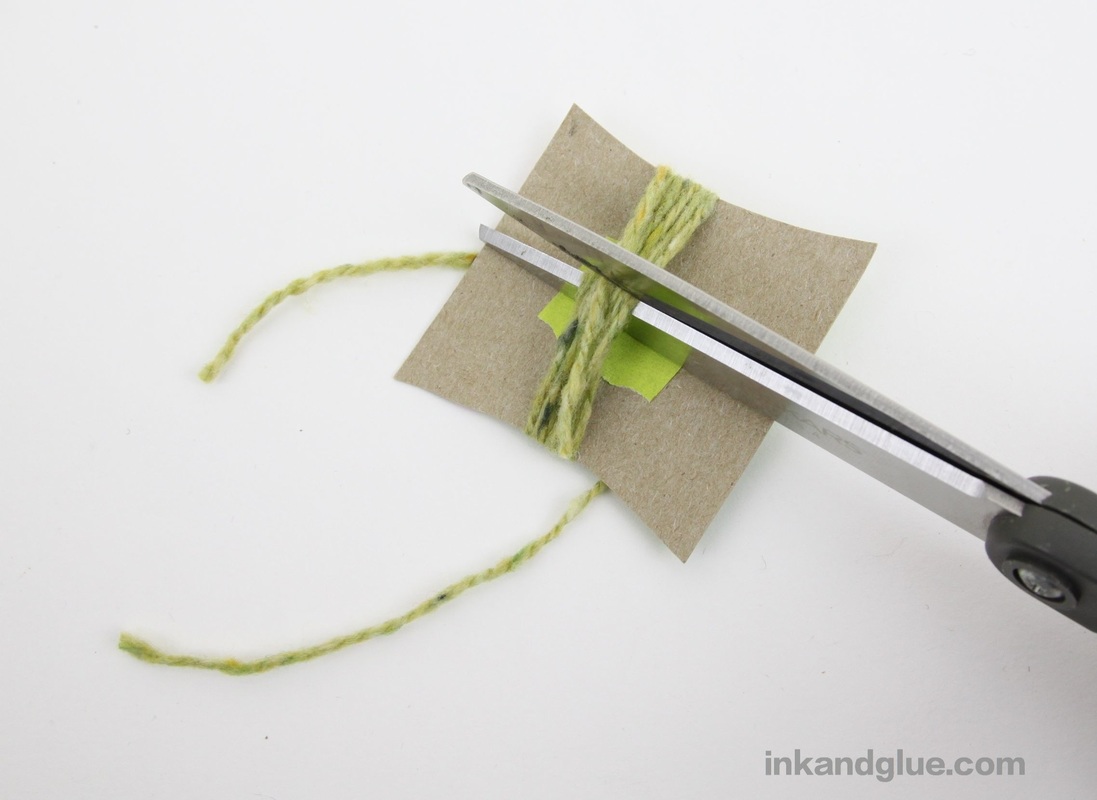
Flip over the card, and tie a long piece of yarn around the center of the gathered yarn. Flip over the card again, and cut through the gathered yarn.
It'll look like this (below, left), and when you smooth the cut sections together, like this (below, right).
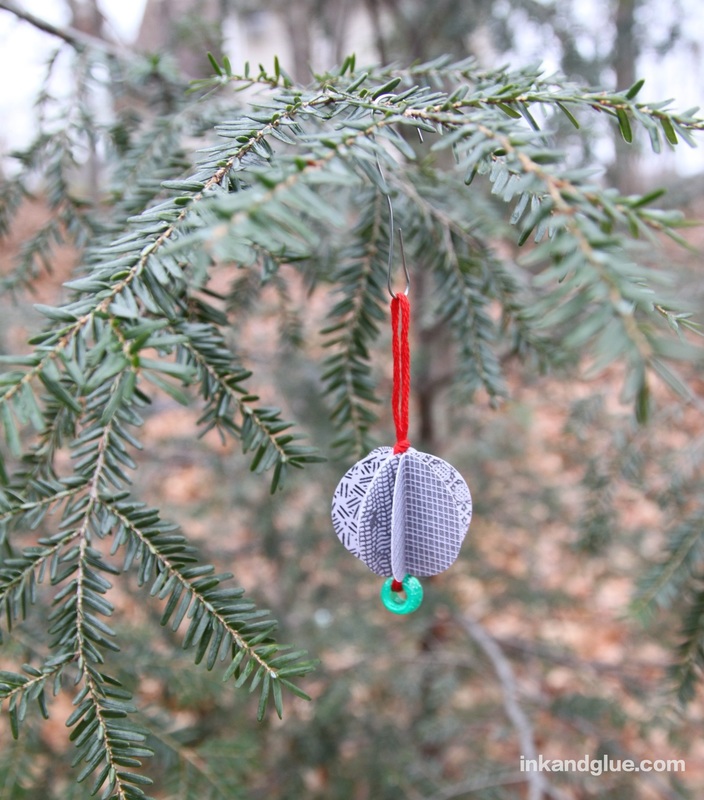
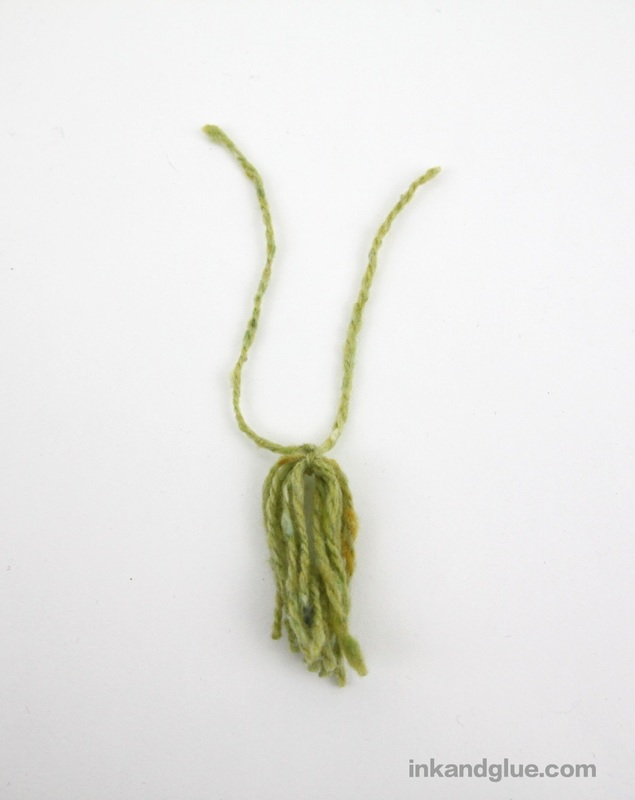
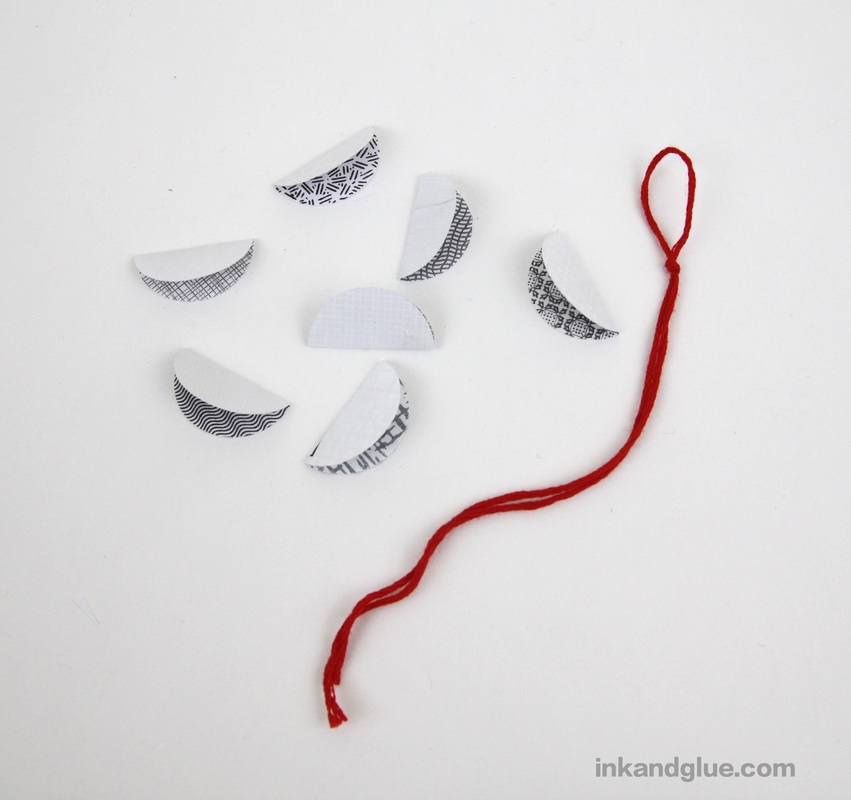
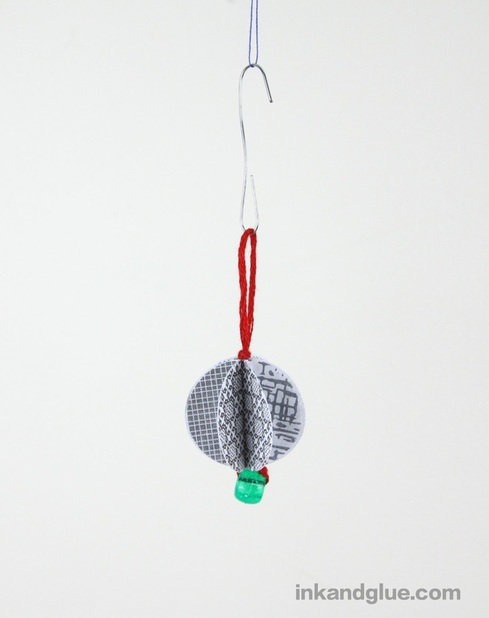
Cut another few-inch-long length of yarn, and tie it about a half-inch from the top of the folded bundle. 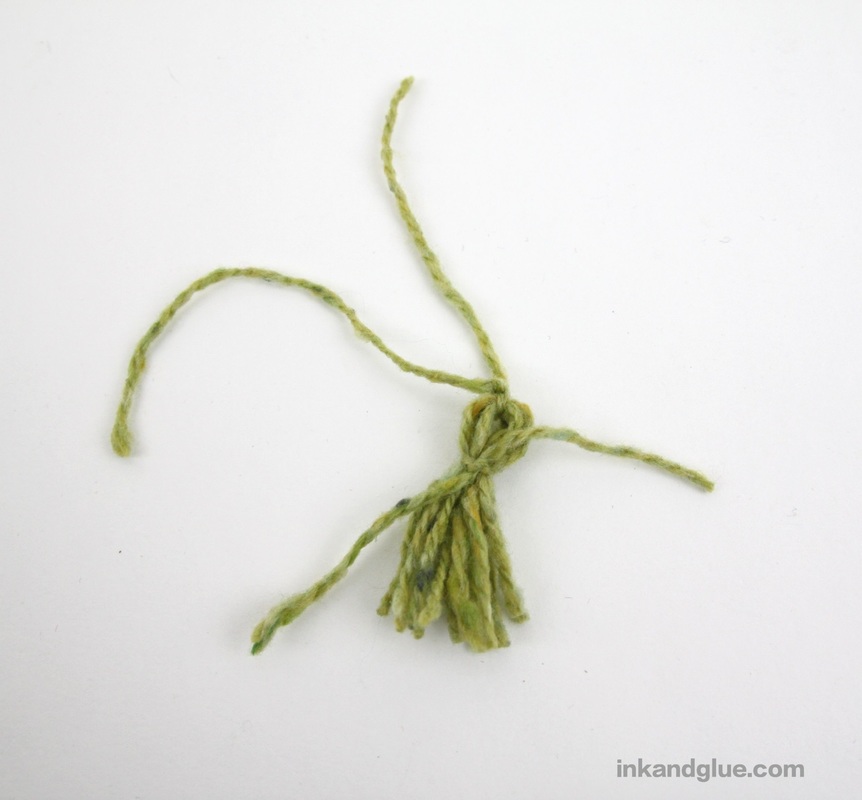 One of the ends of the piece you just tied can become part of the hanging-down section of the tassel. Tuck the other end through the loop above, then trim it; it'll stay hidden. 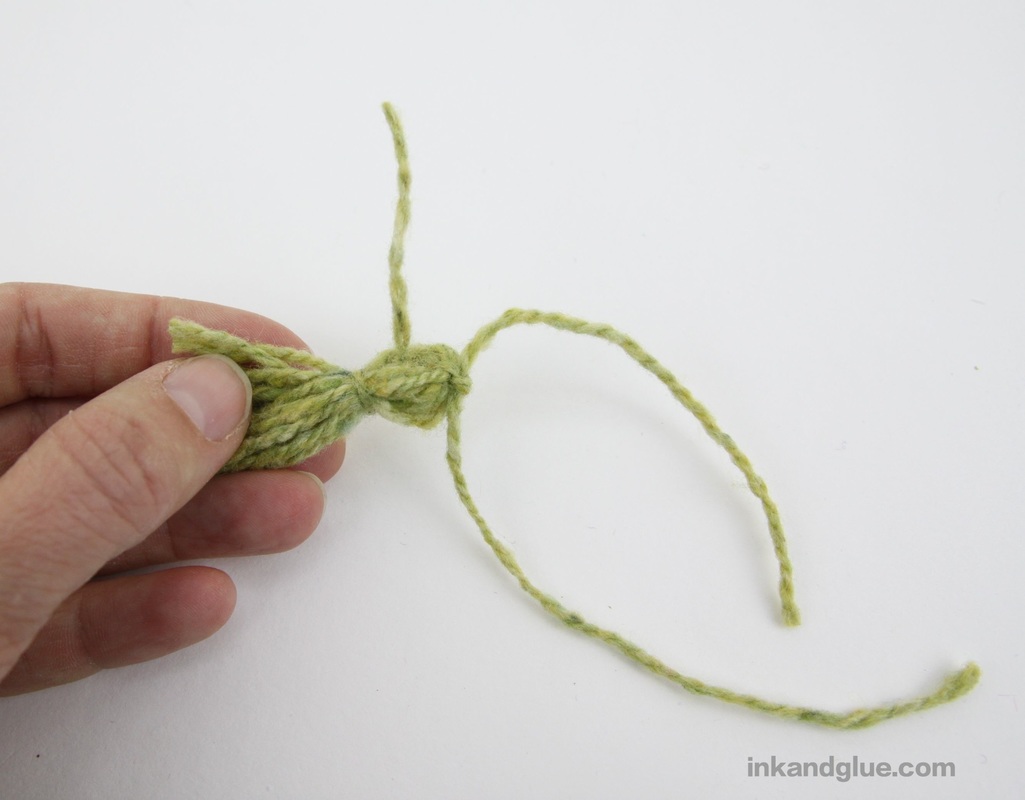 Now, assembly! Back to your folded envelope pieces, spread glue stick over one side of one folded piece, and align another folded piece on top. Continue until all of your pieces are glued and stacked. Tie a hanging loop into one end of your tassel-bundle-tying yarn piece, leaving just enough space between the loop and the tassel to fit the length of the papers' folded edge. Trim the other end of the yarn piece close to the knot at the top of the tassel. 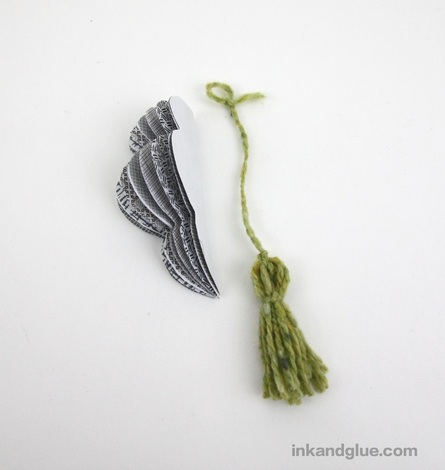 Apply glue stick to the top of the stack of folded papers, then fan out the sections so the glue-y side meets the not-gluey side, with the looped piece of yarn captured in the center.  That's it! Add an ornament hanger, and admire your thrifty and beautiful work. 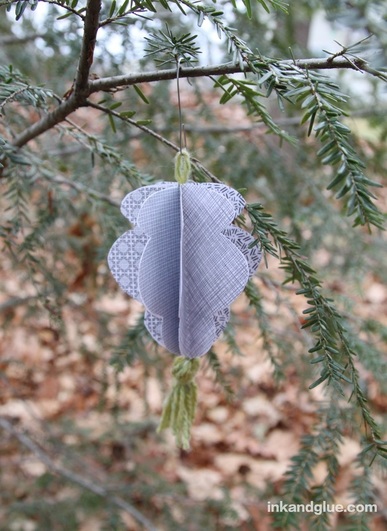 Here's a different angle, showing how the top should look, with the yarn loop in the center of all of those folds. 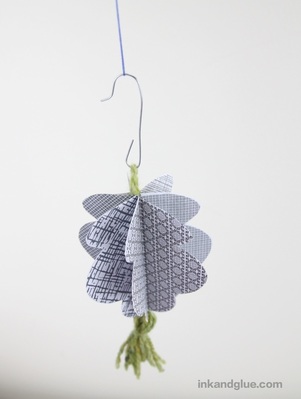 Want an even simpler ornament? Instead of cutting out pieces using a template, use a circle hole punch to make your shapes. My hole punch makes inch-wide circles, so they're pretty tiny; 1.5- or 2-inch circles would be better, I think. Fold each circle in half, with the pattern on the inside.
Instead of making a tassel, I just cut a length of embroidery floss, folded it in half, and tied it into a loop. Assembly is the same as above, with the floss captured in the center as the final two sides are joined with glue stick. 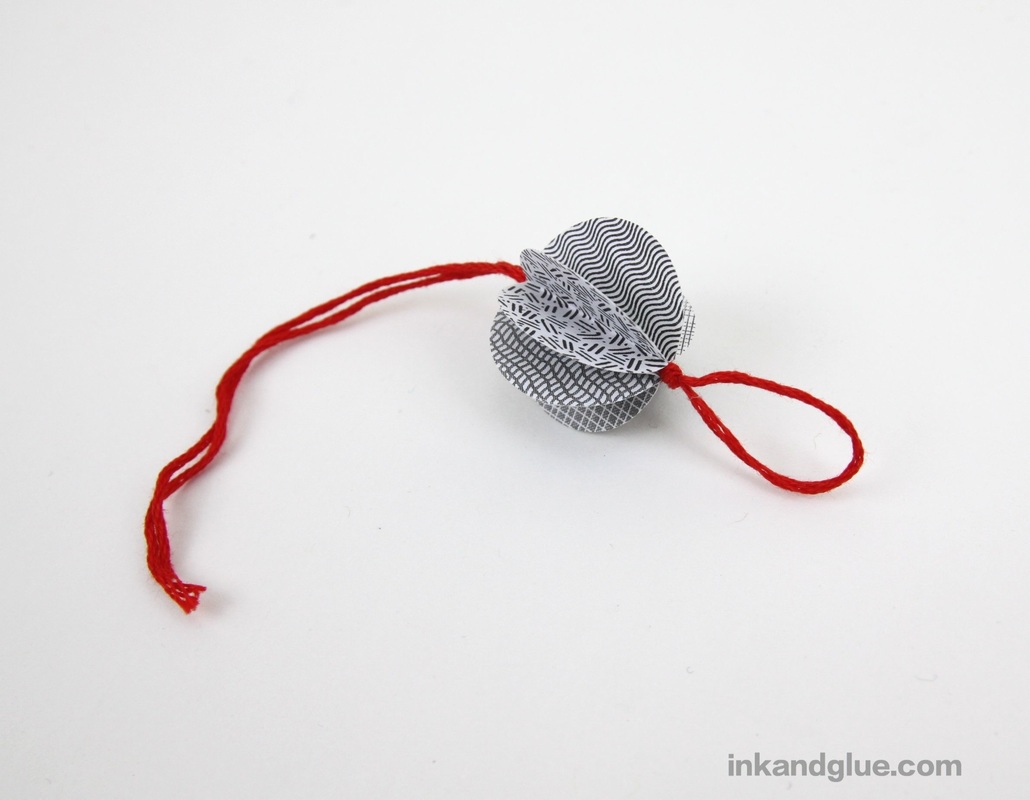
 Happy holiday making! xo
|
Categories
All
Archives
March 2017
AuthorI'm Debbie Way, an artist and writer who enjoys making things. |

 RSS Feed