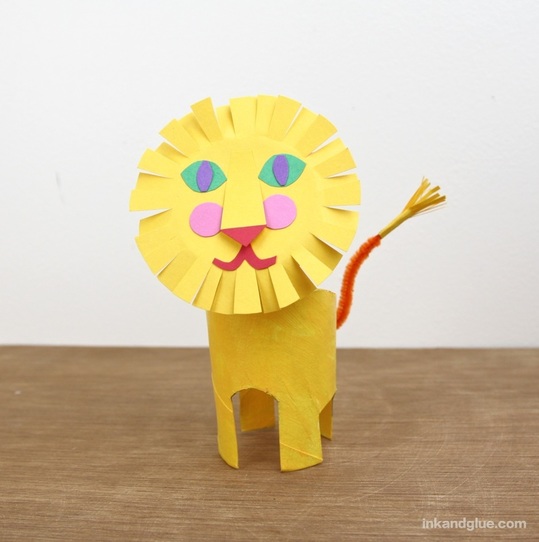
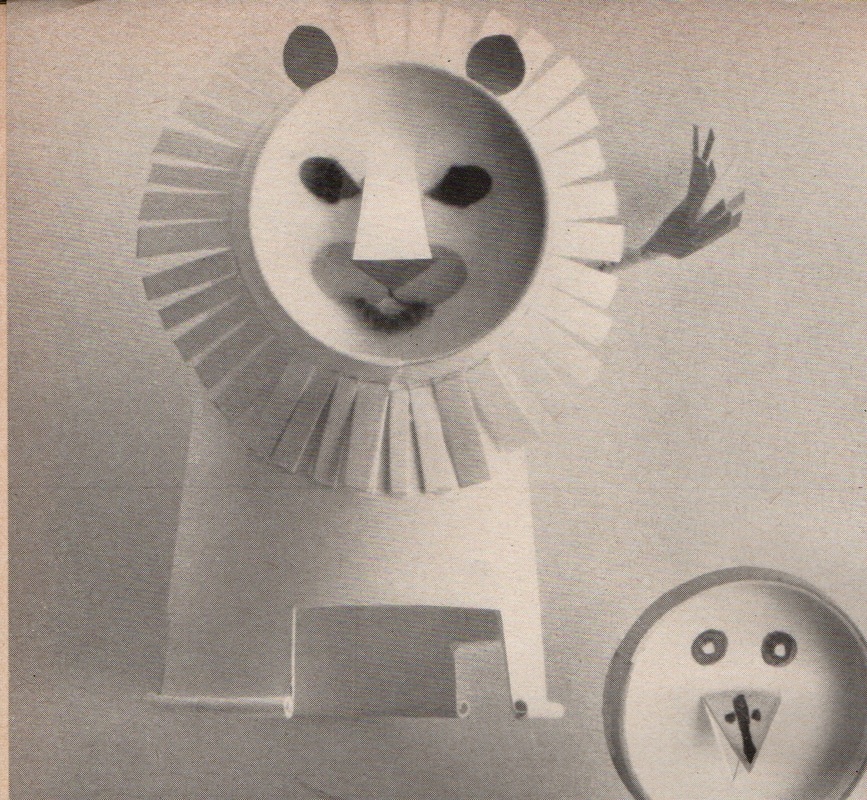
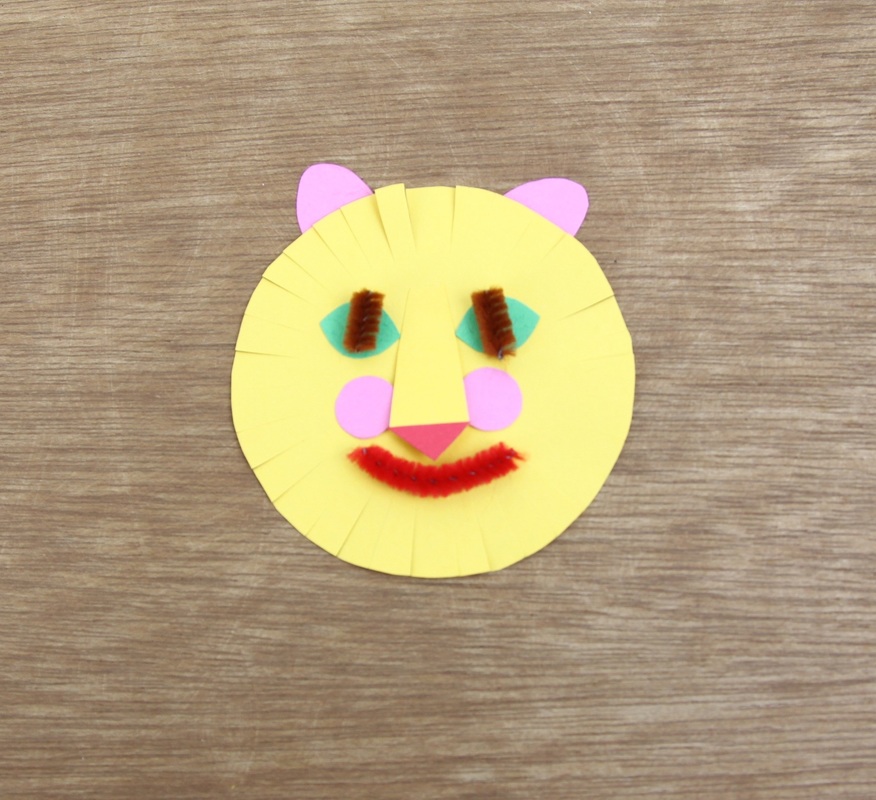
 Look at this sunny-faced feline fella! He's based on the lion in yesterday's scans of a 1966 craft magazine. To refresh your memory, here's the original lion, made from paper cups:
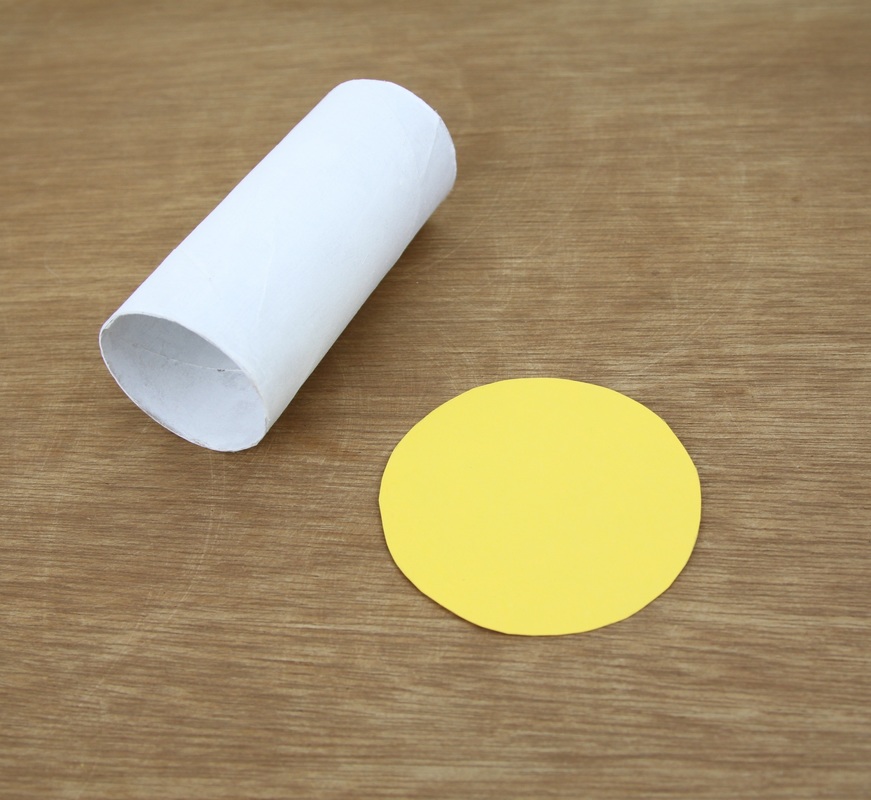
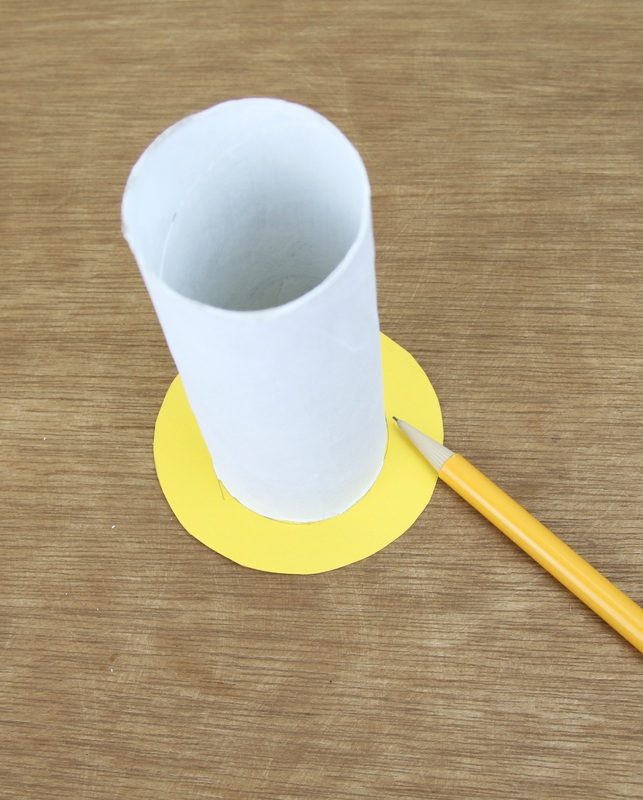
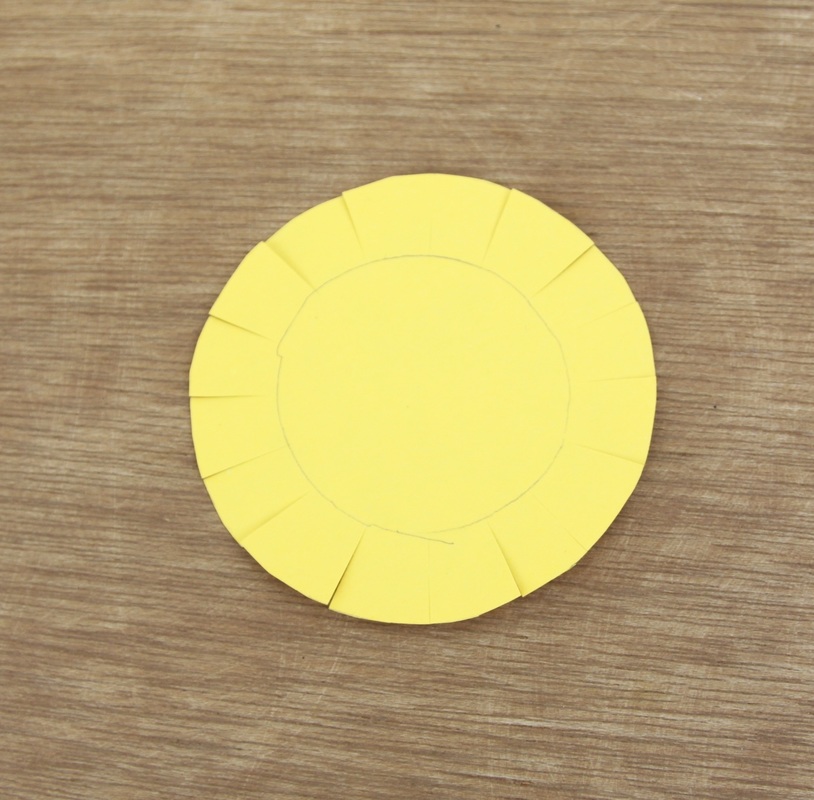
My goal here wasn't to make a replica, but to create an inspired-by version with what I had on hand (many cardboard tubes). I read through the magazine's instructions as I went, and took what I could from it. Here's how to make my version. First, paint a tube white, inside and out. From a sheet of yellow construction paper, cut out a circle that's about an inch wider than the tube. Stand up the tube, center it in the circle, and trace around it with a pencil.
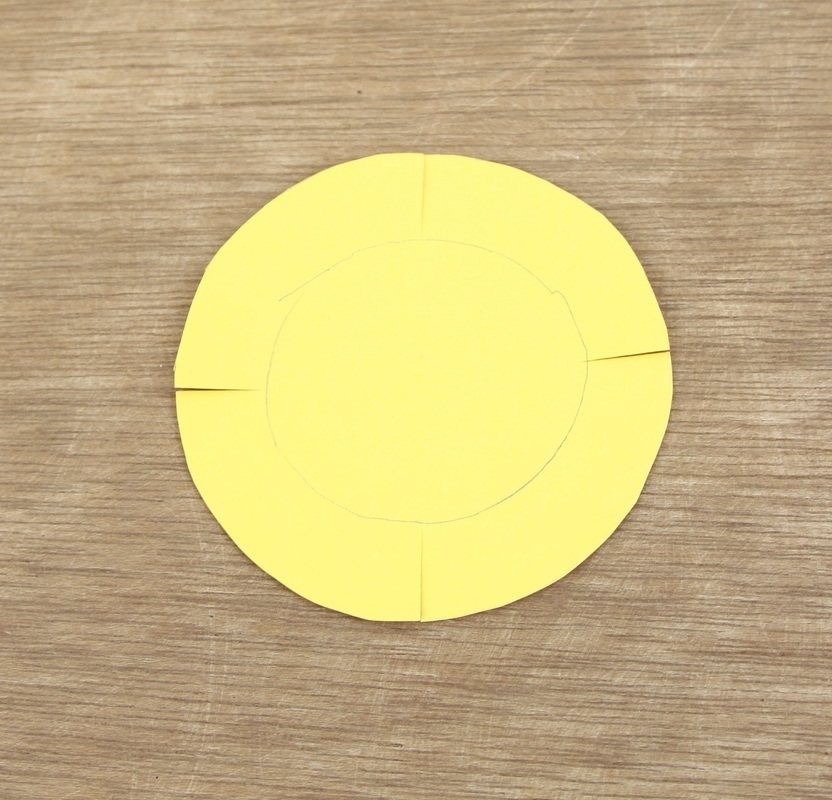
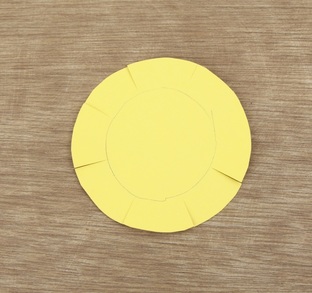
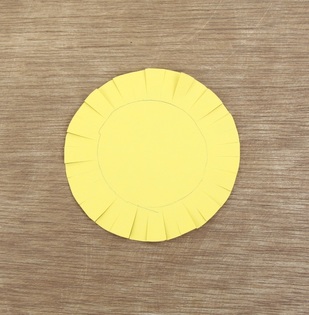
Use the circle you just drew as the stopping point for the small cuts you'll be making to create the fringed mane. Here's a trick for getting fairly evenly-spaced fringe: First, make four cuts at equal distances from each other, like the four points of a compass. Then, make a cut in between each of those cuts. Repeat two more times, just eyeballing the center point between two cuts. Easy-peasy.
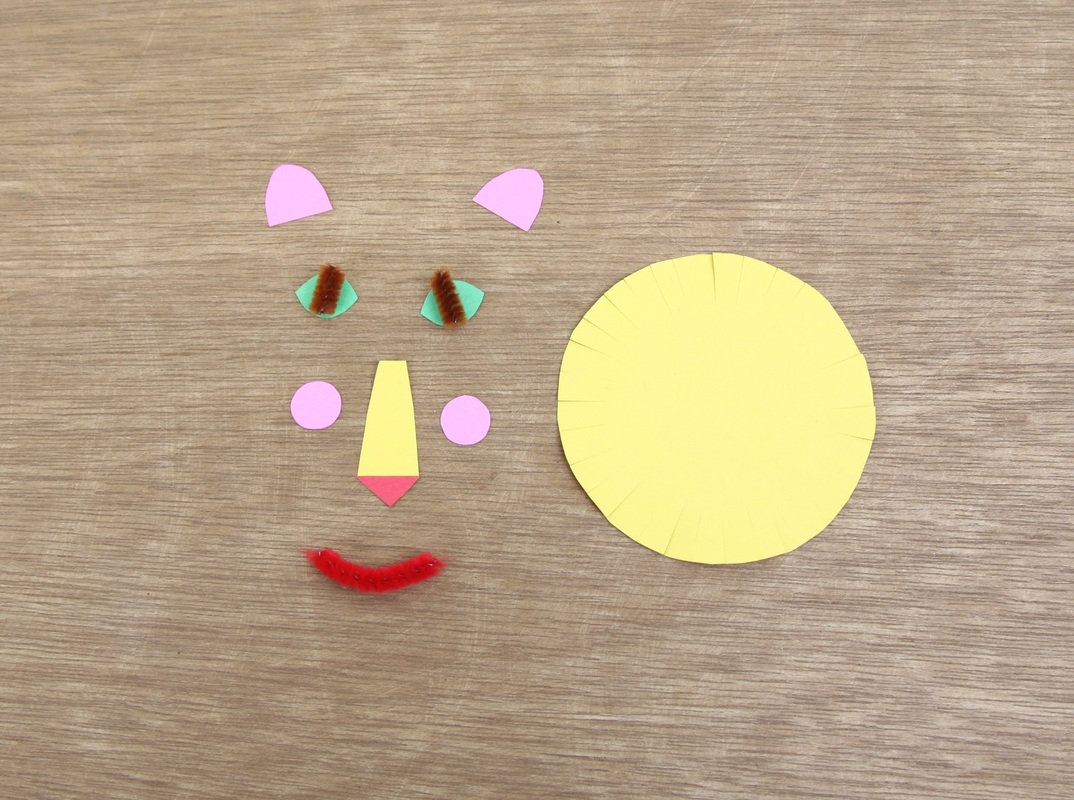
At this point, I turned to the text of the magazine for help. I followed their illustration and instructions to get the colors and shapes I ended up with. One change is that I didn't cut the nose flap out of the circle itself; I cut a separate piece of paper for that. Here's what I ended up with:
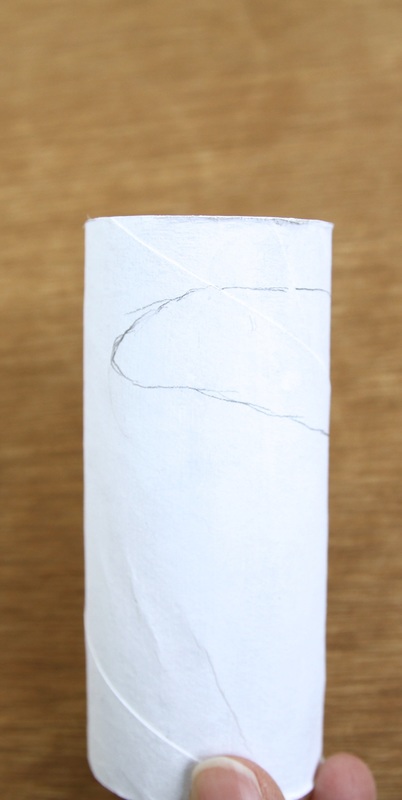
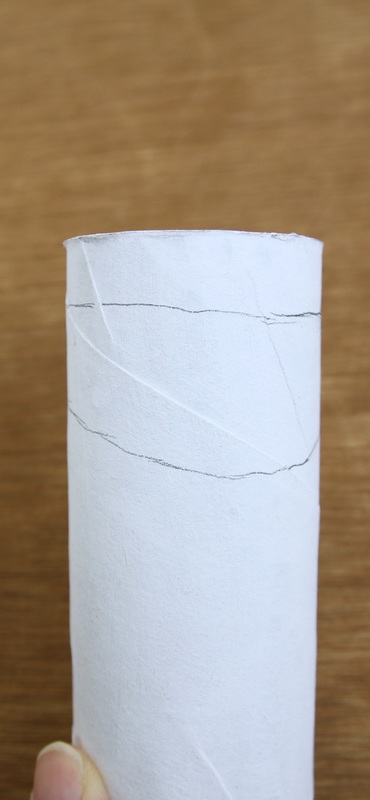
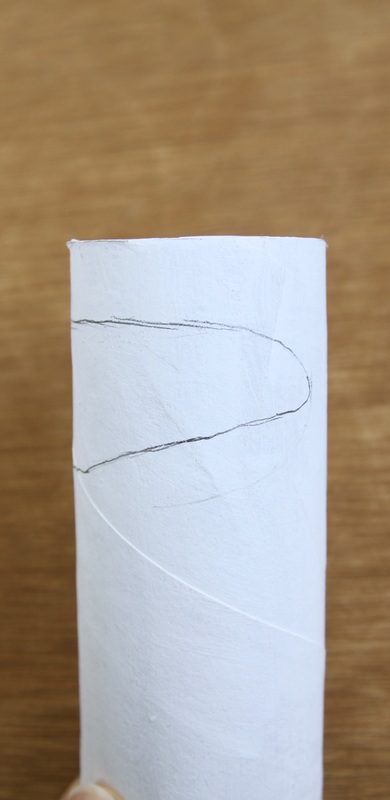
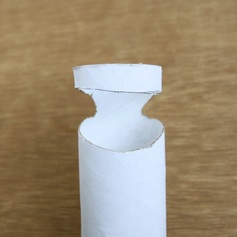
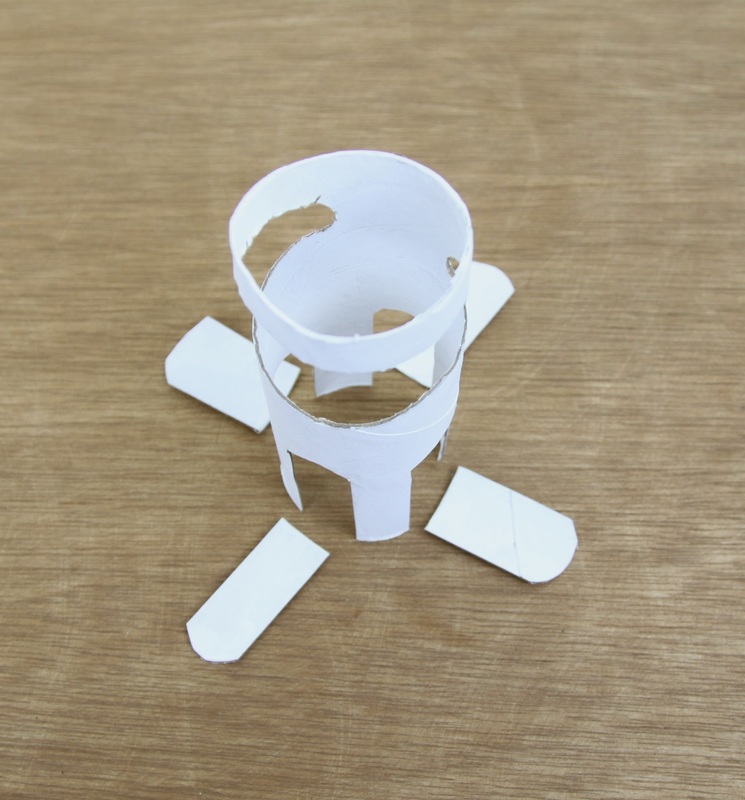
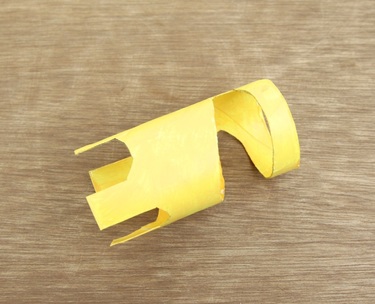
Yes, those are tiny lengths of pipe cleaner for the pupils and mouth, and no, I wasn't happy with how they were looking. Even if the pipe cleaner pieces were cut smaller, they were still a pain in the butt to work with, being tiny fuzzy round things that really wanted to roll away. So I abandoned them, and used paper instead. I glued everything down with a thin layer of tacky glue, but I only attached the top quarter of the nose piece so it could flap up a bit and add some dimension. 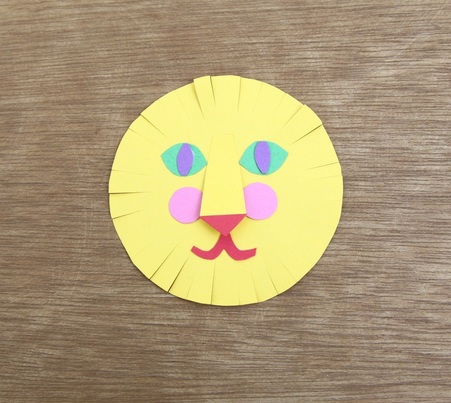 Ahh, so much better. Now on to the body. You're going to mark a sort of oval-ish lozenge shape near one end of the tube. Here's the shape, shown in three photos taken as I turned the tube. The distance between the two ends of the lozenge is about an inch. This segment will be the front of the neck of the lion.
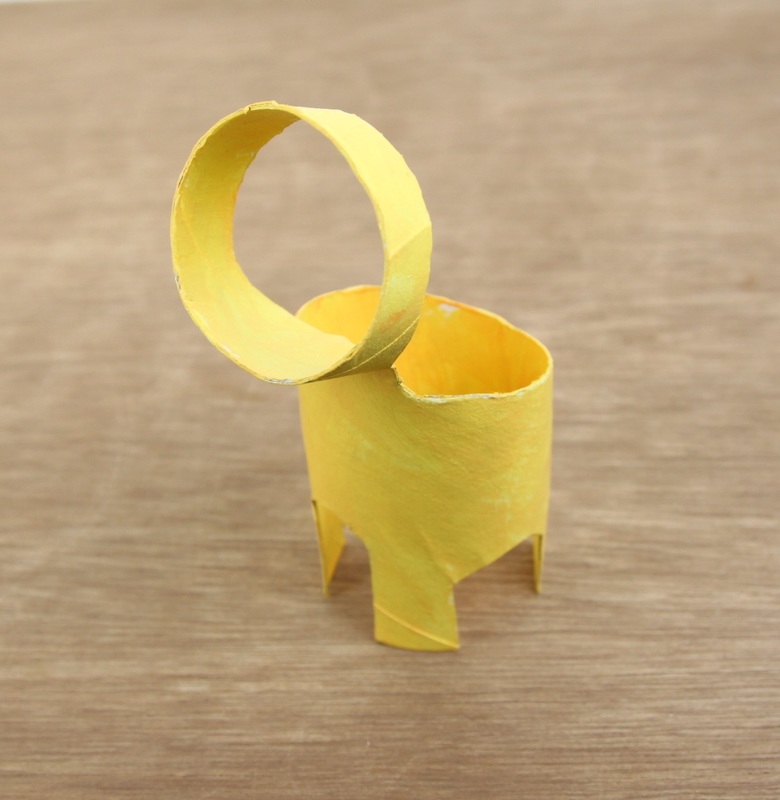
(Is it just me, or does the faceless body on the right look really cool? Like a kid's version of a surrealist sculpture.) Run a line of tacky glue along the rim of the head ring, and press it onto the back of the paper face. 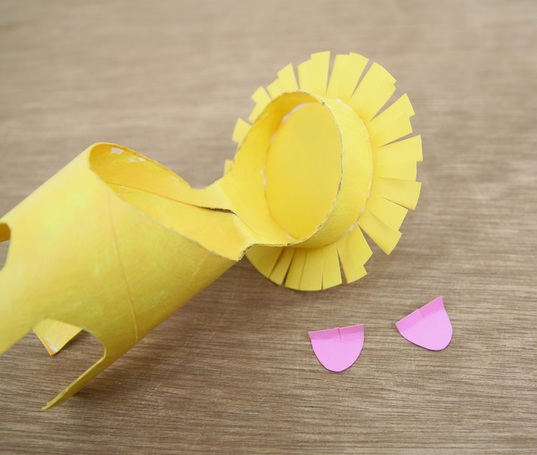 Remember those pink ears, from earlier? Make a short slit into the straight edge of each, and fold the edge over a bit. Glue the folded edge to the inside of the ring. (The slit will make them conform more easily to the curve of the ring.)  Now for the tail. I followed the magazine very closely for this part. Cut a 3.5-inch length of pipe cleaner. Cut a one-inch square from yellow paper, and fringe one edge about half-way in. Fold the square in half, then add tacky glue, and fold/roll the paper around the end of the pipe cleaner. 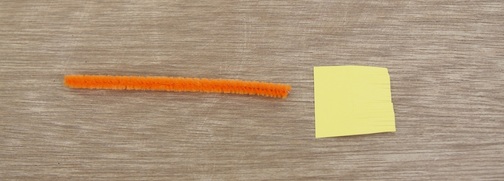 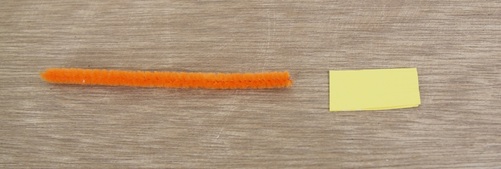 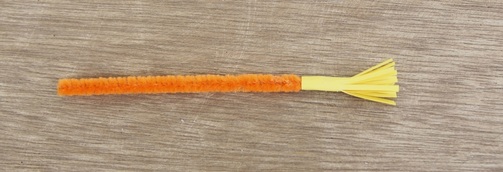 Use a large needle, a pushpin, or an awl to poke a hole in the back of the lion's body. Insert a half-inch or so of the tail. Fold it down and glue it to the inside of the tube. 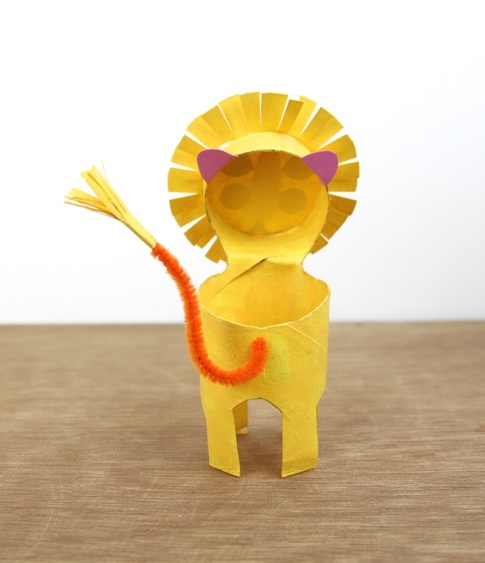 Lookin' good, my man! 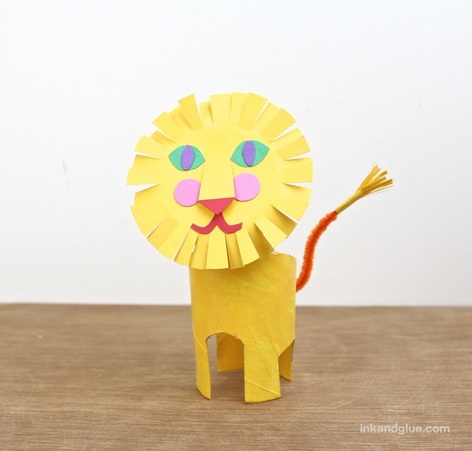 Tomorrow, might there be a blue giraffe? There might. There just might.
xo Comments are closed.
|
Categories
All
Archives
March 2017
AuthorI'm Debbie Way, an artist and writer who enjoys making things. |

 RSS Feed