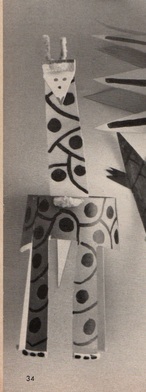
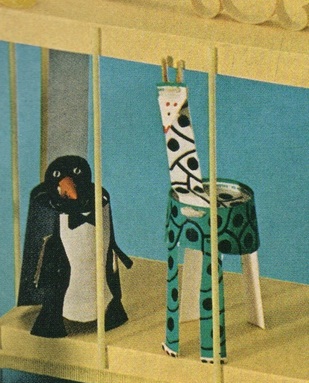
 Remember yesterday? I am fulfilling my blue giraffe promise! This is another tube take on a cup-based craft from a magazine published in 1966. To refresh your memory, here's the original giraffe.
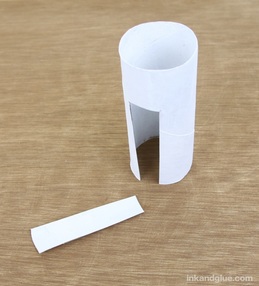
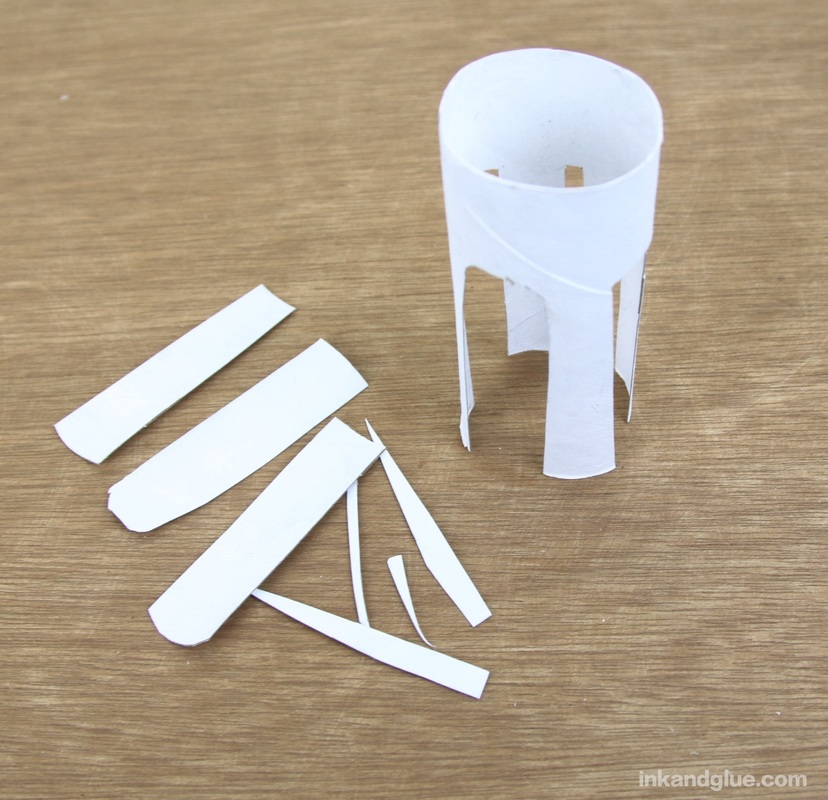
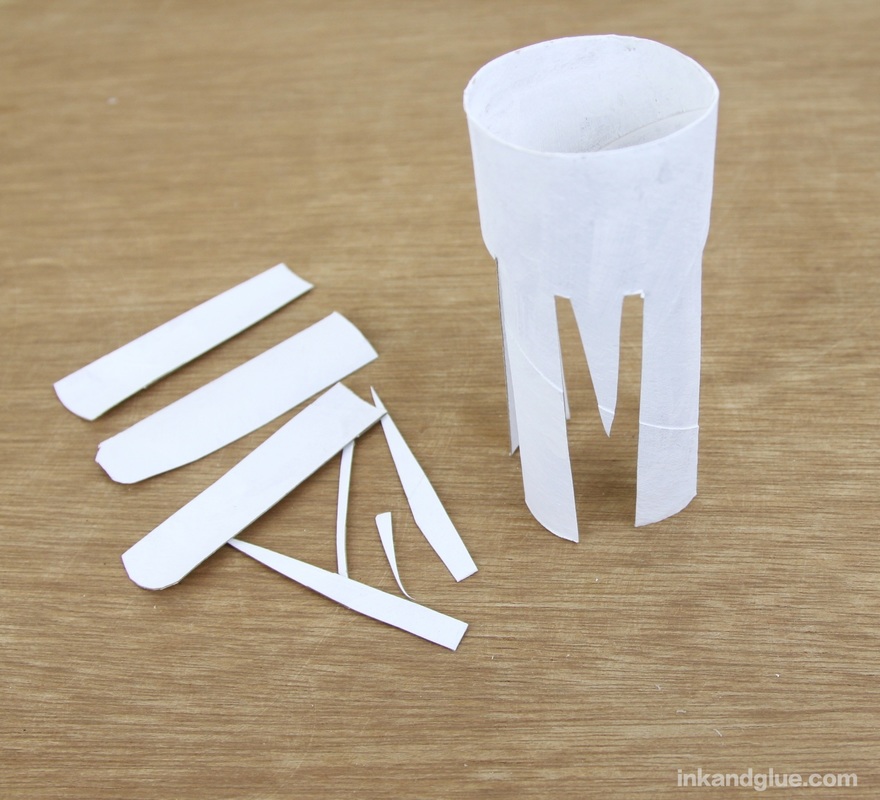
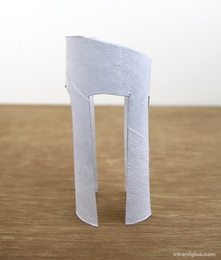
I have some problems with the styling of this, so I tried to make one more to my liking. Consider it an homage, or a tribute to its 1966 ancestor. Here's how to make it. Start with a cardboard TP tube, painted white inside and out. (The painting is optional, but it makes the final coat of color much brighter.)
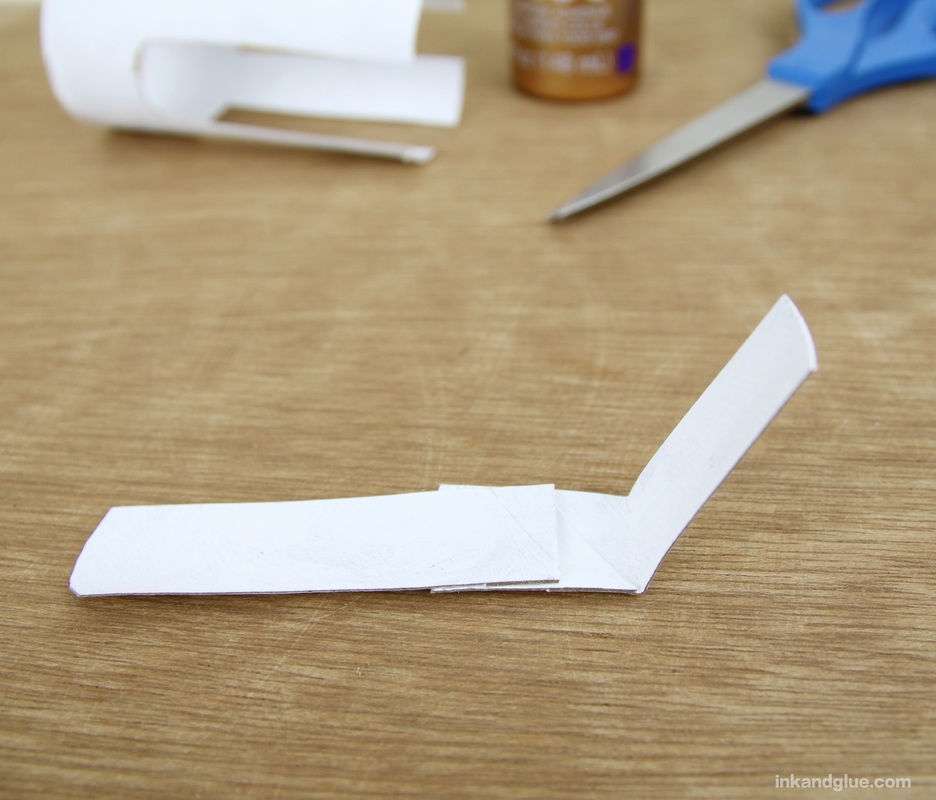
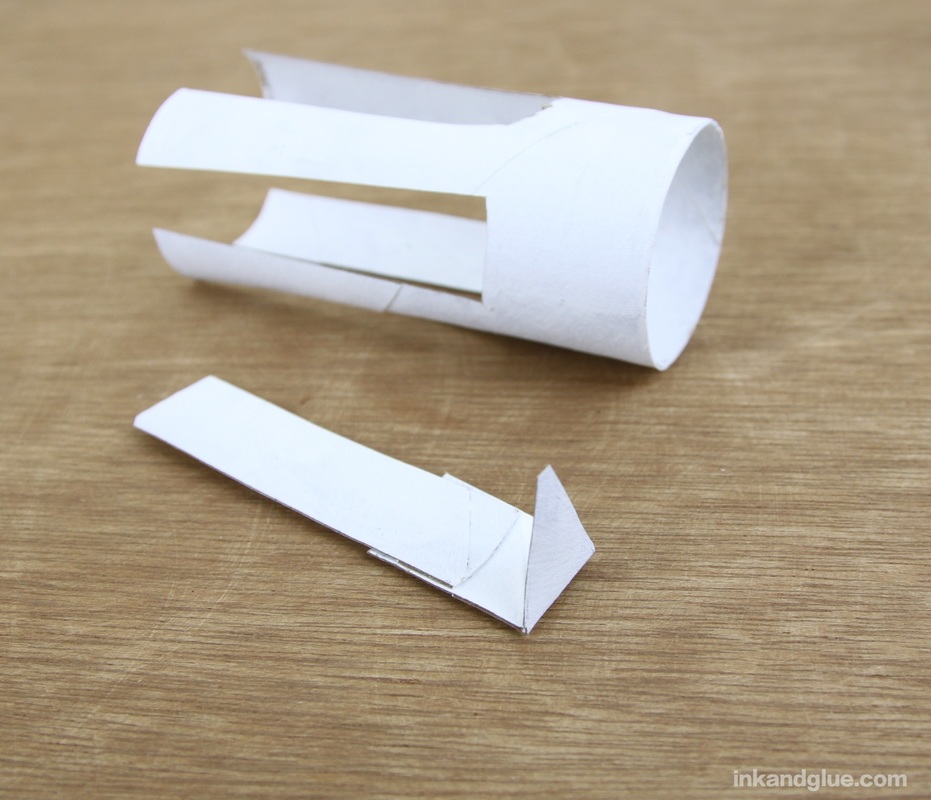
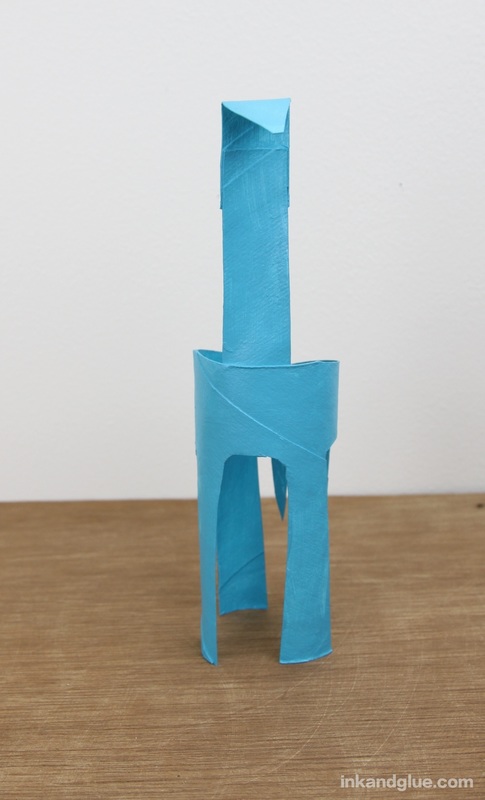
To make the neck and head, take two of the rectangles you just cut out, and overlap one with another. Secure them with tacky glue, then trim the edges so they're even. Fold up one end, and cut it into a rectangular head shape.
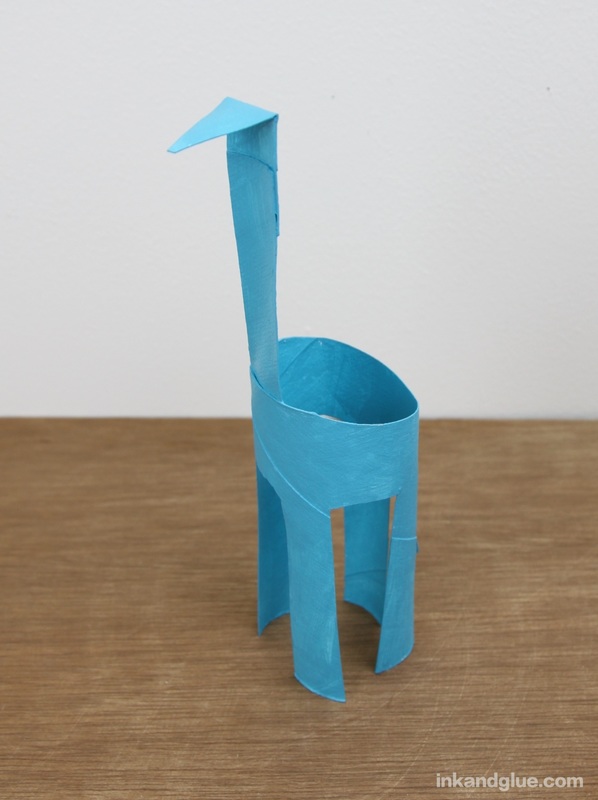
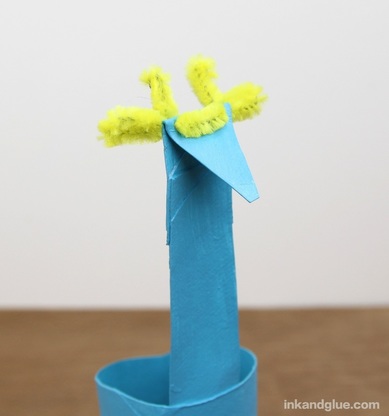
Glue the neck to the body with tacky glue, let it dry, and then paint the cardboard all over with acrylic paint. I used turquoise-ish blue, which is what the 1966 instructions called for.
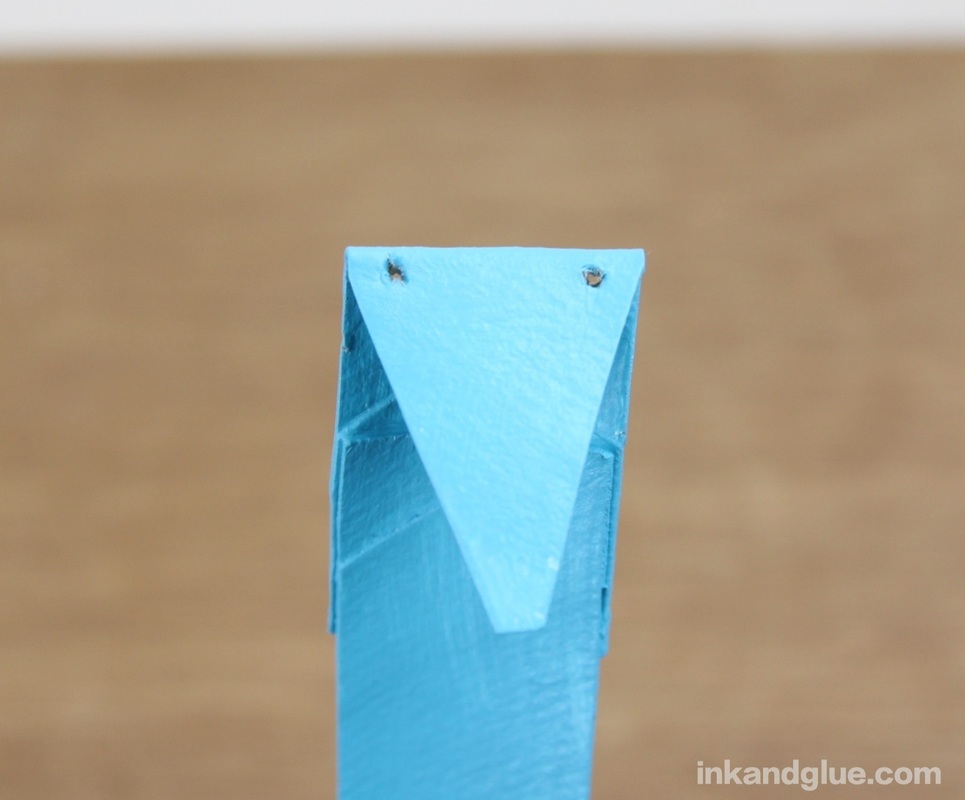
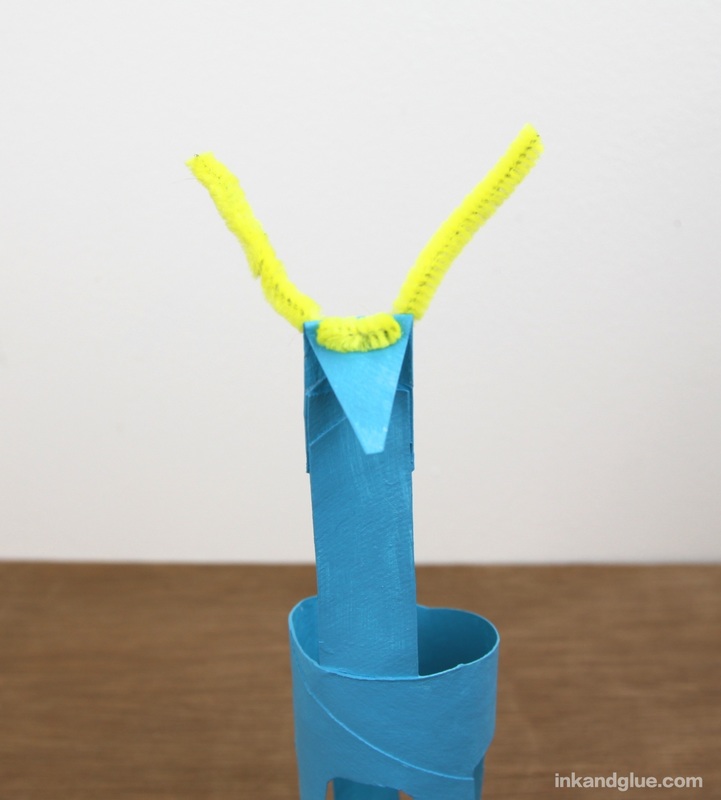
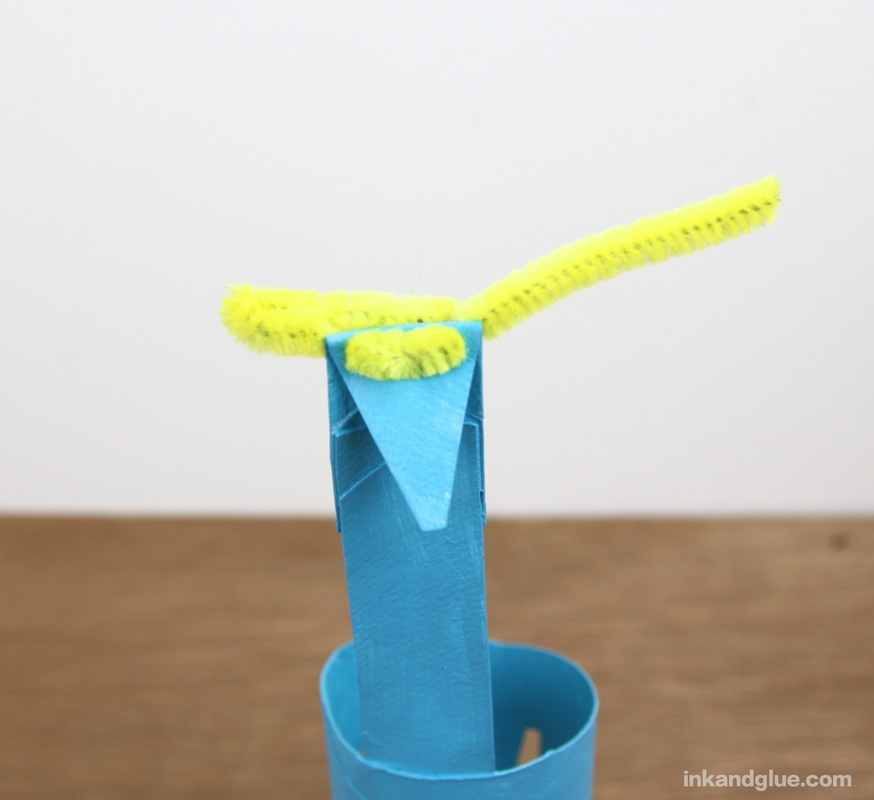
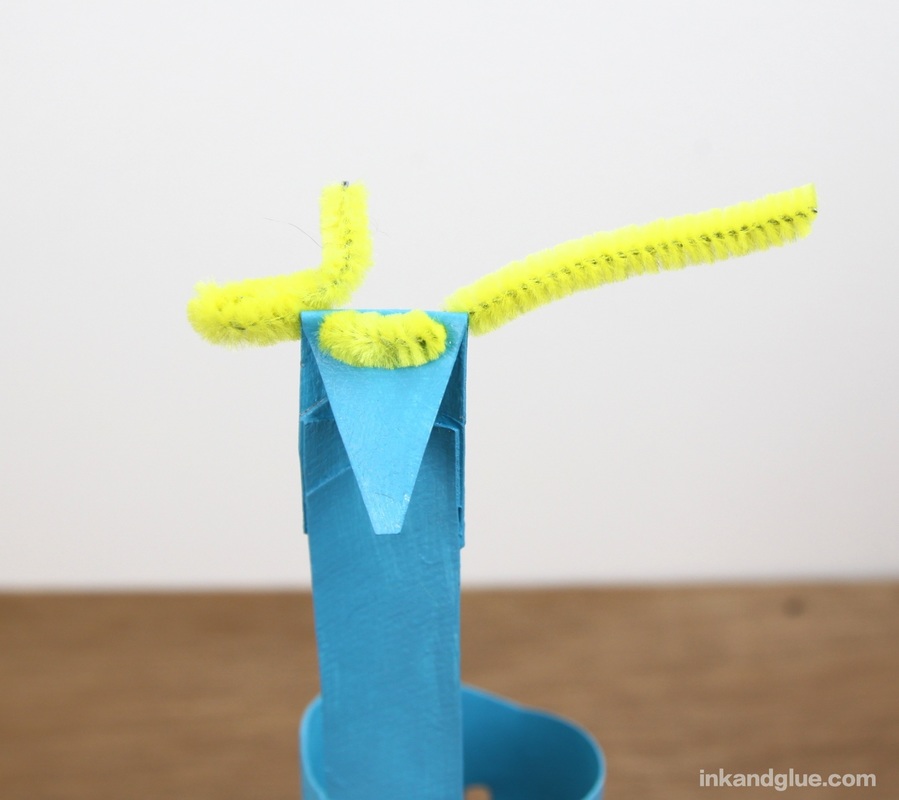
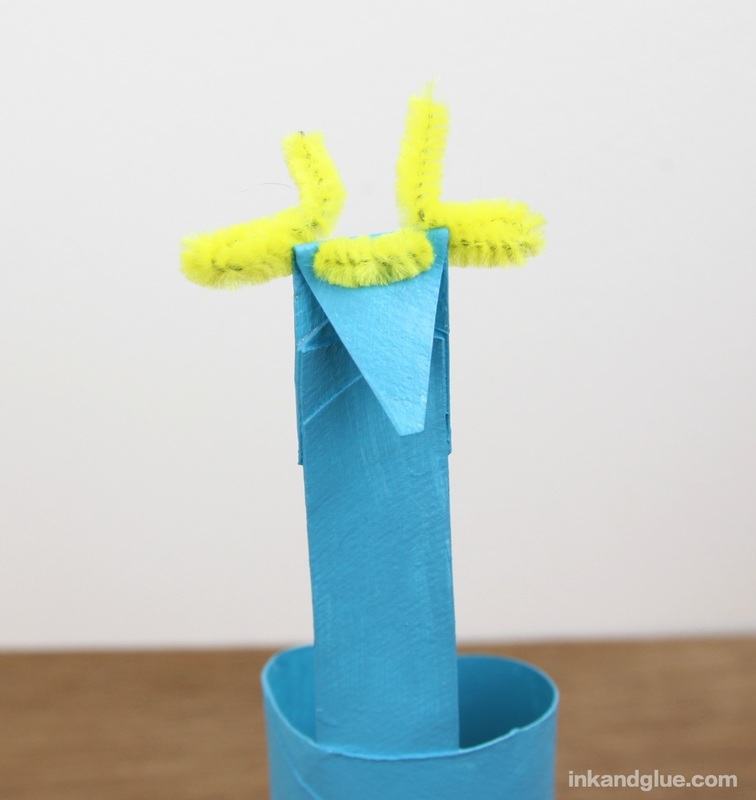
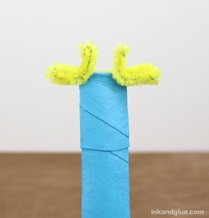
Insert the ends of a 3.5-inch piece of pipe cleaner through the fronts of the holes. Next you're going to fold each pipe cleaner end into thirds. For each, at the one-third mark from the head, fold the p.c. back towards the head. At the two-thirds mark, fold the p.c. straight up. You now have two ears and two horns!
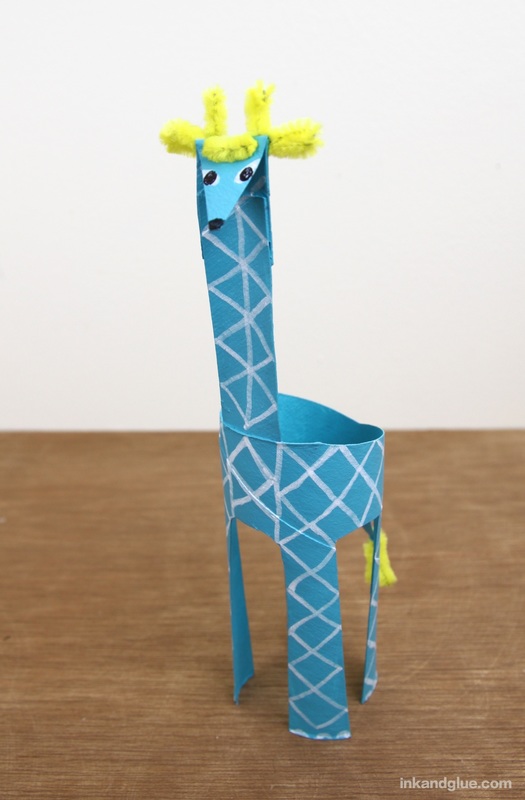
Now, on to decorating! Use markers for this. I wasn't enamored of the 1966-era craft's pattern of wavy lines with dots. So I tried a slightly-naturalistic look, using a black marker, as the magazine text asked for. I didn't like the result. 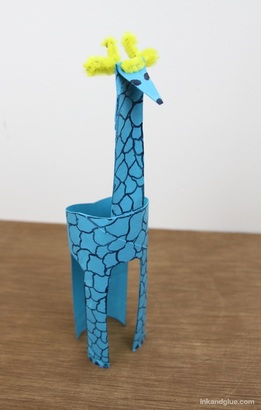 Luckily, I had used washable markers, and was able to wipe it all off with a damp paper towel. (It helped that my acrylic paint is actually fabric paint, which forms a nice, plasticky coat.) I started again with a white marker (this Recollections pen) (not an Affiliate link, and it's out of stock online, so link is for visual reference only). I went for a more geometric effect, using lots of triangles. You can draw whatever pattern you like, of course. 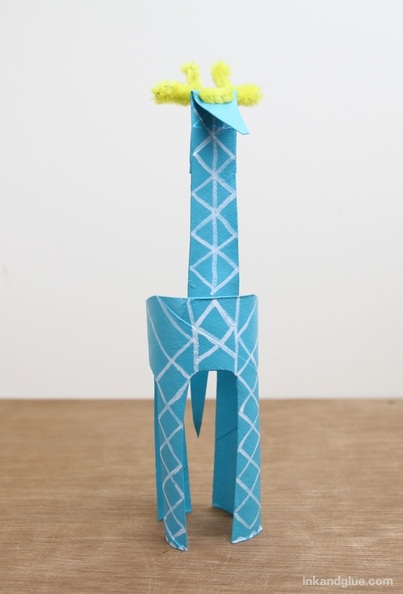 Better! I continued the pattern all over the body, and added eyes. I let the marker dry before adding black pupils and a nose. 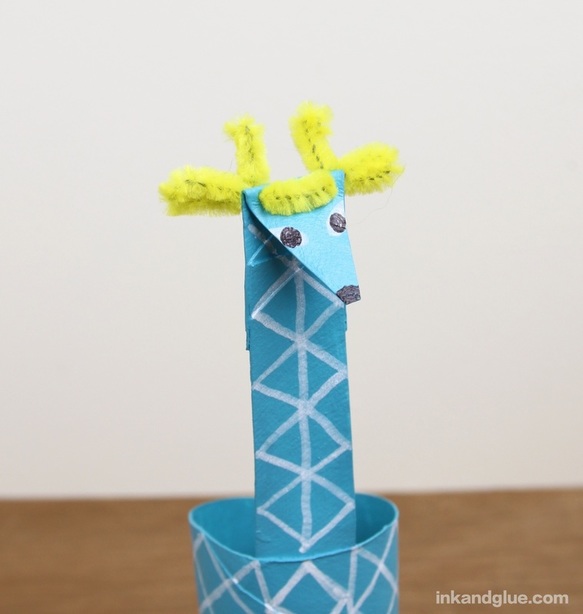
Thanks for revisiting the world of 60's kids crafts with me! xo 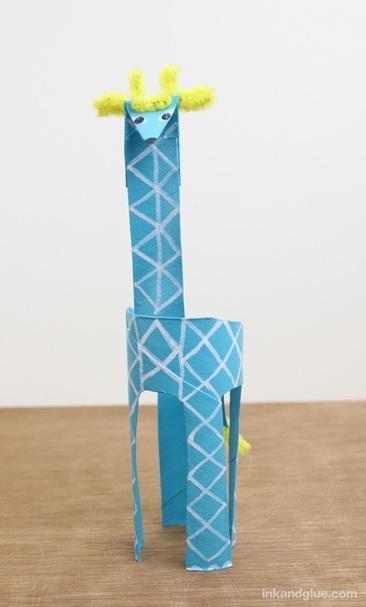 Comments are closed.
|
Categories
All
Archives
March 2017
AuthorI'm Debbie Way, an artist and writer who enjoys making things. |

 RSS Feed